Loading ...
Loading ...
Loading ...
Installation instructions en
19
installing a residual-current circuit breaker (RCCB)
in the appliance's power supply circuit.
Sharp-edged components inside the appliance may
damage the connecting cable.
▶
Do not kink or trap the connecting cable.
¡ The connection data can be found on the rating
plate. →Page14
¡ The connecting cable is approx.1.30m long.
¡ This appliance complies with the EC interference
suppression regulations.
¡ The appliance corresponds to protection class 1.
You should therefore only use the appliance with a
protective earth connection.
¡ Do not connect the appliance to the power supply
during installation.
¡ Only a licensed professional may connect appli-
ances without plugs. They are subject to the require-
ments of the local electricity provider.
17.8 General information
Follow these general instructions during the installation.
¡ For the installation, observe the currently valid build-
ing regulations and the regulations of the local elec-
tricity and gas suppliers.
¡ When discharging the exhaust air, the official and
legal regulations, such as the regional building
code., must be observed.
¡ The width of the extractor hood must correspond at
least with the width of the hob.
¡ To optimally detect the cooking vapours, install the
appliance in the middle of the hob.
¡ In order to freely access the appliance for servicing,
select an easy-to-reach installation site.
¡ The surfaces of the appliance are sensitive. Avoid
damaging them during installation.
17.9 Installation
Preparing the ceiling
1.
Ensure that the stability of the ceiling is guaranteed
after the cut-outs have been made.
2.
Cover the hob to prevent damage.
3.
Saw a cut-out into the ceiling.
4.
Remove any shavings.
Preparing the appliance
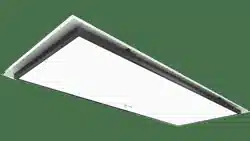
WARNING‒Risk of injury!
Components inside the appliance may have sharp
edges.
▶
Wear protective gloves.
1.
Tilt the transport lock slightly upwards and carefully
pull it upwards and out at an angle.
2.
Remove polystyrene residues from the interior of the
appliance.
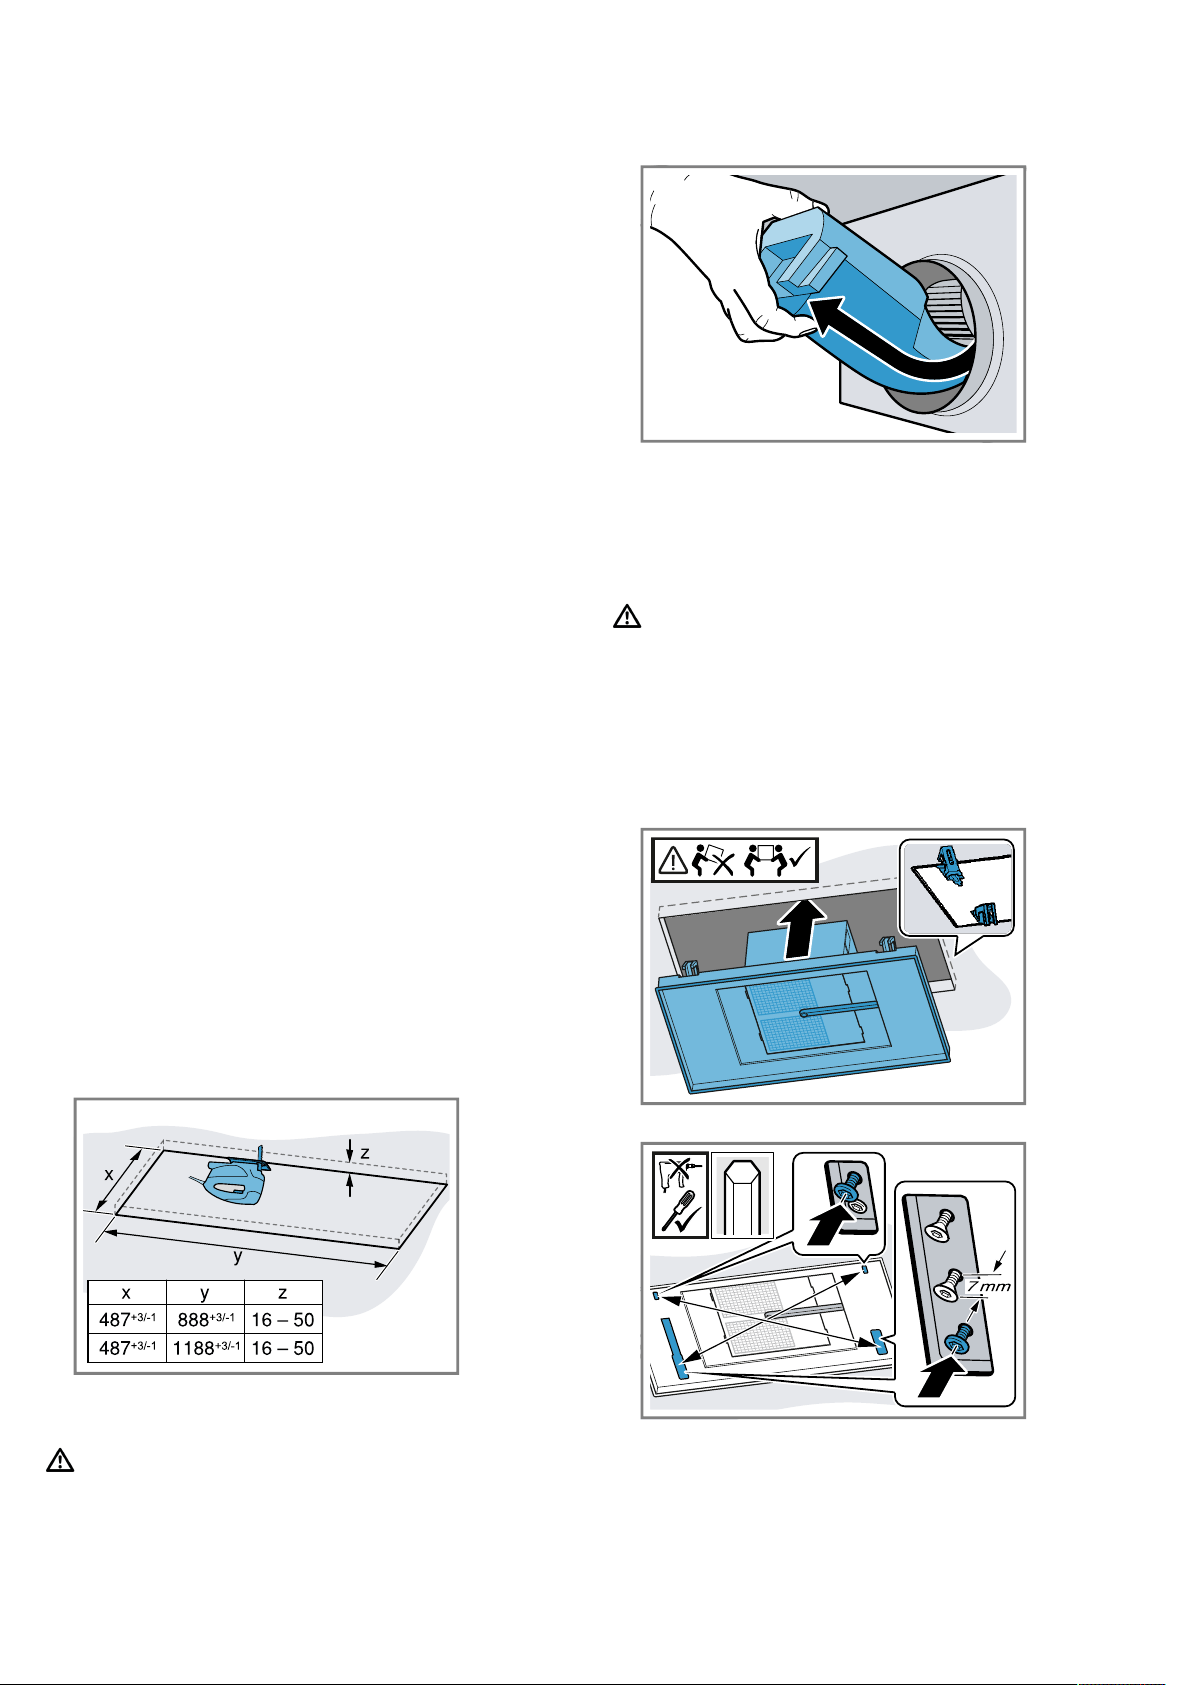
3.
Remove the grease filters.
To avoid causing damage, do not bend the grease
filters.
Installing the appliance
WARNING‒Risk of injury!
Components inside the appliance may have sharp
edges.
▶
Wear protective gloves.
The appliance is heavy.
▶
To move the appliance, twopeople are required.
▶
Use only suitable tools and equipment.
1.
Insert the appliance into the cut-out until you hear
the mounting brackets engage.
2.
Carefully screw in diagonally opposite screws.
5
Tighten the screws one at a time so that the appli-
ance is not wedged in the cut-out.
3.
Note:To ensure that the appliance is not damaged,
do not overtighten the screws.
Carefully tighten screws in succession until the ap-
pliance is flush-mounted on the ceiling.
Loading ...
Loading ...
Loading ...