Loading ...
Loading ...
Loading ...
8
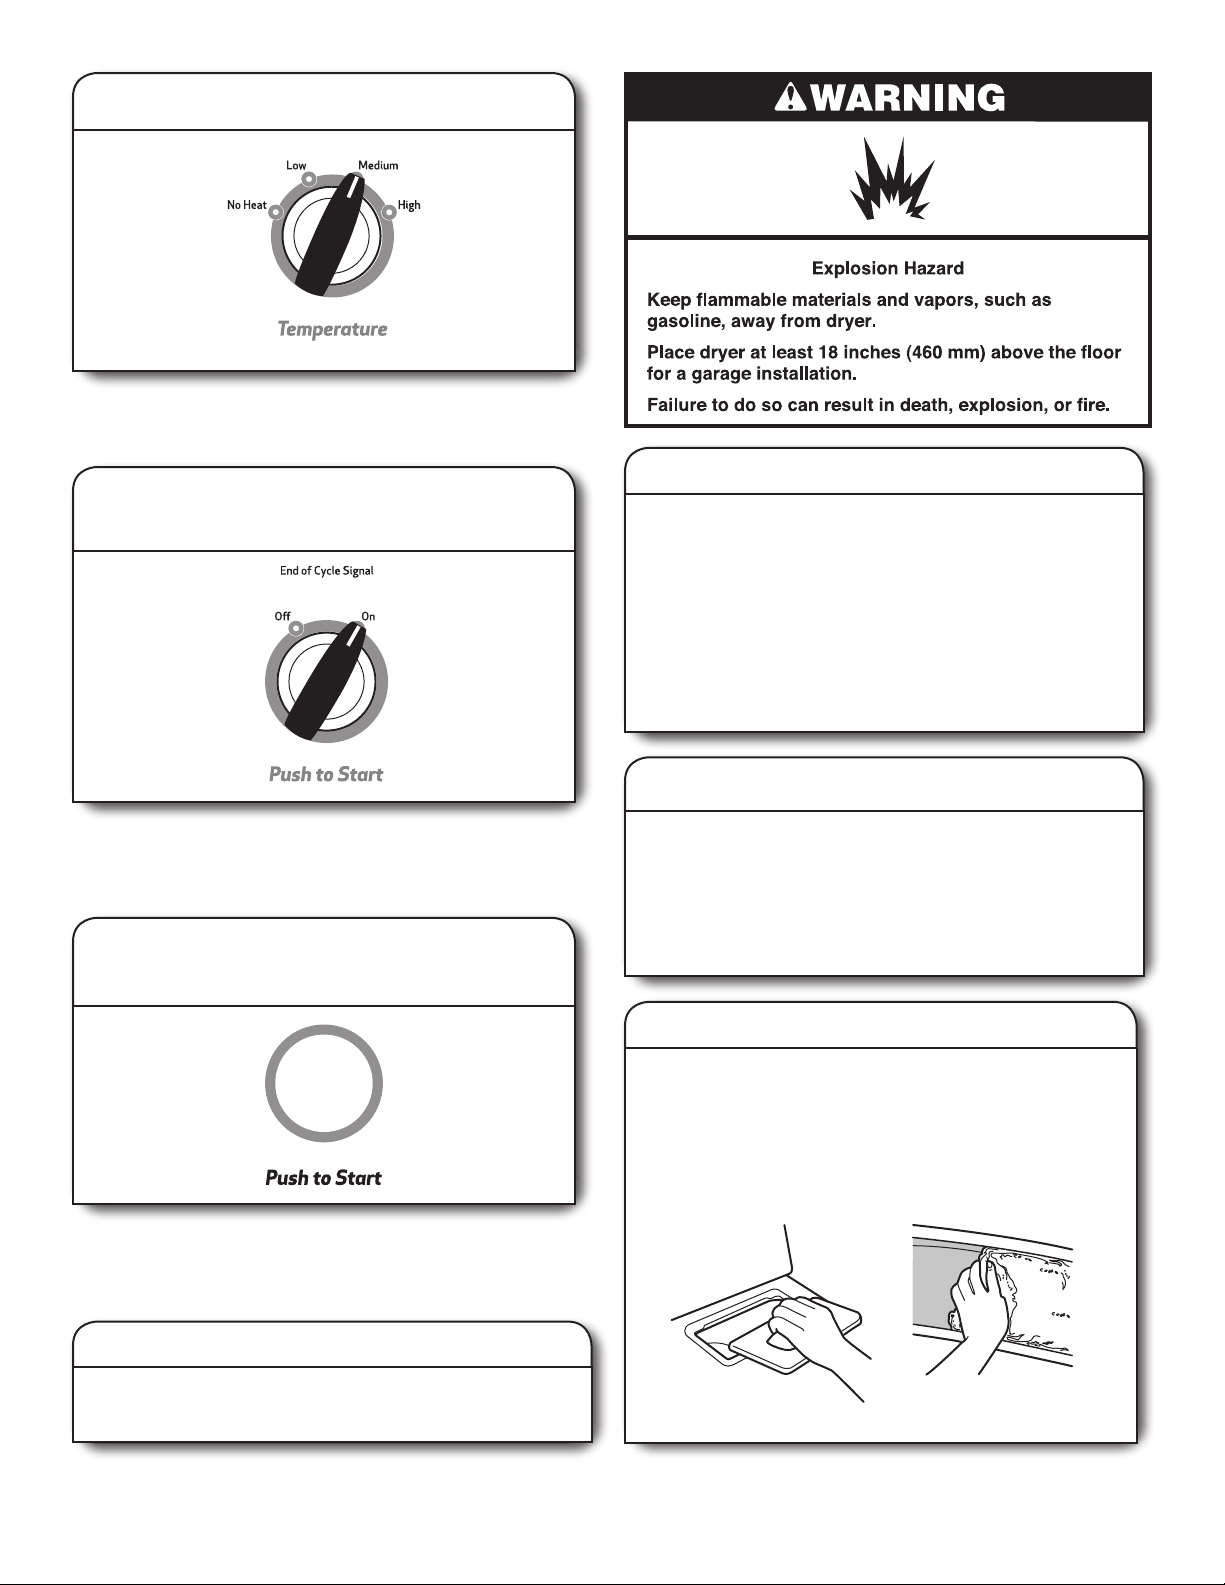
6. Press PUSH TO START to begin
cycle (appearance may vary)
Push and hold the PUSH TO START knob to begin the cycle.
4. Set cycle settings and options
Select cycle settings and options by turning the knob to the
desired position.
NOTE: Not all options and settings are available with all cycles.
5. Select End of Cycle Signal
(depending on model)
Turn the END OF CYCLE SIGNAL knob to select the desired
setting (On or Off). The End of Cycle Signal produces an
audible sound when the drying cycle is nished. Promptly
removing clothes at the end of the cycle reduces wrinkling.
Dryer Care
Keep dryer area clear and free from items that would
block the air ow for proper dryer operation. This includes
clearing piles of laundry in front of the dryer.
CLEANING THE DRYER INTERIOR
To clean dryer drum
1. Apply a liquid, nonammable household cleaner to the
stained area of the drum and rub with a soft cloth until
stain is removed.
2. Wipe drum thoroughly with a damp cloth.
3. Tumble a load of clean cloths or towels to dry the drum.
NOTE: Garments that contain loose dyes, such as denim
blue jeans or brightly colored cotton items, may discolor the
dryer interior. These stains are not harmful to your dryer and
will not stain future loads of clothes. Dry these items inside
out to avoid drum staining.
REMOVING ACCUMULATED LINT
From inside the dryer cabinet
Lint should be removed every 2 years, or more often,
depending on dryer usage. Cleaning should be done
by a qualied servicer.
From the exhaust vent
Lint should be removed every 2 years, or more often,
depending on dryer usage.
CLEANING THE DRYER LOCATION
CLEANING THE LINT SCREEN
Every load cleaning
The lint screen is located in the dryer. A screen blocked
by lint can increase drying time.
To clean:
1. Pull the lint screen out of its holder. Roll lint off the
screen with your ngers. Do not rinse or wash screen
to remove lint. Wet lint is hard to remove.
2. Push the lint screen rmly back into place.
Loading ...
Loading ...
Loading ...