Loading ...
Loading ...
Loading ...
7
Door Closing and Alignment
Door Closing
NOTE: There are 4 bolts located in the crisper. These are the
leveling legs.
If your refrigerator seems unsteady or you want the doors to close
more easily, adjust the refrigerator’s tilt using these instructions.
1. Screw the legs all the way into the bolt holes in the bottom
corners of the refrigerator.
2. Move the refrigerator into its final location.
3. Lower the legs enough to lift the cabinet off the floor.
4. Adjust the legs to level the refrigerator:
■ Turn the leveling leg to the right to lower that side of the
refrigerator.
■ Turn the leveling leg to the left to raise that side of the
refrigerator.
5. Check with a level.
6. Open and close both doors to make sure they swing properly.
If the doors do not close on their own, you will need to raise
the front of the refrigerator so it is slightly higher than the
back. To do this, turn the front leveling screws clockwise
¹⁄₂ turn.
IMPORTANT: Be sure to turn both legs an equal amount, or
the refrigerator will no longer be level side to side.
7. Open the doors and check that they close automatically.
If not, repeat steps 5 and 6.
8. Using a level, check to see whether the refrigerator is still level
side-to-side. Readjust if necessary.
Door Alignment
If the space between your doors looks uneven, you can adjust it
using the instructions below.
1. Pry off the top hinge cover.
2. Loosen the top hinge screws using a ⁵⁄₁₆" socket or wrench.
3. Have someone hold the door in place or put a spacer between
the doors while you tighten the top hinge screws.
4. Replace the top hinge cover.
REFRIGERATOR USE
Using the Control
When you plug in the refrigerator for the first time, set the
Temperature Control to MEDIUM. Temperature Control
adjustments range from MINIMUM (warmest) to MAXIMUM
(coldest).
IMPORTANT:
■ Turning the Temperature Control to OFF stops cooling in the
refrigerator and freezer compartments, but it does not
disconnect the refrigerator from the power supply.
■ The Temperature Control regulates the temperature in both
the refrigerator and freezer compartments. Settings to the left
of the mid-setting make the temperature less cold. Settings to
the right of the mid-setting make the temperature colder.
■ Wait 24 hours before you put food into your refrigerator. If you
add food before the refrigerator has cooled completely, your
food may spoil.
NOTE: Adjusting the Temperature Control to a higher (colder)
setting will not cool the compartments any faster.
■ The mid-settings should be correct for normal household
usage. The controls are set correctly when milk or juice is as
cold as you like and when ice cream is firm.
■ If the temperature is too warm or too cold in the refrigerator or
freezer, before adjusting the controls, first make sure the air
vents are not blocked.
Adjusting Controls
NOTE: Wait at least 24 hours between adjustments and then
recheck the temperatures.
Ice Maker
(on some models - Accessory)
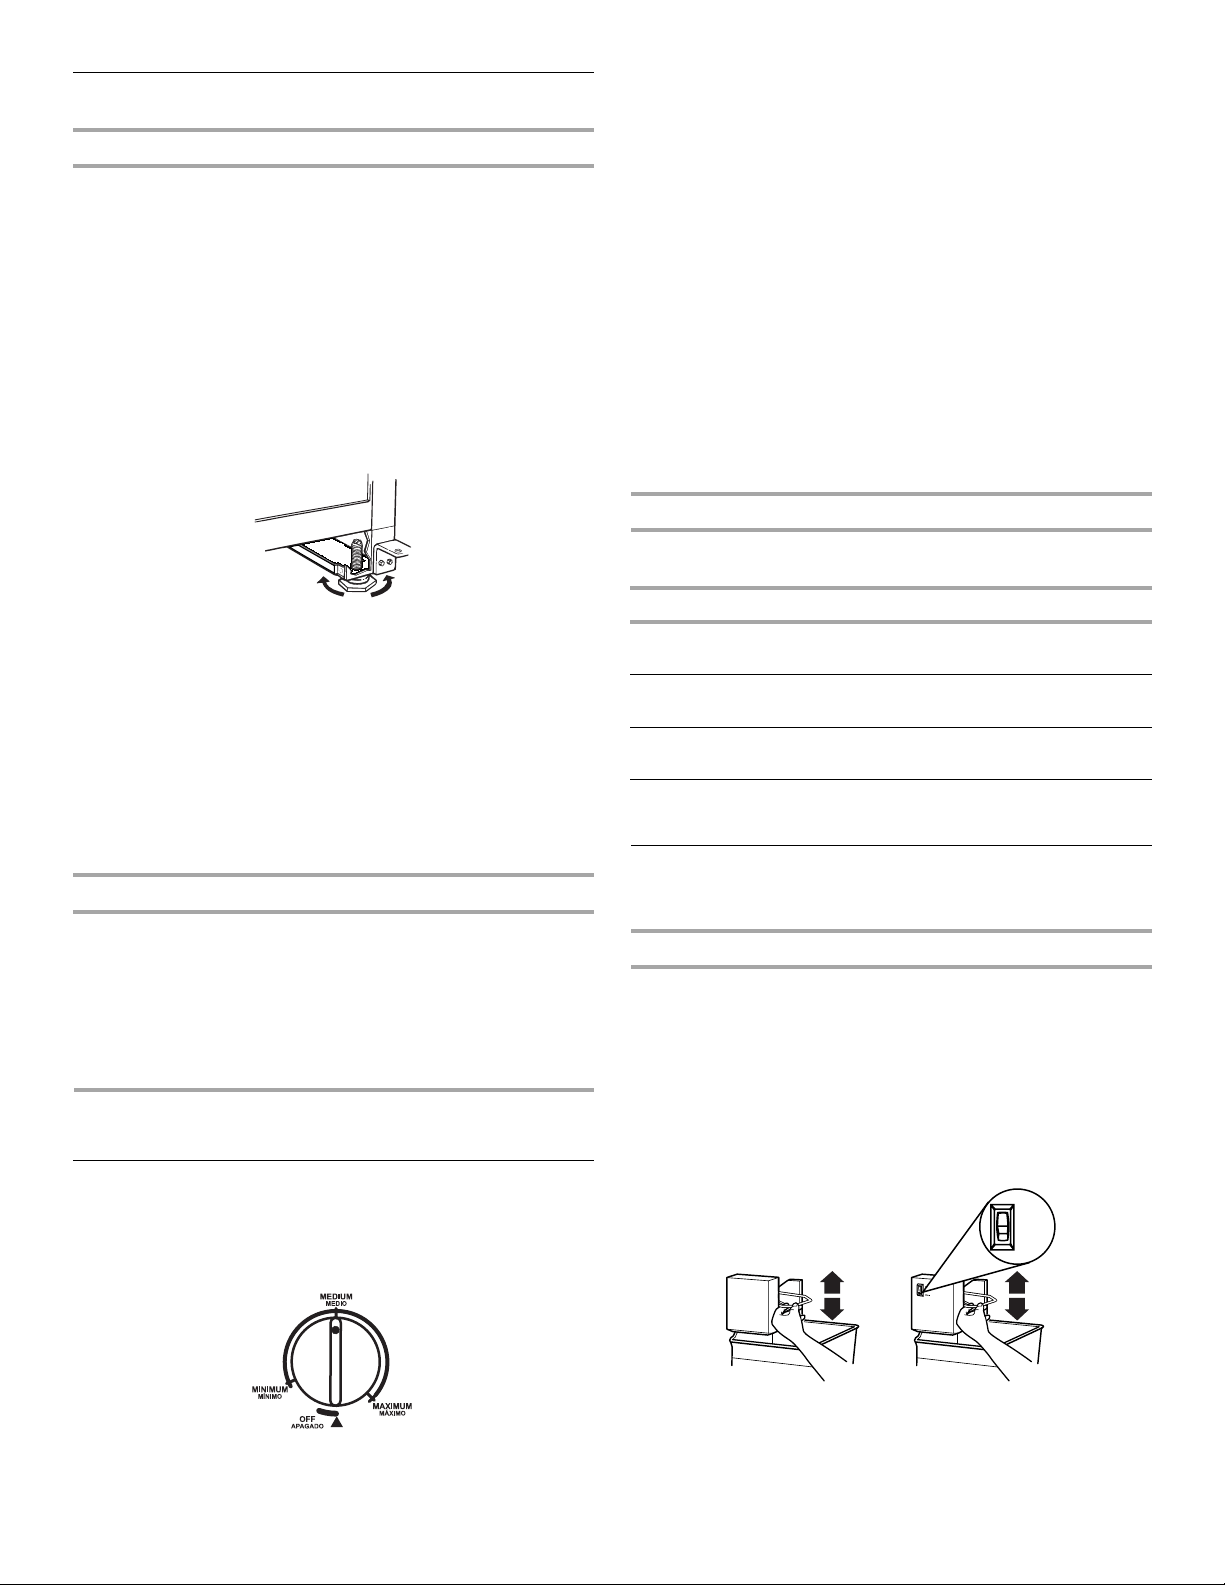
Turning the Ice Maker On/Off
NOTE: Do not force the wire shutoff arm up or down.
■ To turn the ice maker on, simply lower the wire shutoff arm.
NOTE: Your ice maker has an automatic shutoff. As ice is
made, the ice cubes will fill the ice storage bin and the ice
cubes will raise the wire shutoff arm to the OFF (arm up)
position.
■ To manually turn the ice maker off, lift the wire shutoff arm to
the OFF (arm up) position and listen for the click to make sure
the ice maker will not continue to operate.
CONDITION/REASON: ADJUSTMENT:
REFRIGERATOR too warm Temperature Control
one setting higher
FREEZER too warm/too little ice Temperature Control
one setting higher
REFRIGERATOR too cold Temperature Control
one setting lower
FREEZER too cold Temperature Control
one setting lower
MAX
NORMAL
Loading ...
Loading ...
Loading ...