Loading ...
Loading ...
Loading ...
6
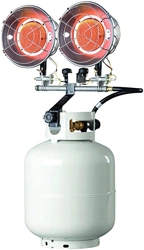
Mr. Heater | Gas-Fired Infra-Red Tank Top Heater Operating Instructions and OwnerÊs Manual
LIGHTING INSTRUCTIONS
A. Before attempting to light the heater, check all fittings and
connections with a soap solution. NEVER USE A MATCH TO
CHECK FOR LEAKS. Should a gas leak occur, do not attempt
to repair or use heater. Return the heater to your dealer or the
address given on back page.
B. Fuel – This heater must be used only with a vapor withdrawal
LP gas bulk cylinder. THE BULK TANK MUST BE EQUIPPED
WITH A STANDARD POL VALVE.
WARNING
USE HD.5 PROPANE GAS ONLY. DO NOT USE ANY OTHER
TYPE FUEL. SEE YOUR PROPANE DEALER IF YOU HAVE ANY
QUESTIONS REGARDING FUEL.
C. Turn the heaterÊs „Hi-Med-Lo-Off‰ regulator knob to „Med‰
(counterclockwise).
D. To light the MH15TS, press the Safety Shutoff Valve. While
holding the Safety Shutoff Valve button, immediately press
the „Sparklite‰ ignition button (repeat until heater lights).
After the heater is lit, continue to hold the Safety Shutoff
Valve for 30 seconds, then release the button.
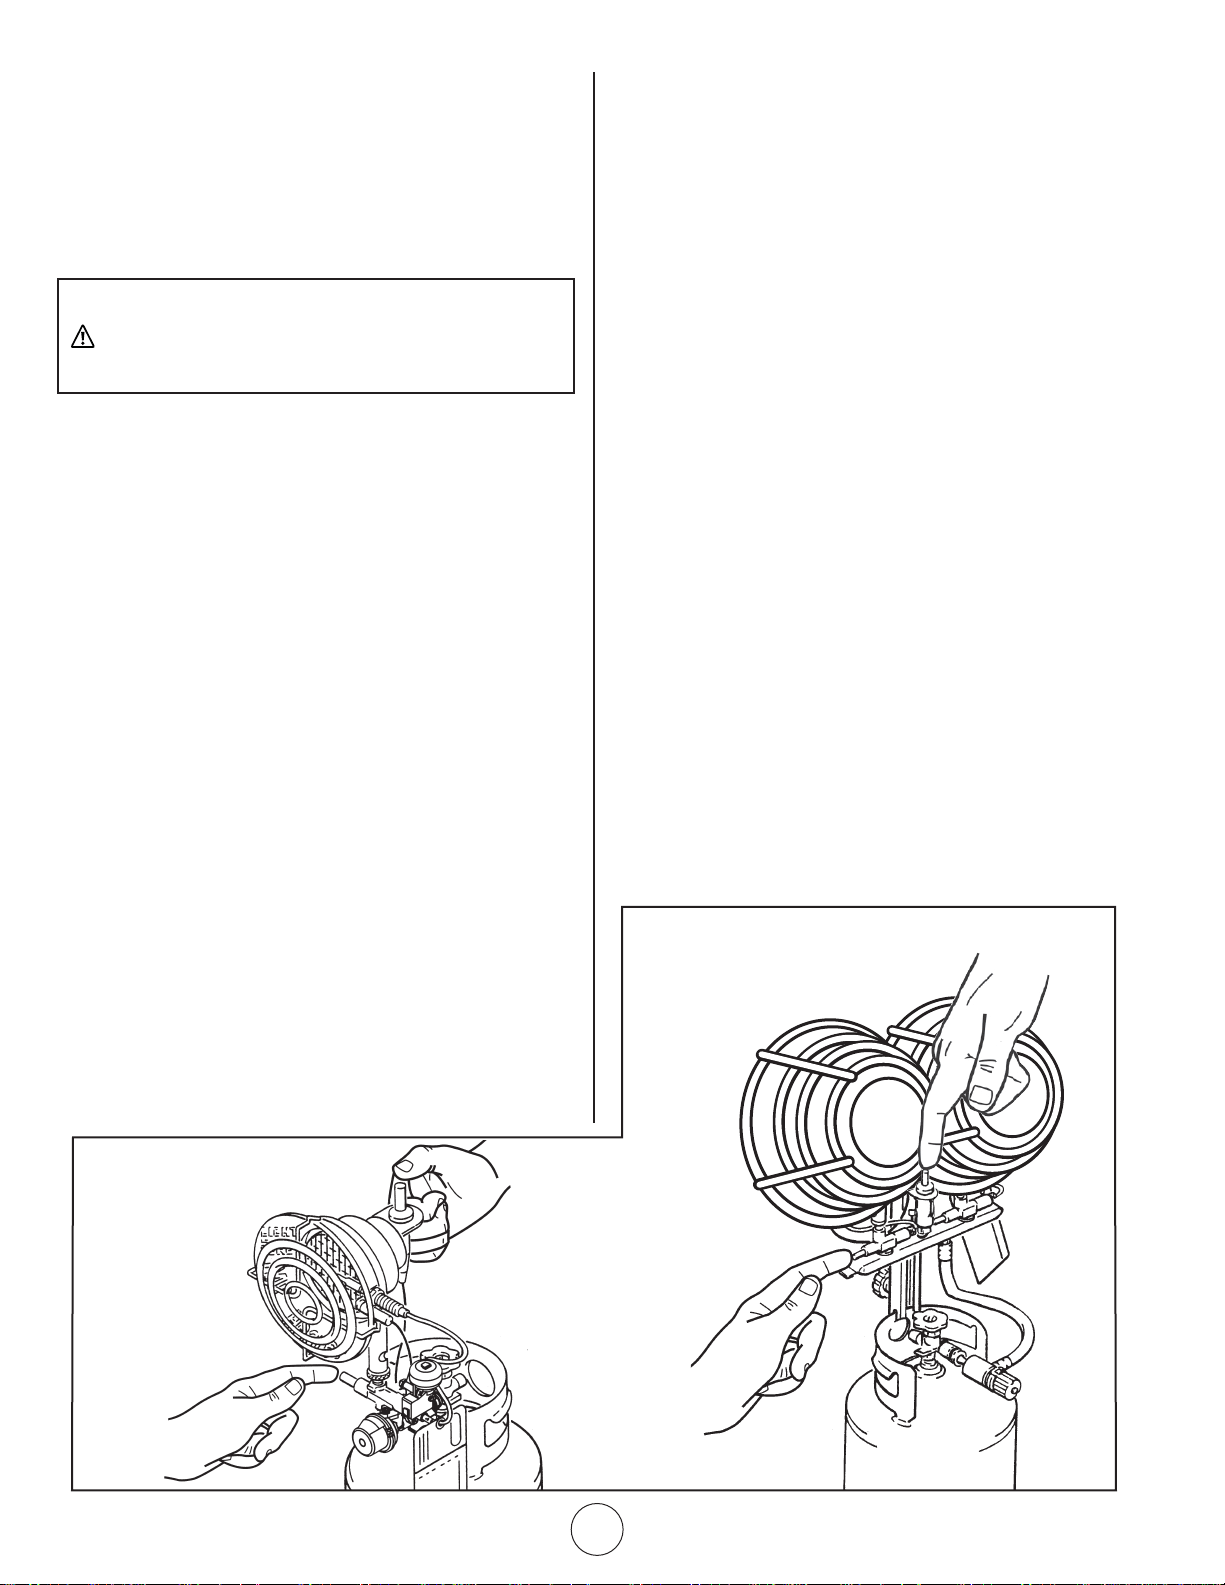
OPTIONAL LIGHTING: To light heater, place a lit match
across the mesh screen where you see „light here‰ on the
reflector. (See Figure 5) THEN push in valve button on Safety
Shutoff Valve. After the heater is lit, continue to hold valve
button in for 30 seconds, then release the button slowly.
CAUTION: DO NOT PUSH IN VALVE BUTTON BEFORE
INSERTING LIT MATCH. NEVER STAND IN FRONT OF HEATER
WHILE LIGHTING. REPEAT STEP „D‰ FOR EACH BURNER
E. To light a burner, MH30TS Model, push in valve button on
Safety Shutoff Valve and at the same time push down on
„Sparklite‰ Igniter button. Repeat push down of „Sparklite‰
Igniter button until burner ignites After burner is lit, continue
to hold valve button in for 30 second, then release the button
slowly. Repeat step „E‰ for each burner of the MH30TS
Heater. (See Figure 6)
F. If burner does not light within 30 seconds, turn the heaterÊs
regulator knob to „off‰ (clockwise) and allow at least five
minutes for gas to dissipate before attempting to relight.
G. NOTE: Should the orifice become clogged as indicated by low
volume of gas when operating on „Hi‰ with a full cylinder,
or should the heater fail to operate properly for any reason,
return the heater to the dealer or the address given on back
page for repair or replacement. DO NOT ATTEMPT TO REPAIR
OR TAMPER WITH HEATER.
H. Adjust heat output by turning knob to desired position.
I. DO NOT USE THIS HEATER FOR COOKING.
Figure 5
SHUTDOWN AND STORAGE
INSTRUCTIONS
A. The bulk propane tank „on-off‰ valve should ALWAYS be
completely turned „OFF‰ when the heater is not in use.
B. When shutting off the heater, turn the regulator knob on the
heater to „OFF‰ (clockwise).
C. CAUTION: After turning unit off, heater will remain extremely
hot. Allow at least 15 minutes for cooling before handling and
storing. Detach heater from bulk tank before handling and
storage. REMEMBER – POL fitting is a left-hand thread.
D. HEATER STORAGE: Indoor storage of the heater is
permissible only if the cylinder is disconnected and removed
from the heater. Cylinders must be stored outdoors out of the
reach of children and must not be stored in a building, garage
or any other enclosed area. Store cylinders only in accordance
with the Standard for the Storage and Handling of Liquefied
Petroleum Gases ANSI/NFPA 58 and CSA B149.1, Natural Gas
and Petroleum Installation Code.
E. See page 7 for spare parts list.
MAINTENANCE
A. Remove thermocouple (3) retaining bracket screw from back
of burner assembly (2). Remove bracket.
B. Note position of thermocouple (3) in retaining tabs on the
back of the Burner assembly (2). Remove the thermocouple.
C. Remove wing bolt (18) and fiber washer (19) that attached
the safety shut-off (6) to the burner Assembly (2).
D. Slide the safety shut-off (6) from burner assembly (2).
E. Remove burner orifice (20) from the safety shut-off (6).
F. Clean burner orifice with compressed air (80 psi max).
G. Direct compressed are through the burner(2) venturi tube
toward the burner plenum so that dust collected on the grid
screen will be blown outward. Keep face away from the grid
screen.
H. Reassemble heater in reverse order of disassembly.
Model: MH15TS
Model: MH30TS
Figure 6
Loading ...
Loading ...
Loading ...