Loading ...
Loading ...
Loading ...
3
Twist the contact points into the collar.
4
Tighten with the included wrench, but do not overtighten.
When you put the collar on the dog, make sure the contact
points are tight against the neck.
Fitting the Collar on Your Dog
CAUTION
To prevent irritation from the contact points, remove the collar
for at least eight hours out of every 24-hour period.
This device is not intended for human use. Do not attempt to
use on any person.
NOTICE
Before you put the collar on the dog, remove the charging clip. If
you do not remove the clip, it may become detached from the
collar and become lost.
In order to properly correct the dog, the collar and device must
fit the dog properly. If the collar is too loose or positioned
incorrectly, corrections may be inconsistent. This can delay or
prevent successful training.
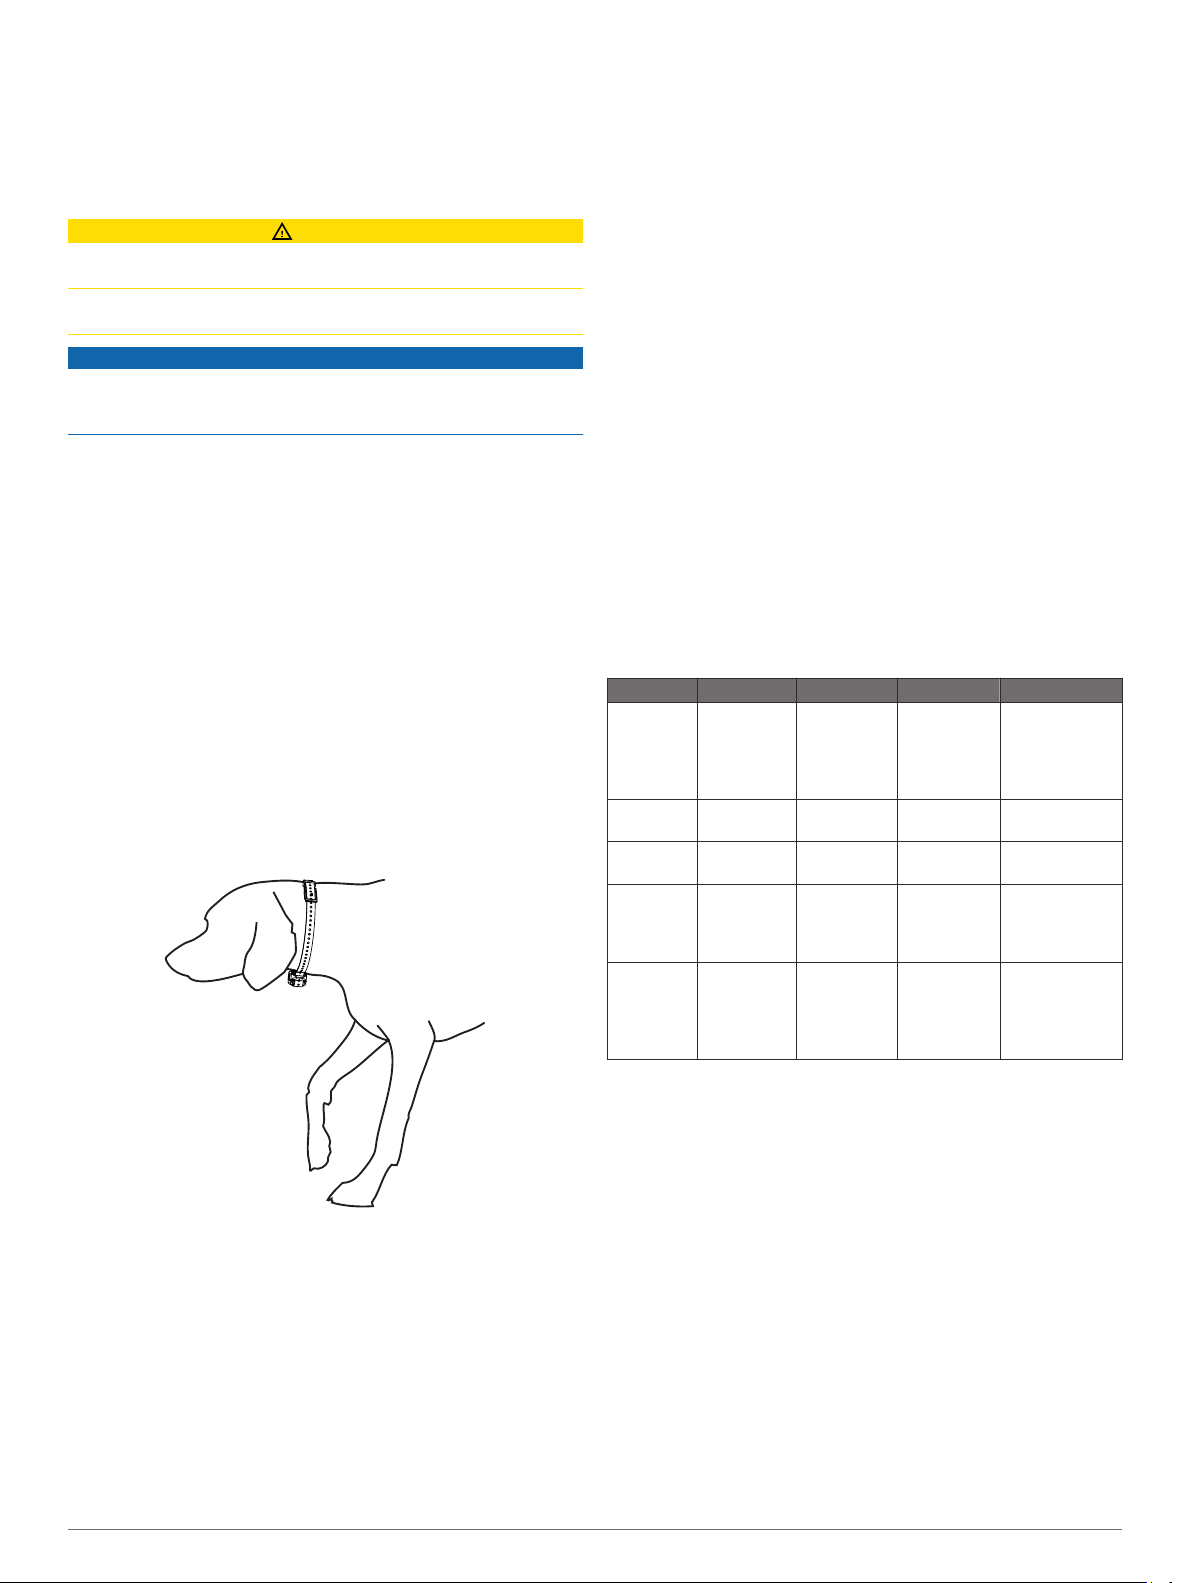
1
Place the collar around the middle of the dog's neck.
2
Position the device at the front of the dog's neck, with the
status LED facing toward the dog's chin and the contact
points against the throat.
TIP: For bark correction, the device contact points should be
positioned near the dog's vocal cords. This location varies
based on the breed of dog. If the device does not seem to
detect the dog's barks, you should move the device closer to
or farther from the dog's body to find the ideal location.
3
Tighten the strap so that it is very snug around the dog's
neck, and fasten the buckle.
NOTE: The collar should fit tightly and should not be able to
rotate or slide on the dog's neck. The dog must be able to
swallow food and water normally. You should observe your
dog's behavior to verify that the collar is not too tight.
4
Wiggle the device to work the contact points through the
dog's coat.
NOTE: The contact points must have contact with the dog's
skin to be effective.
5
If the strap is too long, cut off the excess, leaving at least
3 in. (8 cm) to spare.
TIP: You can mark the hole used to fasten the buckle for
future reference.
Training Intensities and Methods
You can use several methods to train your dog. The Delta XC
system provides 18 stimulation intensity levels, which increase
sequentially from 1 to 18.
Momentary stimulation: Applies a brief stimulation when you
press the training key, regardless of how long the key is
depressed.
Continuous stimulation: Applies stimulation to the dog the
entire time you press the training key, for a maximum of 8
seconds. Your stimulations should typically be much shorter
than 8 seconds.
Tone: Activates an audible tone the entire time you press the
training key, for a maximum of 8 seconds. A tone can be
used as either a positive or negative training cue, depending
on your training program.
Vibration: Applies vibration instead of stimulation to the dog the
entire time you press the training key, for a maximum of 8
seconds. The effectiveness of vibration may vary based on
the dog's temperament and experience.
Training Modes
The Delta XC system provides several training modes, which
assign different combinations of momentary stimulation,
continuous stimulation, tone, and vibration to the training keys
(Training Intensities and Methods). The three vertical letters on
the LCD display correspond to the training key functions, from
top to bottom. Training keys that activate a stimulation are
designated as high or low.
Mode Top Key Middle Key Bottom Key Description
TVM Tone Vibration Momentary
(low)
Beginning
trainer,
sensitive dog,
or minor
corrections
VCM Vibration Continuous
(high)
Momentary
(high)
All-around
training
TCM Tone Continuous
(high)
Momentary
(high)
All-around
training
CMM
(Delta
Sport XC
only)
Continuous
(high)
Momentary
(high)
Momentary
(low)
Advanced
training,
popular for bird-
dog training
MCC
(Delta
Sport XC
only)
Momentary
(high)
Continuous
(high)
Continuous
(low)
Advanced
training,
popular for
obedience
training
Selecting a Training Mode
You can select a different training mode for each dog collar
device.
1
Select a dog collar device (Selecting a Dog Collar Device).
2
Select MODE to toggle through the available training modes.
Choosing the Correct Intensity Level
1
Set the intensity to the lowest level (Changing the Intensity
Level).
2
Press a training key.
3
Observe the dog for a reaction, such as a head shake, neck
movement, or just a change in expression.
Sometimes dogs will vocalize due to the surprise of the
electrical stimulation. If the dog vocalizes more than once,
the intensity level is too high for beginning training.
4
If there is no reaction, increase the intensity level by one level
until the dog has a slight but recognizable reaction to the
stimulation.
Dog Training 3
Loading ...
Loading ...
Loading ...