Loading ...
Loading ...
Loading ...
8 INSTALLATION
8.1 UNPACK THE MACHINE
WARNING
It is not necessary to assemble the machine.
• If the parts have damage, do not use the machine.
• If you do not have all the parts, do not operate the
machine.
• If the parts are damaged or missing, speak to the service
center.
1. Open the package.
2. Read the documentation in the box.
3. Remove the machine from the box.
4. Discard the box and package in compliance with local
regulations.
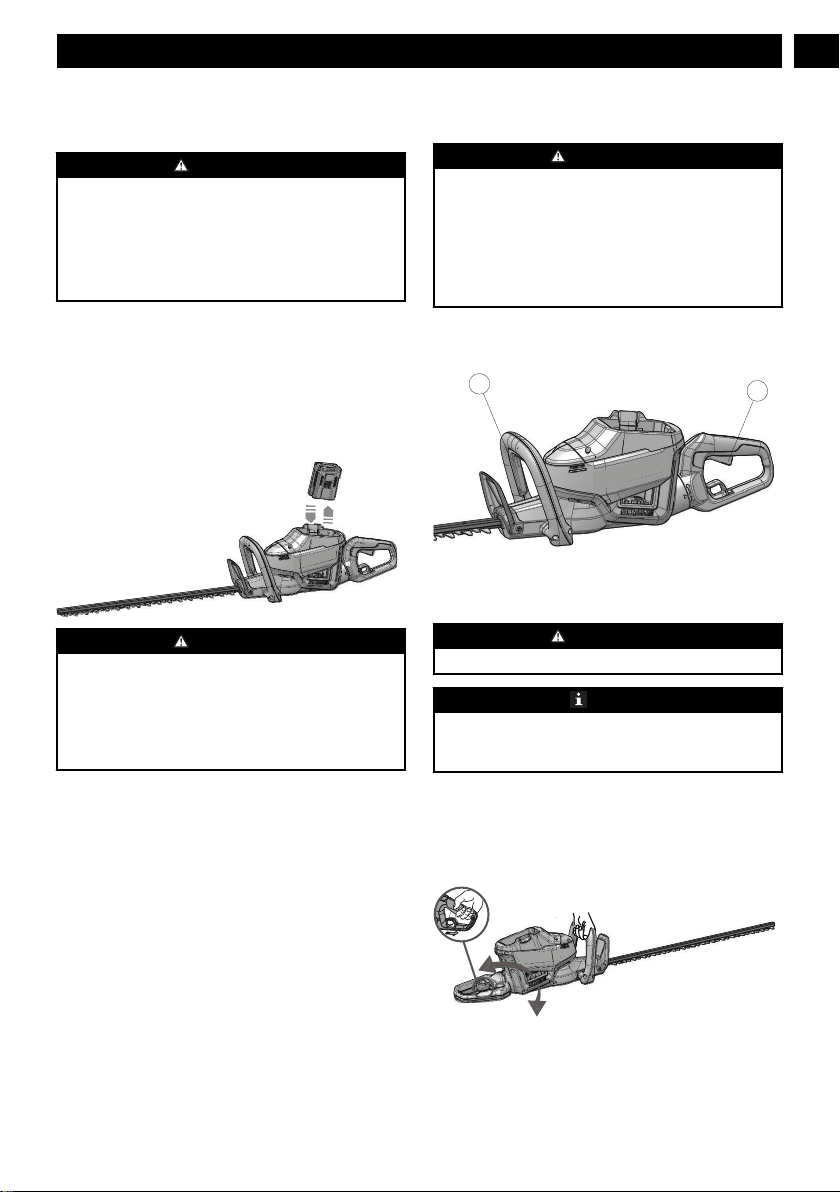
8.1.1 INSTALL THE BATTERY PACK
WARNING
• If the battery pack or charger is damaged, replace the
battery pack or the charger.
• Stop the machine and wait until the motor stops before
you install or remove the battery pack.
• Read, know, and do the instructions in the battery and
charger manual.
1. Align the lift ribs on the battery pack with the grooves in
the battery compartment.
2. Push the battery pack into the battery compartment until
the battery pack locks into place.
3. When you hear a click, the battery pack is installed.
8.1.2 REMOVE THE BATTERY PACK
1. Push and hold the battery release button.
2. Remove the battery pack from the machine.
9 OPERATION
• Do not put your fingers into the notches or in position
where they can get cut.
• Do not touch the blade unless you remove the battery
pack.
• Do not use the machine if the blade is damaged or bent.
• Remove all objects such as cords, lights, wire, or string
which can become entangled in the cutting blade and
create a risk of personal injury.
WARNING
If the blade jams on an electrical cord or line, DO NOT
TOUCH THE BLADE! IT CAN BE LIVE AND
DANGEROUS. Do the steps below:
1. Hold the insulated rear handle or put the machine down
and away from you.
2. Disconnect the electrically service to the damaged line
or cord before you try to free the blade.
9.1 START THE MACHINE
1. Push and hold the micro switch with one hand.
2. Push the trigger .
WARNING
Hold the machine with hands during operation.
NOTE
If the machine accidentally falls,it will stop and the blade
will fully stop after a few seconds. The machine will then
locks OFF.
9.2 STOP THE MACHINE
1. Release the trigger to stop the machine.
9.3 TURN THE REAR HANDLE
You can use the rotating button to adjust the rear handle to
different positions to cut the hedges easier.
1. Pull the rotating button and turn the rear handle.
7
English
EN
Loading ...
Loading ...
Loading ...