Loading ...
Loading ...
Loading ...
4
Door Air Control
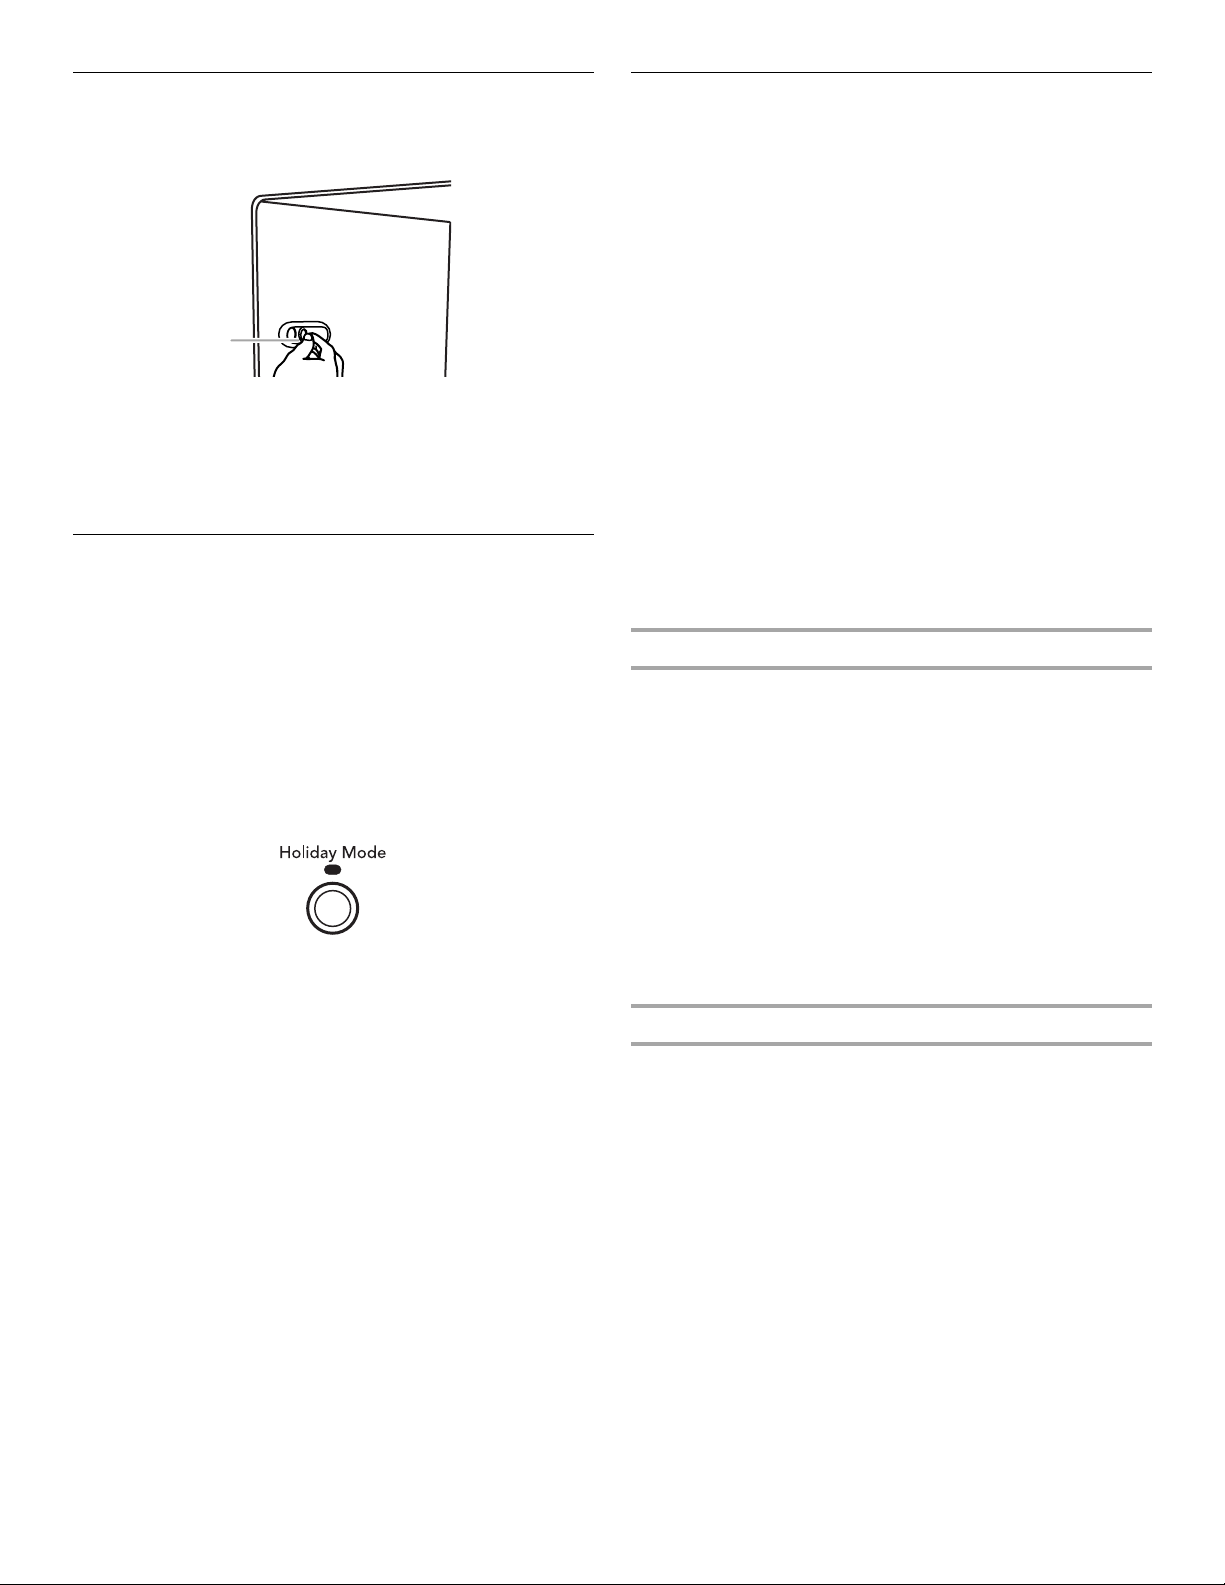
The door air control is located on the left-hand side of the
refrigerator compartment.
■ Slide the door air control to the left to reduce the flow of cold
air to the bin or can rack and make it less cold.
■ Slide the door air control to the right to increase the flow of
cold air to the bin or can rack and make it colder.
Holiday Mode
Holiday Mode is designed for those whose religious observances
require turning off the lights and dispensers.
To fully activate Holiday Mode, you must follow the instructions
below for both the control and dispenser panels.
IMPORTANT: If you do not activate Holiday Mode in both ways
listed below, some functions you wish to disable will remain
active.
Control Panel
In Holiday Mode, the temperature set points remain unchanged
and the interior lights turn off.
■ Press HOLIDAY MODE to turn on Holiday Mode.
■ Press HOLIDAY MODE again to turn Holiday Mode off.
Dispenser Panel
In Holiday Mode, the dispenser levers are disabled and the
dispenser lights turn off.
■ To turn on Holiday Mode, press and hold ICE, LIGHT and
LOCKOUT at the same time for 3 seconds. When the feature
turns on, the indicator light around the LOCKOUT button will
blink and “HOL” will appear on the dispenser display.
■ To turn Holiday Mode off, press and hold ICE, LIGHT and
LOCKOUT at the same time for 3 seconds again.
Water and Ice Dispensers
(on some models)
Depending on your model, your water and ice dispensers may
have one or more of the following features: a water level indicator
in the dispenser tray, a special light that turns on when you use
the dispenser, or a lock option to avoid unintentional dispensing.
NOTES:
■ The dispensing system will not operate when the freezer door
is open.
■ After connecting the refrigerator to a water source, flush the
water system. Use a sturdy container to depress and hold the
water dispenser lever for 5 seconds, then release it for
5 seconds. Repeat until water begins to flow. Once water
begins to flow, continue depressing and releasing the
dispenser lever (5 seconds on, 5 seconds off) for an
additional 2 minutes. This will flush air from the filter and
water dispensing system. Additional flushing may be required
in some households. As air is cleared from the system, water
may spurt out of the dispenser.
■ Allow 24 hours for the refrigerator to cool down and chill
water.
■ Allow 24 hours to produce the first batch of ice. Discard the
first three batches of ice produced.
The Water Dispenser
IMPORTANT: Dispense enough water every week to maintain a
fresh supply.
To Dispense Water:
1. Press a sturdy glass against the water dispenser pad.
NOTES:
■ While dispensing water and for 3 seconds after
dispensing has stopped, the digital display will show how
many ounces of water have been dispensed.
■ To switch from ounces to cups, press and hold ICE and
LOCKOUT at the same time until the dispenser beeps
after 3 seconds. To switch from cups to liters, press and
hold the buttons for another 3 seconds. To switch back to
ounces, repeat the process a third time.
2. Remove the glass to stop dispensing.
The Ice Dispenser
Ice dispenses from the ice maker storage bin in the freezer when
the dispenser pad is pressed. The dispensing system will not
operate when the freezer door is open. To turn off the ice maker,
see “Ice Maker & Storage Bin.”
Your ice maker can produce both crushed and cubed ice. The
display screen reads “CRUSHED” or “CUBED,” indicating which
type is selected. To change the setting, press the ICE button
before dispensing ice.
For crushed ice, cubes are crushed before being dispensed. This
may cause a slight delay when dispensing crushed ice. Noise
from the ice crusher is normal, and pieces of ice may vary in size.
When changing from crushed to cubed, a few ounces of crushed
ice will be dispensed along with the first cubes.
A. Door air control
A
Loading ...
Loading ...
Loading ...