Loading ...
Loading ...
Loading ...
17
■ Wash small items, such as infant socks, in a mesh garment
bag. To create a balanced load it is recommended that more
than one garment bag be used, and that each garment bag be
filled with equal amounts of material.
NOTE: If
you are washing only small items, it is recommended
that more than one mesh garment bag be used, and that each
garment bag be filled with equal amounts of material.
Sorting
■ Separate heavily soiled items from lightly soiled ones, even if
they would normally be washed together. Separate lint-givers
(towels, chenille) from lint-takers (corduroy, synthetics,
permanent press). When possible, turn lint-givers inside out.
■ Separate dark colors from light colors, colorfast items from
noncolorfast items.
■ Sort by fabric and construction (sturdy cottons, knits, delicate
items).
Unloading
■ Remove clothes from washer after the cycle is completed.
Metal objects such as zippers, snaps, and buckles may rust if
left in the washer basket for a long time.
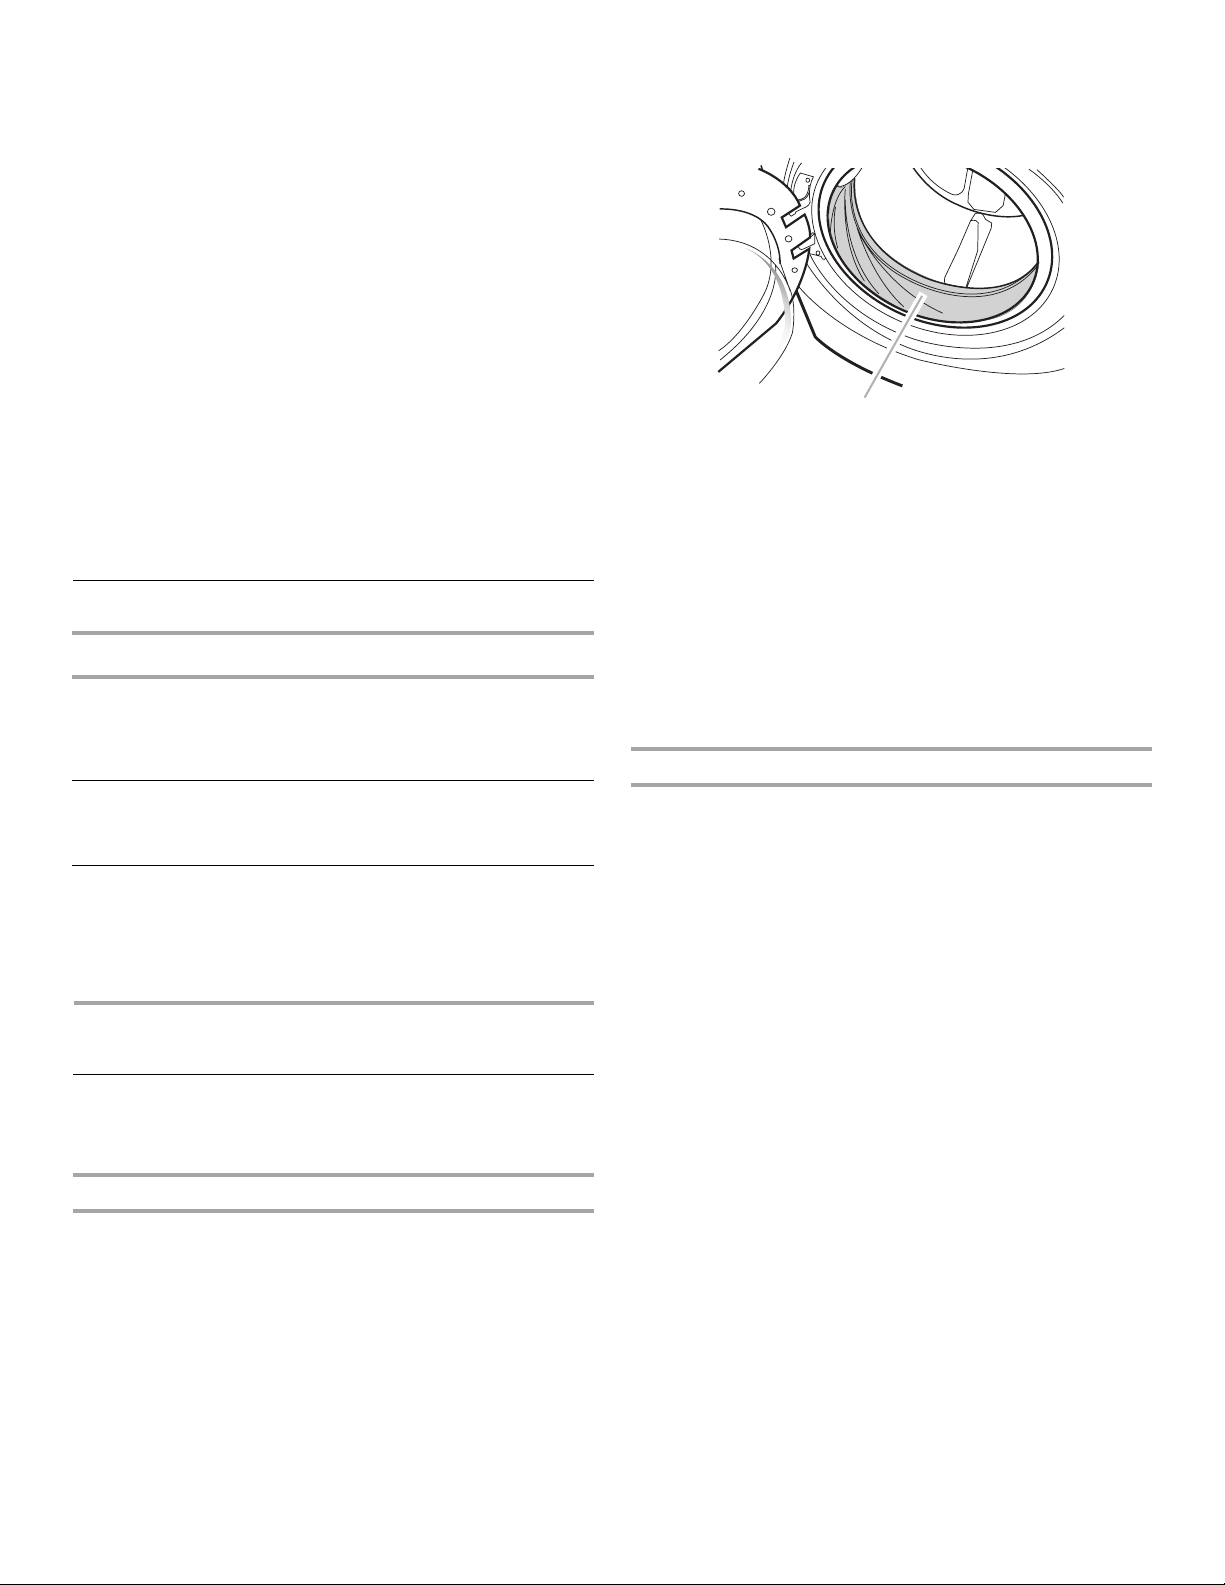
■ When unloading garments, occasionally check under the gray
colored seal at the front of the tub for small items.
Loading
Loading suggestions
Heavy Work Clothes
4jeans
4workpants
4workshirts
2 sweatpants
2 sweatshirts
Towels
10 bath towels
10 hand towels
14 washcloths
Mixed Load
3 sheets (1 king, 2 twin)
4 pillowcases
3shirts
3blouses
9T-shirts
9shorts
10 handkerchiefs
WASHER CARE
Cleaning Your Washer
The Washer Maintenance Procedure should be performed on a
monthly basis.
Cleaning the door seal
1. Open the washer door and remove any clothing or items from
the washer.
2. Inspe
ct the gray colored seal between the door opening and
the basket for stained areas. Pull back the seal to inspect all
areas under the seal and to check for foreign objects.
A
A. Seal
3. If stained areas are found, wipe down these areas of the seal,
using the procedure that follows.
a) Mi
x a dilute solution, using
3
/4 cup (177 mL) of liquid
chlorine bleach, and 1 gal. (3.8 L) of warm tap water.
b) Wipe the
seal area with the dilute solution, using a damp
cloth.
c) Let stand 5 minutes.
d) Wipe
down area thoroughly with a dry cloth and let the
washer interior air dry with door open.
IMPORTANT:
■ Wear rubber gloves when cleaning for prolonged periods.
■ Refer to the bleach manufacturer’s instructions for proper use.
Washer Maintenance Procedure
This washer has a special cycle that uses higher water volumes
and steam, in combination with AFFRESH™ washer cleaner or
liquid chlorine bleach, to thoroughly clean the inside of the
washer.
NOTES:
■ Read these instructions completely before beginning the
cleaning process.
■ If necessary, the cleaning cycle may be interrupted by
pressing the Pause/Cancel button. However, this will not
immediately stop the cycle. The machine will display “int”
(interrupt) and continue with several rinse and drain steps to
ensure that all remaining bleach is rinsed from the washer.
Begin procedure
1. Open the washer door and remove any clothing or items from
the washer.
2. Using the AFFRESH™ washer cleaner (Recommended):
Add one AFFRESH™ washer cleaner table
t to the washer
drum.
If using liquid chlorine ble
ach:
Open the dispenser drawer and immediately add
2
/3 cup
(160 mL) of liquid chlorine bleach to th
e bleach compartment.
NOTE: D
o not add any detergent to this cycle. Use of more
than
2
/3 cup (160 mL) of bleach will cause product damage
over time.
3. Close the
washer door and dispenser drawer.
4. Select the CLEAN WASHER cycle.
5. Pr
ess START.
NOTE: T
he basket will rotate, then the door will unlock, lock
again, and then the cycle will continue.
■ The machine will bring in some inlet water, and the basket
will rotate while the washer runs a short sensing cycle.
This will take approximately 3 minutes.
Loading ...
Loading ...
Loading ...