Loading ...
Loading ...
Loading ...
10
Note
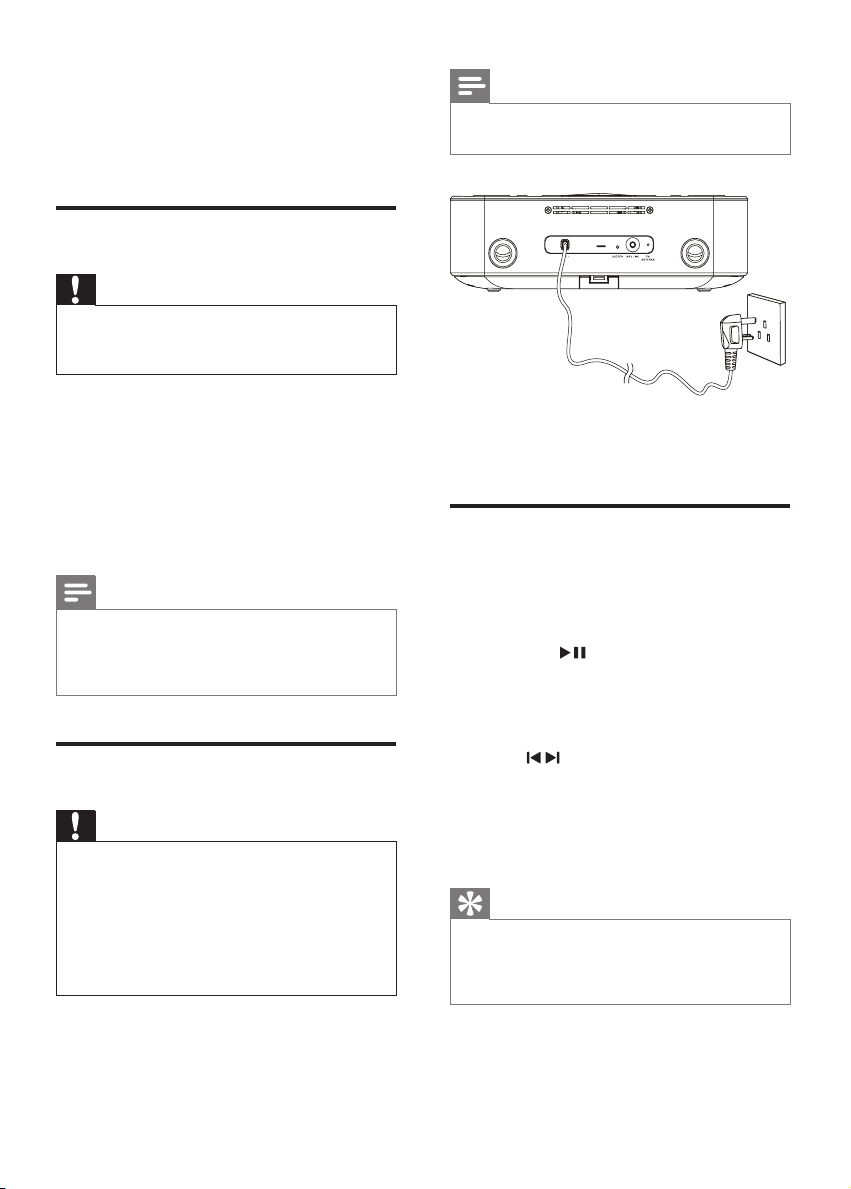
The type plate is located on the bottom of the •
main unit.
1 Connect the AC power cord to the wall
outlet.
Set time and date
1
In standby mode, press and hold SET
TIME/PROG for 2 seconds.
[24 HR] begins to blink. »
2 Press OK/ to select the 12/24 hour
format.
3 Press SET TIME/PROGtoconrm.
The hour digits begin to blink. »
4 Press / to set the hour.
5 Press SET TIME/PROGtoconrm.
The minute digits begin to blink. »
6 Repeat steps 4-5 to set the minute, year,
month, and day.
Tip
In 12 hour format, [MONTH--DAY] is •
displayed.
in 24 hour format, [DAY--MONTH] is
•
displayed.
1 Open the battery compartment.
2 Insert 2 x R6/UM-3/AA size batteries
with correct polarity (+/-) as indicated.
3 Close the battery compartment.
Prepare the remote control
Caution
Risk of explosion! Keep batteries away from •
heat,sunshineorre.Neverdiscardbatteries
inre.
For rst-time use:
1 Remove the protective tab to activate the
remote control battery.
2 Open the battery compartment.
3 Insert one lithium CR2025 battery with
correct polarity (+/-) as indicated.
4 Close the battery compartment.
Note
Before you press any function button on the •
remotecontrol,rstselectthecorrectsource
with the remote control instead of the main
unit.
Connect power
Caution
Risk of product damage! Ensure that the power •
voltage corresponds to the voltage printed on
the back or underside of the apparatus.
Risk of electric shock! When you unplug the
•
AC power cord, always pull the plug from the
socket. Never pull the cord.
Before connecting the AC power cord, ensure
•
you have completed all other connections.
EN
DC290_05_UM_V1.2_EN.indd 10 8/6/2010 2:58:44 PM
Loading ...
Loading ...
Loading ...