Loading ...
Loading ...
Loading ...
4 EN
2 Get started
(Optional) Install the webcam
software and driver
Note
To use the special features provided by Webcam •
Driver SPZ5000, Philips CamSuite, and Philips
Intelligent Agent, install the software in the
provided CD-ROM.
Before the installation of Philips CamSuite,
•
disconnect the webcam from the PC/notebook.
The software supplied only works on PCs with
the operating systems Microsoft® Windows®
XP (SP2 and higher), Vista, or Windows 7.
After the software installation, you can adjust
Philips SPZ5000 webcam settings on respective
property pages.
1 Place the installation CD-ROM into
the CD-ROM/DVD drive on the PC/
notebook.
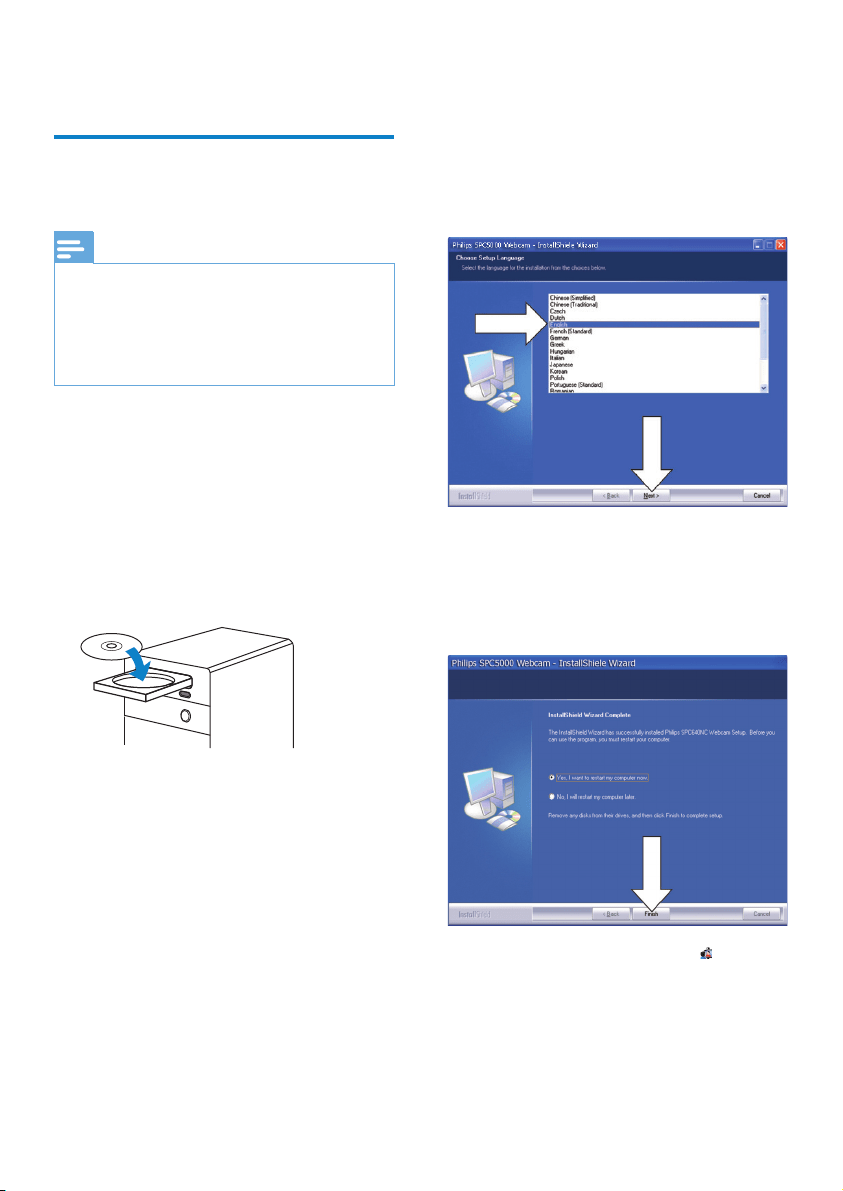
2 When the language selection window is
displayed, select your language.
If the language selection window •
is not displayed automatically, click
Start > My computer , double-click
the installation CD-ROM, and then
double-click the Setup.exe icon.
3 Follow instructions on the screen to
continue the installation.
4 When the Reboot window is displayed,
select Yes and then click Finish to restart
the PC/notebook.
The Philips CamSuite icon » is
displayed in the Windows toolbar (at
lower right of the screen).
In the Philips CamSuite control panel, »
you can adjust the webcam settings.
Loading ...
Loading ...
Loading ...