Loading ...
Loading ...
Loading ...
31
Maintenance
Burnishing Pad
Many types of pads are available for floor burnishing.
Select a pad type based on floor type and floor finish for
best results.
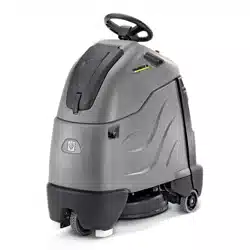
Dust Bag Replacement
1. Release latch and raise cover to access dust bag.
2. Turn thumb screw to horizontal position to release
dust bag.
3. Remove dust bag at the plastic frame from the bag
mounting bracket.
4. Reverse procedure to install new bag.
Dust Control Skirt Replacement
1. Raise burnisher deck with Function Mode Switch
set to transport mode.
2. Find ends of brush skirt. Pull down on one end to
release from shroud snap features. Once released
from two snaps, gently pull skirt parallel to the floor
to fully remove from shroud.
3. Install new skirt by pushing up into snaps one at a
time working around shroud diameter.
4. Where the ends meet, trim any excess skirt with
scissors or wire cutter.
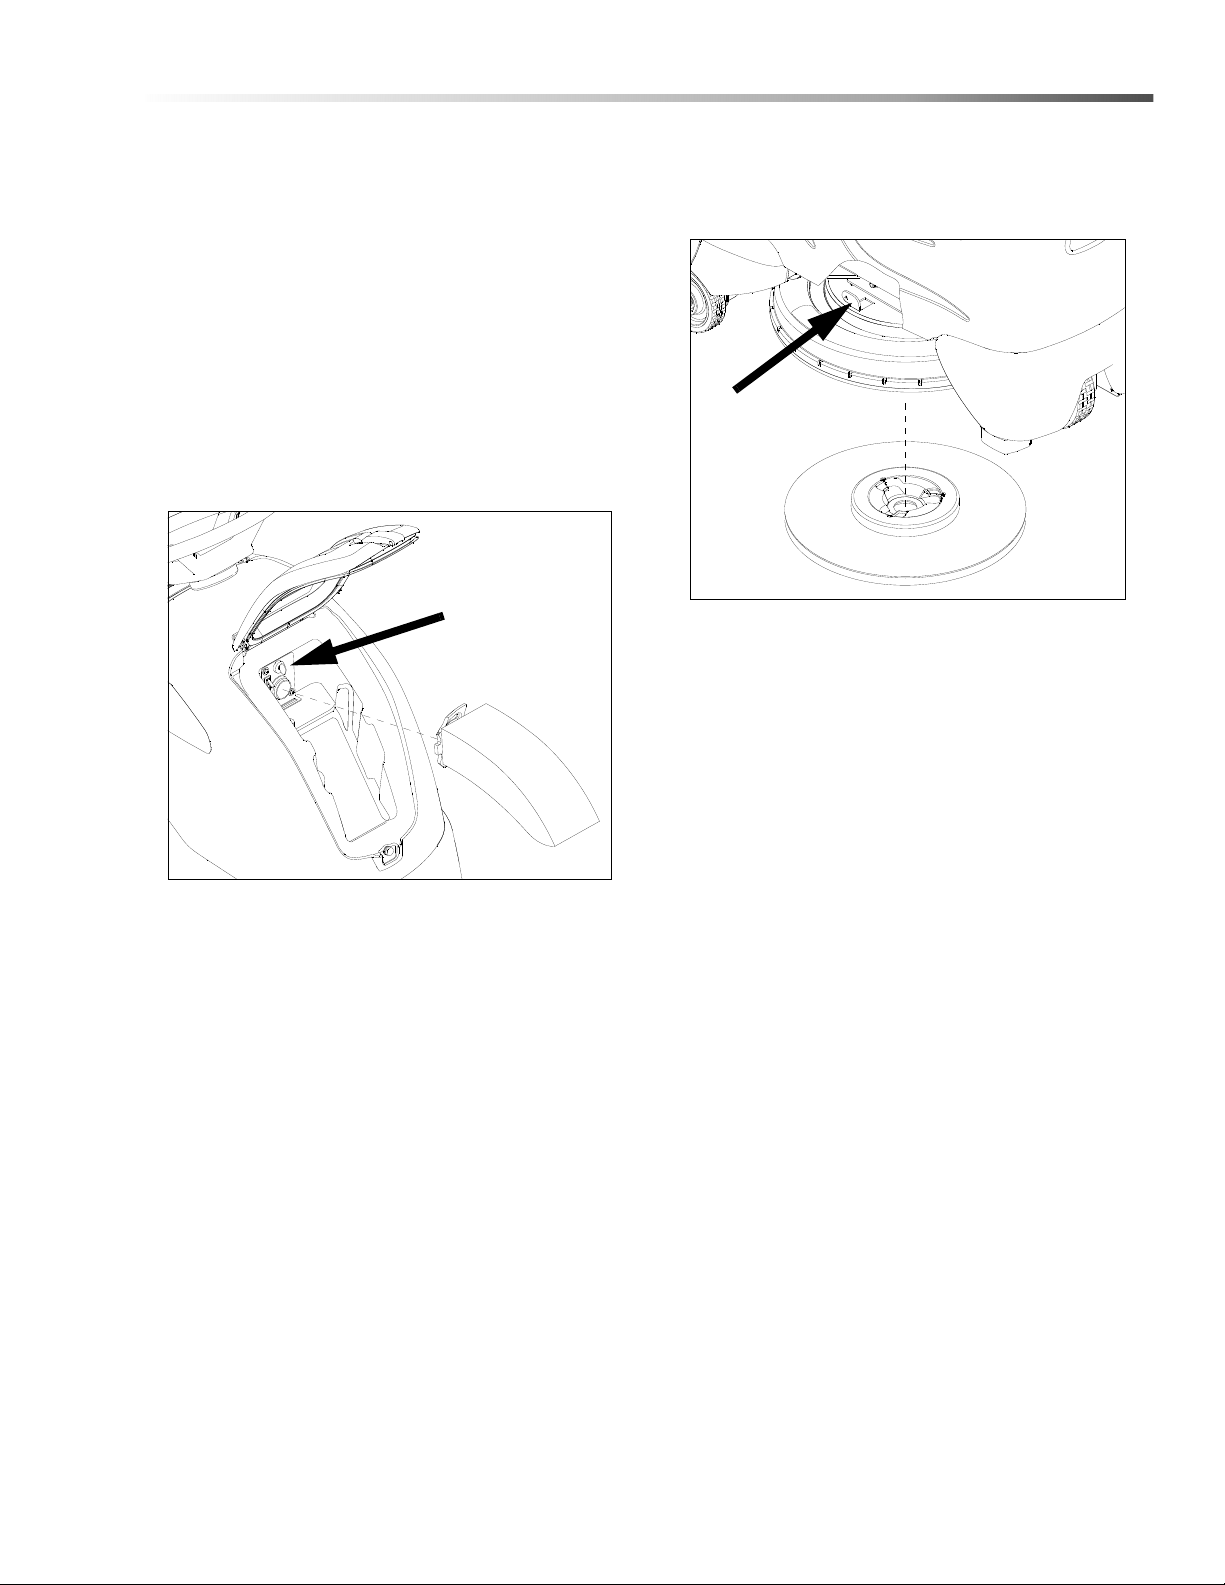
Pad Replacement
1. Set the burnisher deck to the raised position.
2. To remove the pad driver:
• Push in and hold the Pad Rotation Lock lever.
• Grip the outside diameter of the pad and pad
driver.
• Rotate firmly counterclockwise. Pad driver will
disconnect from motor hub.
• Release Pad Rotation Lock lever.
3. To remove pad from pad driver:
• Set pad driver on flat surface with pad facing
up.
• Release pad retainer from center of pad using
retainer's wire clip.
• Peel pad off pad driver.
4. To install pad on pad driver:
• Center the pad on pad driver with pad facing up.
• Check the pad inner diameter where the pad fits
over the raised ring of the pad retainer.
• Install pad retainer making sure wire clips snap
in place. Pad will need to compress to engage
pad retainer clips
5. To install the pad driver:
• Push in and hold the Pad Rotation Lock lever.
• Hold the pad driver parallel to the floor under
the shroud.
• Lift pad driver up to contact hub keeping level
and centered with motor shaft.
• Rotate pad driver clockwise applying light
pressure up on the hub. Pad driver will align
with hub and move up.
• Continue rotating clockwise approximately 15
degrees to fully engage hub.
• Release Pad Rotation Lock lever.
NOTE: Final tensioning of the pad driver occurs as
the motor rotates during burnishing.
86398800 Operator Manual - Chariot 2 iGloss 20
Loading ...
Loading ...
Loading ...