Loading ...
Loading ...
Loading ...
28
Wi-Fi Settings
This menu allows you to change Wi-Fi networks for your device. Please note, this device is not a dual
band device, please make sure to connect to a 2.4GHz Wi-Fi network.
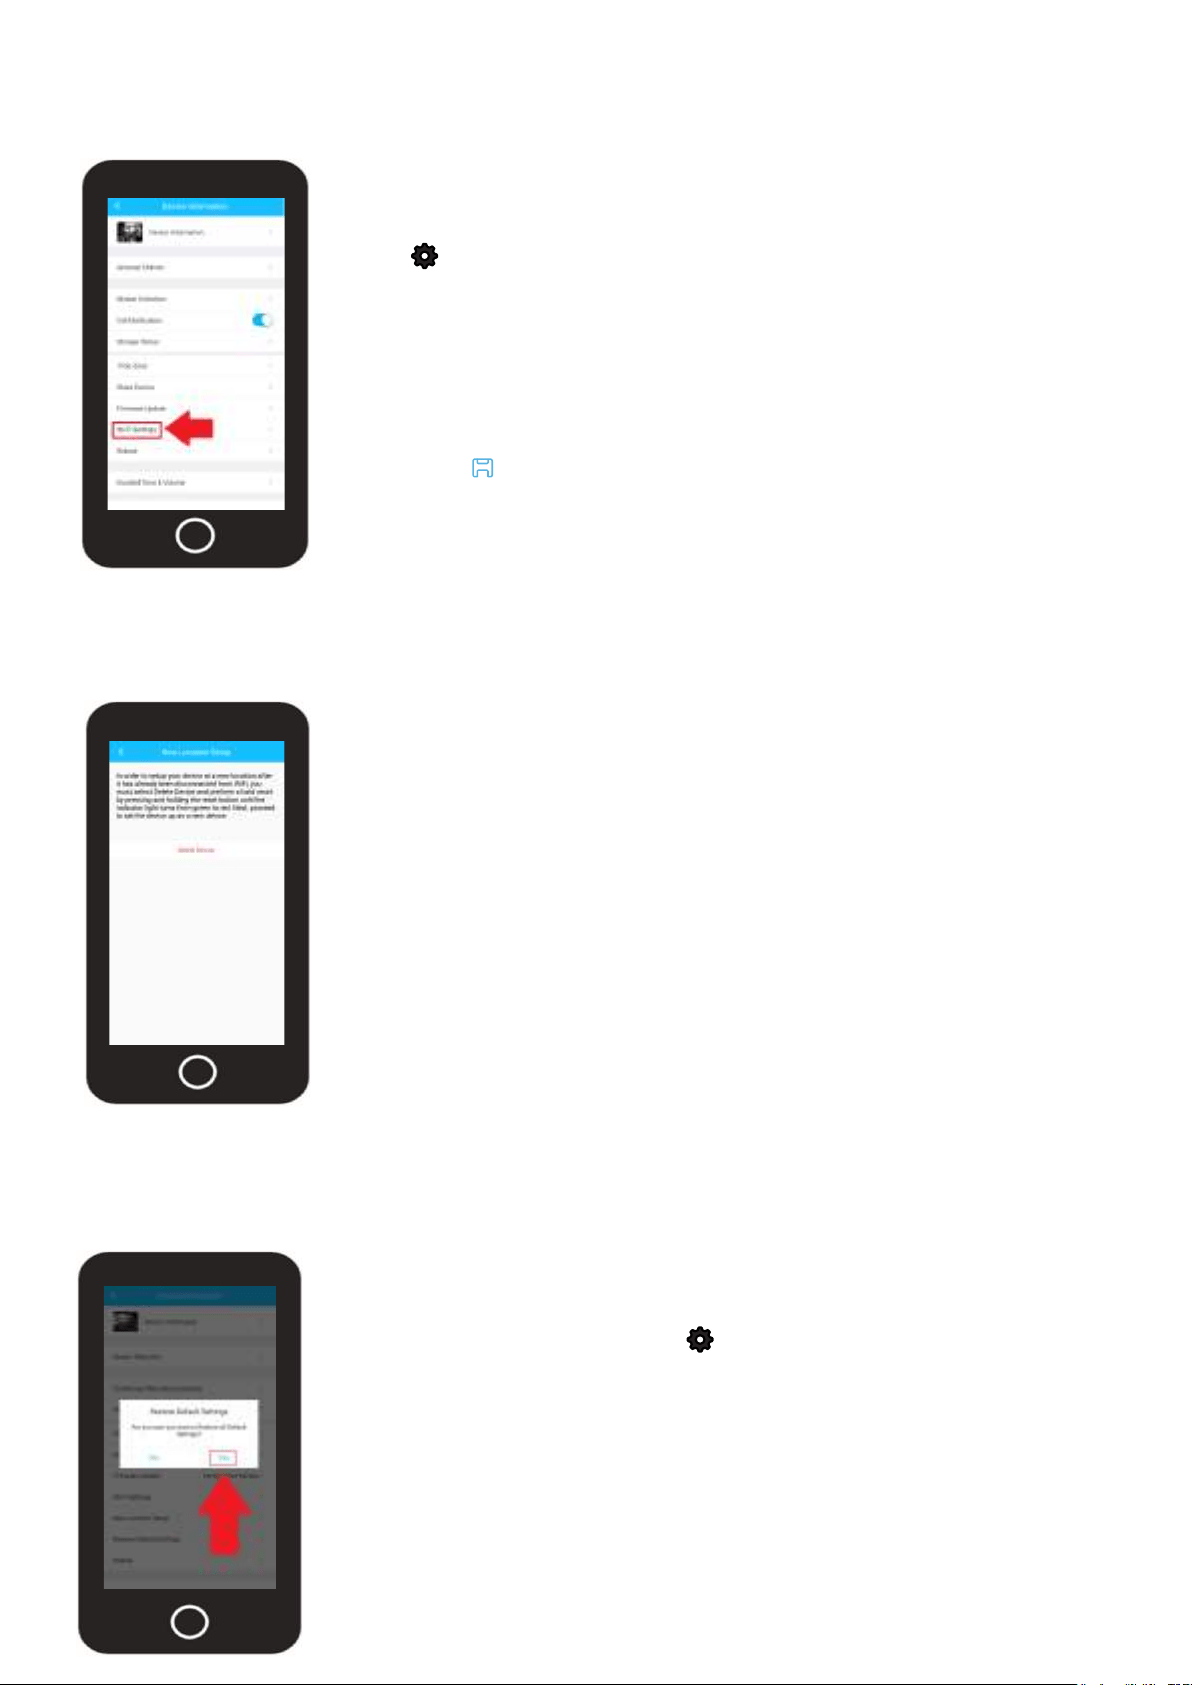
To access the Wi-Fi Settings
menu, tap on the settings
icon ( ) on the live view
screen.
Tap on the Wi-Fi Settings
option and select your Wi-Fi
network from the Wi-Fi list.
Enter the Wi-Fi password for
your network and tap the
save icon ( ) to save the
new Wi-Fi network to your
device.
New Location Setup
The new location tab provides detailed information on how to setup your device in a new location.
For more information on new location setup, please refer to the information below.
If you are setting up your device in a new location, or
on another network, it is you will need to first remove
the device from your Amcrest Smart Home account,
perform a factory reset, and add as a new device.
To remove the device from your account, press the
Delete Device option to remove the camera from
your account, then proceed with a factory reset. For
more information on how to perform a factory reset
on your device, please refer to the factory reset
portion of this manual.
Restore Default Settings
The restore default settings option will reset all settings on your device back to its original factory
settings. This will not perform a full factory reset as your username and password for the device will
remain the same.
To access the Restore Default Settings
option, tap on the settings icon ( ) on the
live view screen.
Scroll down and tap on the Restore Default
Settings option. Tao on Yes to restore all
settings on your camera to default. To cancel
the process, press No.
Loading ...
Loading ...
Loading ...