Loading ...
2
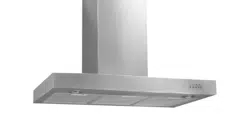
Overview
view
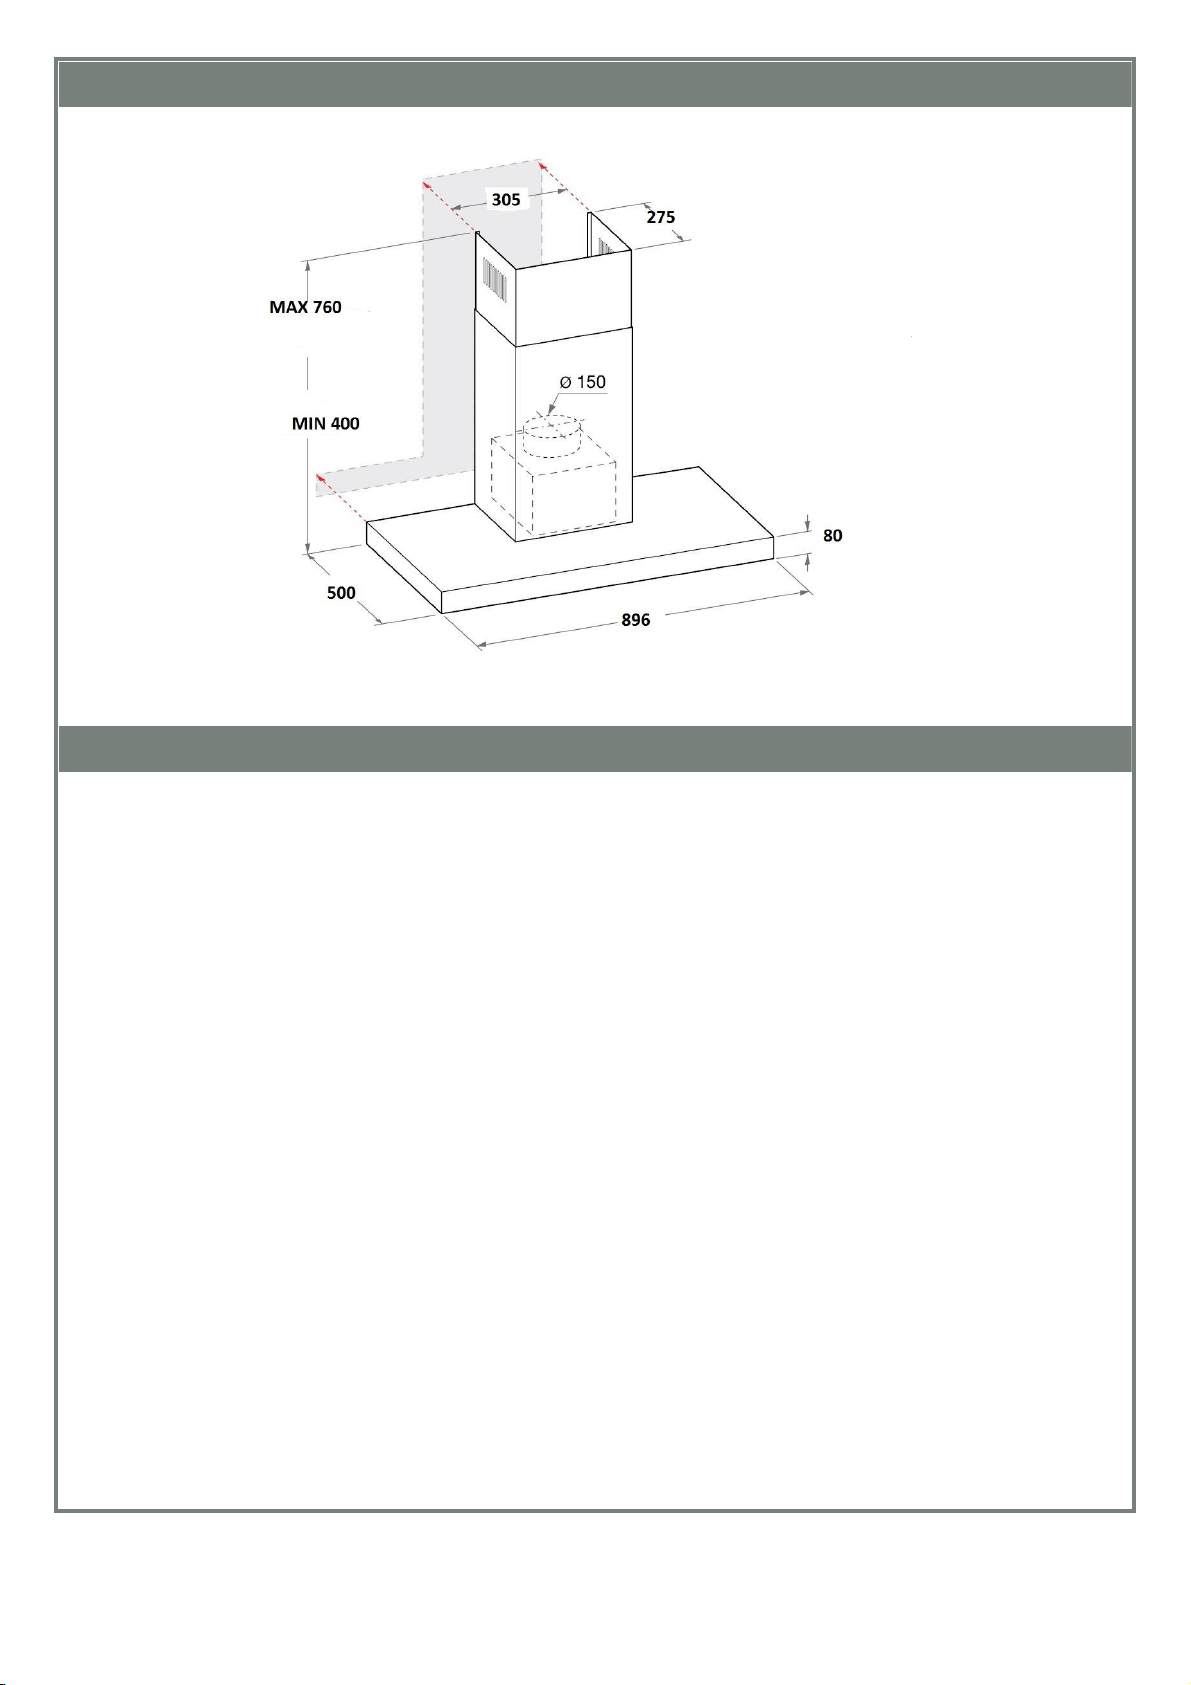
Pre-installation
Thank you for purchasing a quality ARISTON rangehood. ARISTON has a high standard of quality control and
every rangehood is tested and approved before it leaves the factory.
Important:
o Please read the entire instructions before installing the rangehood.
o Always switch power off prior to installation.
o Stainless steel is very easily damaged during installation if abraded or knocked by tools. Protect the
rangehood with the cardboard box or plastic bag during installation.
o All electrical work must be done in accordance with local and national electrical codes as applicable.
o For safety, this product must be earthed.
o A power outlet should be within 1500mm of the power cord exit from the rangehood.
o The power socket must be accessible and enable the end user to isolate the rangehood from the power for
the purpose of internal cleaning or maintenance.
o 150mm round ducting adapter is supplied. All other ducting accessories are not supplied. All ducting must
comply with local requirements and building codes.
o If re-circulating, ensure that the side outlet grilles are not obstructed. Even a partial obstruction will
restrict the efficiency of the rangehood.
o See Ducting options next page.
Contents of packaging:
1 x rangehood
1 x 150mm ducting adaptor
1 x packet of fasteners and wall plugs
2 x chimney pieces (upper and lower)
2 x chimney bracket
1 x fixing plate
Typical equipment required:
o electric drill
o screwdriver
o tape measure
o spirit level
o duct tape (if ducting)
o jig saw (if ducting)
o ladder (if ducting)
Loading ...
Loading ...
Loading ...