55
Read the instructions carefully and keep for future reference
OWNER’S MANUAL
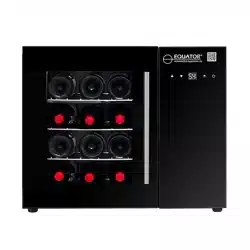
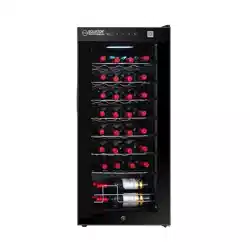
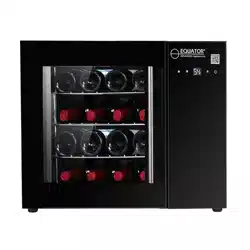
Model - WR 12/16
WINE REFRIGERATOR


Equator Appliances undertakes to the consumer-owner to repair
or, at our option, to replace any part of this product which proves
to be defective in workmanship or material under normal personal,
family or household use, in USA and Canada, for a period of one
year from the date of original purchase. During this period, we will
provide all labor and parts necessary to correct such defect, free
of charge, if the appliance has been assembled and operated in
accordance with the written instructions with the appliance.
In no event shall Equator Appliances be liable for incidental
or consequential damages or for damages resulting from
external causes such as abuse, misuse, incorrect voltage or
acts of God. This warranty does not cover service calls which
do not involve defective workmanship or materials covered
by this warranty. Accordingly, diagnosis and repair costs for
a service call which does not involve defective workmanship
or materials will be the responsibility of the consumer-owner.
Warranty
Exclusions
Specifically, the following work is not covered under
warranty and does not constitute warranty work:
Installation - e.g. installing as built-in or
Maintenance - e.g. cleaning appliance using solvents
Mishandling - e.g. breakage of door, door handle or shelves
Most work is covered. The defining factor is, has the machine
malfunctioned (Equator Appliances is responsible) or has the
customer omitted or done something to cause the appliance to
malfunction (customer is responsible). Some States do not
allow the exclusion or limitation of incidental or consequential
damages, so the above limitation or exclusion may not apply
to you.
improper installation on wall

You can register your Warranty by any of the following methods:
1. Mail in the Warranty Registration Card
2. Register online at www.ApplianceDesk.com
3. Scan the QR Code
Appliance Desk
Phone/Text: 1-800-776-3538
Email: [email protected]
Web: www.ApplianceDesk.com
Business hours: 9:00 am to 5:00 pm weekdays
For Customer Service:
This warranty is given by:
Equator Appliances
10216 Georgibelle Drive, Suite 900D
Houston, Texas 77043-5249
Since it is a responsibility of the consumer-owner to establish
the warranty period by verifying the original purchase date,
Equator Appliances recommends that a receipt, delivery slip or
some other appropriate payment record be kept for that purpose.
This warranty gives you specific legal rights, and you may also
have other rights which vary from State to State.
WARRANTY SERVICE
GENERAL
WR 12 WR 16

Safety
1
Refrigerant and foaming material is flammable. Take precautions
during handling, installation, and maintenance.
Ensure that the refrigerant circuit is not damaged.
Keep ventilation openings clear of obstructions.
When positioning the appliance, ensure the electrical cord is not
trapped or damaged.
Do not place multiple portable socket-outlets at the rear of the
appliance.
Do not use a damaged power cord.
Do not use an extension cord.
Children should be supervised to ensure that they do not climb
on or play with the appliance.
This appliance is not intended for use by persons (including
children) with reduced physical, sensory or mental capabilities,
or lack of experience and knowledge, unless they have been
given supervision or instruction.
Never unplug the appliance by pulling on the power cord.
Grip the plug firmly and pull straight out from wall socket.
Do not store explosive substances such as aerosol cans with a
flammable propellant in this appliance.

Safe Disposal
Before discarding the refrigerator, remove doors and shelves
in order to prevent risk of child entrapment.
Dispose off this appliance in accordance with local regulations.
Do not tilt the Wine Refrigerator at an angle of more than 45°
when moving it.
Place the appliance away from heat and high humidity.
After moving the Refrigerator in place, wait at least 10 minutes
before turning it on in order to allow the coolant to settle.
Check the plug and cable before you connect the power and
ensure it is the correct 110 voltage.
The Wine Refrigerator can be placed freestanding on a counter
top or can be mounted on the wall.
2
Installation
Place the Wine Refrigerator on a flat level surface.
The feet of the appliance can be adjusted to make it level.
Install the handle according to the following steps:
1. Pull out the door seal where the handle is to be installed.
2. Using the screws provided with the handle and a Phillips
screwdriver, fasten the door handle.
3. Replace the door seal back in position.
Freestanding on Counter
Installing Door Handle
Confirm that feet are installed at the bottom and rear of the
Wine Refrigerator. If not, please screw in 4 feet at the bottom
and 2 feet at the rear.

3
[C] Rear Feet (2)
Installation on Wall
The Wine Refrigerator can be mounted on a wall using the
parts that come included with the appliance.
Parts include:
1. Attach the Wall Plate [A] to the wall with the 3 Long
Expanding Screws [B] (use wrench size 9/16" (14mm). The
spacing for the screws should be 8 inches apart and must
be screwed into wall studs, to make the Wine Refrigerator
mount safe and secure.
2. Confirm 2 Rear Feet [C] are attached to the back on the Wine
Refrigerator, or you can attach them by simply screwing them in.
3. Attach the Mounting Bracket [D] at the top back of the unit
using the 12 Small Screws [E] provided (use Phillips screwdriver).
4. Holding the Wine Refrigerator firmly, slide the Mounting
Bracket onto the wide hooks at the front of the Wall Plate.
5. Verify that the Wine Refrigerator is parallel against the wall
and not tilted. Adjust Rear Feet as required. Ensure that the
Mounting Bracket is installed firmly and not shaking.
6. Wait at least 10 minutes before turning on the Wine
Refrigerator.
[A] Wall Plate
[B] Long Expanding
Screws (3)
[D] Mounting Bracket
[E] Small Screws (12)
This will prevent damage to the wall.

4
Back View
Front View
Wall Plate
Long Expanding
Screws
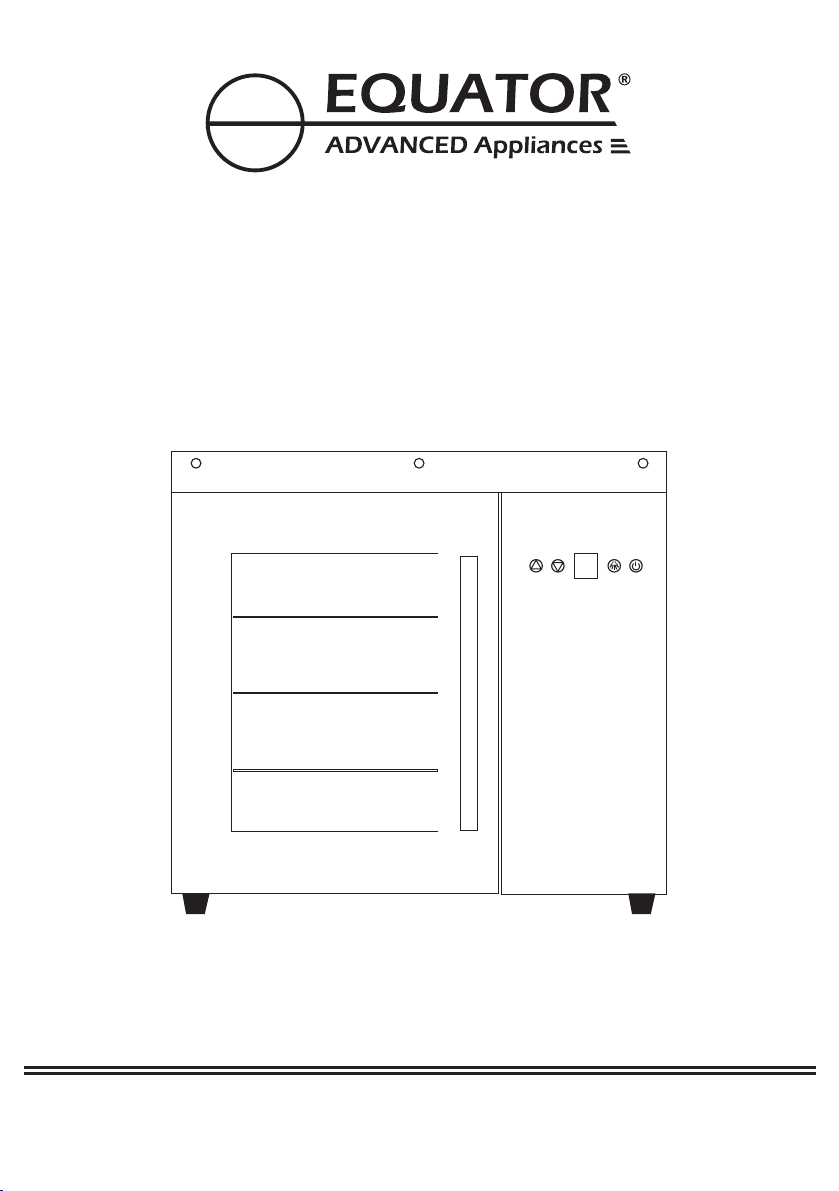
Control
Panel
Mounting
Bracket
Rear Feet
Feet

Power
On/Off
Light
On/Off
Temperature
Display
Lower
Temperature
Increase
Temperature
Temperature Setting
Press the Power ON/OFF button to turn the appliance on.
Press the Light ON/OFF button to turn on the LED light inside
the Wine Refrigerator.
The appliance should be placed in a room with ambient
temperature.
The temperature range of the appliance is 41℉-72℉ (5℃-22℃).
Increase or decrease the temperature by pressing the Up and
Down arrows.
Pressing the Up and Down temperature arrows for 5 seconds
at the same time will change the temperature between ℃ & ℉.
Maintenance
Make sure the power cord is unplugged before moving or
cleaning the back of the appliance.
Clean the outside and inside of the appliance regularly, using
water and mild detergent.
The Control Panel is located in the front of Wine Refrigerator.
The temperature can be set as shown below.
5
55
6
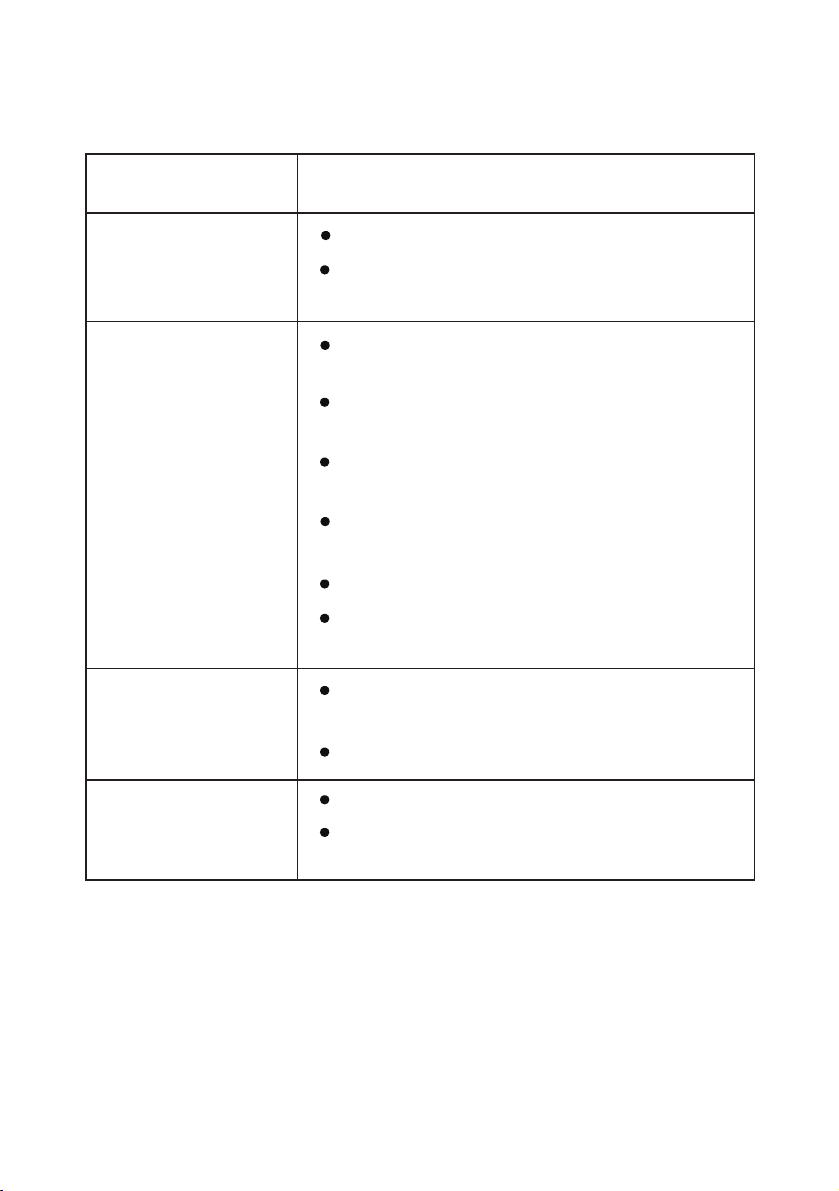
Not Working
Door seal is damaged.
Check the fuse
Check if it is plugged in correctly to the
power source.
Temperature is not set correctly.
Adjust the temperature.
Move it if near a heat source or in
direct sunlight.
Door opened frequently or is not
shut properly.
Troubleshooting
Too many bottles stored on the
same shelf.
Check for proper ventilation and that
air inlet or outlet is not blocked.
Not Cooling
Check the door seal.
Shelves are not positioned properly.
Adjust the shelves.
Door does not
close properly
Too much
noise
Appliance not placed on flat surface or
not level. Adjust the feet to level it.
Some parts are loose causing rattling.
Possible Cause and SolutionProblem
The following phenomenon is normal:
· Moisture on the glass door – wipe with dry cloth
· Sound of fluid is the compressor when it is starting or stopping
· Flowing sound of refrigerant in the refrigeration system
· Condensation forming inside the cabinet – wipe with dry cloth

7
WARNING: This product contains chemical known to the State of
California to cause cancer and birth defects or other reproductive
harm.
Technical Specifications for WR 12
Model
Capacity
Voltage
Current
Power
Refrigerant
Temperature Range
Net Weight
Product Dimensions (HxWxD)
Packaging Dimensions (HxWxD)
WR 12
12 Bottles ( )1.2 cu.ft
115V 60Hz
0.8A
60W
R600a
41 F - 72 F
53 lbs
18.1 x 21.9 x 15 (inch)
21 x 25 x 18 (inch)
O O
Technical Specifications for WR 16
Model
Capacity
Voltage
Current
Power
Refrigerant
Temperature Range
Net Weight
Product Dimensions (HxWxD)
Packaging Dimensions (HxWxD)
WR 16
16 Bottles ( t)1.4 cu.f
115V 60Hz
0.8A
60W
R600a
41 F - 72 F
lbs61.7
18.1 x 27.3 x 15 (inch)
21 x 30 x 18 (inch)
O O
California Proposition 65