Owner's Guide Dehumidifier
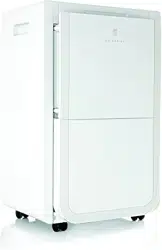
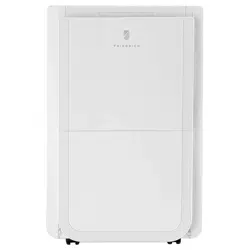
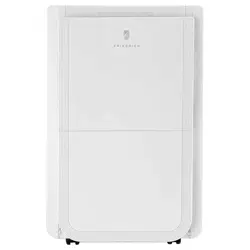
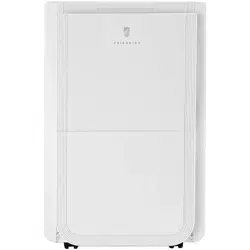
Description of Components
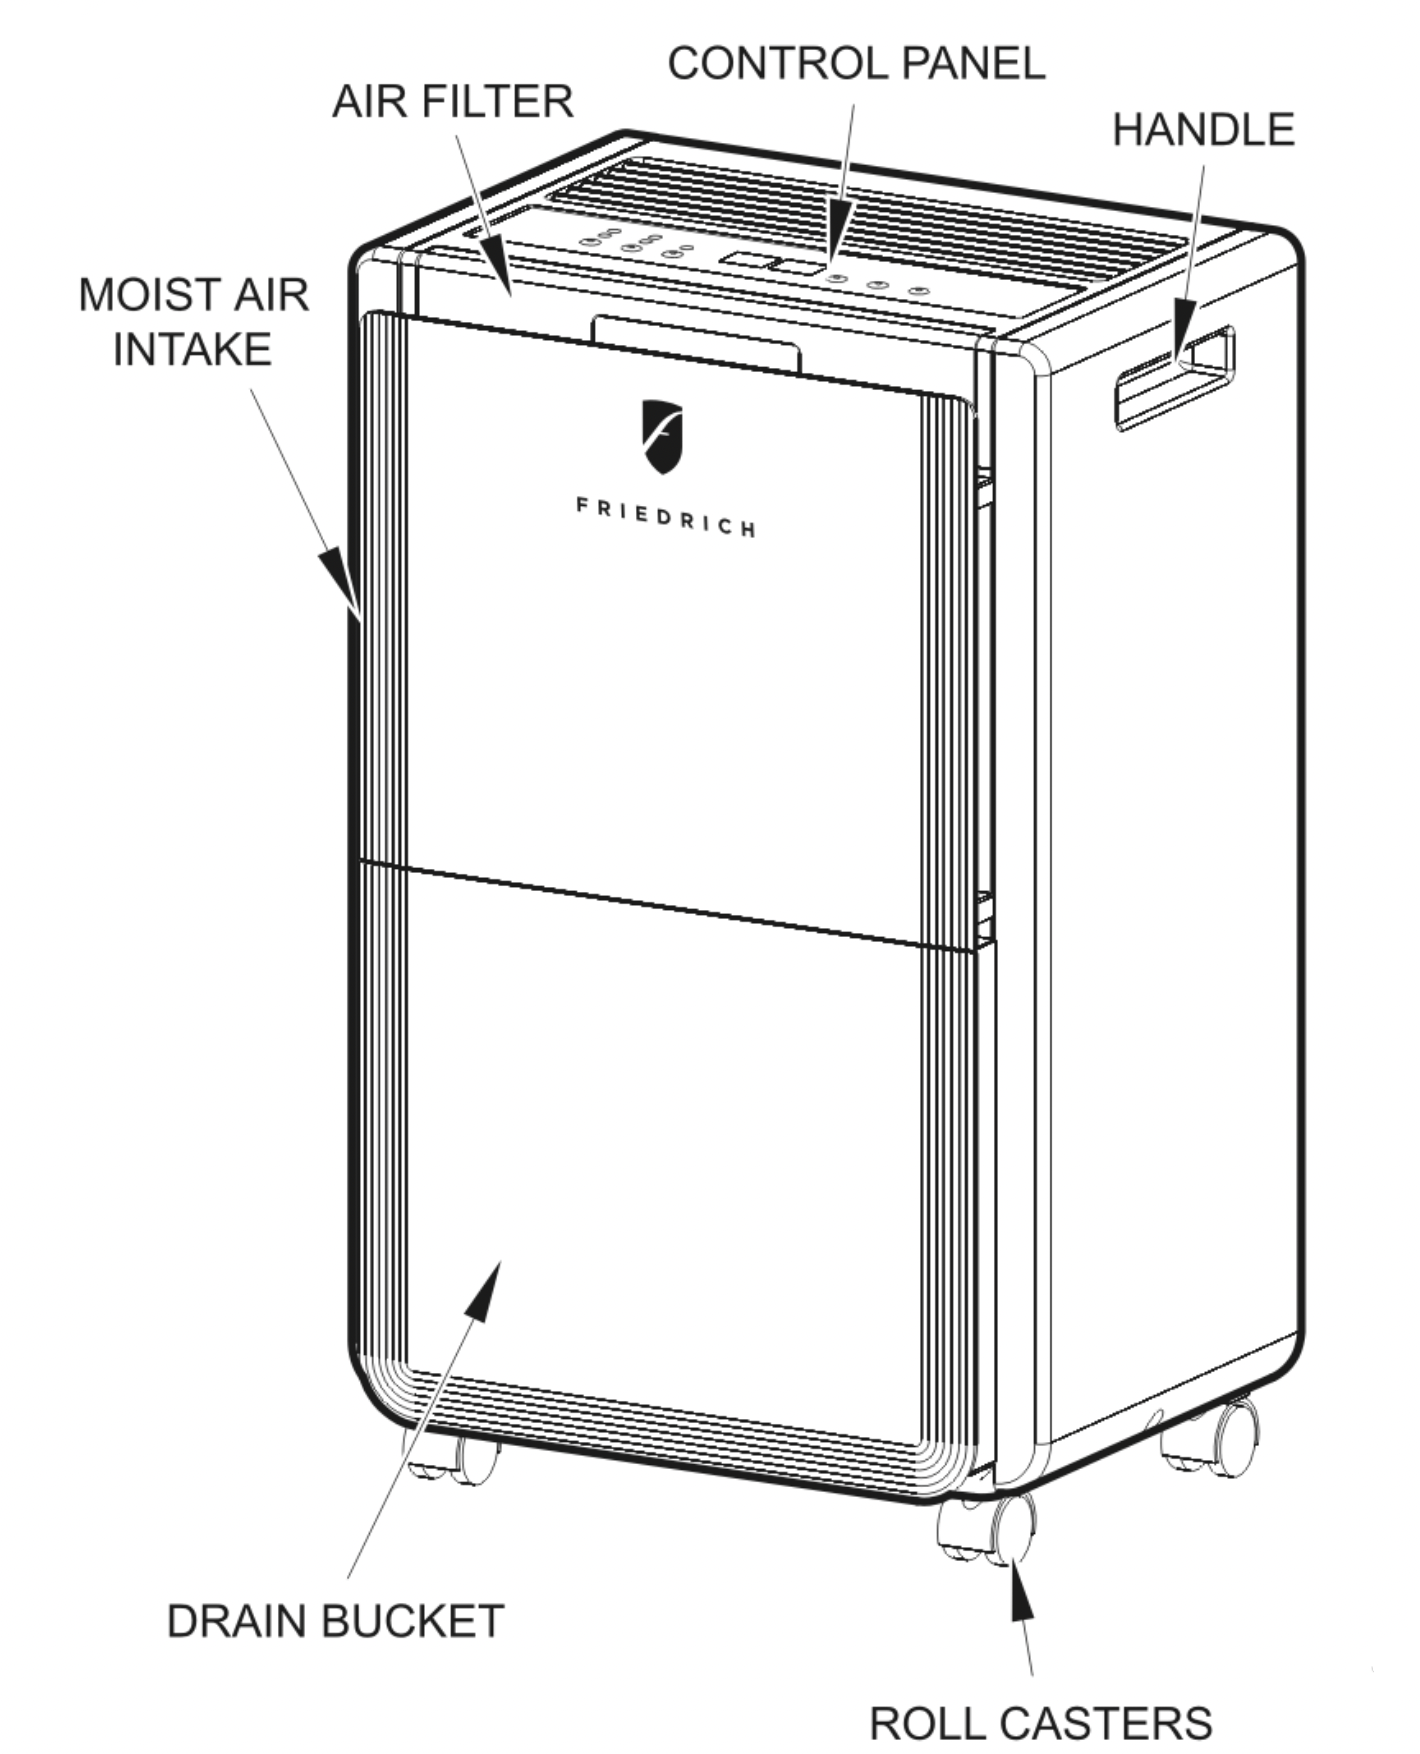
Function Explanation
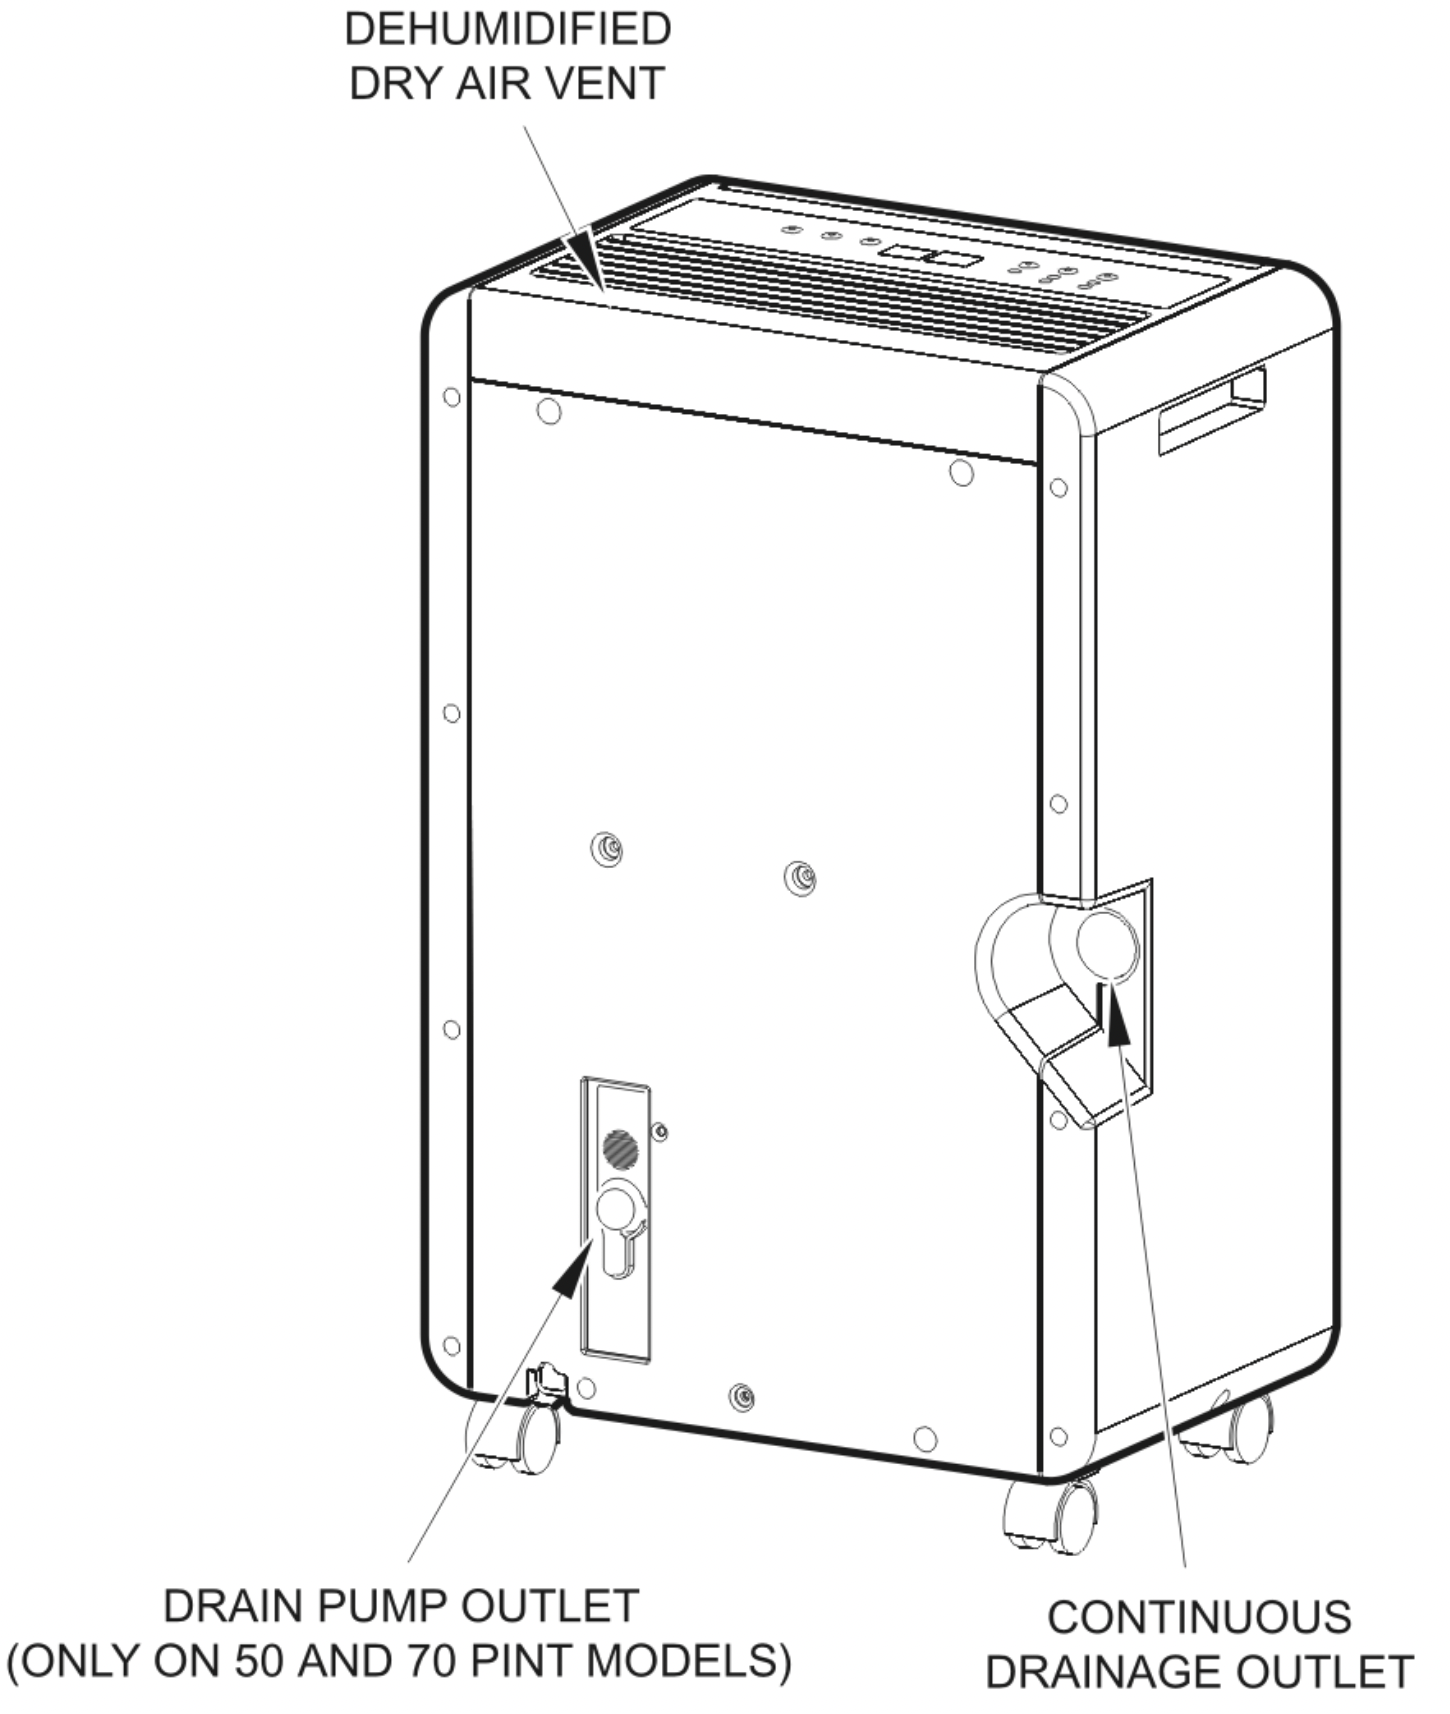
Figure 2
Operation Instructions
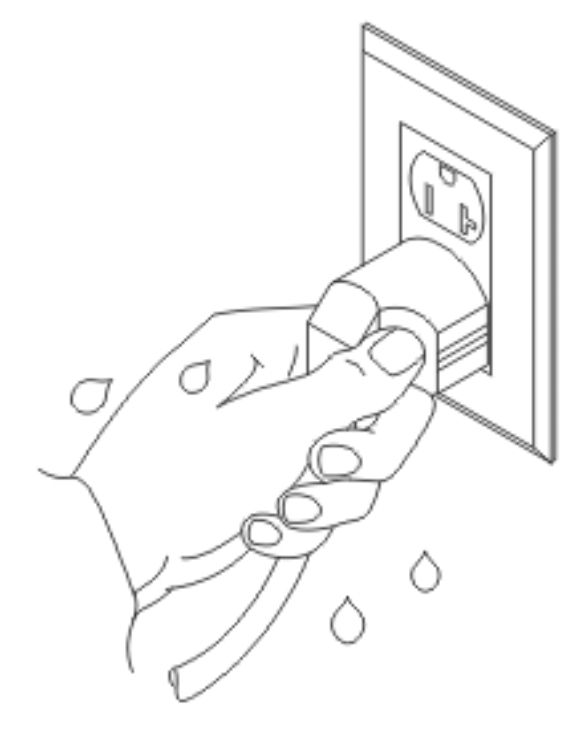
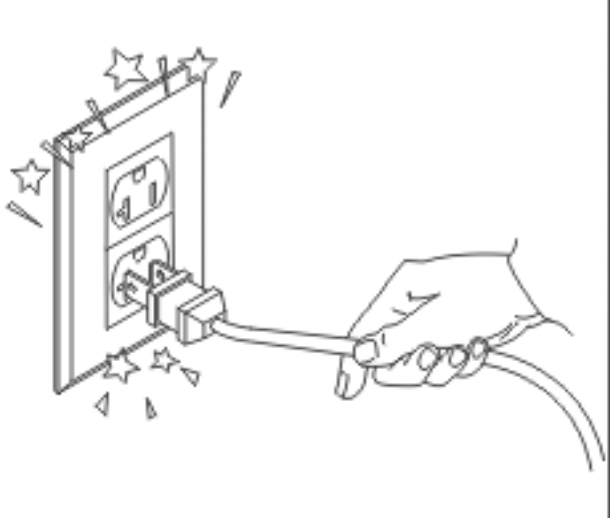
Warning - Electrical Hazards
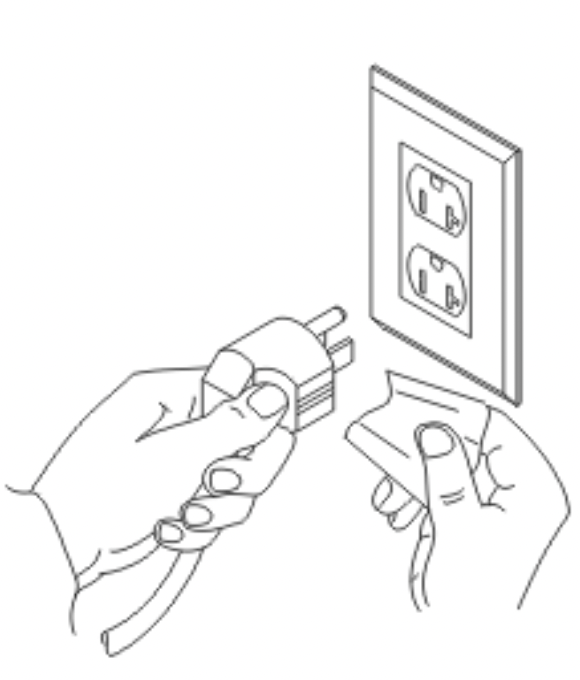
- Do not fold power cord as shown at left.
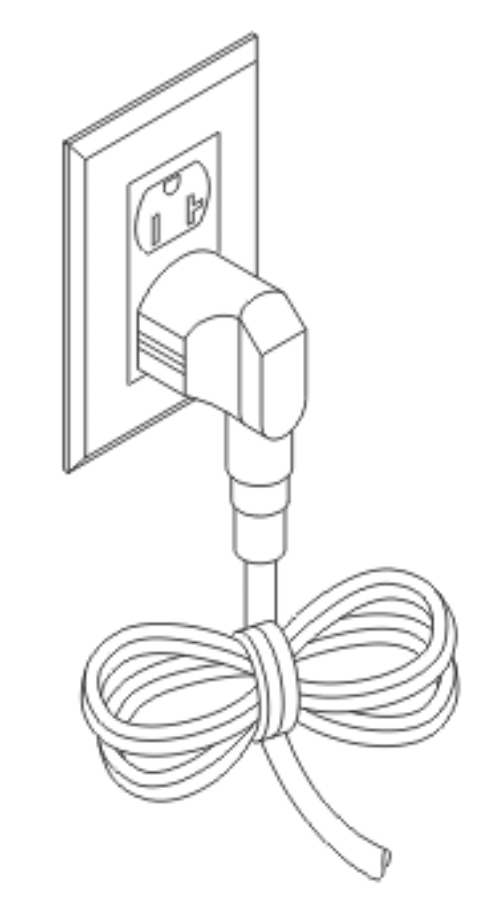
- Make sure the plug is placed fully and firmly into the receptacle.
- Do not use multiple sockets as shown at left.
- Make sure the plug is clean.
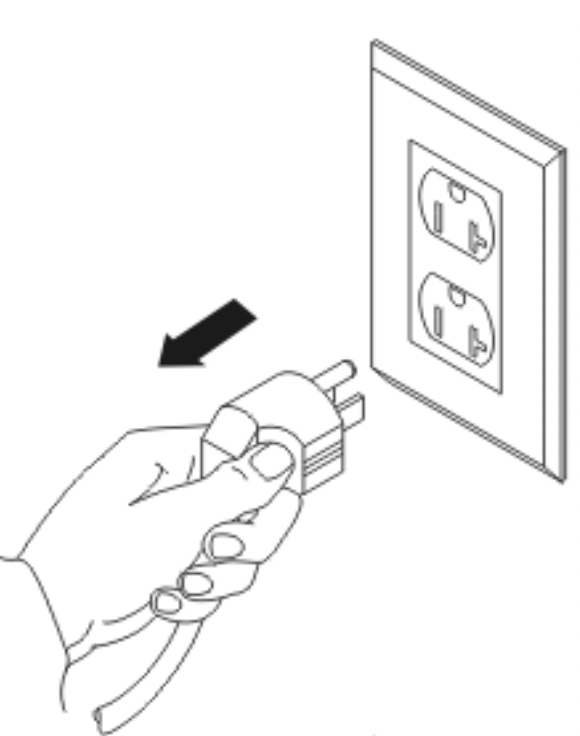
- After turning the unit off please take plug out of the receptacle.
- Do not have wet hands when connecting the power plug.
- Do not pull the power cord to avoid a broken cord, which can lead to danger.
Start Operation
STEP 1. Place the unit in an upright position on a flat, steady, stable and heat resistant surface. Make sure there is nothing flammable or heat sensitive within 39 inches.Operating the product in any other position could cause a hazard.
WARNING - Electrical Shock Hazard
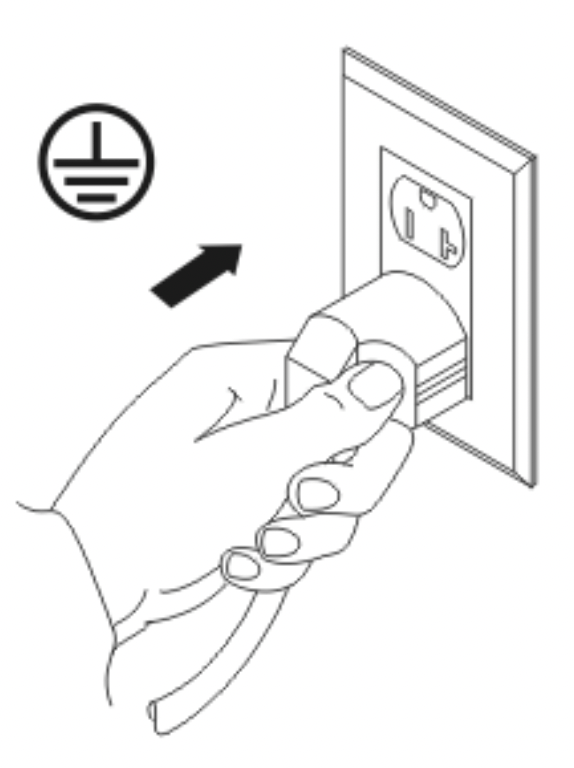
- Make sure your electrical receptacle has the same configuration as your dehumidifier's plug. If different, consult a Licensed Electrician.
- Do not use plug adapters.
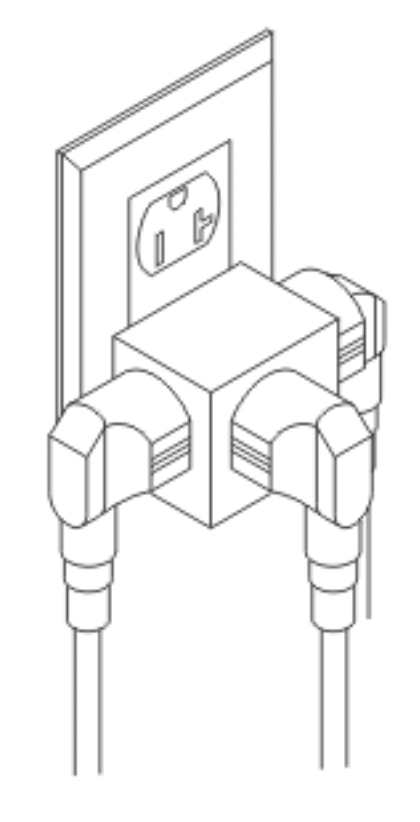
Do not use an extension cord.
Do not remove ground prong.
- Always plug into a grounded 3 prong outlet.
Failure to follow these instructions can result in death, fire, or electrical shock.
STEP 2. Insert the plug into a suitable wall socket. The dehumidifier is suitable for operation on an electricity supply having the same voltage as that shown on its rating label.

STEP 3. Make sure the Drain Bucket is correctly placed in the proper position (See Figure 5). (After switching the unit 'ON" for the first time, if the Bucket Full lamp illuminates, just pull out the drain bucket; check to ensure that the float lever is able to move freely, then return the drain bucket to the correct position).
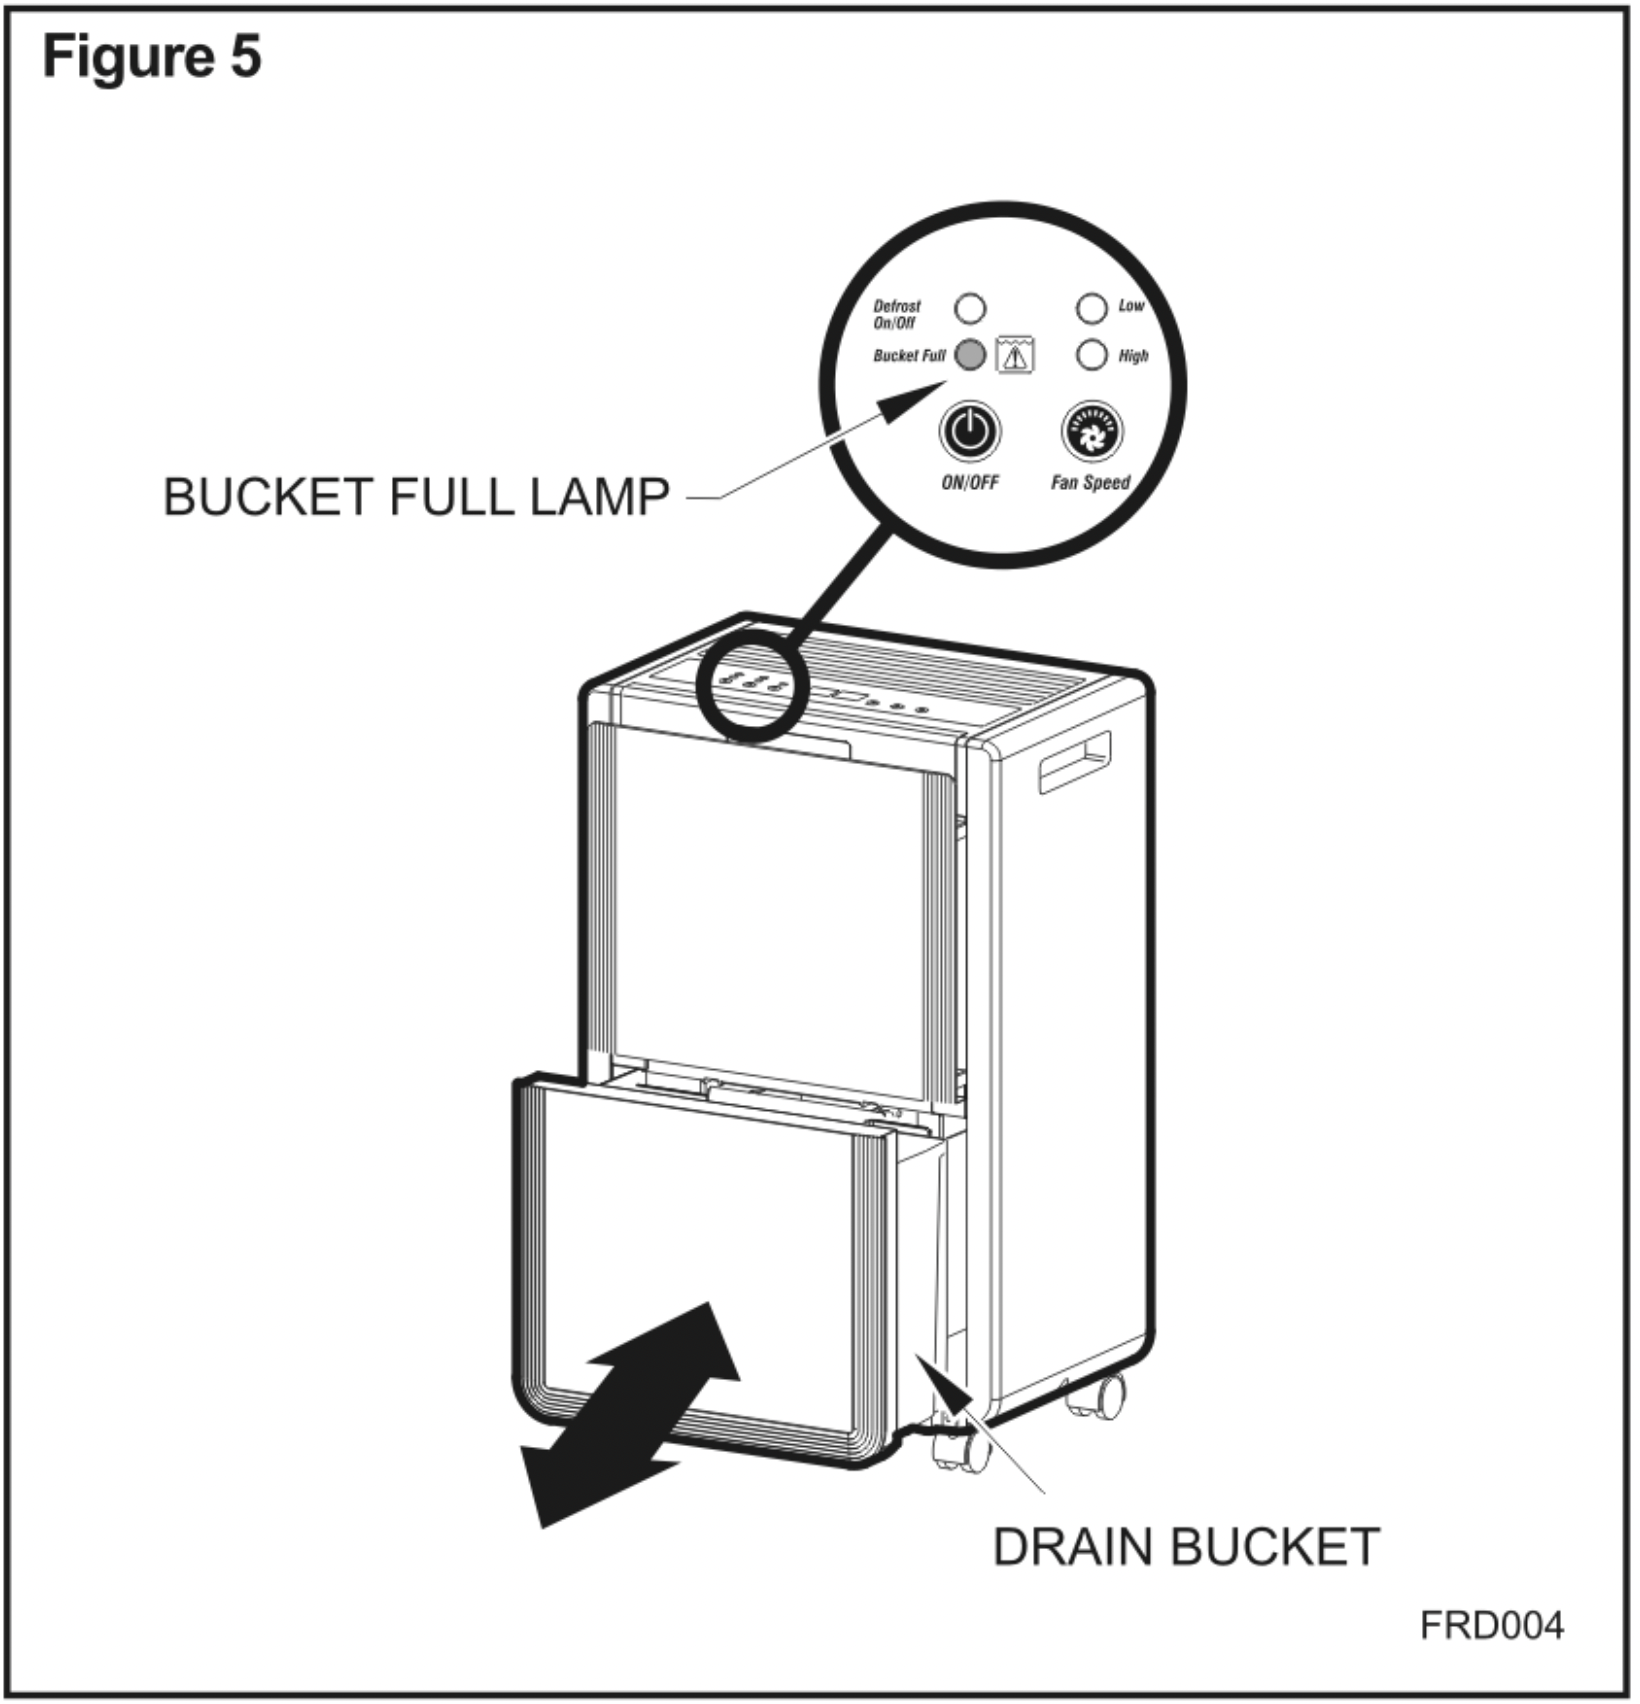
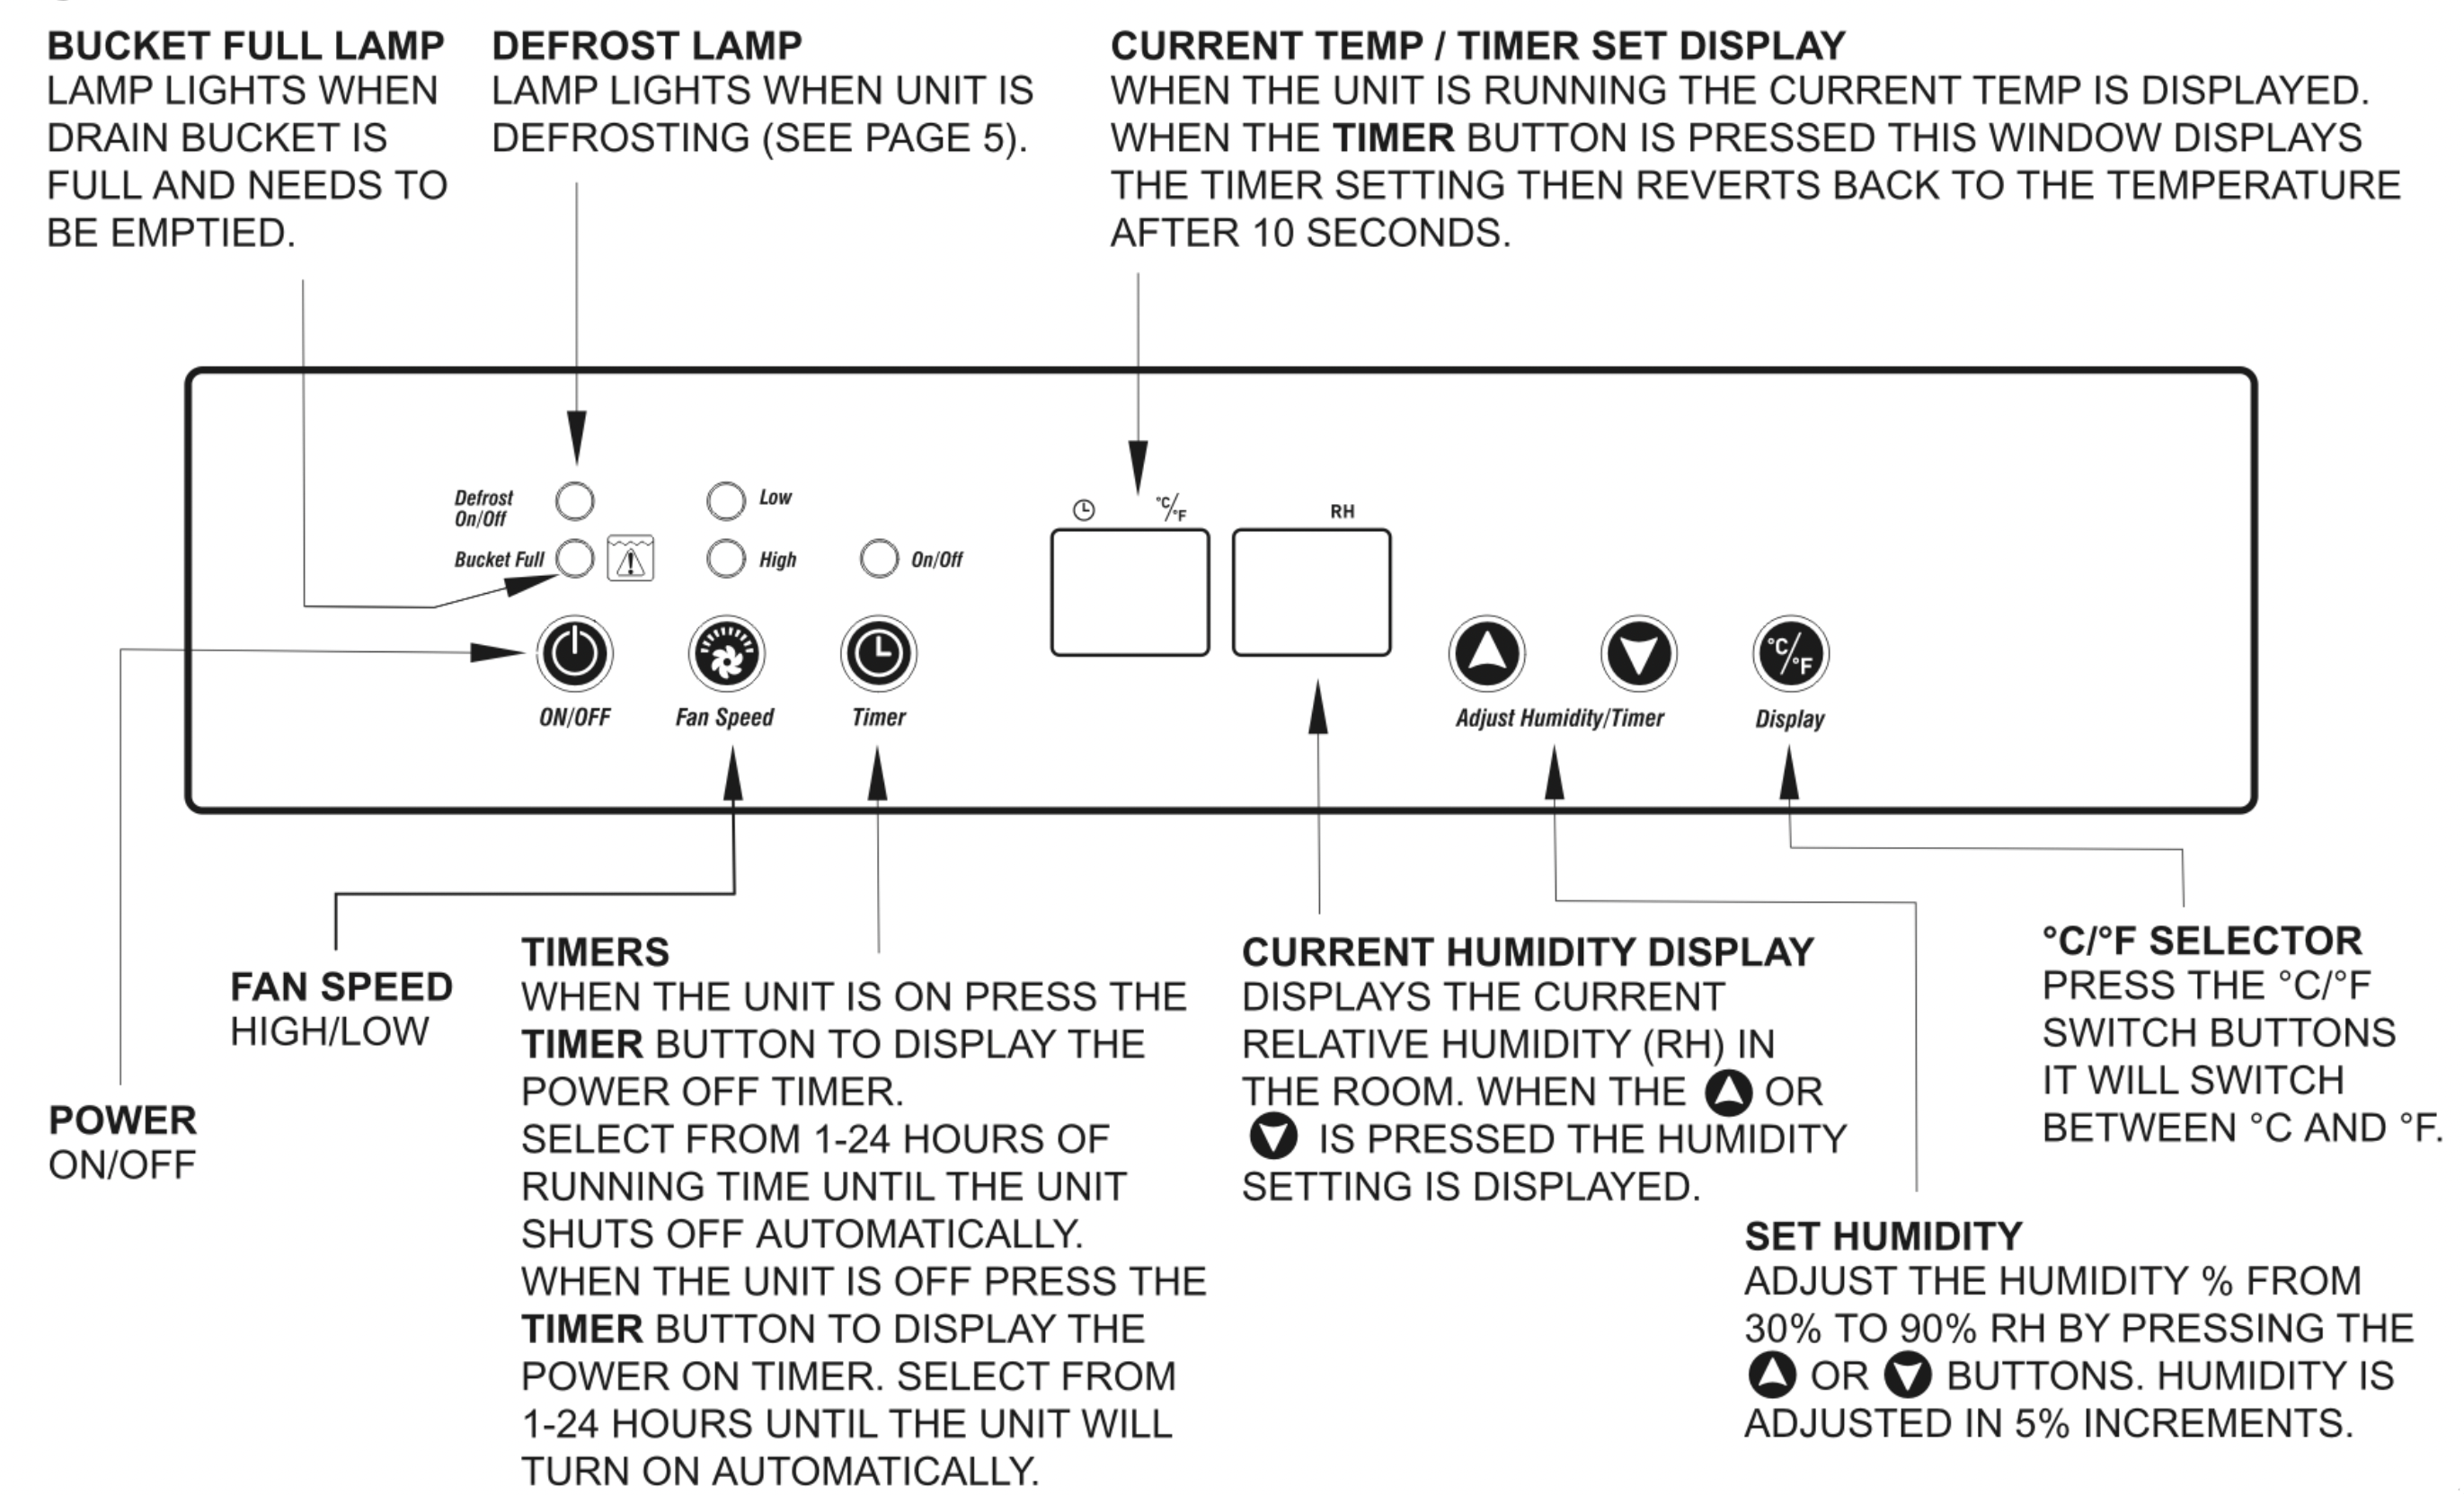
When Bucket Full Lamp Is On
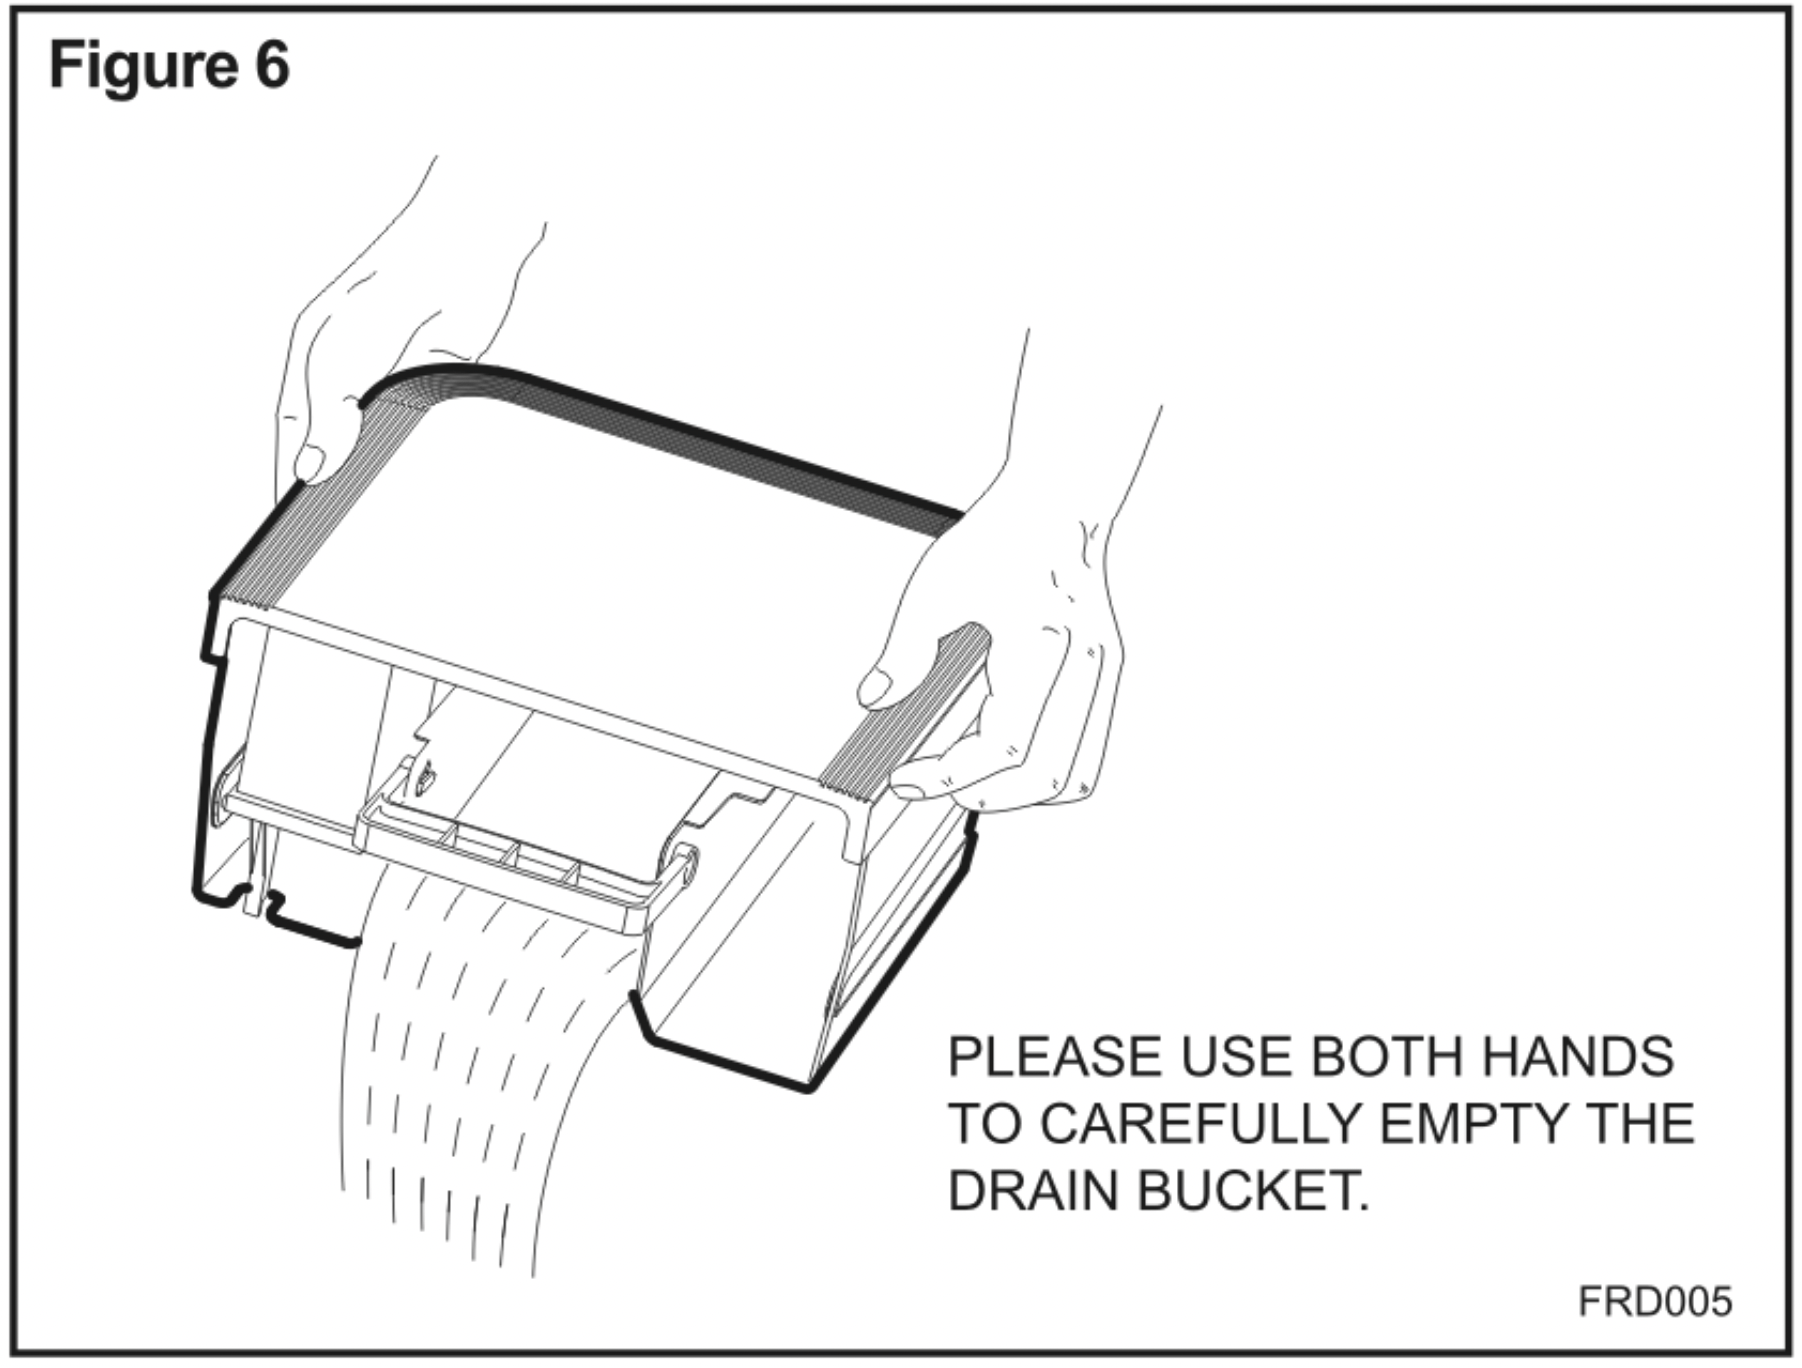
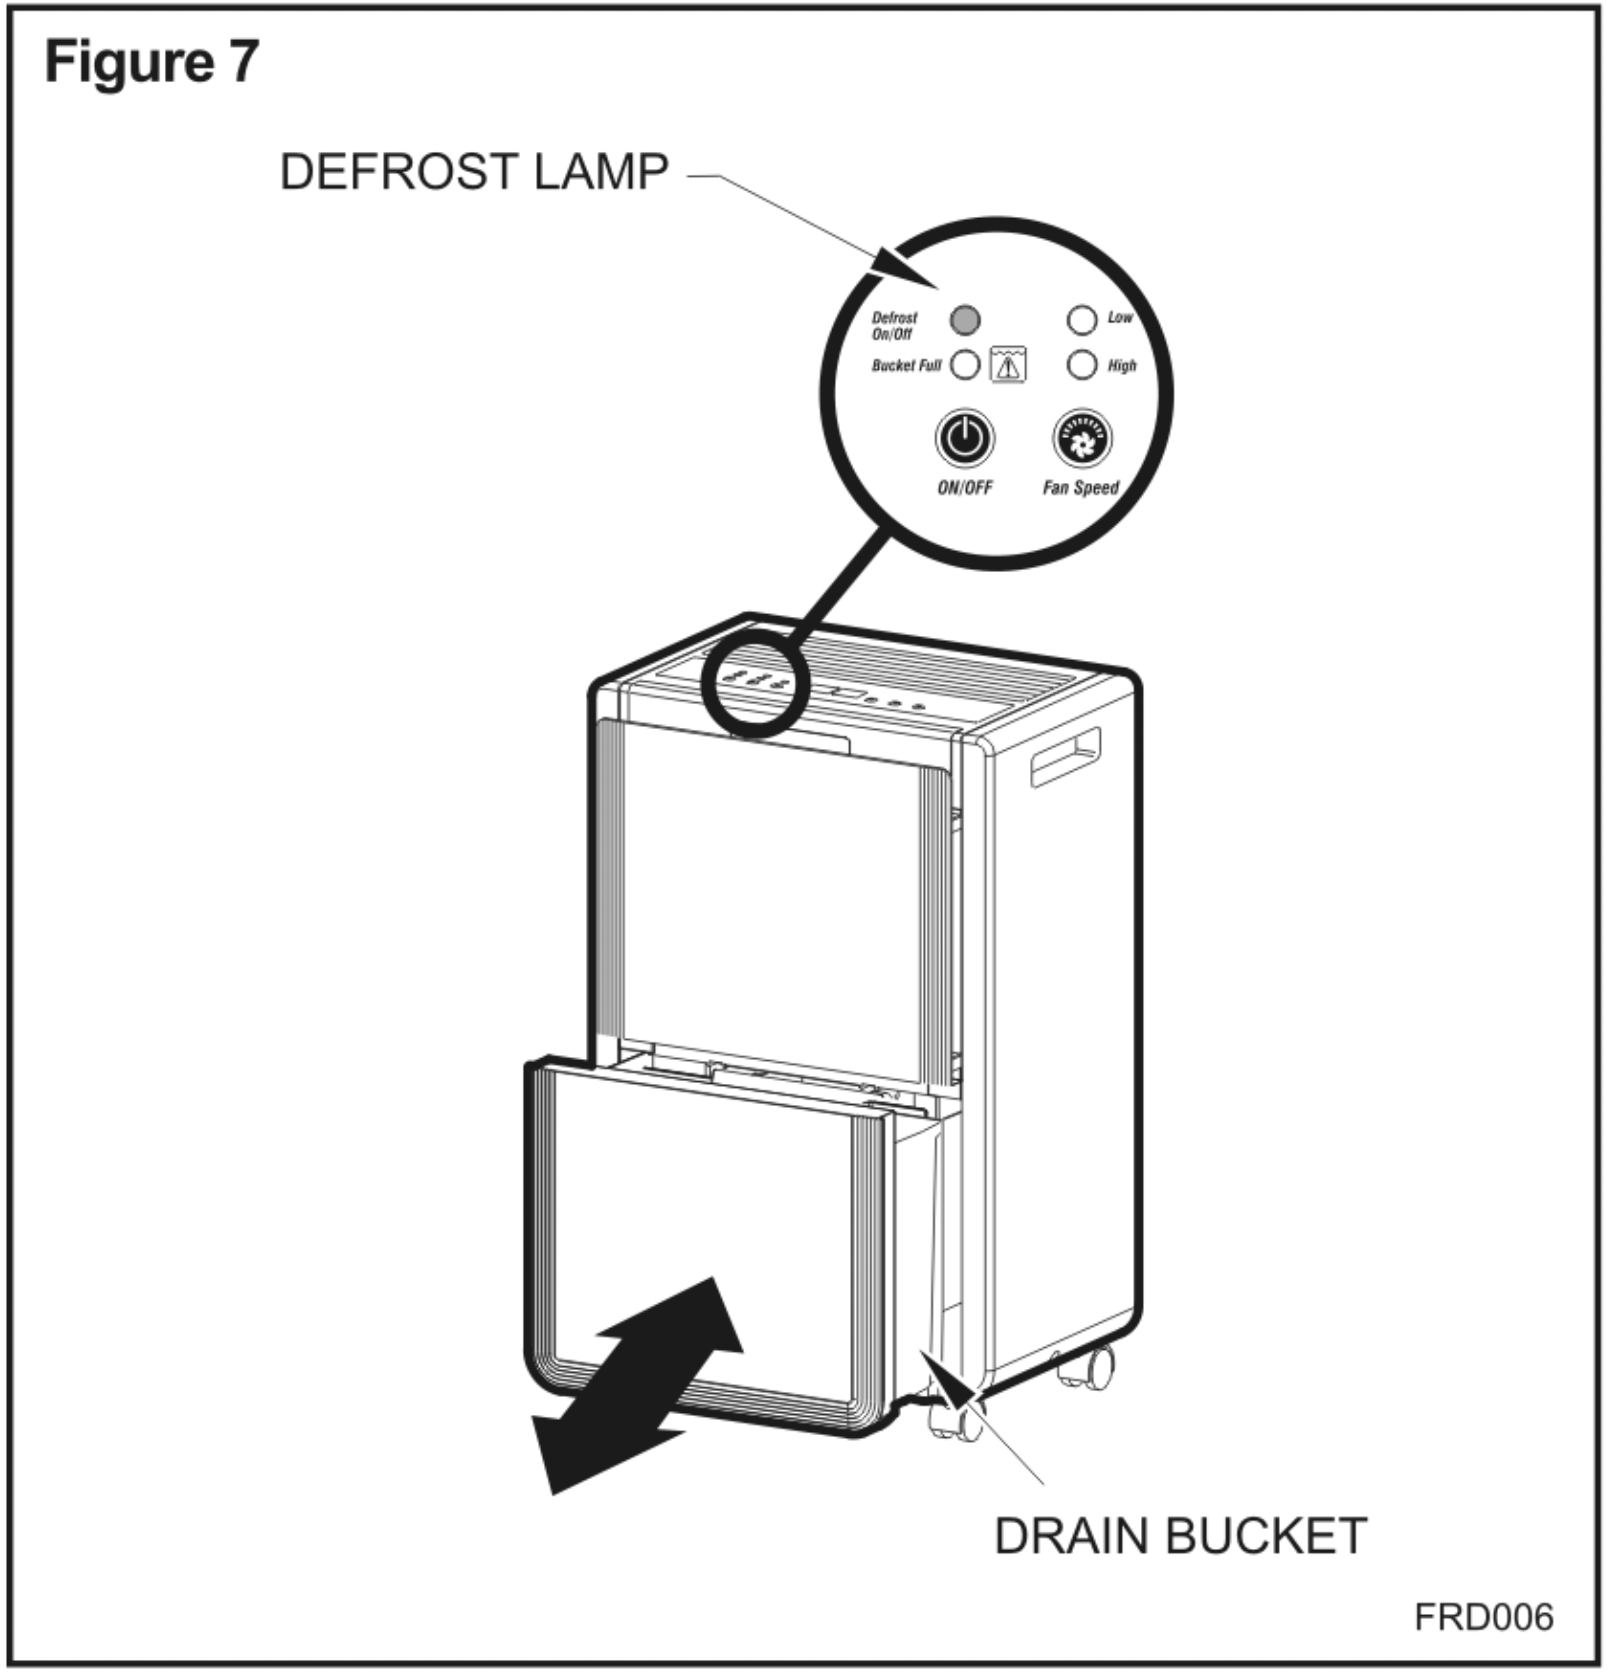
When the drain bucket is full, the Bucket Full lamp will illuminate and the unit will stop operating. The drain bucket should be carefully removed from the unit by sliding it outwards (See Figure 6) and should be emptied. Then place the empty drain bucket back to its proper position, (See Figure 7) the unit will start operating and run normally.
Defrost
When the unit is operated in low temperatures (less than 54°F the surface of the evaporator will accumulate a layer of frost which will reduce the efficiency of the dehumidifier. When this happens the unit will go into periodic defrost mode automatically. The Defrost Lamp will illuminate on control panel, this is quite normal (See Figure 7).
The dehumidifier will operate in temperatures down to 41 °F. The time it takes to defrost may vary. If the unit freezes up it should be turned off at the power supply for a few hours and then re-started. If the room temperature remains below 41°F the unit should be switched off. It is not recommended to use the dehumidifier in temperatures below 41°F.
Operating Do's and Don'ts
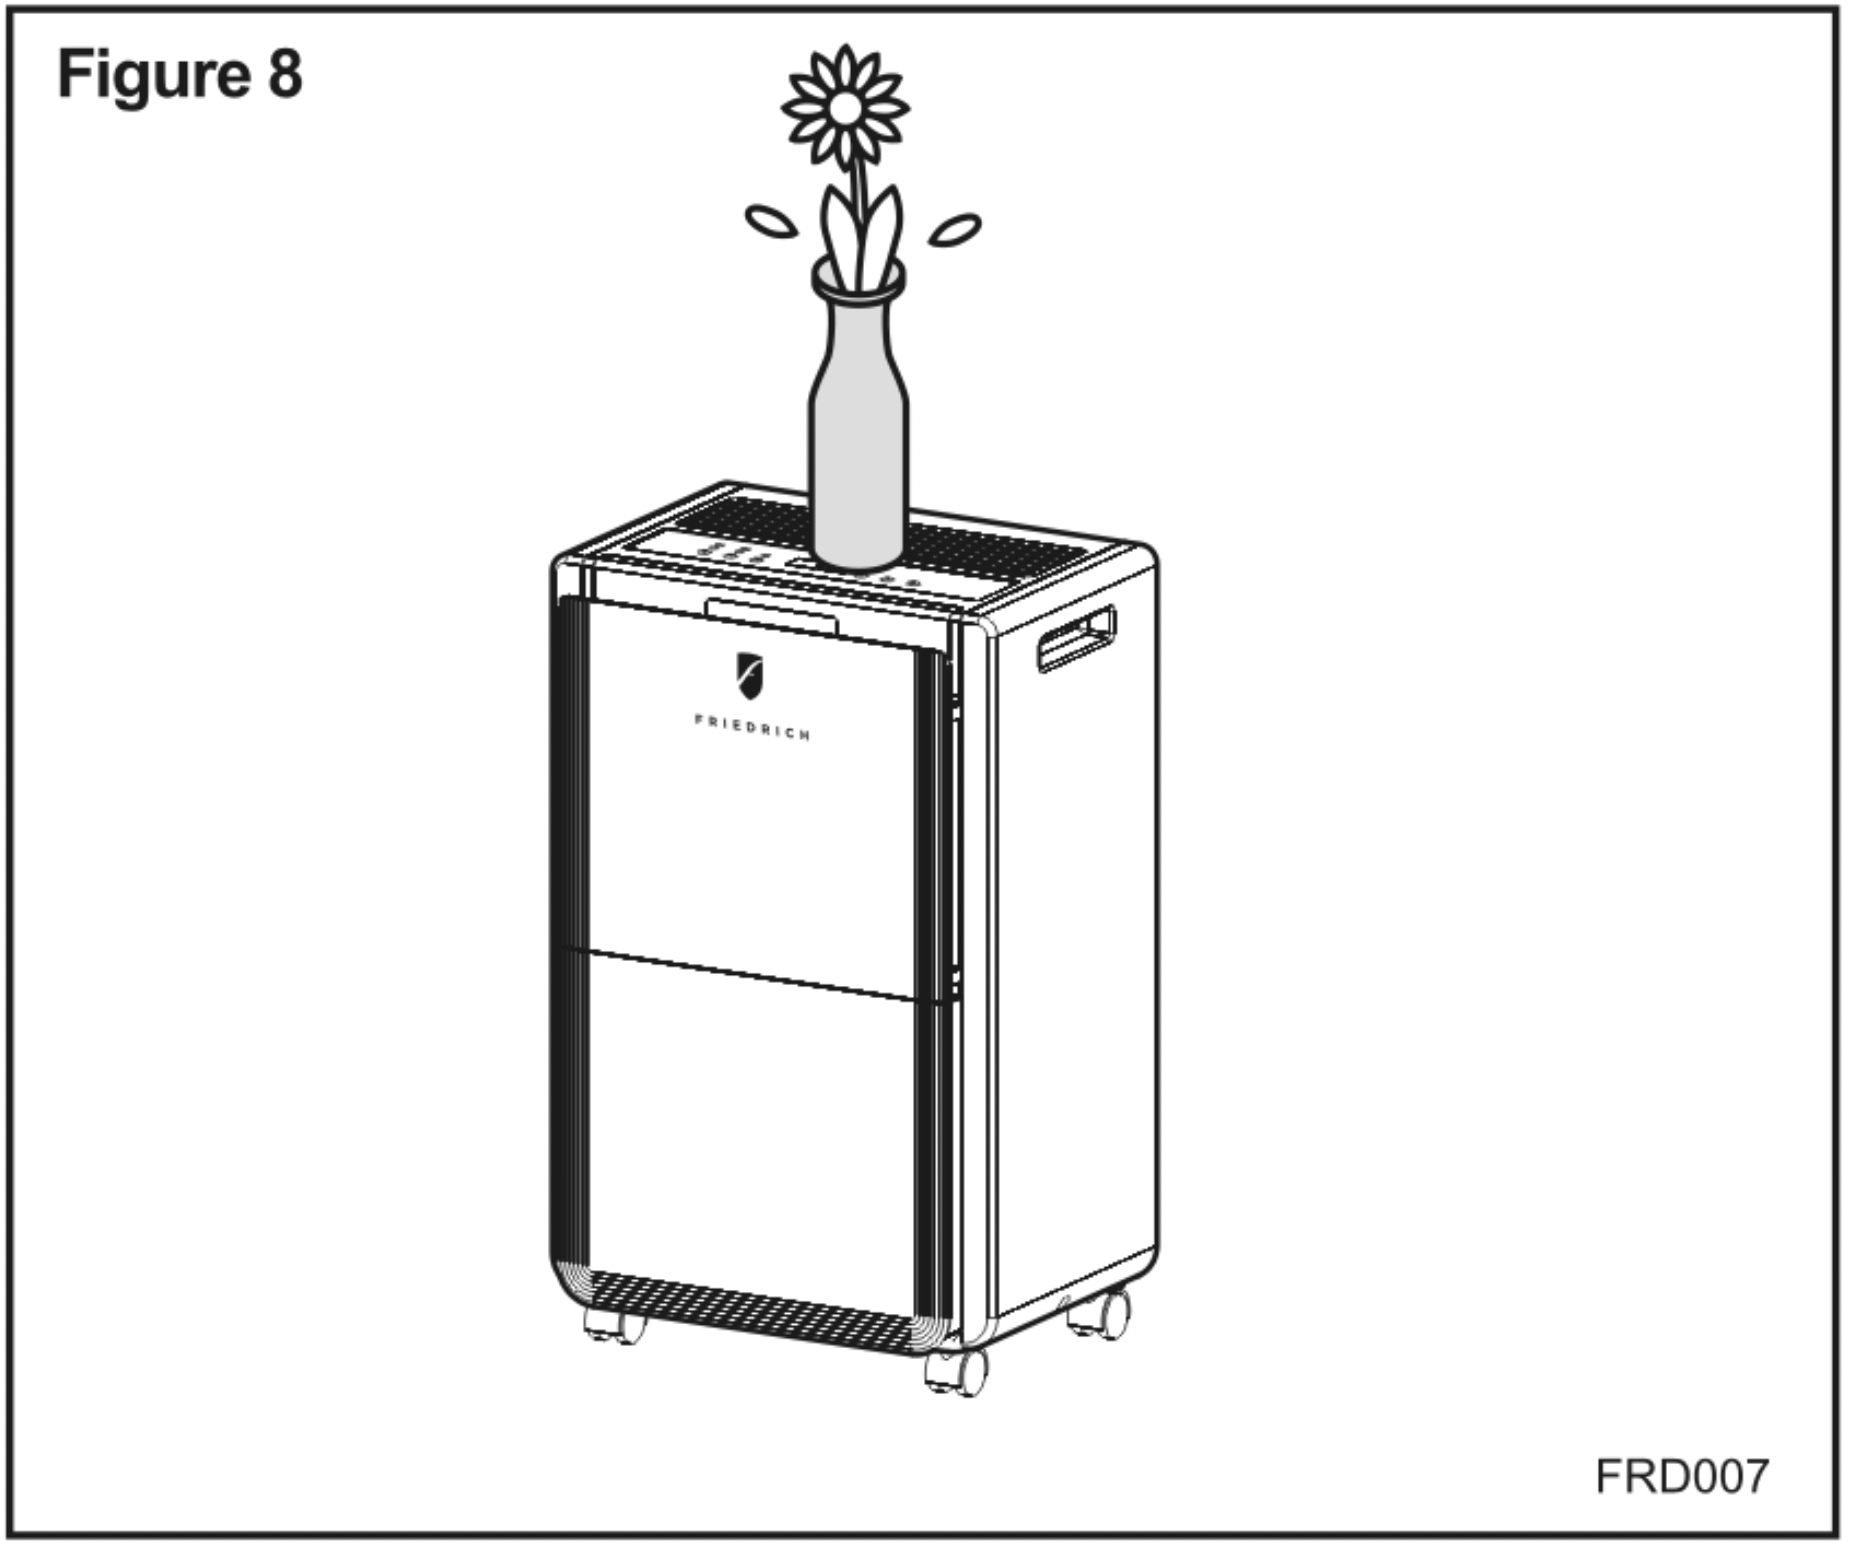
Do not place anything on top of the unit or control panel (See Fingure 8).
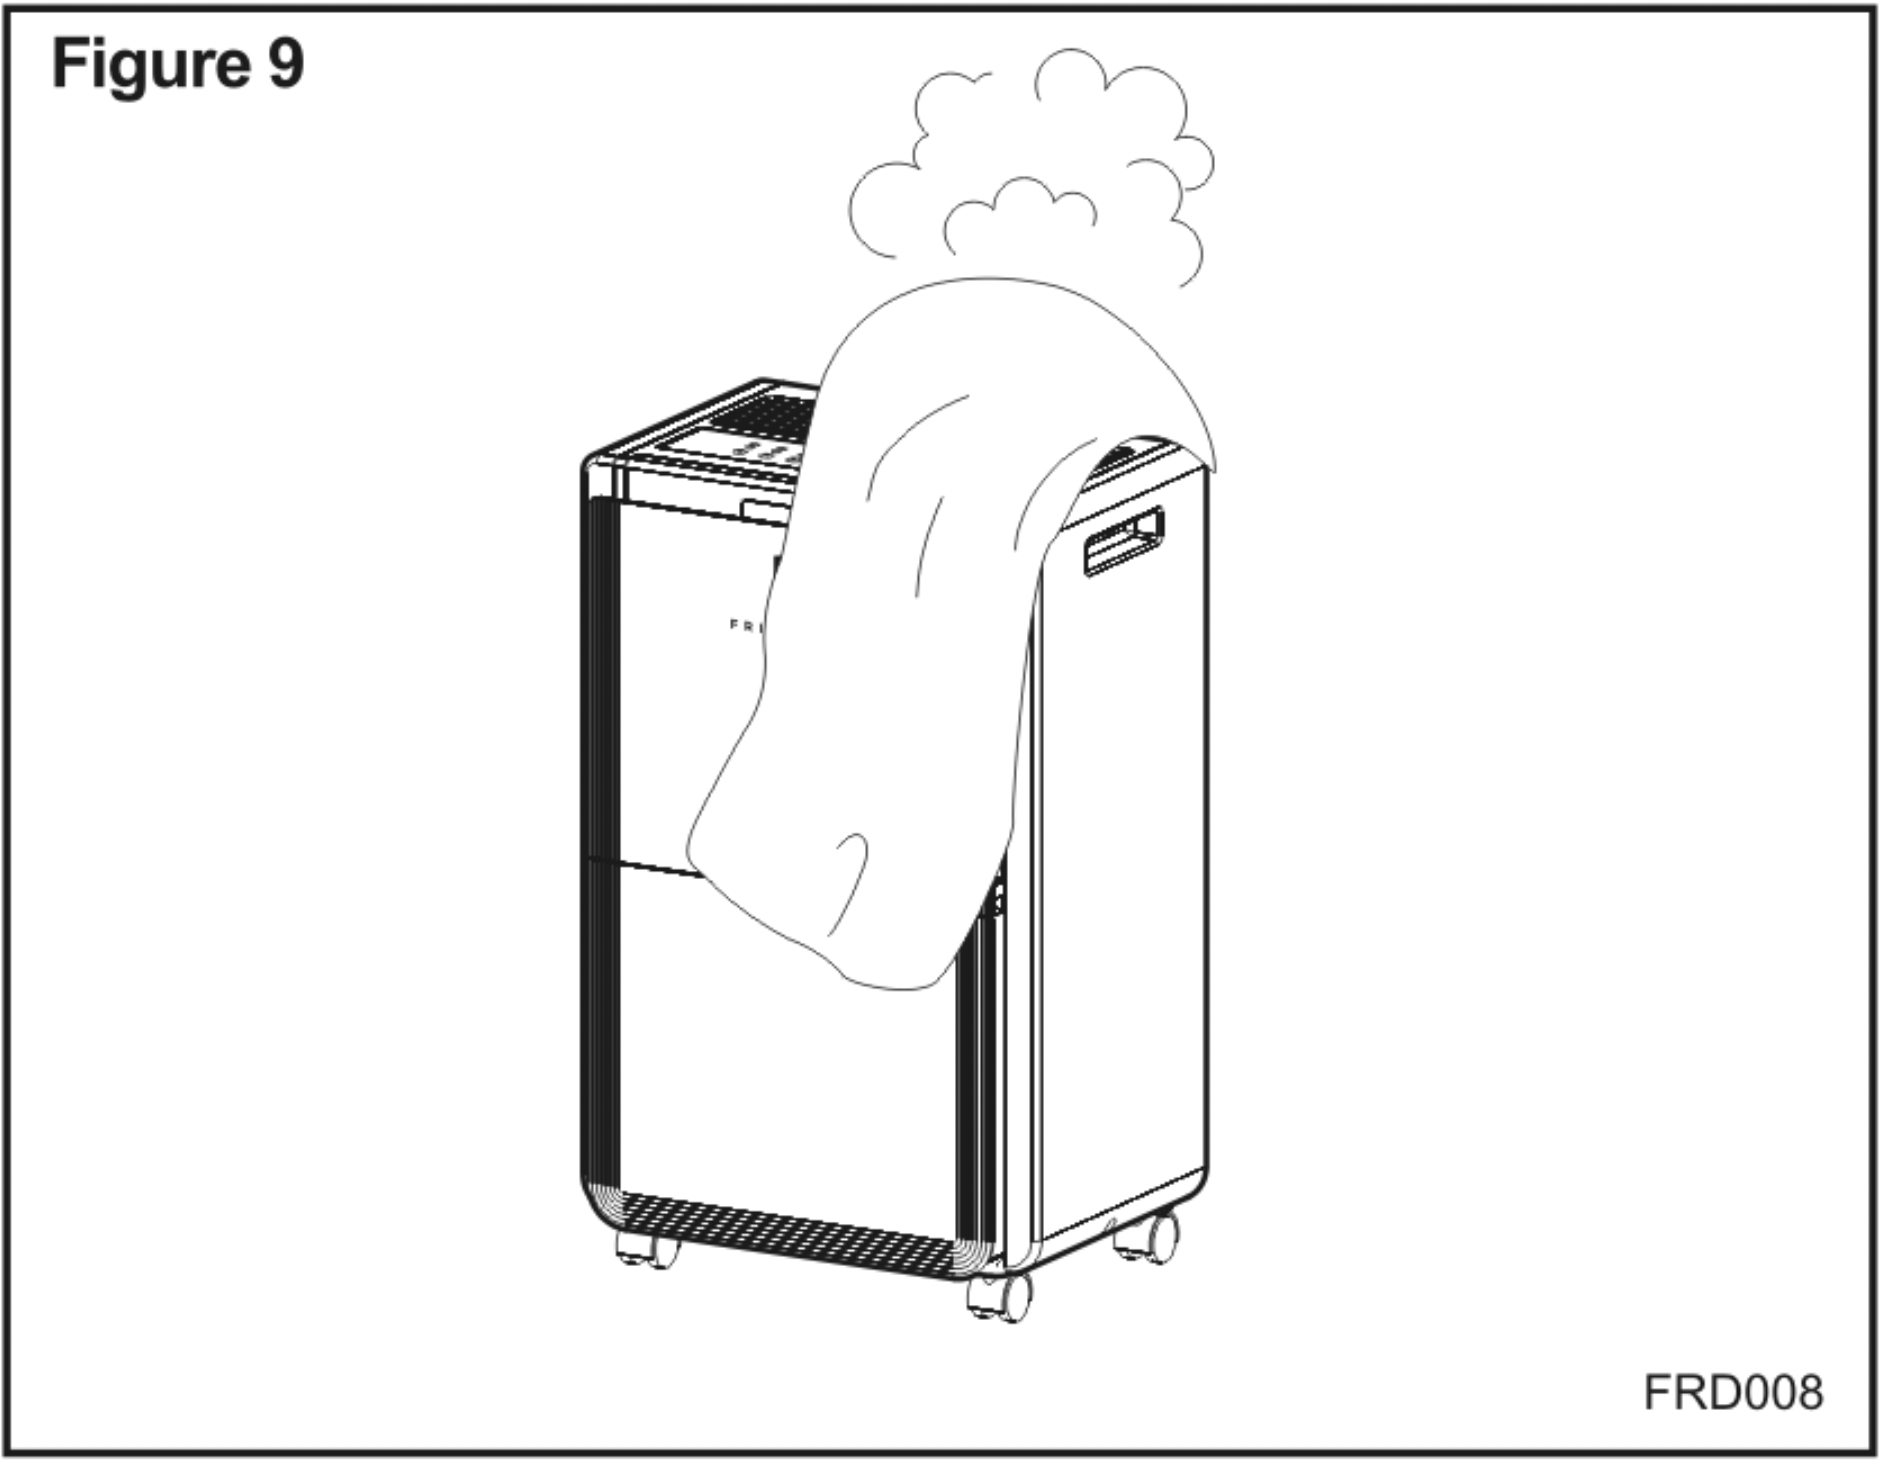
Do not place anything over the inlet or outlet points (See Fingure 9).
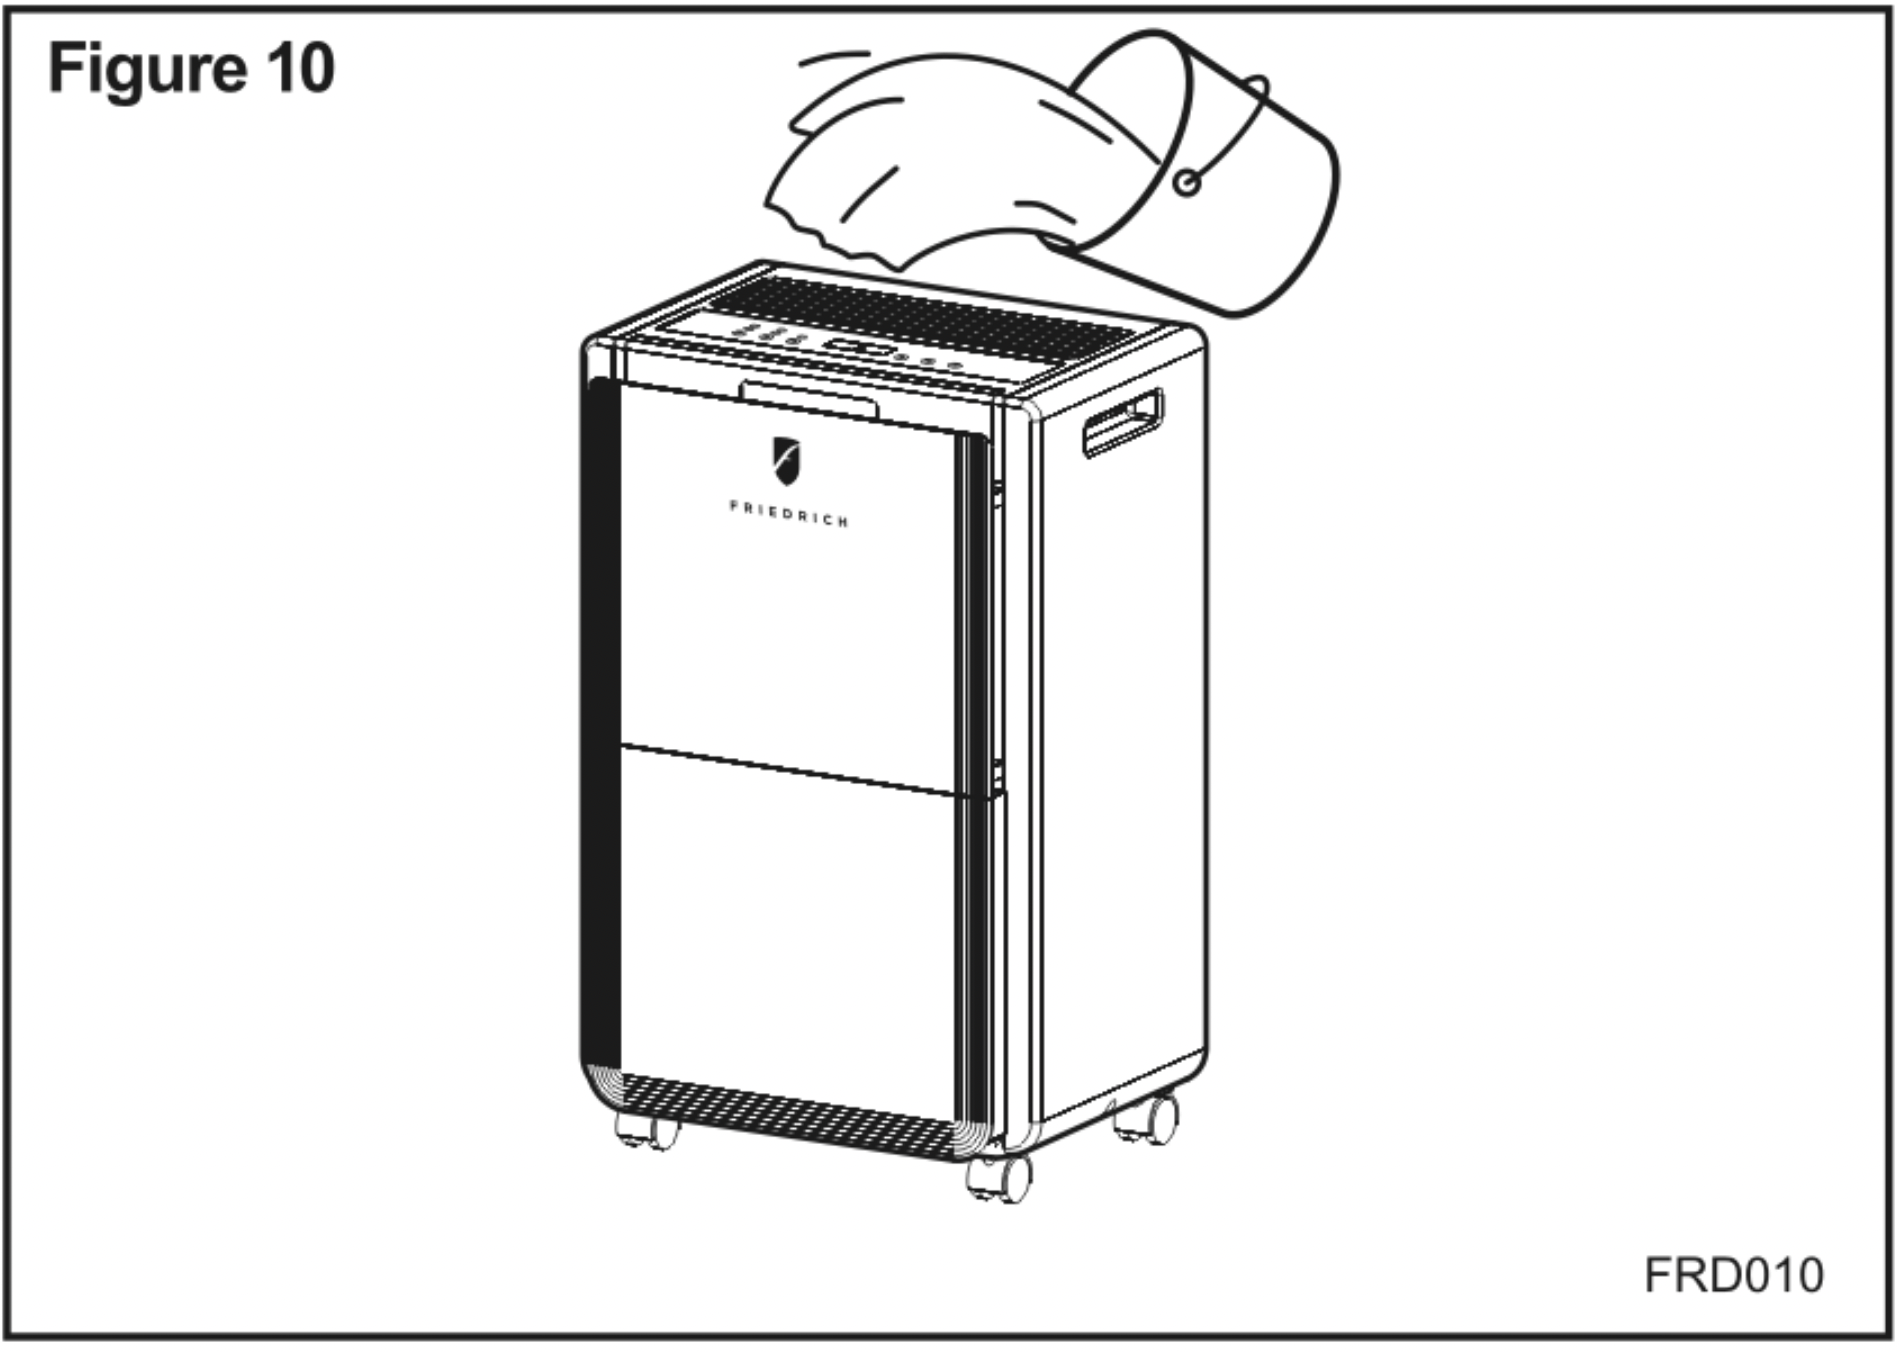
Do not wet the unit or the control panel (See Fingure 10).
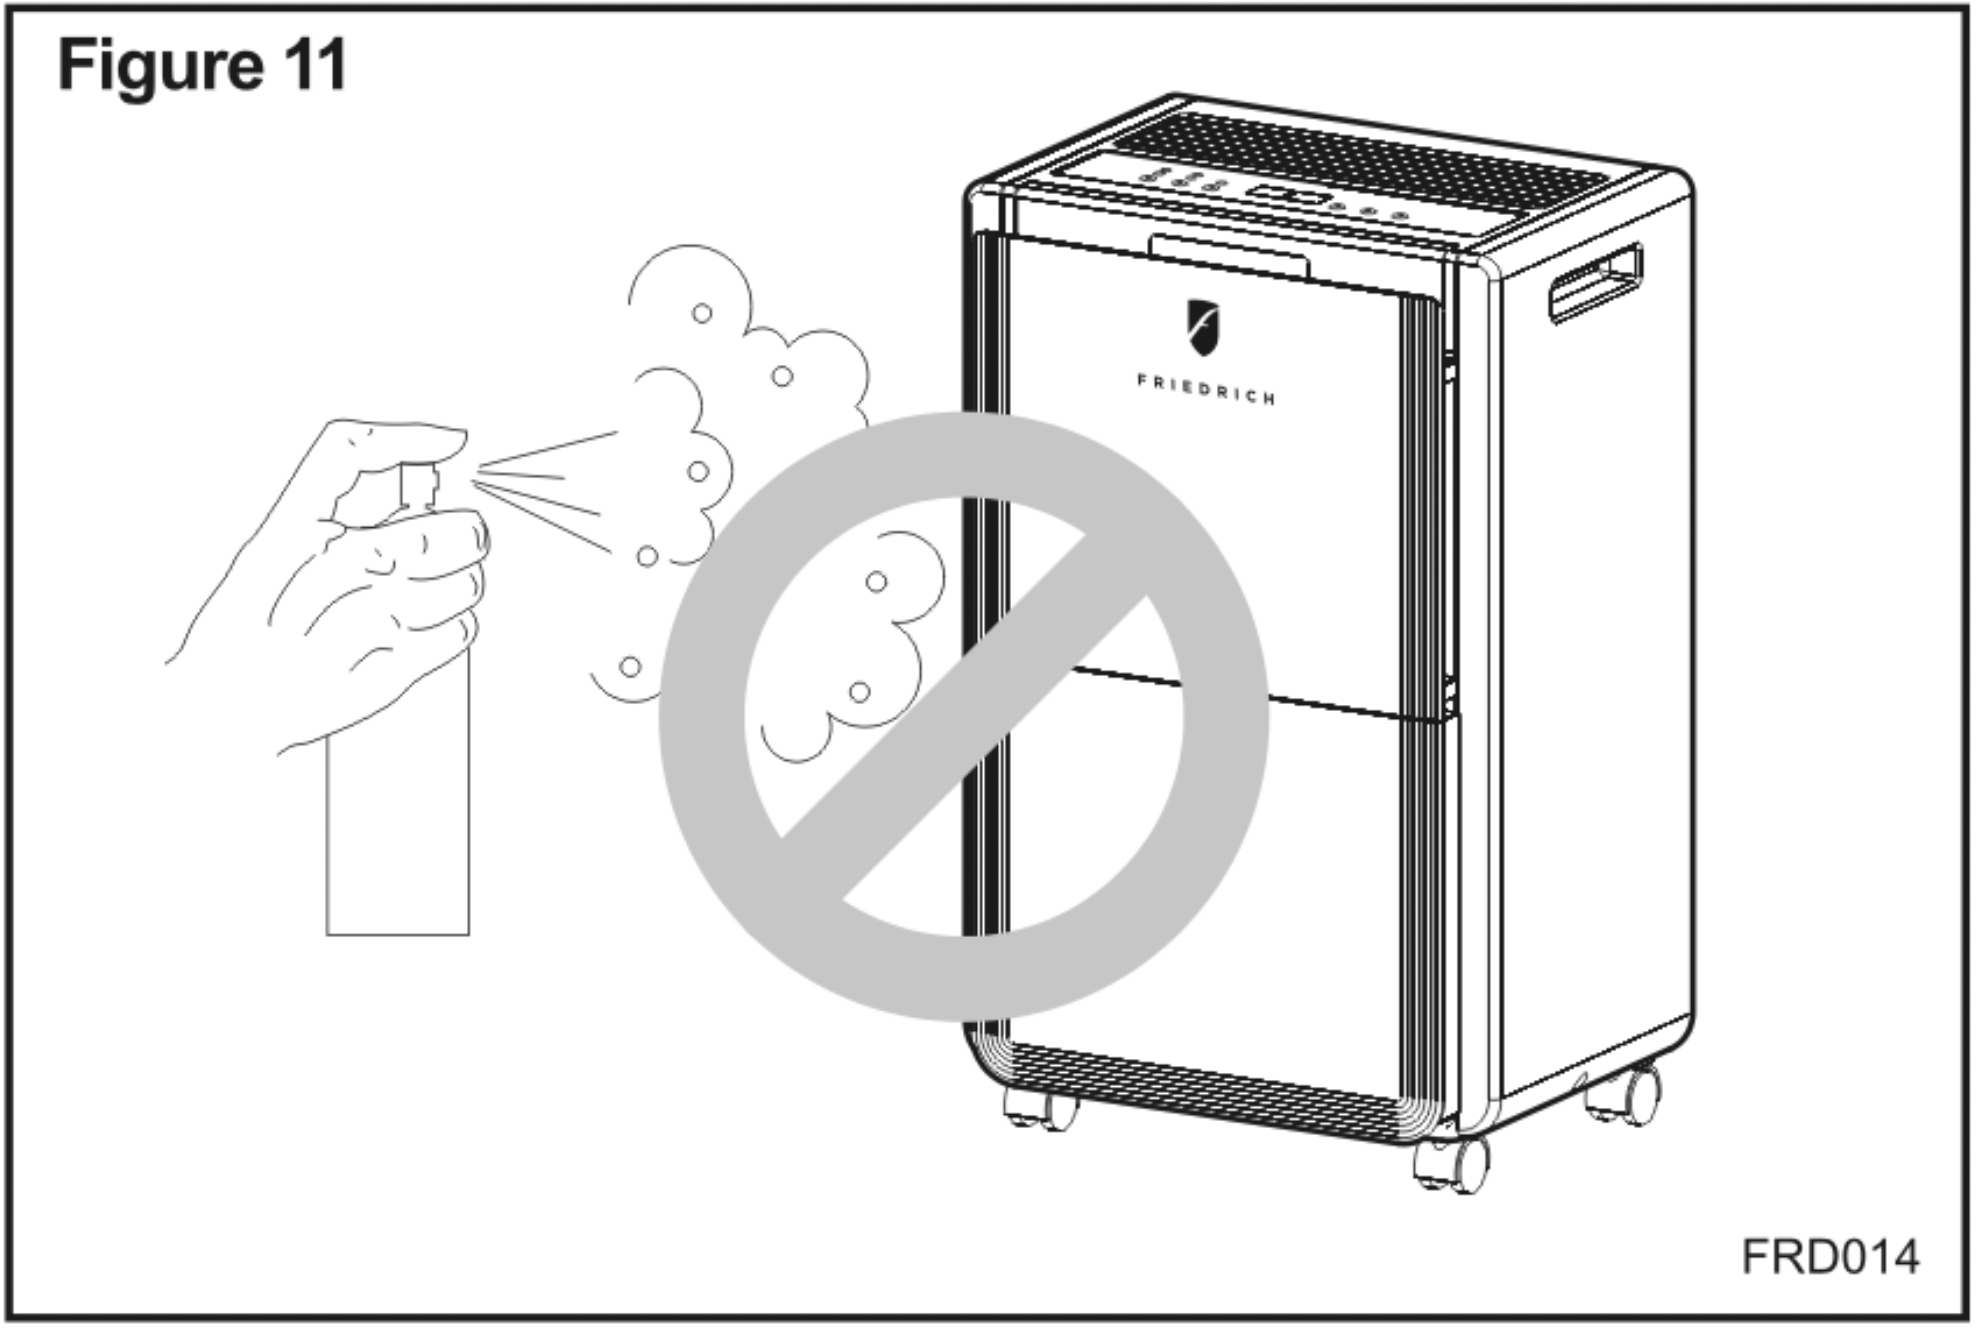
Do not uce insect, oil or paint spray around the unit (See Fingure 11), it might cause damage to the plastic parts or start a fire.
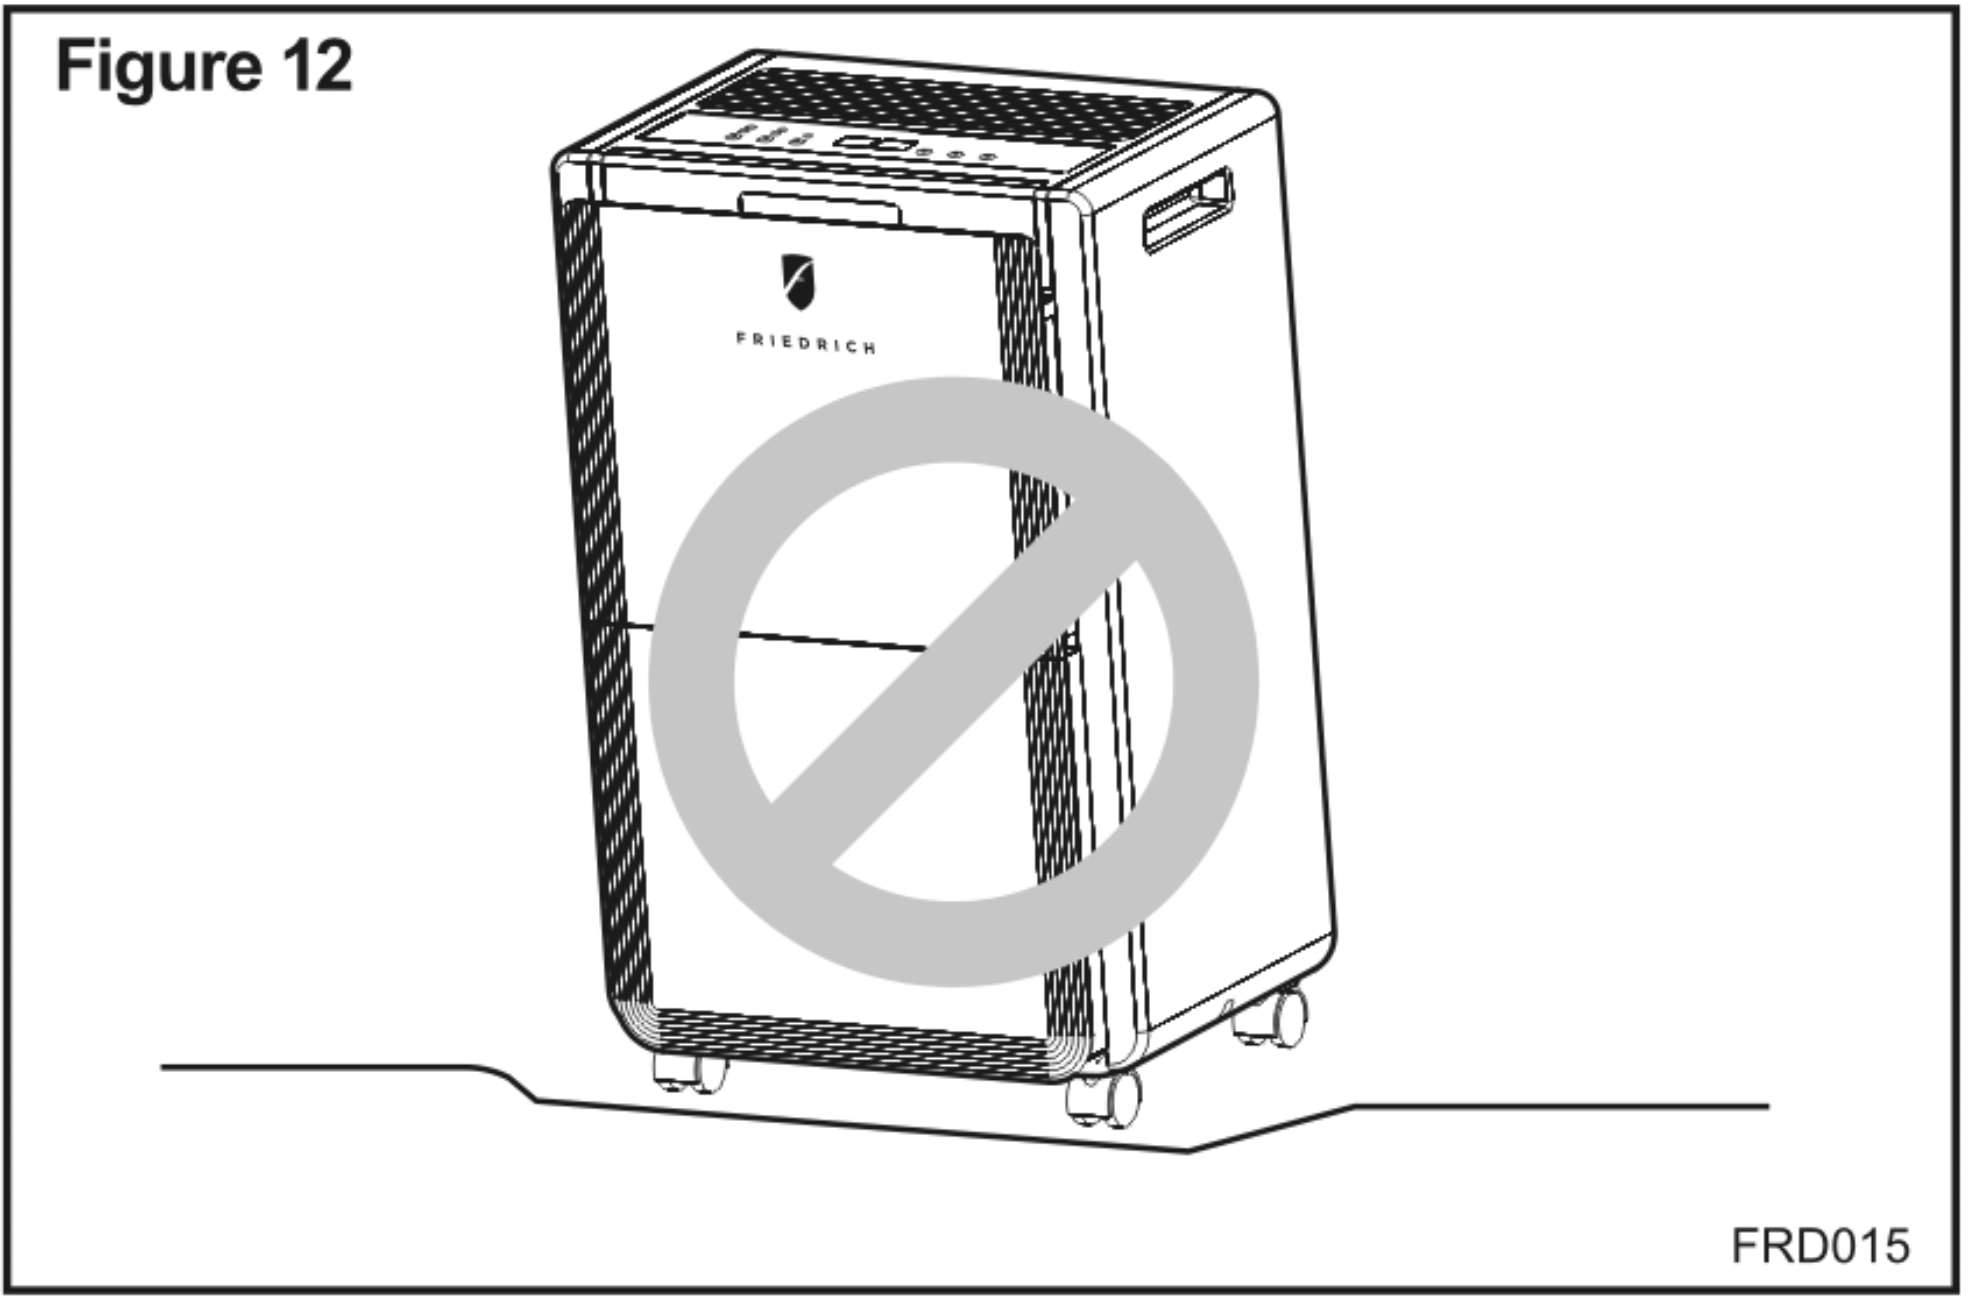
Do not place the unit on an uneven surface (See Fingure 12), to avoid shaking, noise and leakage of water.
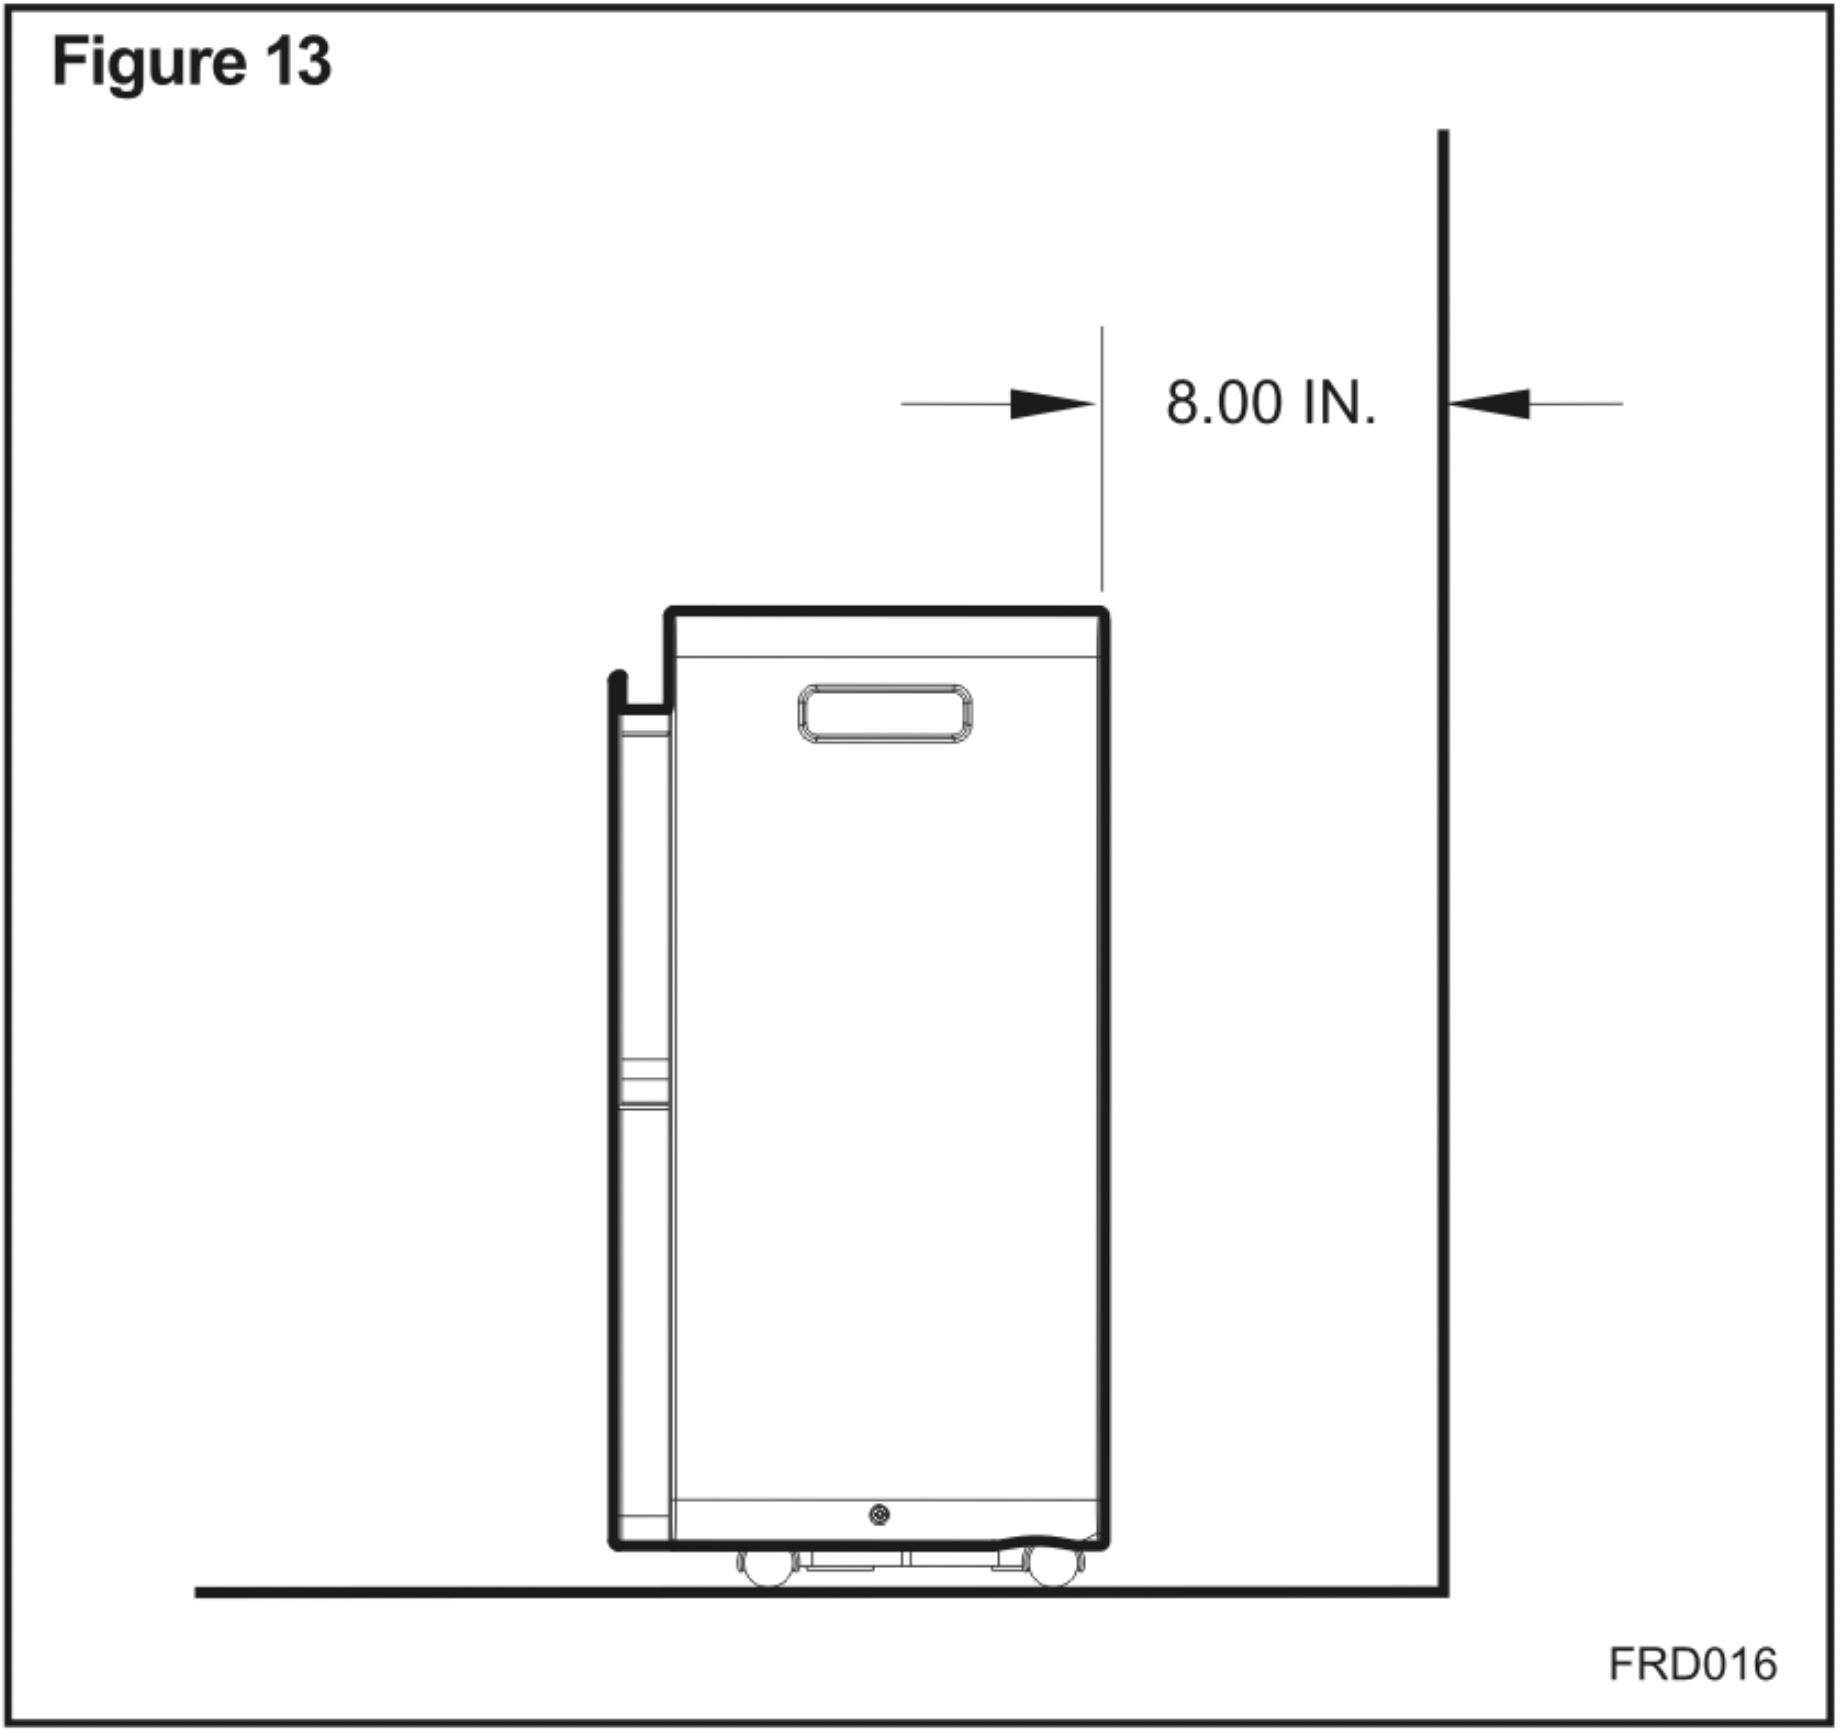
Do always keep the unit 8 in away from the wall (See Fingure 13) to dissipate the heat properly.
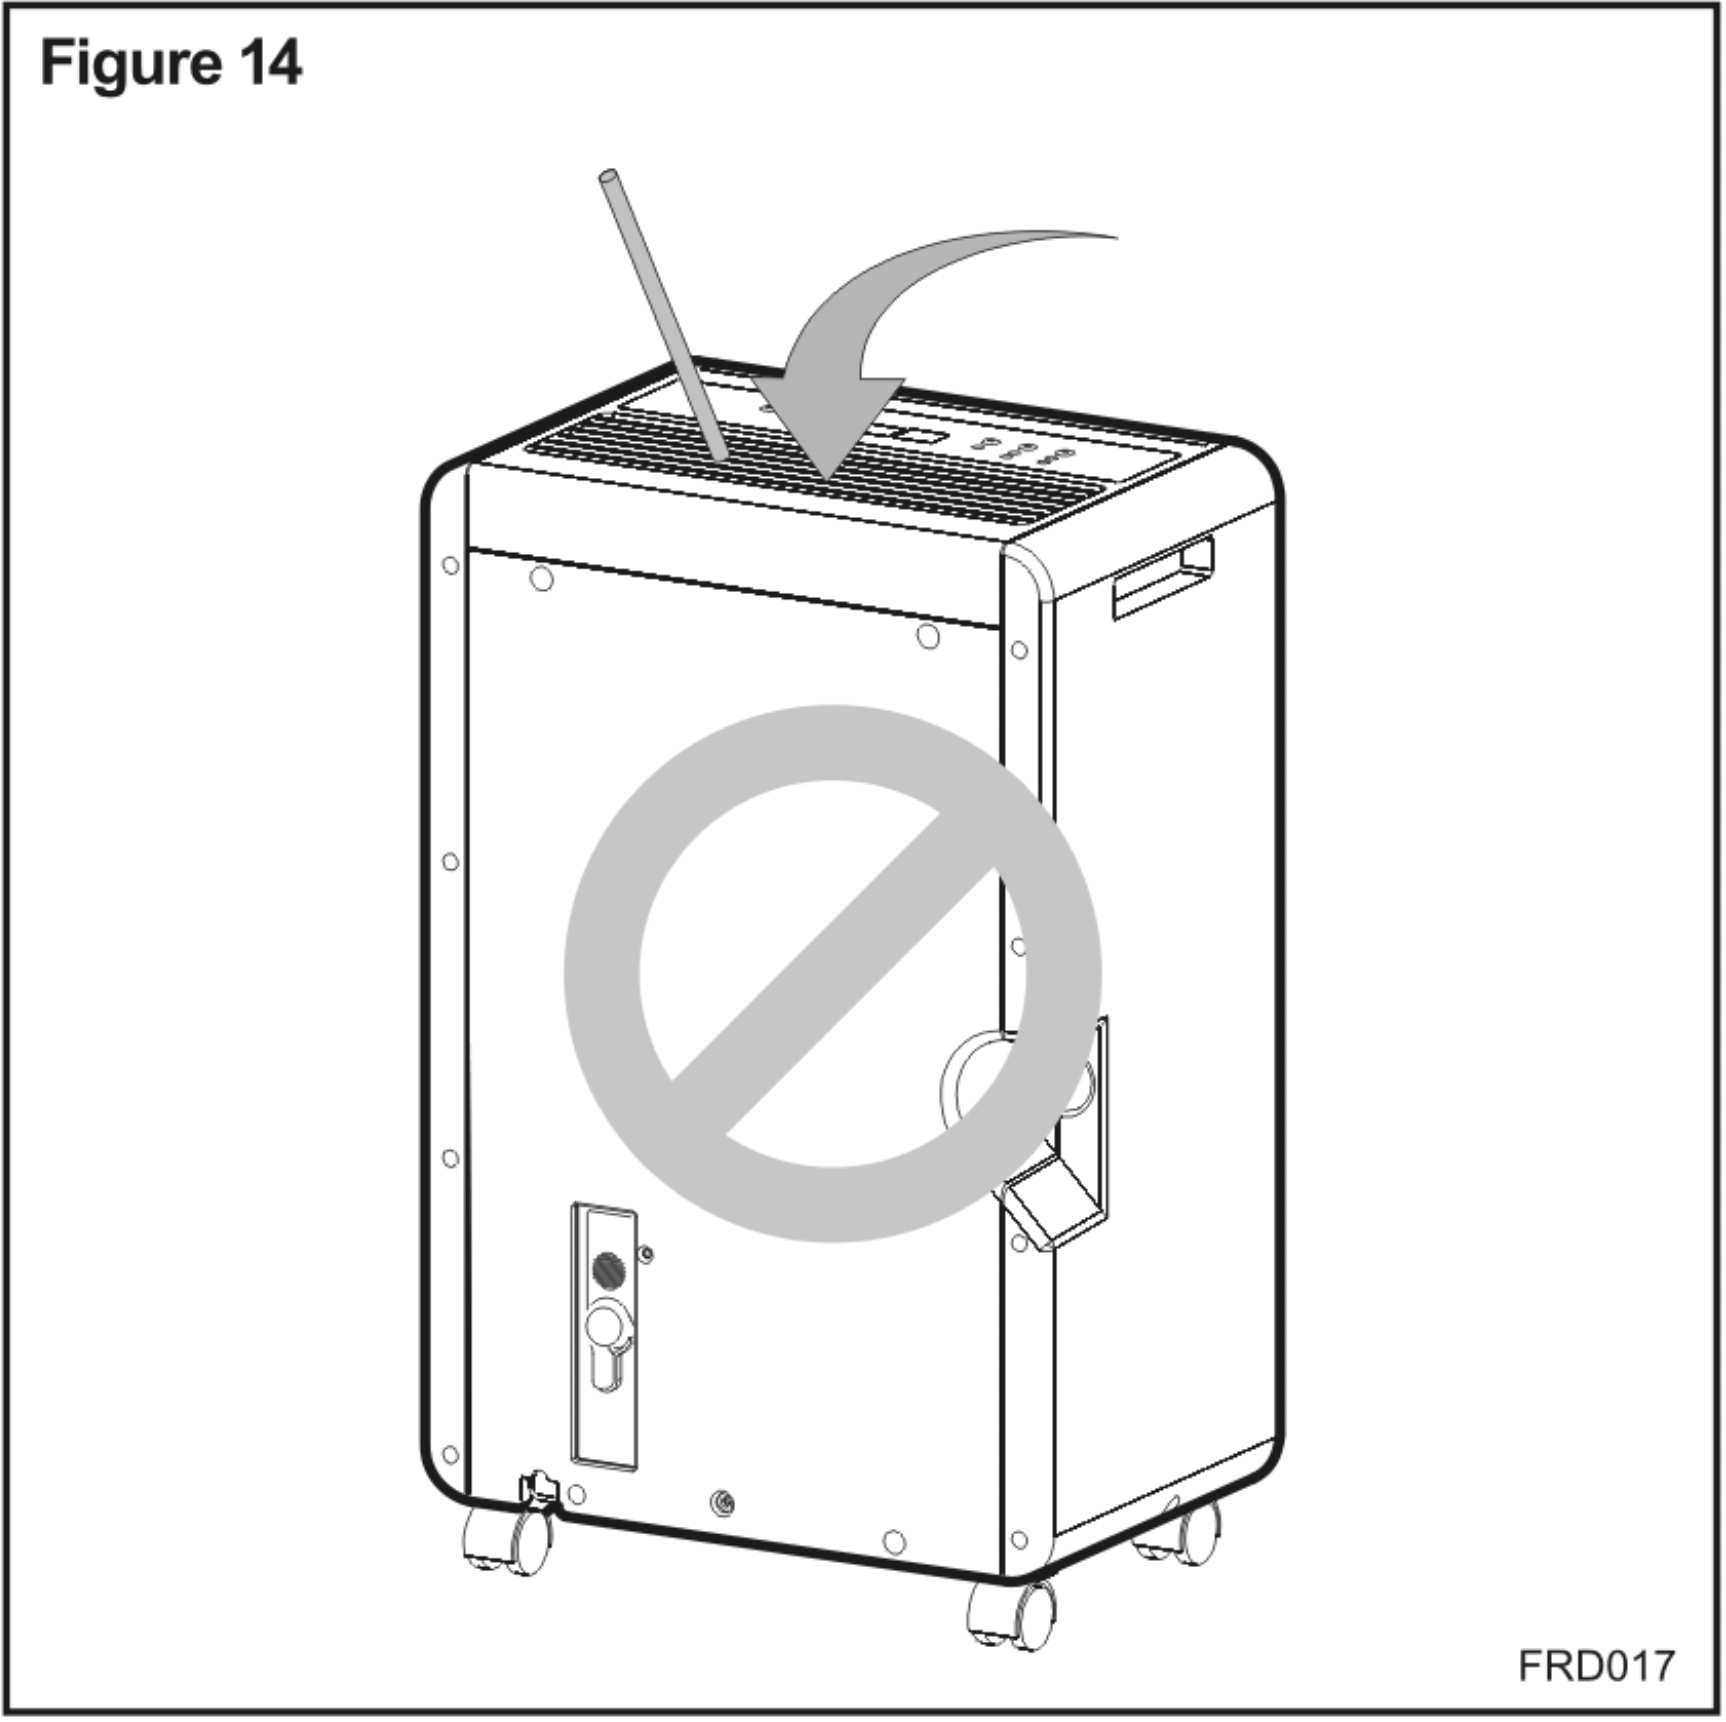
Do not put any foreign into the unit, it is dangerous and will result in damage to the unit (See Fingure 14).
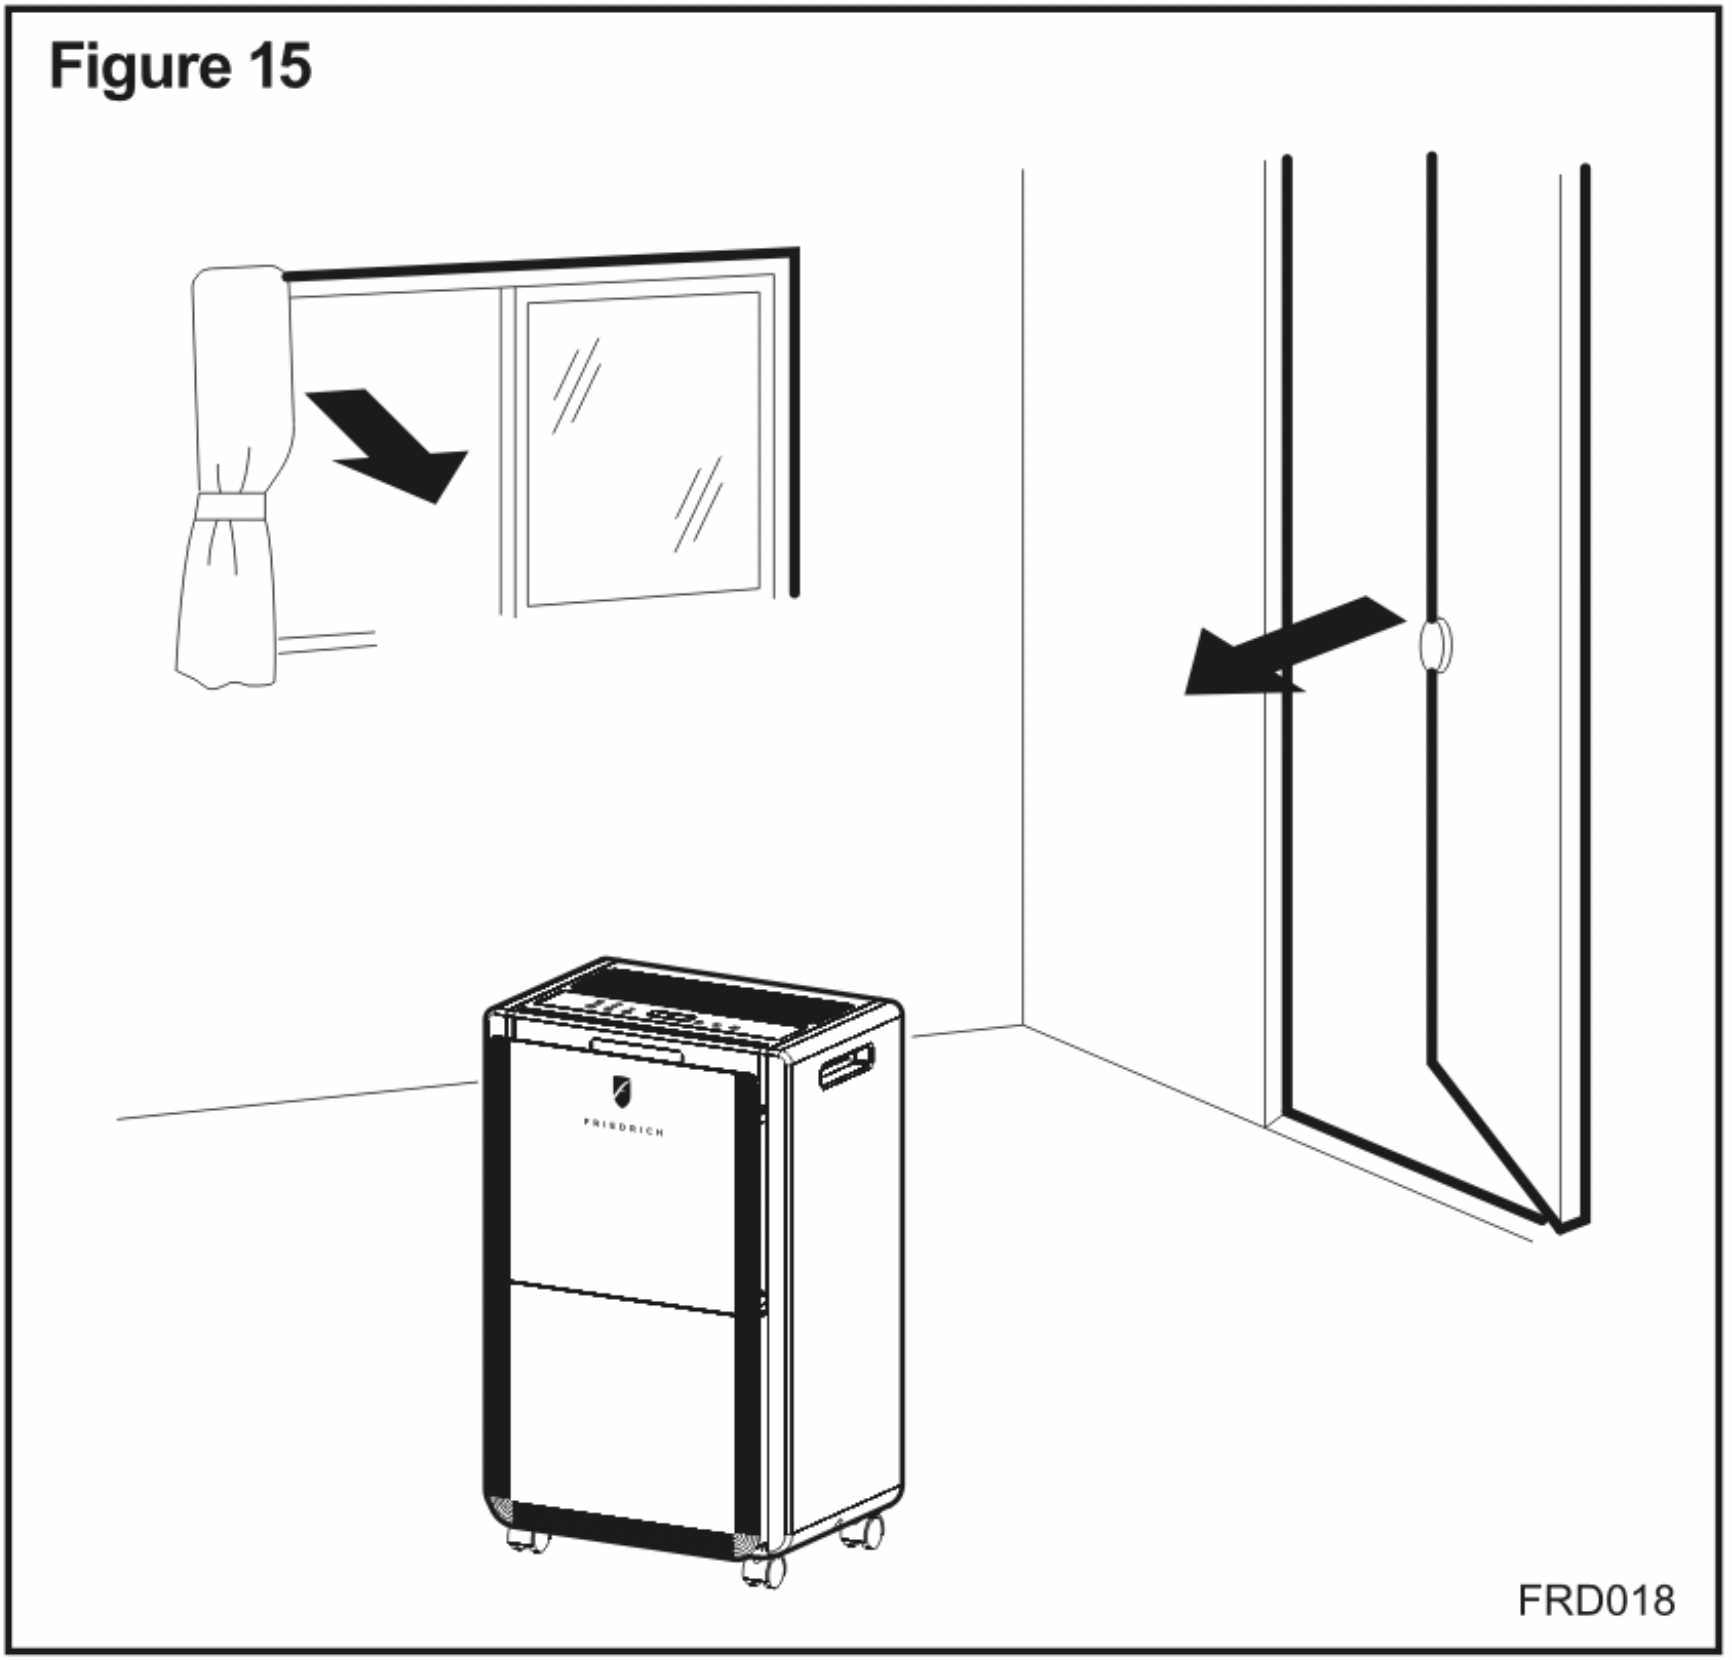
Do close all open windows to reach the maximum possible efficiency of dehumidifier removing moisture (See Fingure 15).
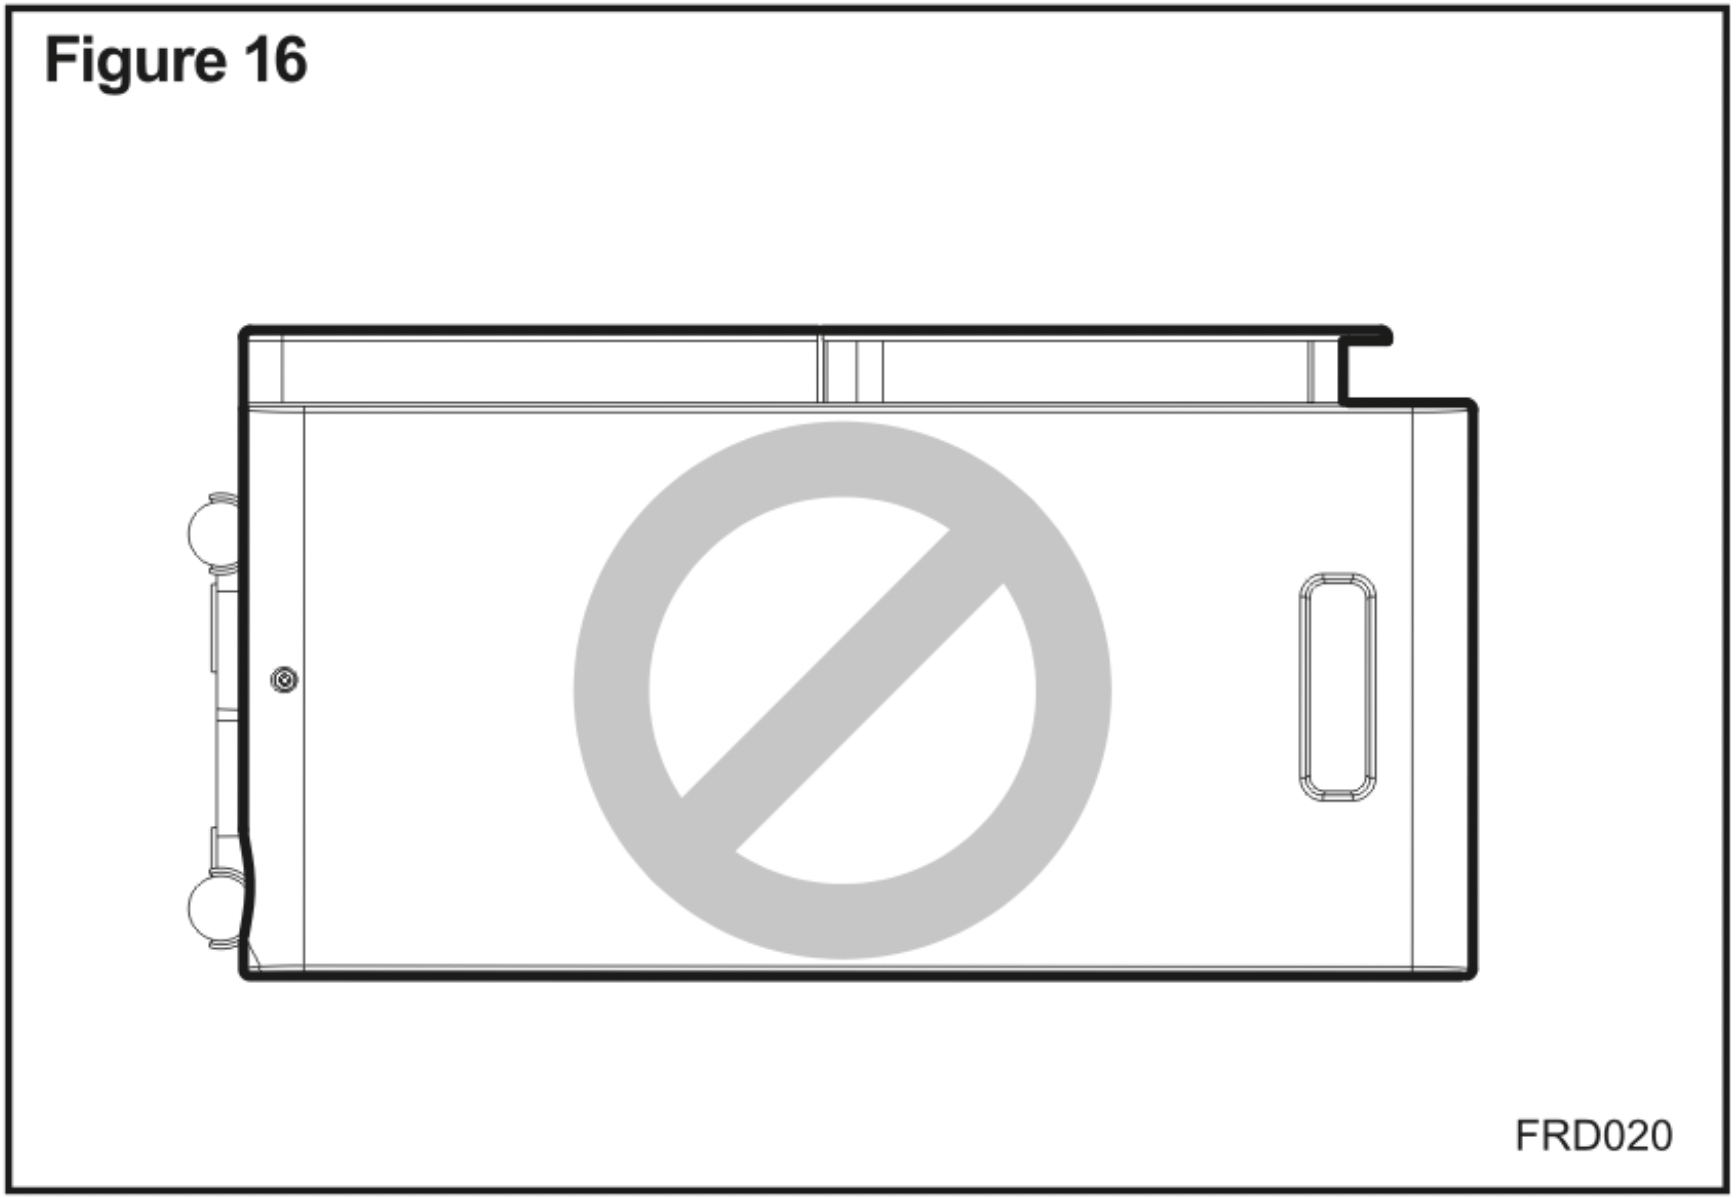
When moving or putting unit in storage, do not place the unit on its side or upside down and avoid violent shaking (See Fingure 16).
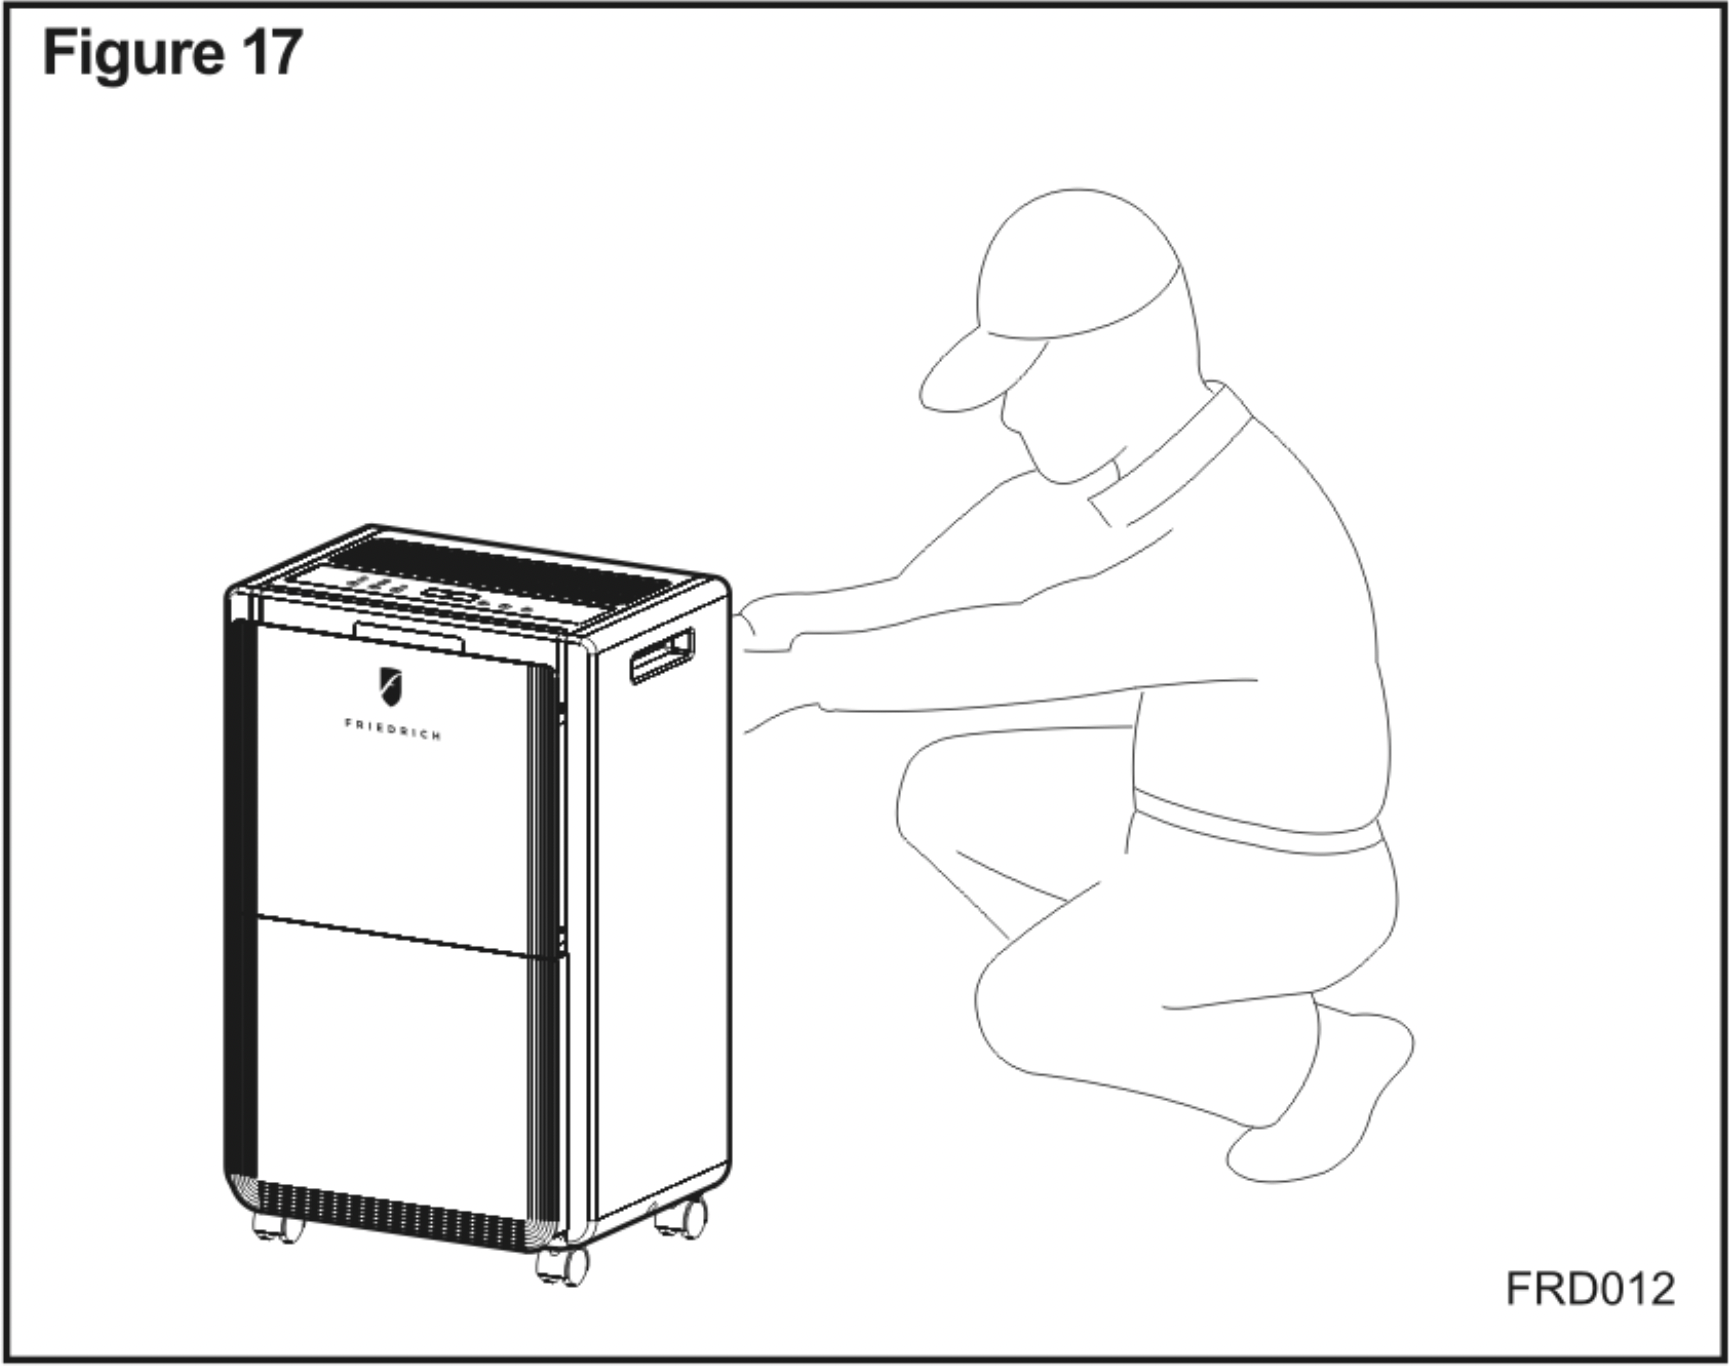
Do ask professional service technicians to service the unit as required (See Fingure 17).
Continuous Drainage
(D25BNP model only)
To save having to periodically empty the drain bucket, this unit can be configured for continuous drainage. You can use the supplied drain hose to connect to the continuous drainage connector (See Figure 18).
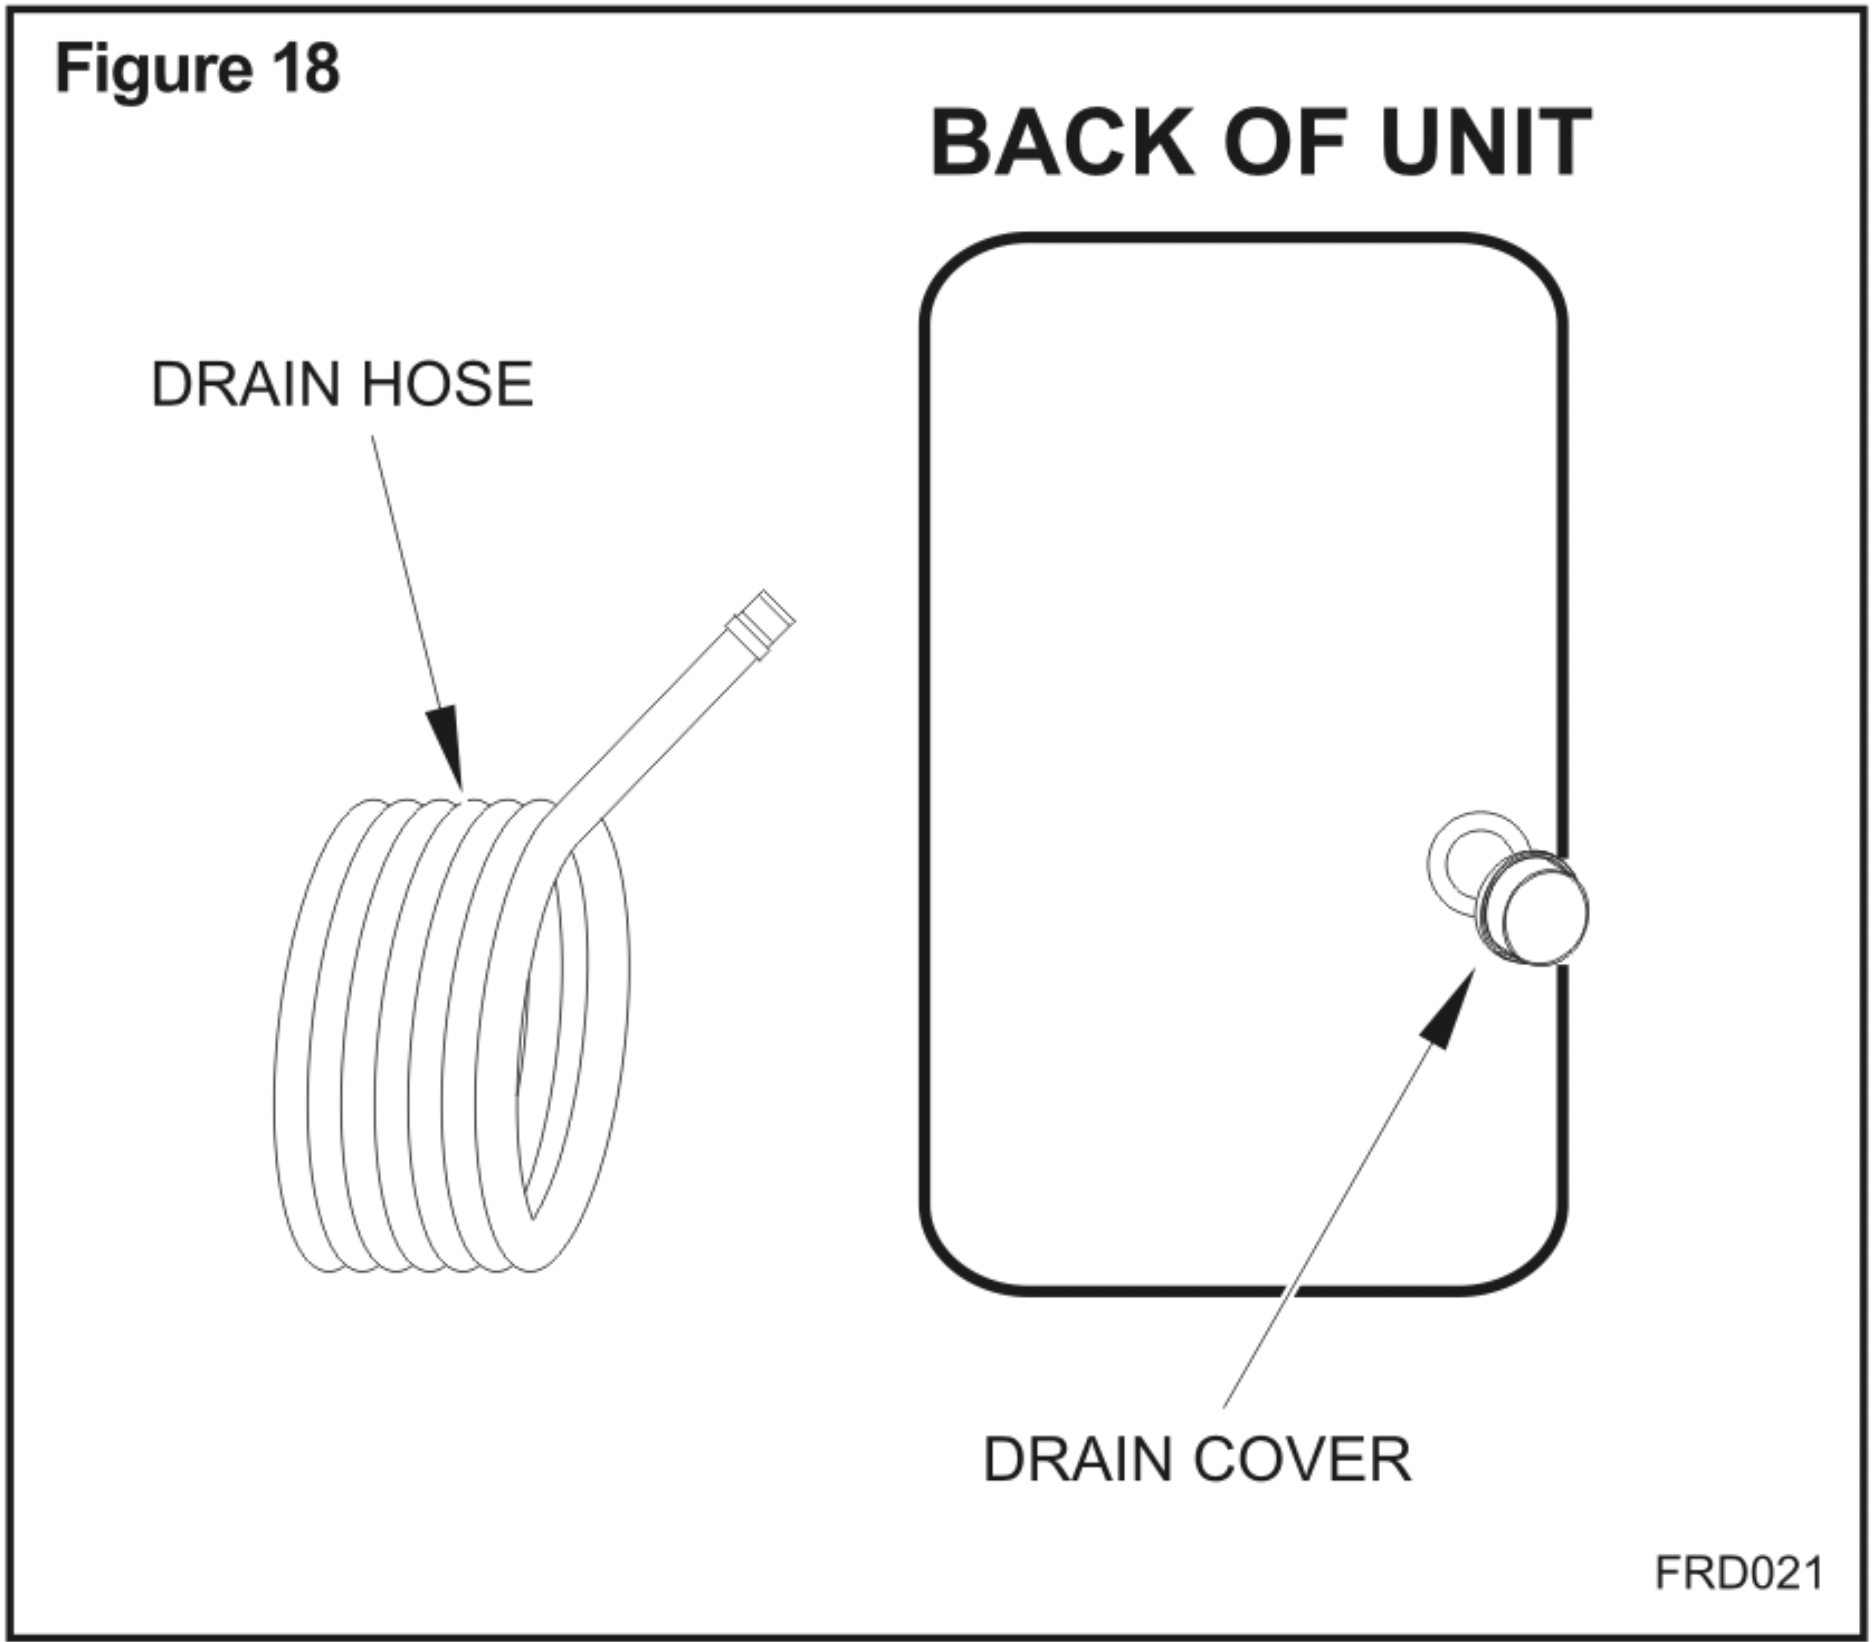
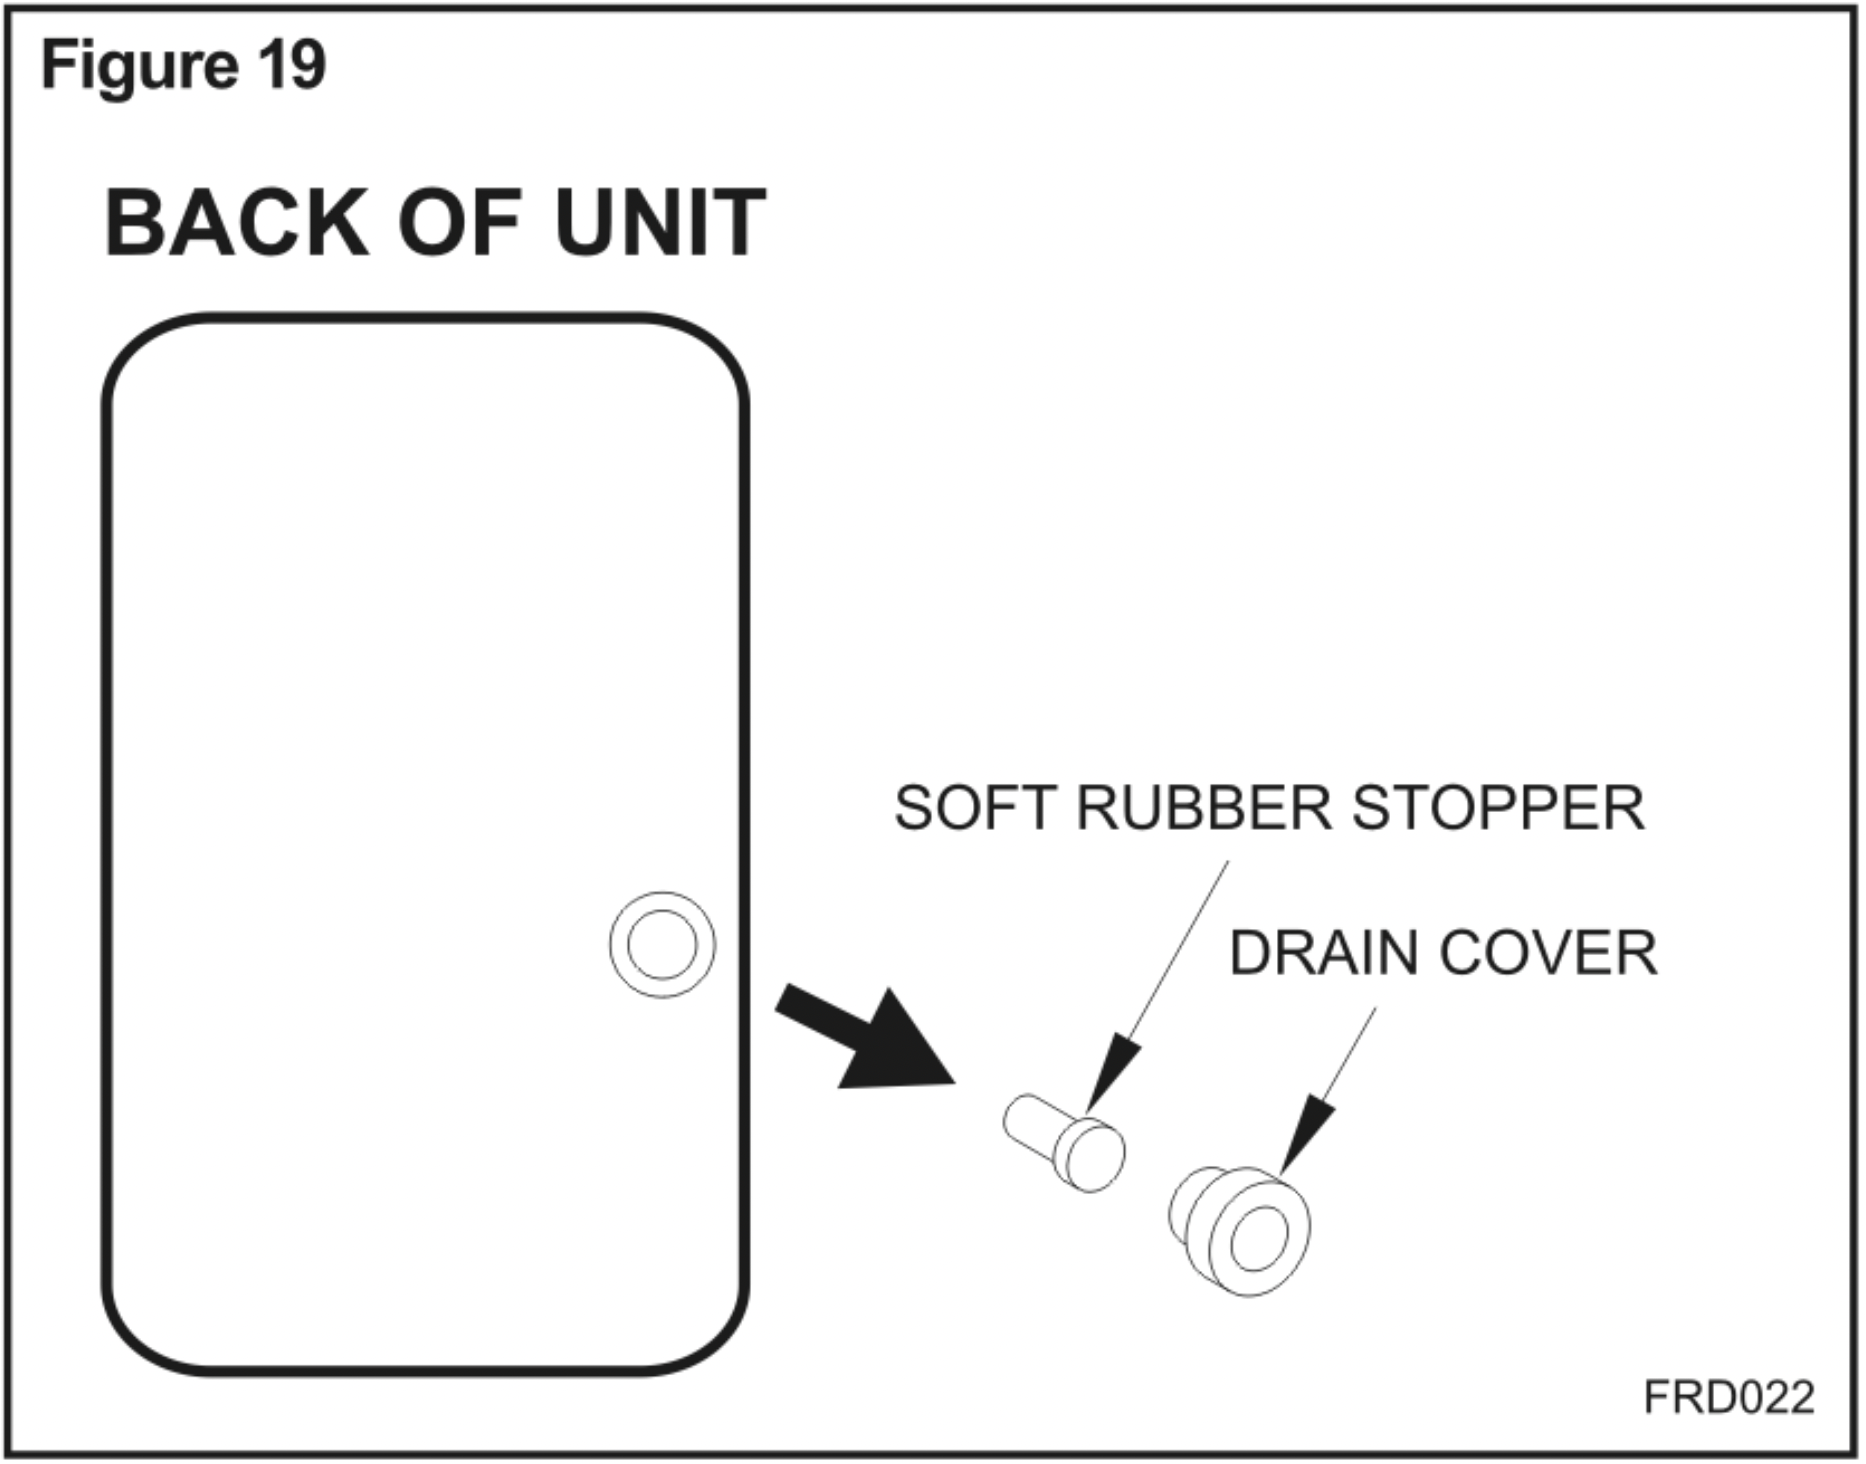
Unscrew and remove the drain cover at the rear of the unit (See Figure 19).
Remove the soft rubber stopper. Put it into the drain bucket for safe keeping (See Figure 19).
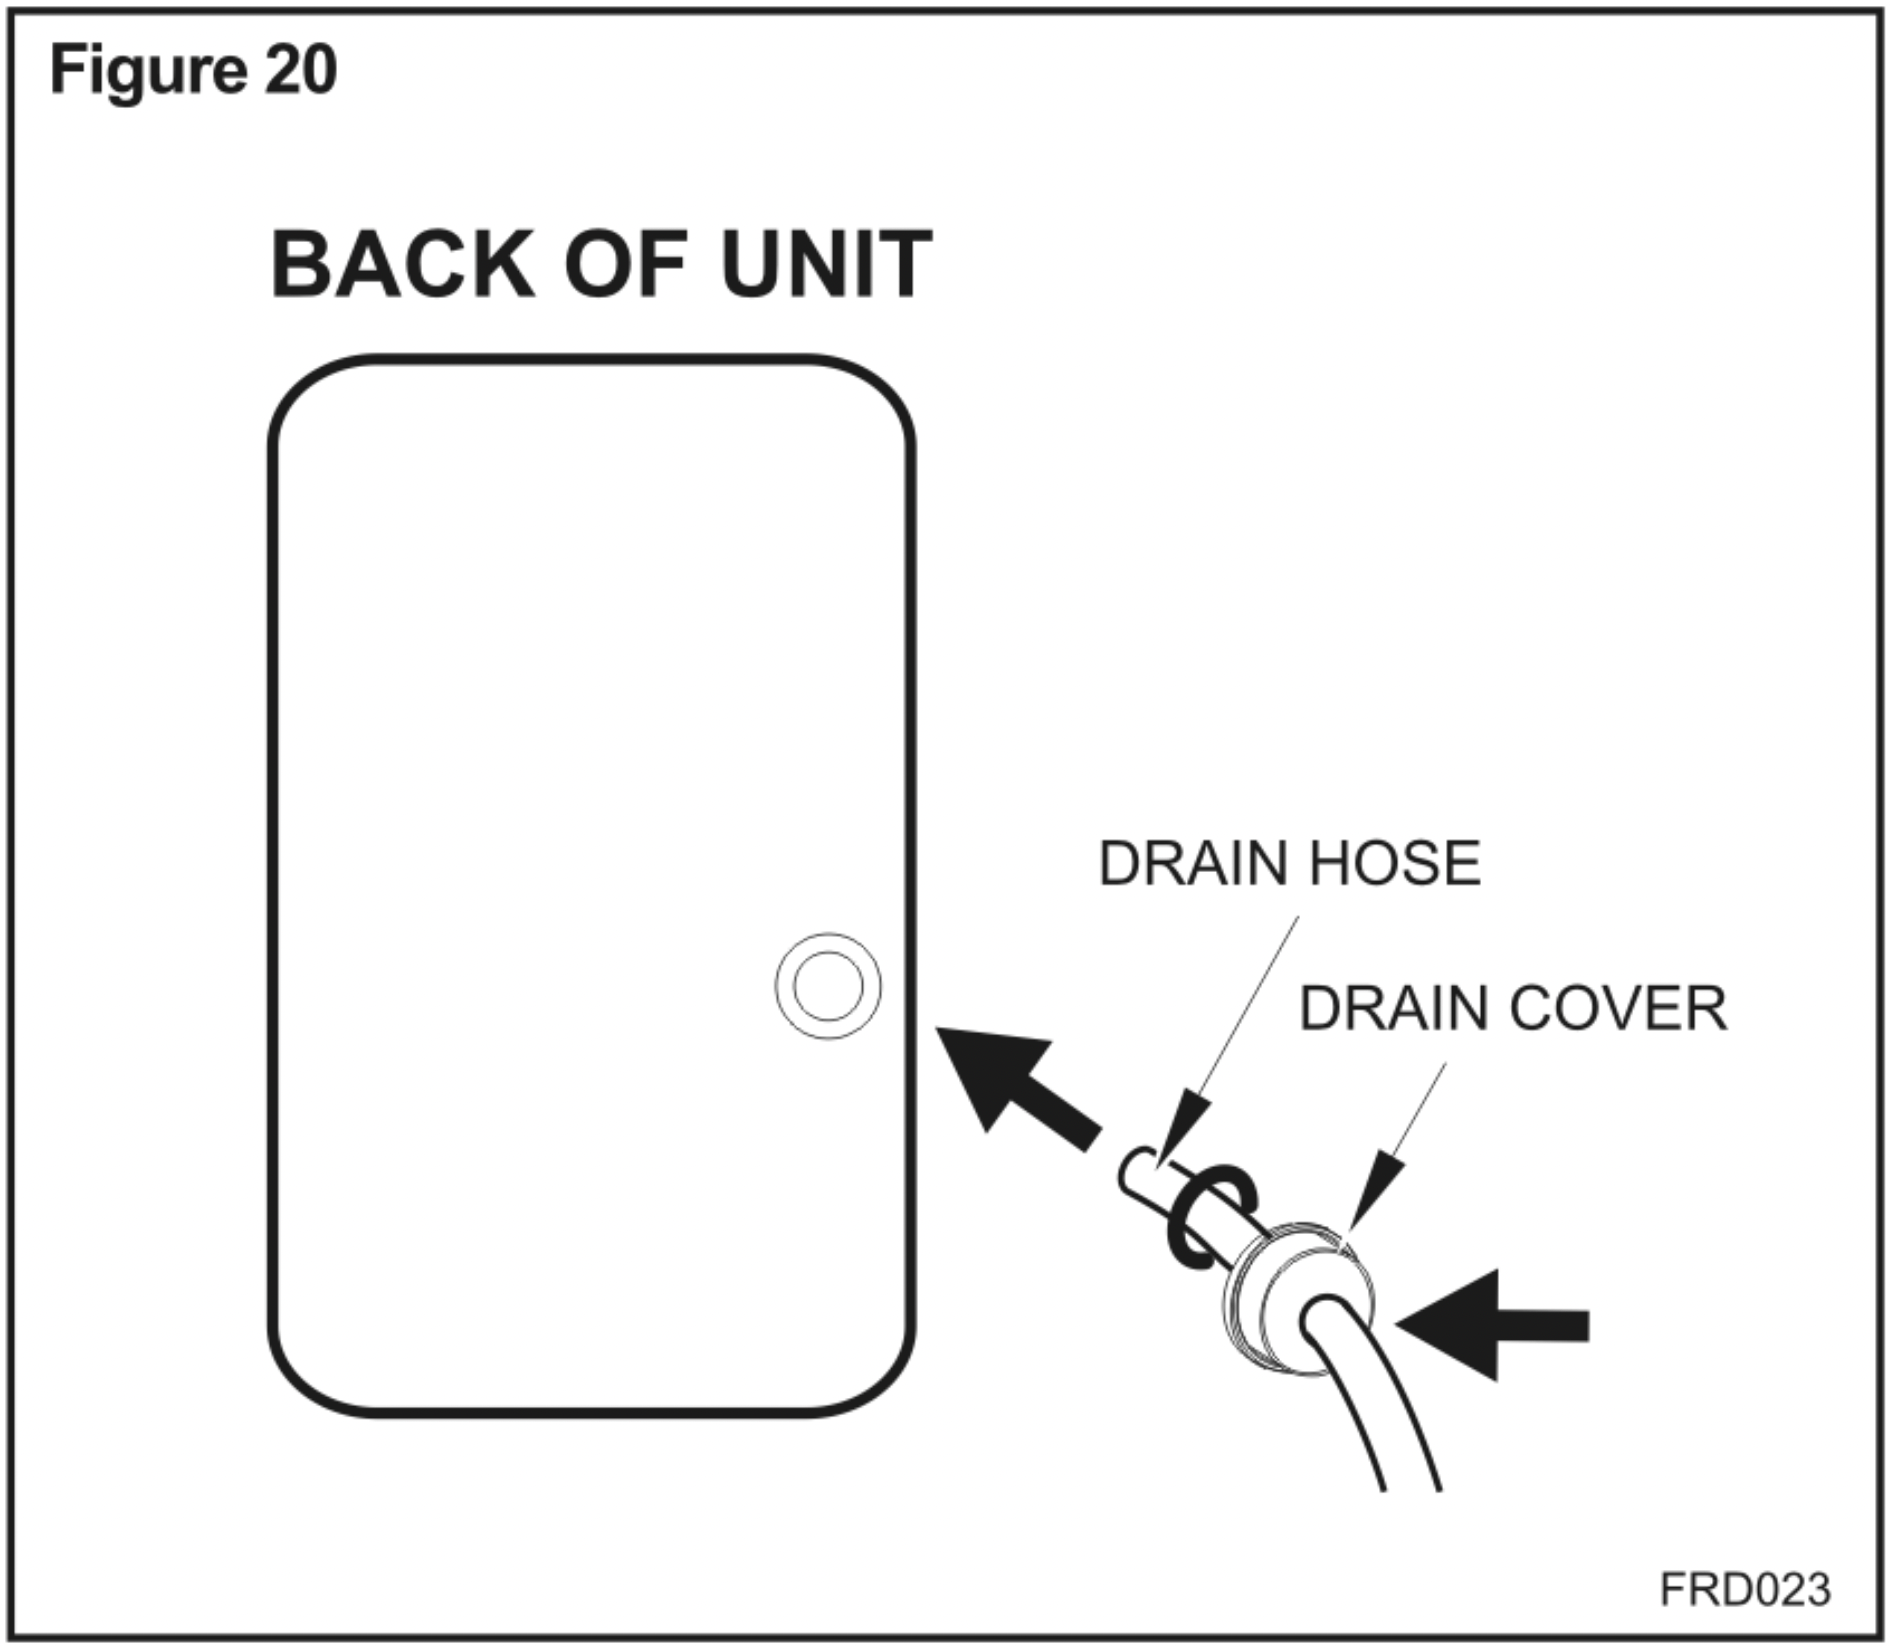
Insert the drain hose through the hole of the drain cover. Then connect the drain hose to the drain port (See Figure 20).
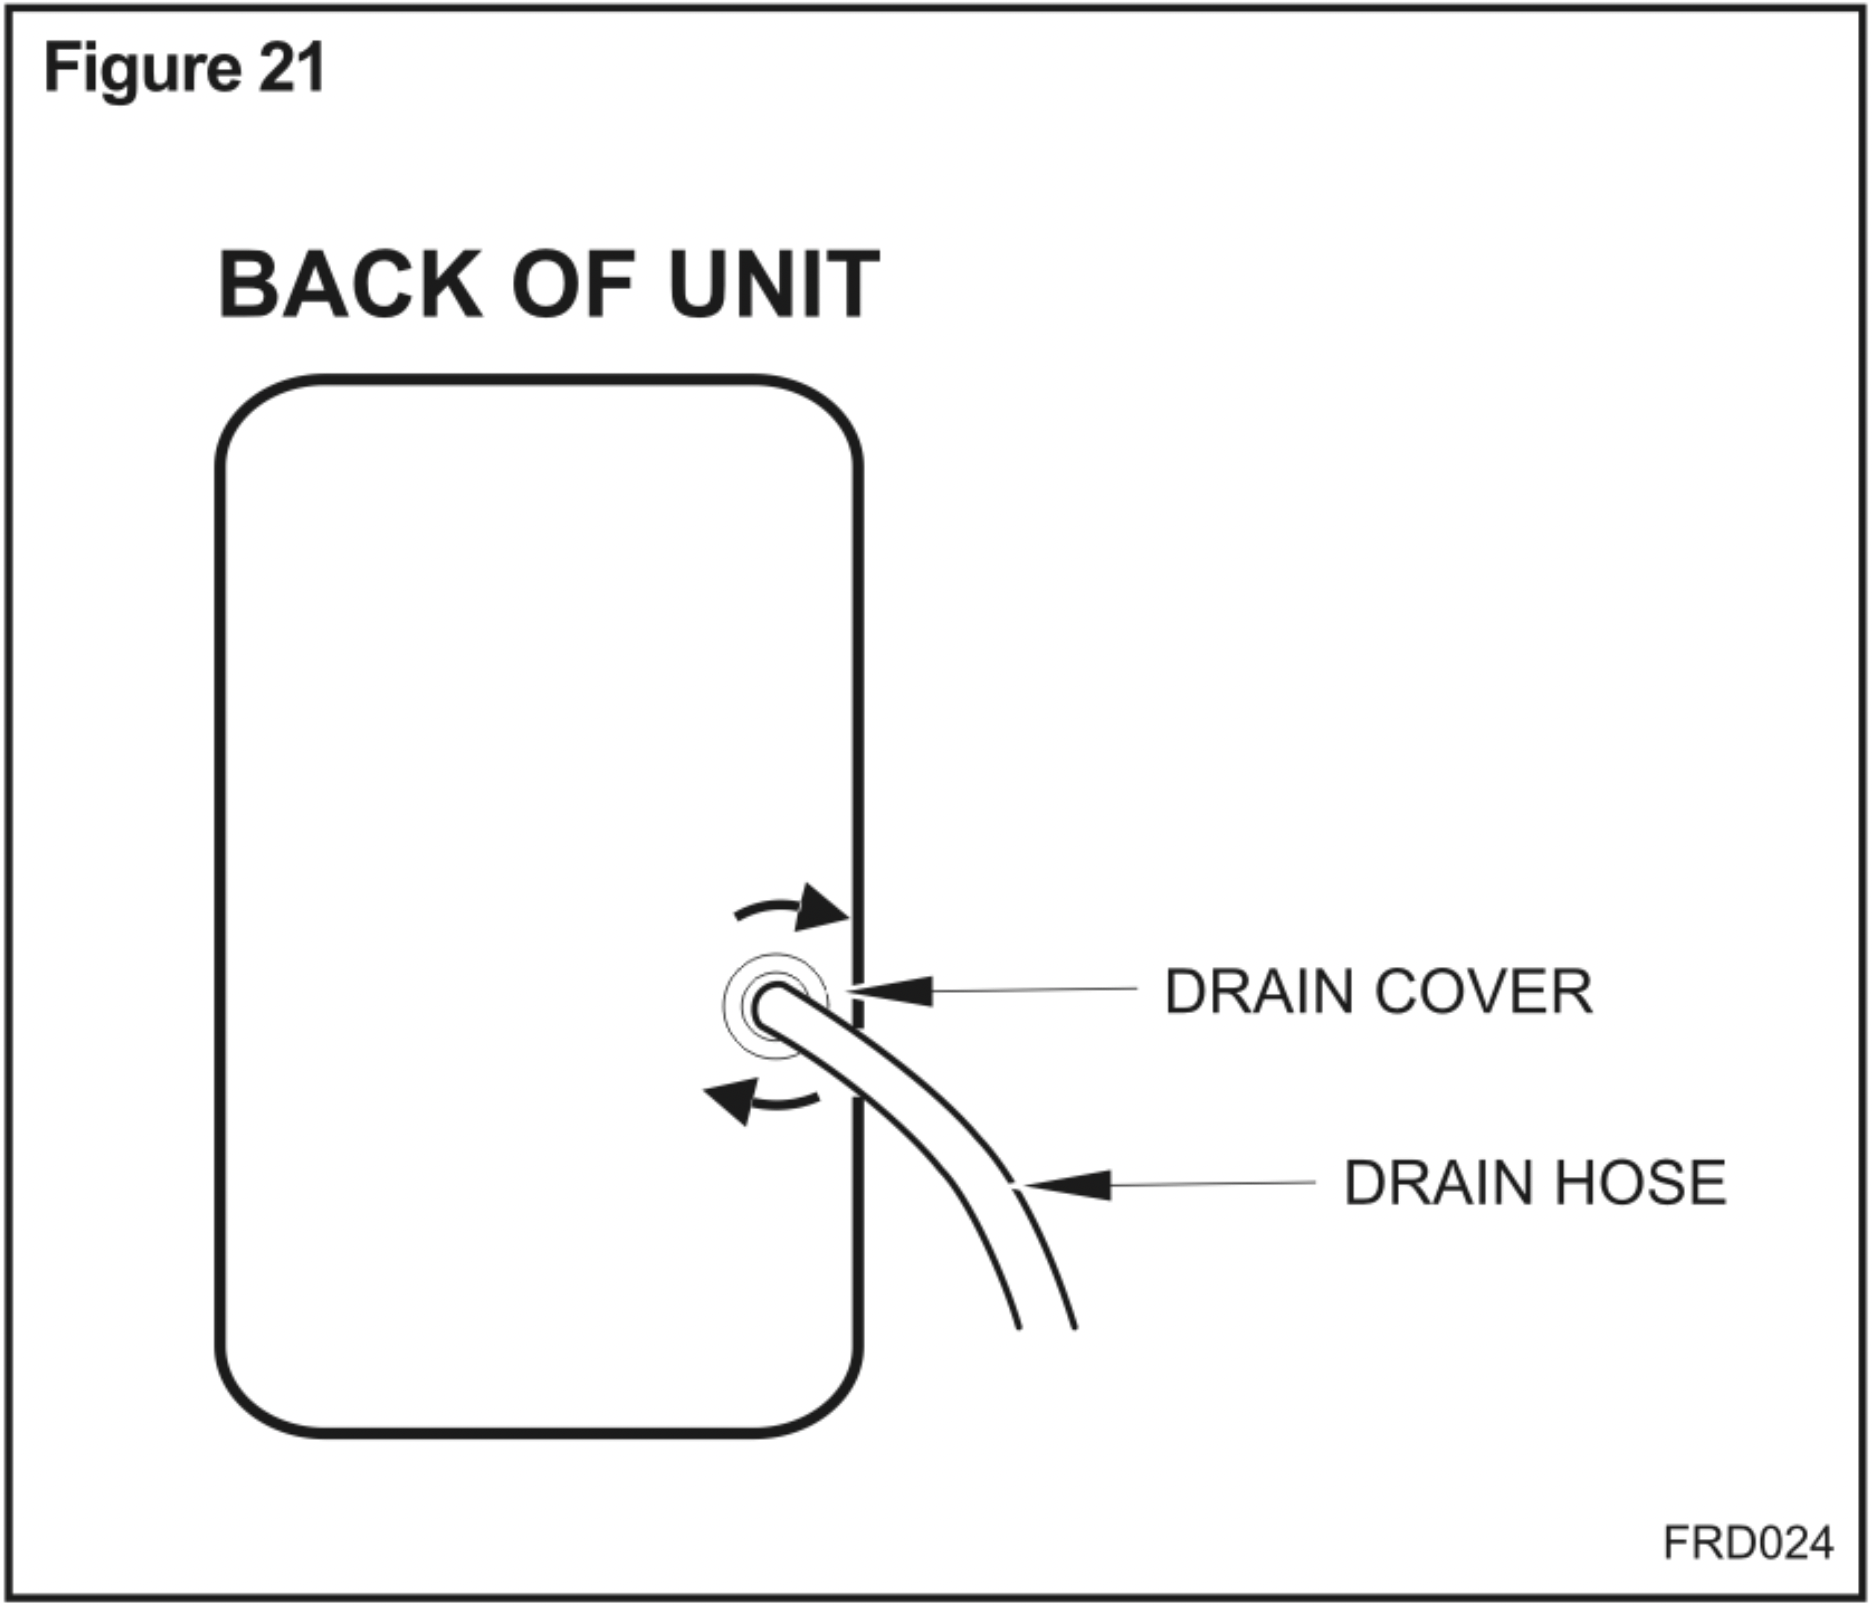
Tighten the drain cover in clockwise direction onto the rear of the unit (See Figure 21).
Place the bucket in its original location (See Figure 22).

Continuous Drain Hose Routing
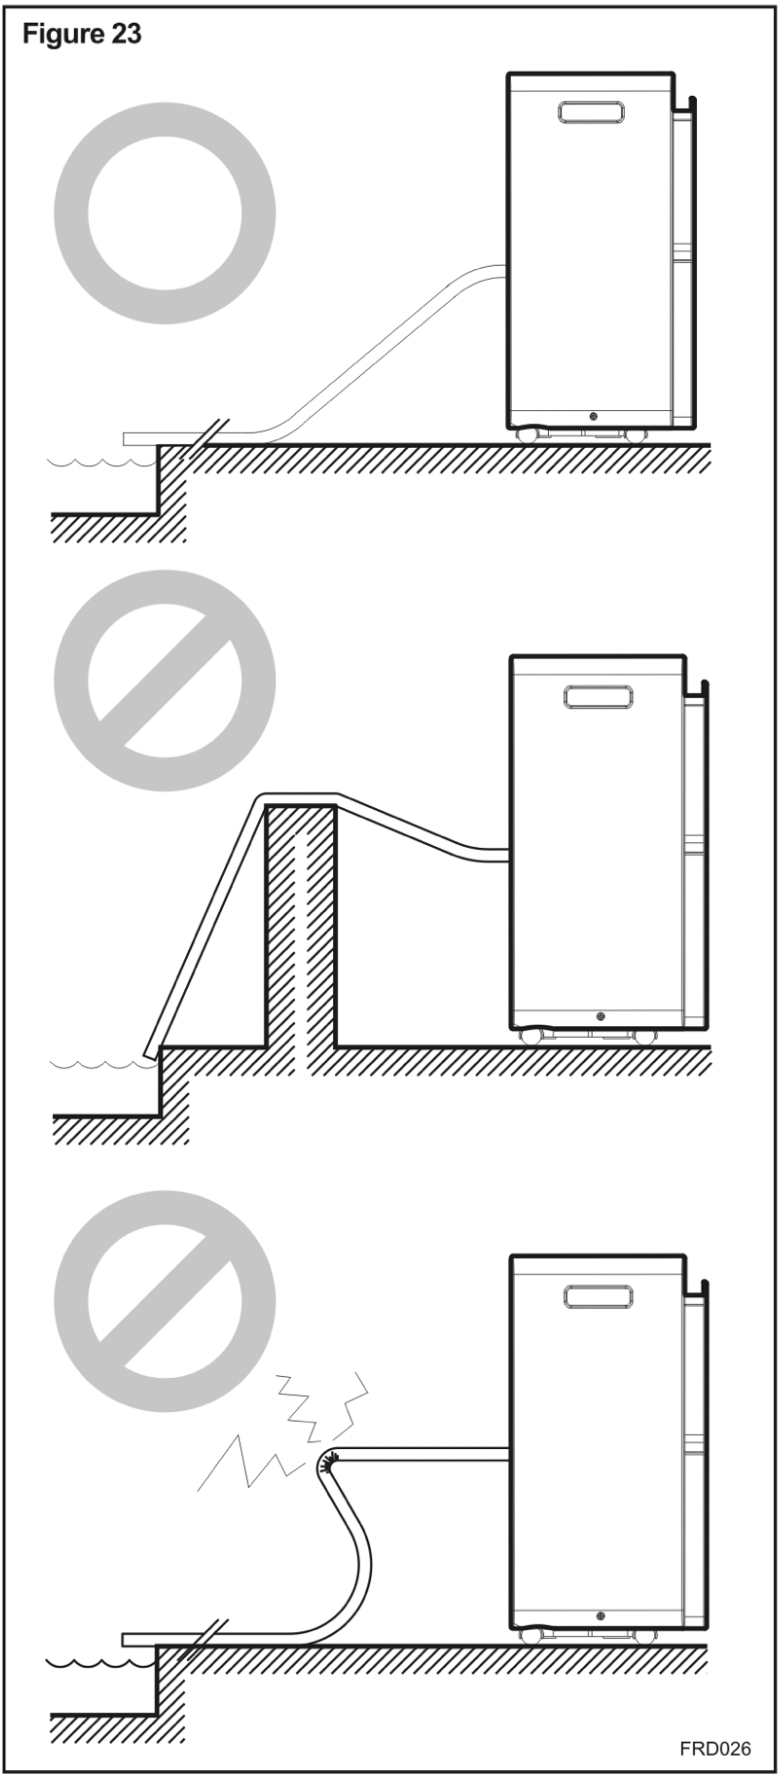
When using the function of continuous drainage, the drain hose must be placed horizontally below the drainage hole (See Figure 23).
You must avoid uneven ground and folding the hose (See Figure 23).
Continuous Drainage using Built-In Pump (D50BPA/D70BPA models only)
Installation:
STEP 1. Connect the supplied water hose to the drainage key.
STEP 2. Connect the drainage key and water hose (1) to the drain pump outlet (2) on the rear panel.
STEP 3. Lead the other end to a suitable location for drainage, like a drain or sink and insert the plug into the water drain.
The maximum distance and the rise may be 15ft from the unit. Exceeding this distance may damage the unit or cause leaks.When the unit's drain bucket capacity reaches a certain water level, it will drain automatically (See Figure 24).
Dismantle:
Press the drain release button (3) on the unit rear panel. The automatic drainage key will pull out (See Figure 24).
NOTICE: The rubber drain plug must be inserted in the continuous drainage outlet (4) for built-in pump feature to work.
Removing the rubber drain plug will cause the condensation to exit through the continuous drainage outlet instead of the drain pump outlet.
Maintenance
WARNING - Electrical Shock Hazard
- Make sure your electrical receptacle has the same configuration as your dehumidifier's plug. If different, consult a Licensed Electrician.
- Do not use plug adapters.
Do not use an extension cord.
Do not remove ground prong.
- Always plug into a grounded 3 prong outlet.
Failure to follow these instructions can result in death, fire, or electrical shock.
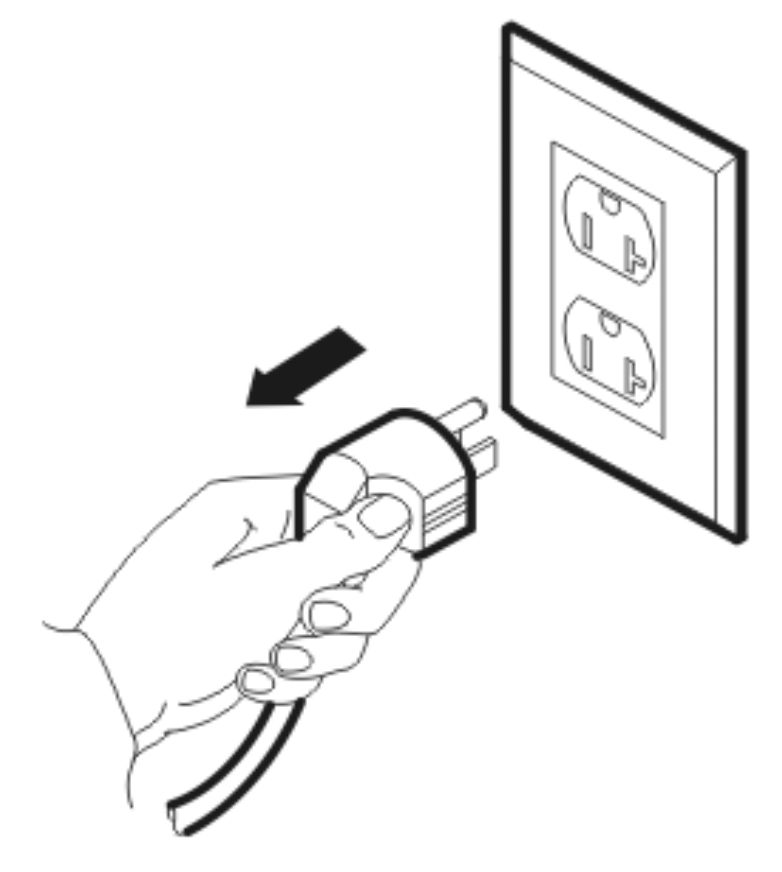
For safety reasons, make sure the unit is unplugged before servicing or cleaning.
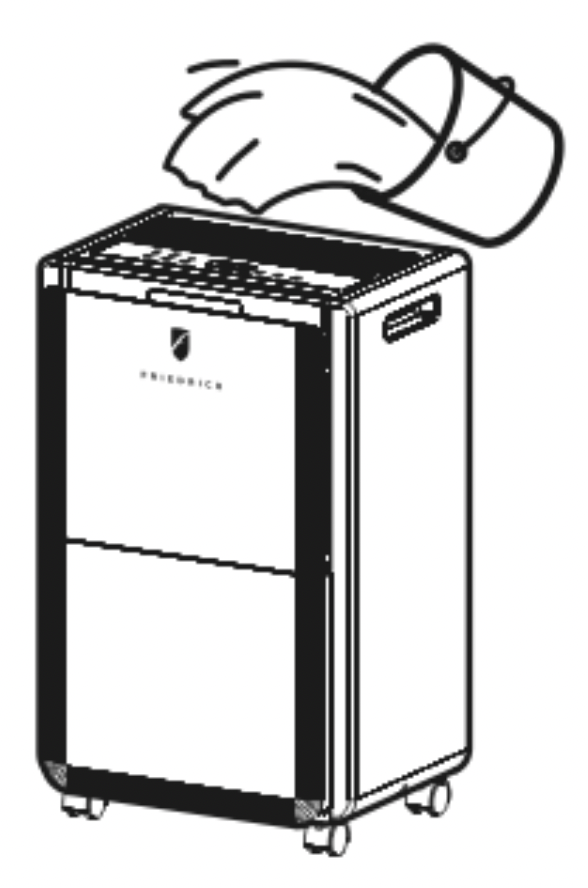
Cleaning the shell
STEP 1. Wipe the shell with a clean, soft cloth.
STEP 2. If the unit is very dirty, use mild detergent then wipe off the detergent with half dried cloth.
WARNING - Water Hazard: Do not wash the unit with a hose or immerse it in water. This may cause leakage of electricity or a shock hazard.
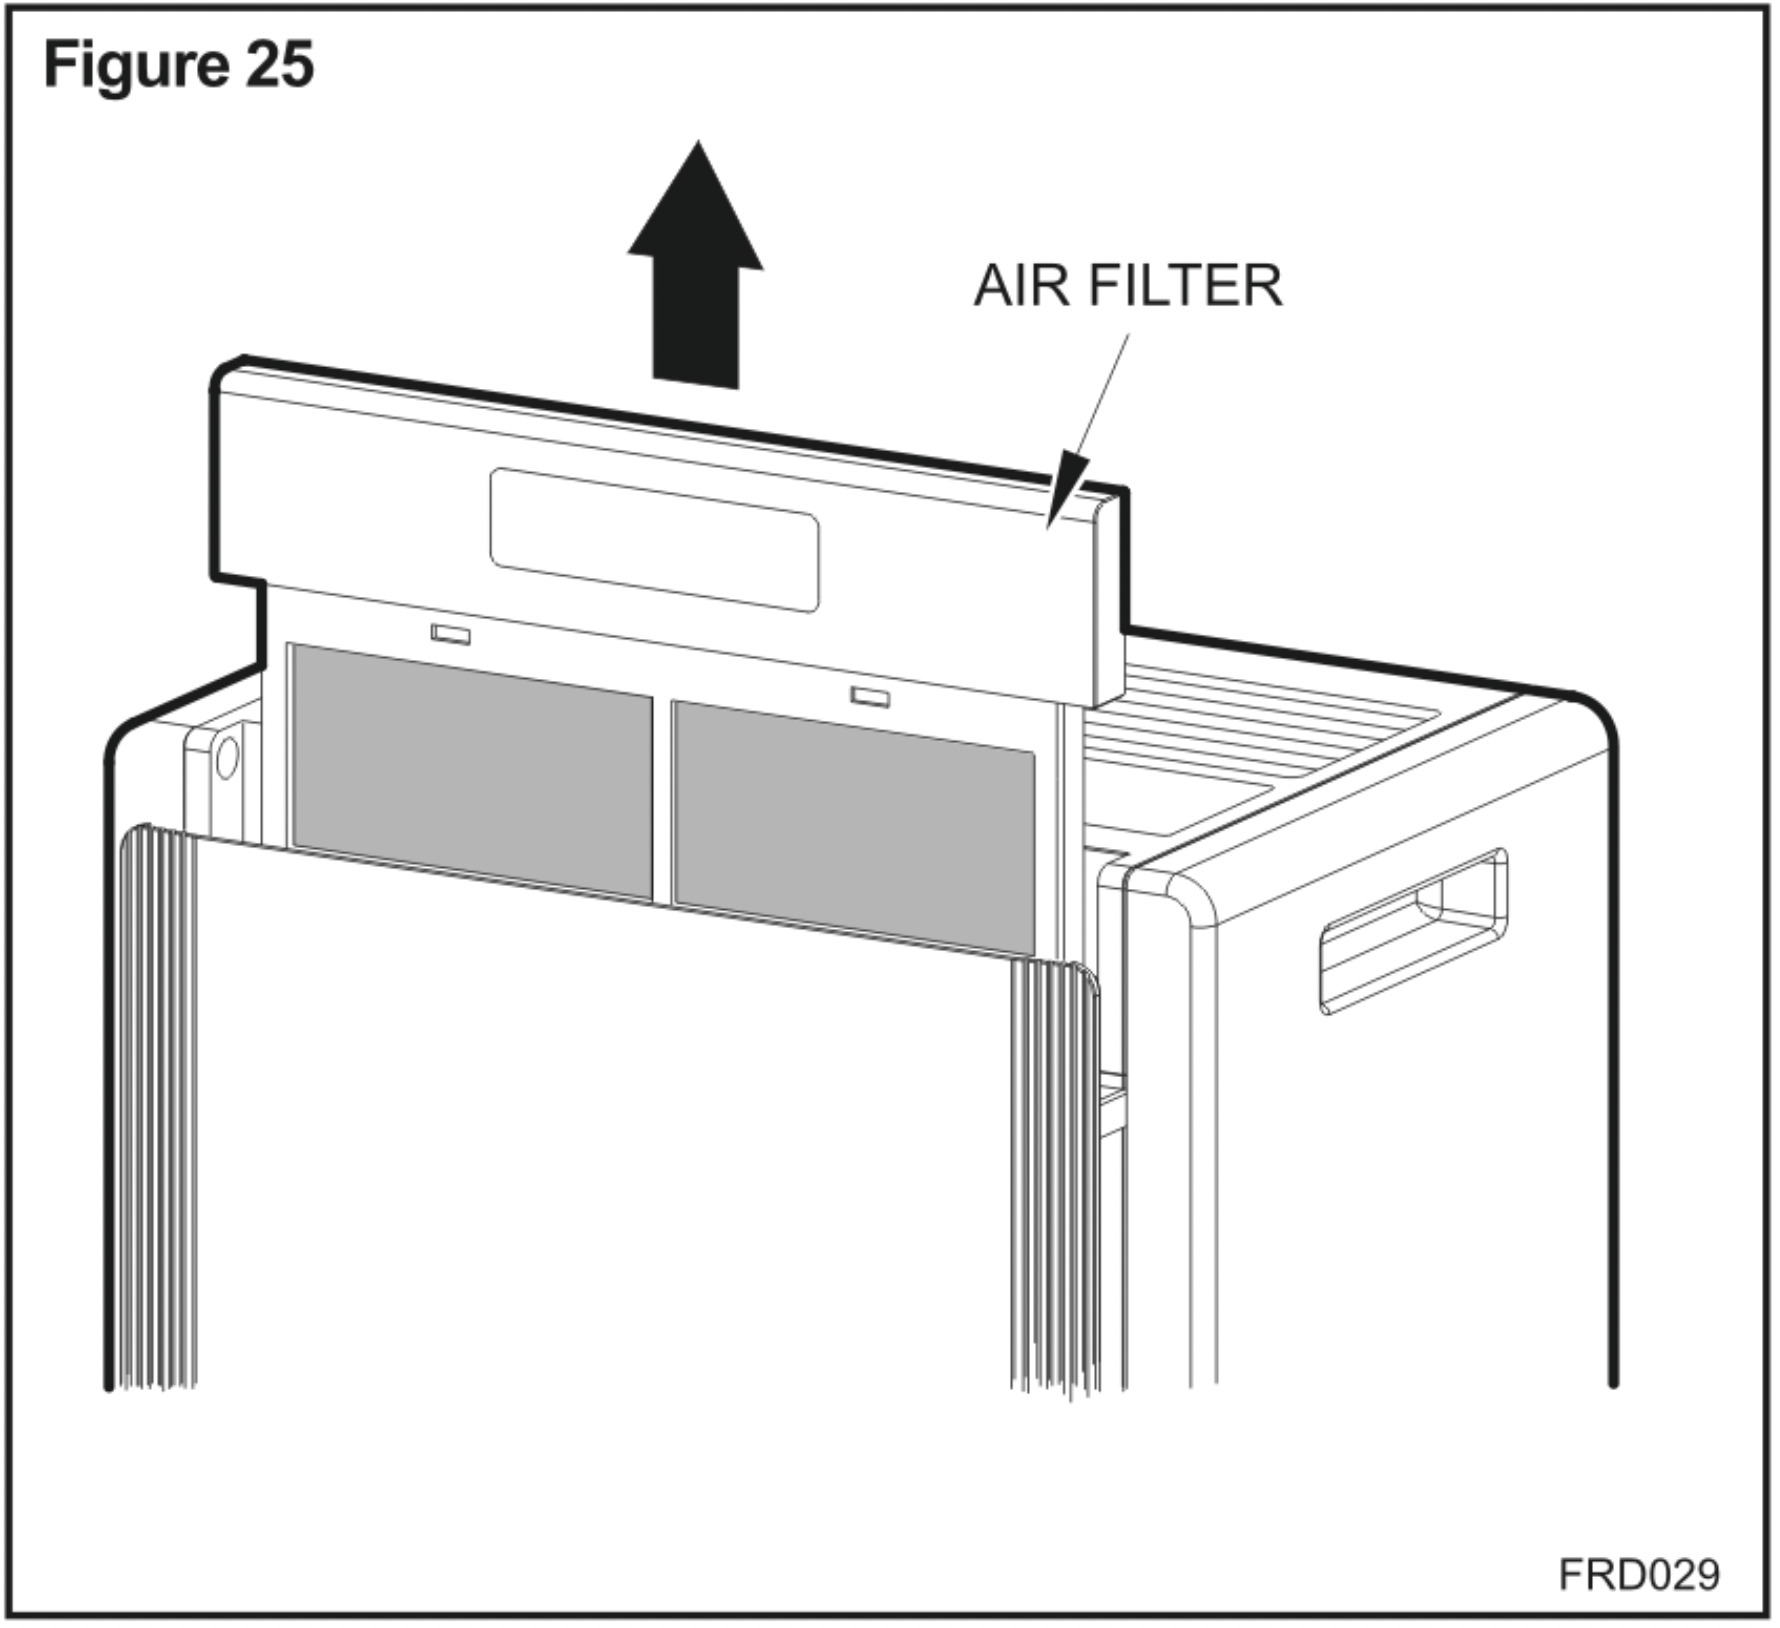
Cleaning the air filter
The purpose of the air filter is to filter dust and other materials from the air. If the filter is blocked by dust the electricity usage will be greater than normal. For optimal moisture removal and efficiency, clean the filter every two weeks.
Cleaning Steps
STEP 1. Pull the air filter out gently (See Figure 25).
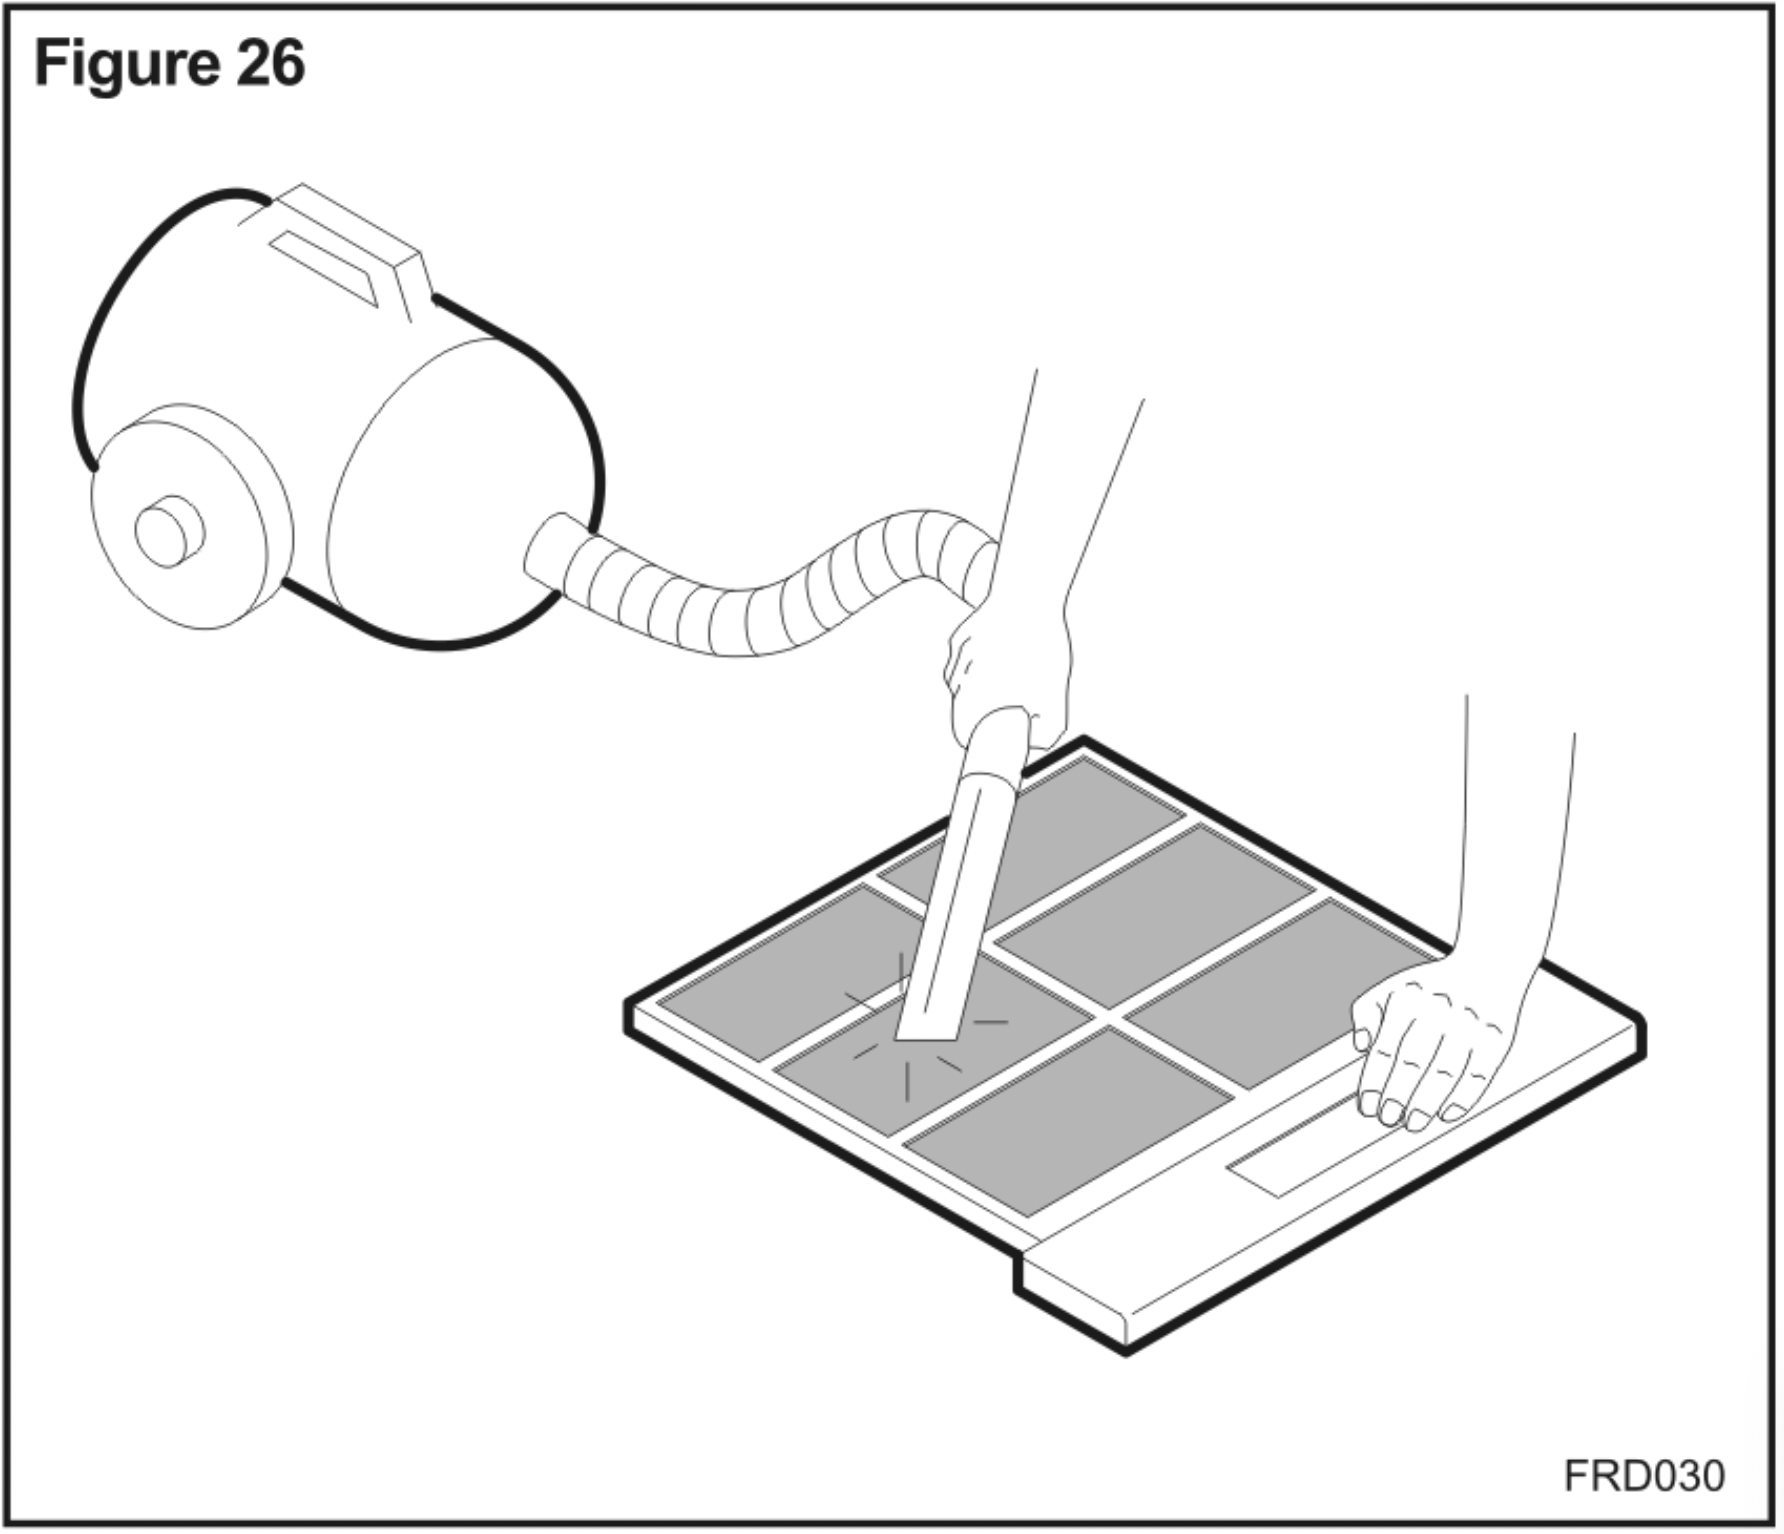
STEP 2. Clean the air filter with a vacuum cleaner or wash it with clean water and dry with a dry cloth (See Figure 26).
STEP 3. Put the clean air filter back in place and continue to operate the dehumidifier.
In Case of Emergency
If a problem occurs, unplug the unit and contact a qualified servicing center immediately. Do not disassemble the unit yourself.
NOTICE: If the power cord on this unit is damaged it must be replaced by the manufacturer, its service agent or qualified service technician in order to avoid a hazard.
NOTICE: This appliance is not intended for use by children or other persons without assistance or supervision if their physical, sensory or mental capabilities prevent them from using it safely. Children should be supervised to ensure that they do not play with the appliance.