Read the instructions carefully and keep for future reference
OWNER’S MANUAL
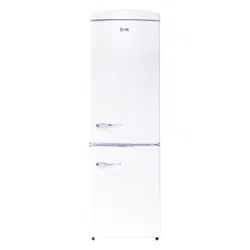
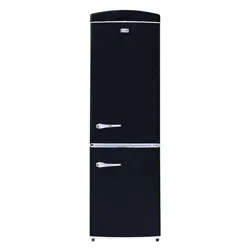
MODEL: RF 132 R / B / C
BOTTOM MOUNT RETRO
REFRIGERATOR

installing incorrectly
using solvents
Mishandling e.g.
breakage of shelves
ConServ Appliances
10216 Georgibelle Drive, Suite 900D
Houston, Texas 77043-5249
(Conserv
Conserv
Conserv
Conserv
1-800-776-3538
You can register your Warranty by any of the following methods:
1. Scan the QR Code
2. Register online at
www.appliancedesk.com/information/warranty_registration
RF 132 R / B / C
-
State of California Proposition 65 Warnings:
WARNING:This product contains one or more chemicals known to the State of California to cause cancer.
WARNING:This product contains one or more chemicals known to the State of California to cause birth defects or
other reproductive harm.
Do not puncture or damage refrigerant tubing.
Safe Disposal
Before discarding the refrigerator, remove doors in order to prevent risk of child
entrapment. Leave shelves in place.
U
Use a dedicated power outlet and a three prong power socket, that is properly
grounded.
Do not use the power cord or plug if it is damaged.
When removing the power plug, do not pull on the cord. Grasp the plug firmly and pull
it out from the socket.
Unplug the unit first when doing maintenance or repair.
Repairs must be done only by a qualified technician.
Do not use extension cords or ungrounded two prong adapters.
This appliance is not intended for use by children or persons with reduced physical,
sensory or mental capabilities, or lack of experience and knowledge, unless they have
been given supervision or instruction concerning use of the appliance by a person
responsible for their safety. Children should be supervised to ensure that they do not
play with the appliance.
Customer Service.
Do not put acid or flammable or volatile materials inside the appliance.
1
Safety
Please always follow the safety precautions listed below:
Secure the cord behind the unit to prevent a tripping hazard.
Do not connect or disconnect plug with wet hands.
Keep ventilation openings free of obstructions.
Dispose off this appliance in accordance with local regulations.
2
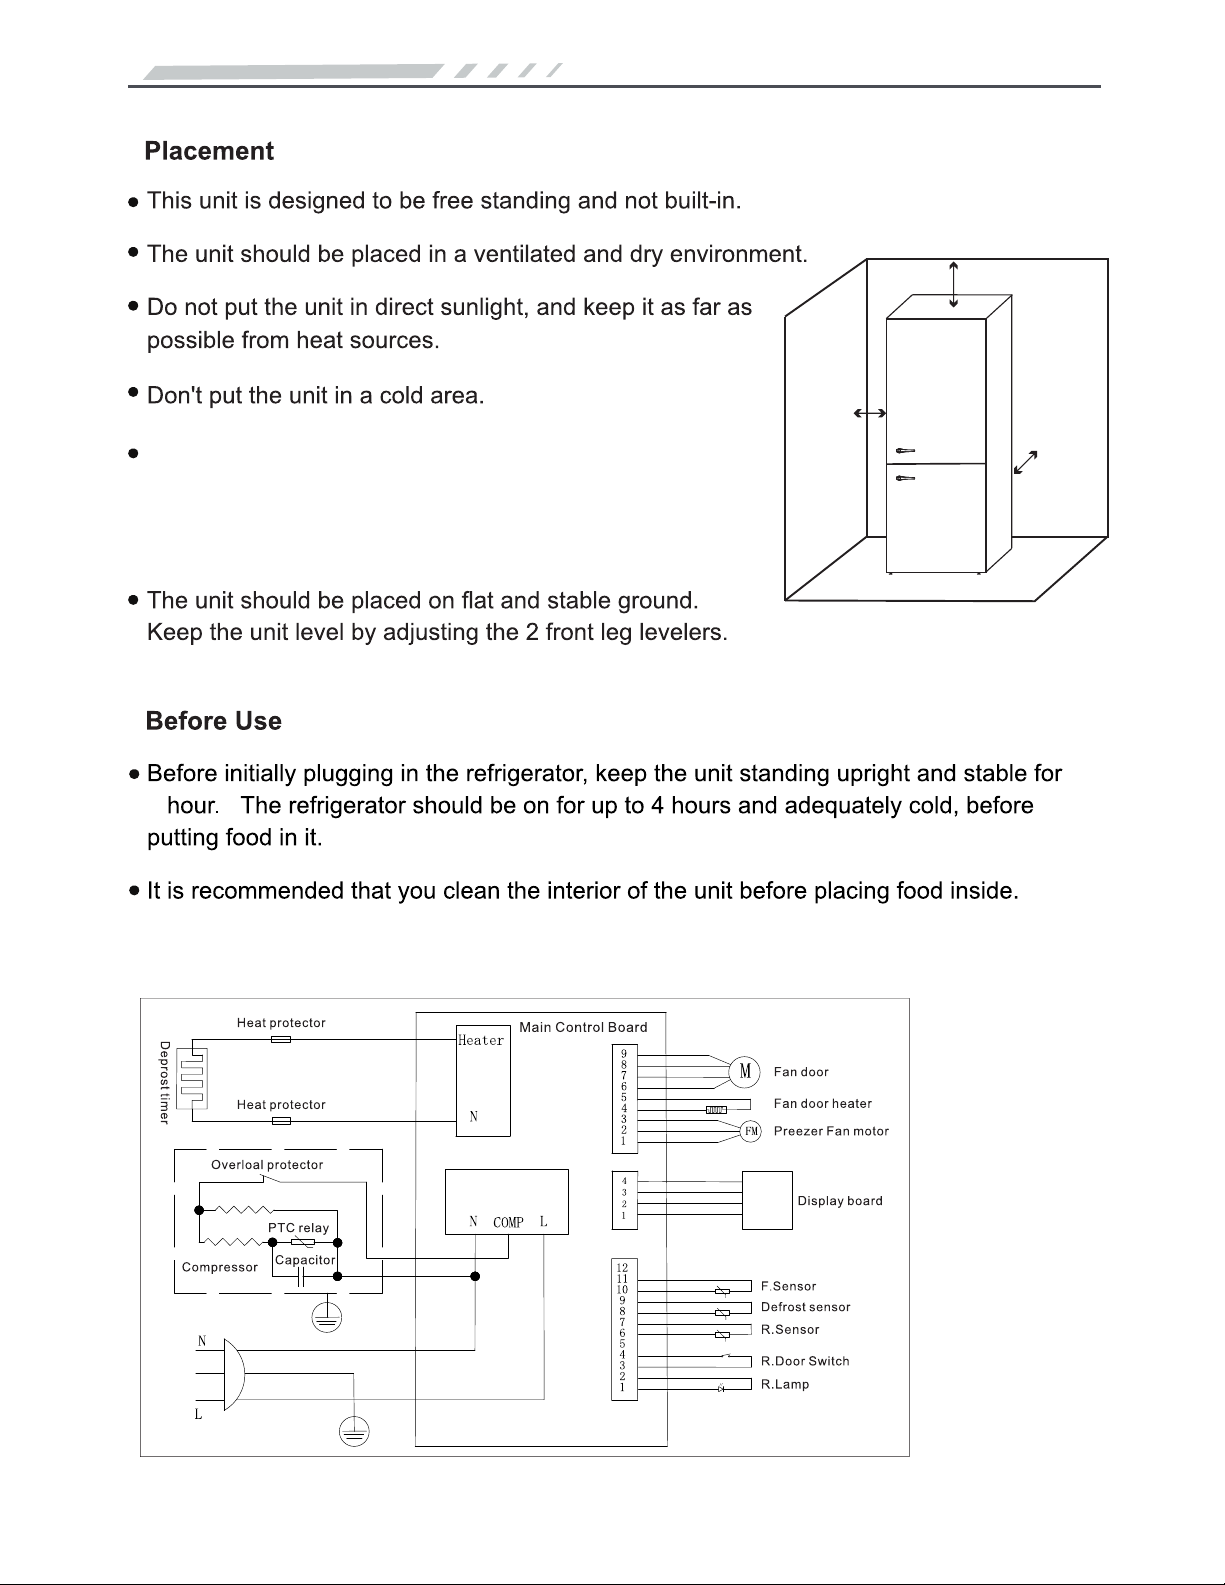
Installation
There should be 4” (100 mm) on either side, 2” (50 mm)
between the back of the appliance and the wall, and
12” (300 mm) of space above the unit as shown, to allow
proper ventilation.
1
12" (300 mm)
2" (50 mm)
4" (100 mm)
Electrical Diagram
Operation
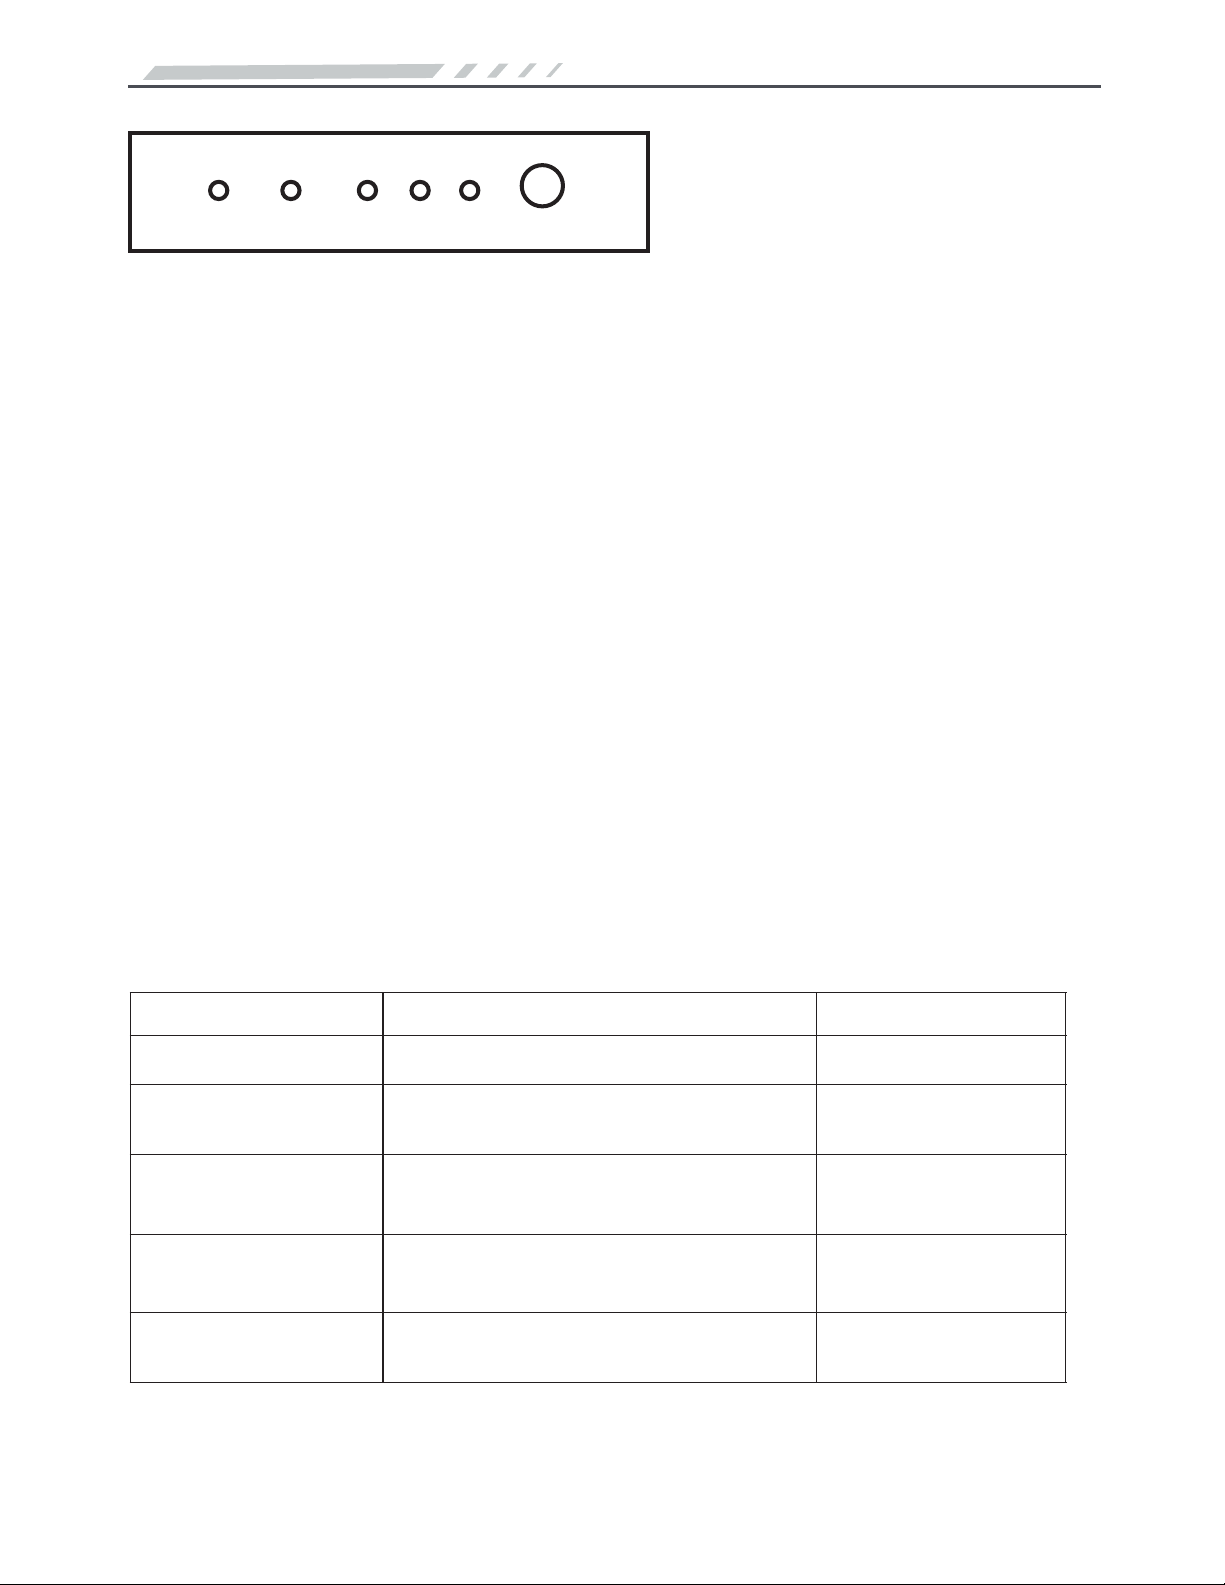
Press the Select button to choose the temperature setting in the appliance. Each time the
Select button is pressed, the indicator light will come on one by one for each
temperature setting.
Press Select to choose MAX, MED or MIN to set the desired level of cold in the appliance.
The indicator light will come on for the selection. Keep the button pressed for 5 seconds
to make the selection. MAX is least cold and MIN is coldest. MED is the average medium
cold setting and suggested as the default to start with.
To cool or freeze quickly, press the Select button until the Fast Cooling or Fast Frozen
indicator light is on. Then keep the Select button pressed for 5 seconds. When the
refrigerator or freezer reach the correct temperature, the indicator lights will go off. Then
the normal setting of MAX, MED or MIN can be selected.
The description and temperatures for each of the settings is provided in the table below.
Temperature Setting
Fast Cooling Cool the refrigerator quickly
Description
Refrigerator: 35.6°F
Temperature
Fast Frozen Get the temperature in the freezer to
go down quickly
Freezer: -25.6°F
MAX Less cold temperature in the appliance Refrigerator: 46.4°F
Freezer: 3.2°F
MED Average or medium cold temperature
in the appliance
Refrigerator: 41°F
Freezer: -4°F
MIN Coldest temperature in the appliance Refrigerator: 35.6°F
Freezer: -11.2°F
Fast Cooling Fast Frozen MAX MED MIN
Select
Indicator
Normal Temperature Setting
Fast Cooling and Freezing
3
Clean inside, behind and around the refrigerator regularly, using water and mild
detergent, and a damp cloth (not wet).
Clean the door gasket regularly to ensure that the door closes and seals properly.
Never use boiling water, harsh cleaning chemicals or abrasive materials.
Extended Absence
Leave the door open and place the unit in a well ventilated area to avoid build up of odor.
If the unit will be switched off for a long time, remove all items, turn off the appliance
and clean the unit throughly.
Maintenance
Simply
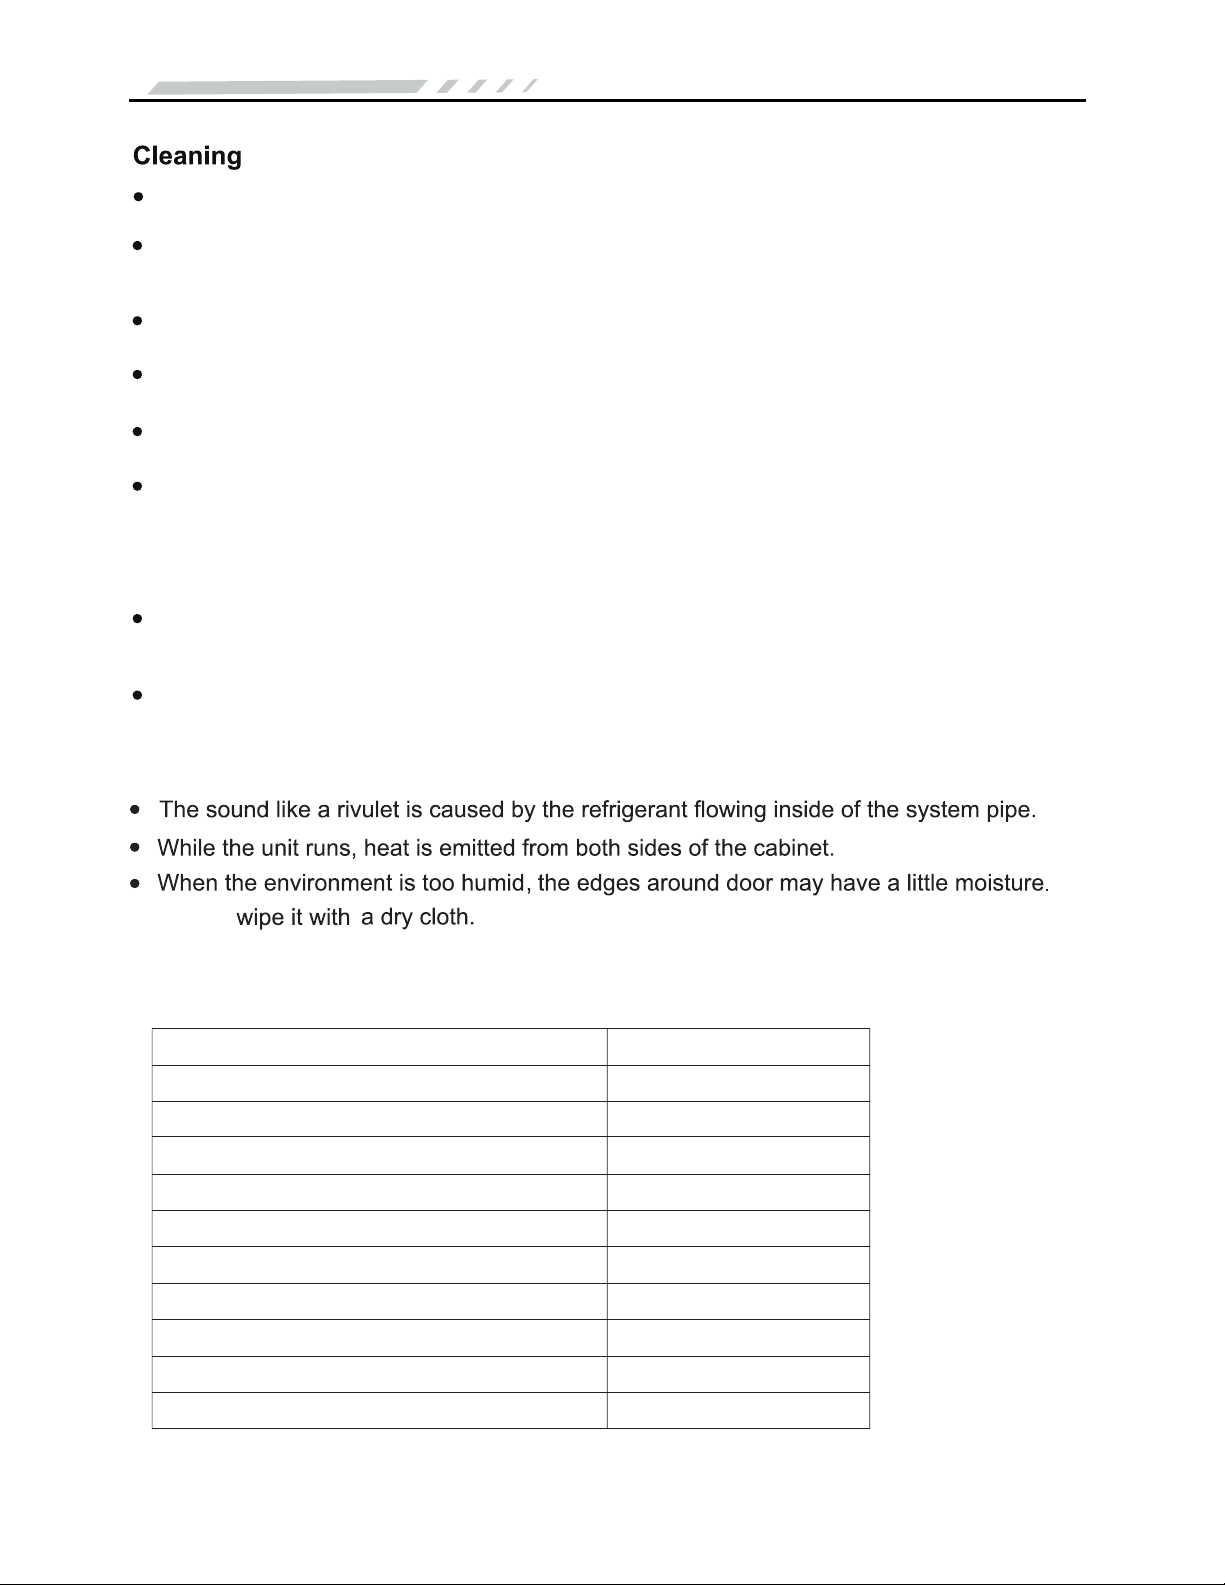
The following phenomenon is normal
4
Always remove all items and unplug the unit before cleaning.
Dry all surfaces thoroughly.
Manual defrosting is not necessary as this appliance has an auto defrost function.
O O
46.4 F to -11.2 F
Technical Specifications
RF 132 R / B / C
10.78 cu.ft.
115V / 60Hz
R600a
No Frost
158.7 / 167.5
76.5 x 23.5 x 27.8
Weight (Net/Gross) lbs
Certification
UL & ETL
Rated Voltage / Frequency
Capacity
Model No.
Product Dimensions (H*W*D) inches
Refrigerant
Type of Defrost
Temperature Range
Electronic
Thermostat
0.76A
Rated Current
5
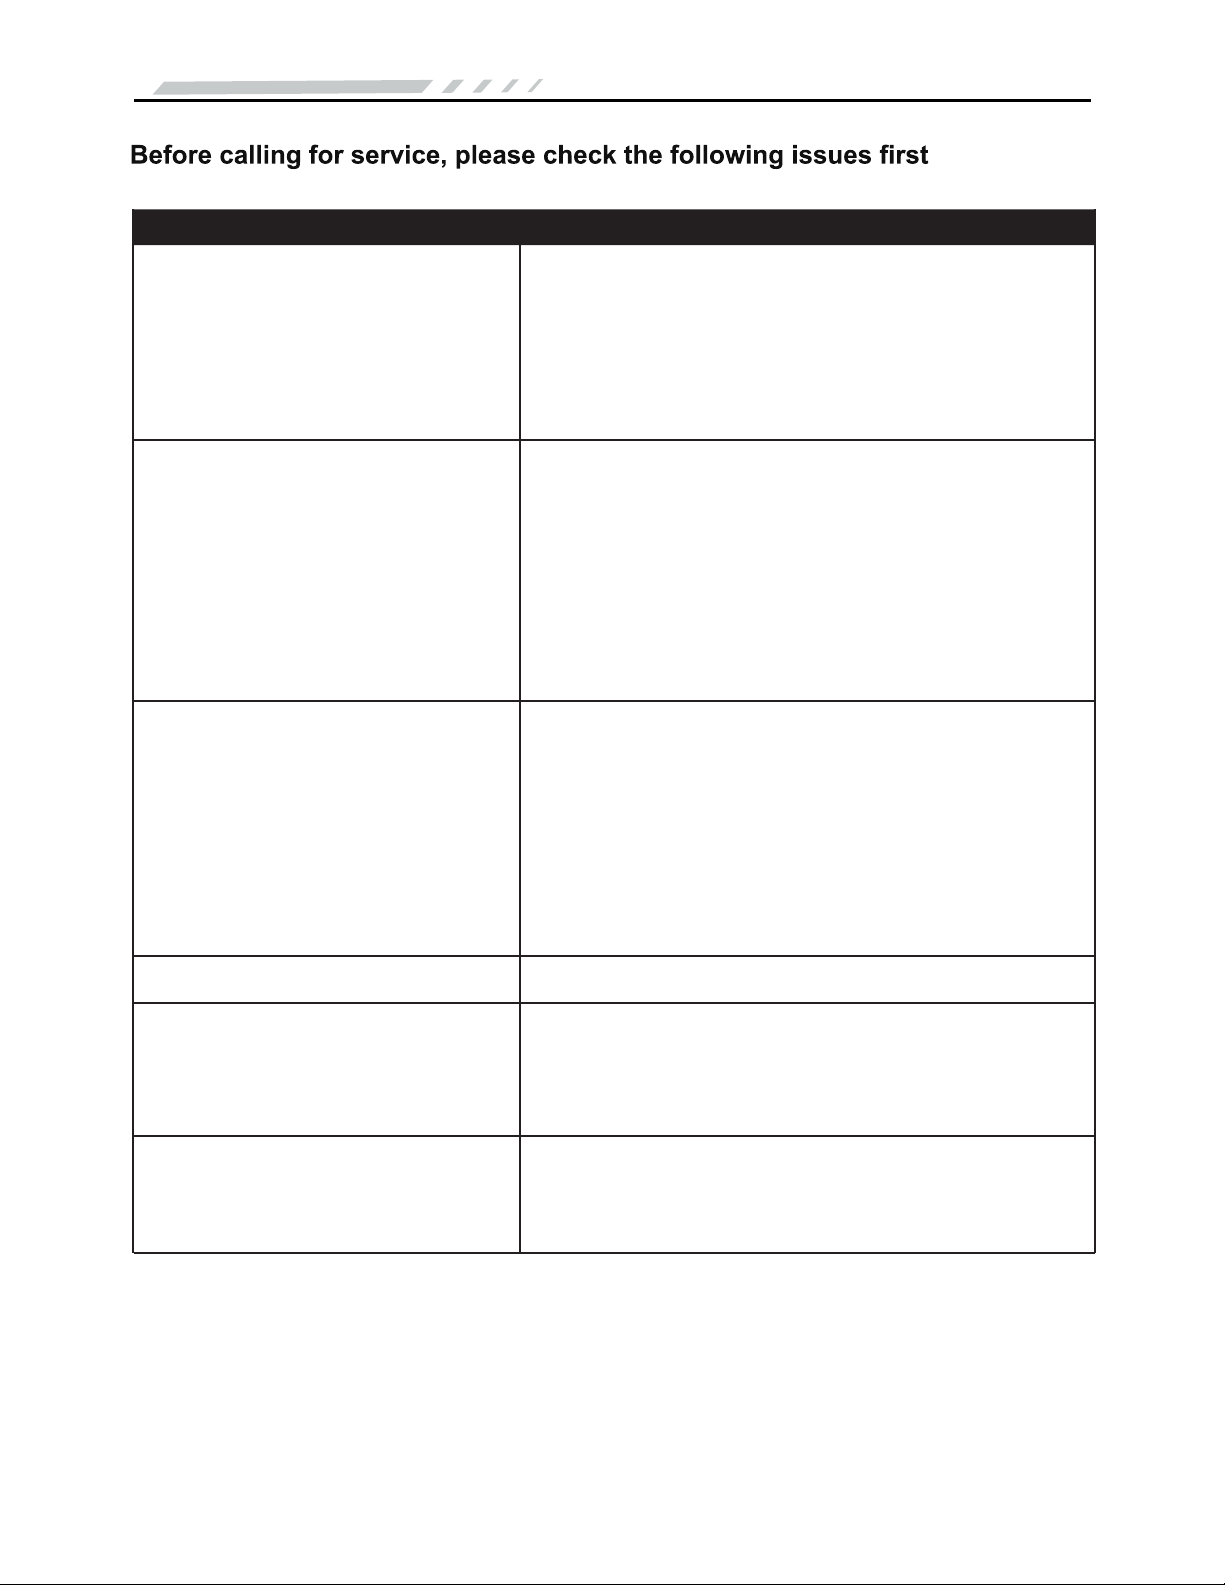
POSSIBLE CAUSEPROBLEM
The unit does not work
• A fuse may be blown or the circuit breaker
tripped
• Plug not fully inserted into the wall outlet
Internal temperature not cold
enough
• Temperature setting is too warm
• Door is not shut properly or opened frequently
• Exhaust vent is obstructed
• A large quantity of warm food has been placed
in the unit
• Close proximity to heat source or direct sunlight
• Ambient temperature or humidity is very high
Appliance runs continuously • Temperature setting is too cold
• Door not shut properly or opened frequently
• Exhaust vent is obstructed
•
• Close proximity to heat source or direct sunlight
• Ambient temperature or humidity is very high
Internal temperature is too cold • Temperature setting is too cold
Noises • Parts are expanding and / or the refrigerant is
circulating; this is normal
•
•
•
Doors cannot be closed properly
•
•
A large quantity of warm food has been placed
in the unit
Troubleshooting
Power is not on or the unit is not connected to
power
Low voltage
Floor is not flat, and the unit is not placed in a
stable position.
The door is obstructed by items inside the unit.
The door gasket is not providing a good seal.
Heat the gasket with a hair dryer.