Loading ...
Loading ...
Loading ...
6
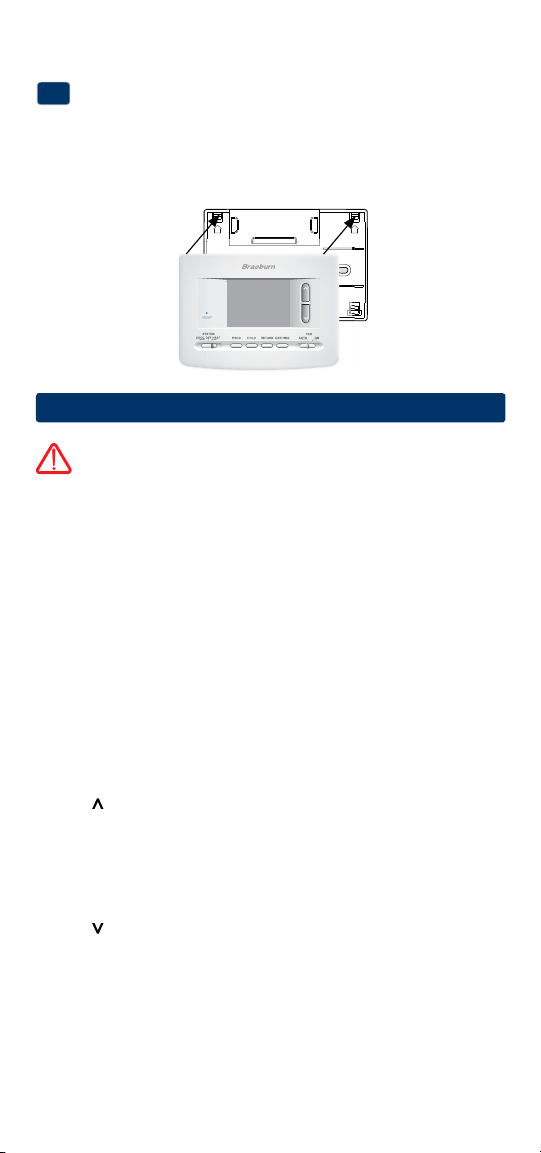
Attach Thermostat to Sub-Base
5
1.Lineupthethermostatbodywiththesub-base.
2.Carefullypushthethermostatbodyagainstthesub-baseuntilitsnaps
intoplace.
3.Insertquickreferencecardintoslotontopofthermostat.
4
System Testing
Warning
Read Before Testing
• Donotshort(orjumper)acrossterminalsonthegasvalveoratthe
heatingorcoolingsystemcontrolboardtotestthethermostatinstalla-
tion.Thiscoulddamagethethermostatandvoidthewarranty.
• DonotselecttheCOOLmodeofoperationiftheoutsidetemperature
isbelow50ºF(10ºC).Thiscouldpossiblydamagethecontrolledcool-
ingsystemandmaycausepersonalinjury.
• Thisthermostatincludesanautomaticcompressorprotectionfeatureto
avoidpotentialdamagetothecompressorfromshortcycling.When
testingthesystem,makesuretotakethisdelayintoaccount.
NOTE: The compressor delay can be bypassed by pressing the reset button
on the front of the thermostat. All user settings will be returned to factory
default.
1 MovetheSYSTEMswitchtoHEATmode.
2 Presstoraisethesettemperatureaminimumof3degreesabove
thecurrentroomtemperature.Thesystemshouldstartwithinafew
seconds.Withagasheatingsystem,thefanmaynotstartrightaway.
3 MovetheSYSTEMswitchtotheOFFmode.Allowtheheatingsystemto
fullyshutdown.
4 MovetheSYSTEMswitchtotheCOOLmode.
5 Presstolowerthesettemperatureaminimumof3degreesbelow
thecurrentroomtemperature.Thesystemshouldstartwithinafew
seconds(unlesscompressorshortcycleprotectionisactive–See
noteabove).
6 MovetheSYSTEMswitchtotheOFFmode.Allowthecoolingsystemto
fullyshutdown.
7 MovetheFANswitchtotheONmode.Thesystemfanshouldstart
withinafewseconds.
8
MovetheFANswitchtotheAUTOmode.Allowthesystemfantoturnoff.
NOTE: Installer switches are located on the back of the thermostat. The
reset button must be pressed after making any changes to these switches.
UP UP
Loading ...
Loading ...
Loading ...