Loading ...
Loading ...
Loading ...
6
instaLLation
NOTE: These instructions assume the mounting sur-
face is of standard wood frame and conventional
sheetrock construction. If you wish to mount the
speakers to another type of material, you should
contact a bonded contractor.
NOTE: See your local dealer for new construction
pre-install brackets (sold separately).
WARNING! Before installing
check local building codes to
verify compliance with local regu-
lations. WARNING! Before install-
ing check for obstructions behind
drywall. To do this make a small
cut-out, cutting at a 45° angle (this
makes the hole easier to patch if
you find obstacles. Only cut out
the mounting hole after you have
verified there are no obstructions
behind the drywall. WARNING!
Use speaker cable rated for in-wall
use. The UL standard is CL2, CL3,
and CM. The CSA standard is
FT4. WARNING! Turn your ampli-
fier off before making or breaking
any signal connections.
Recommended tools:
• Stud finder
• Sharp pencil or pen
• Pushpin
• Drywall knife/saw
• Wire strippers
• Electric drill
• Tape measure
• Low-tack tape
1. Using a stud finder, position the template
centered between wall studs or ceiling joists.
2. Hold or pin the template in place and mark
cut-out with a pencil.
3. Remove the template and cut out the opening
with a drywall knife/saw.
4. Place fiberglass insulation above and below
the cut-out hole. Place a half thick piece of
fiberglass insulation behind the speaker.
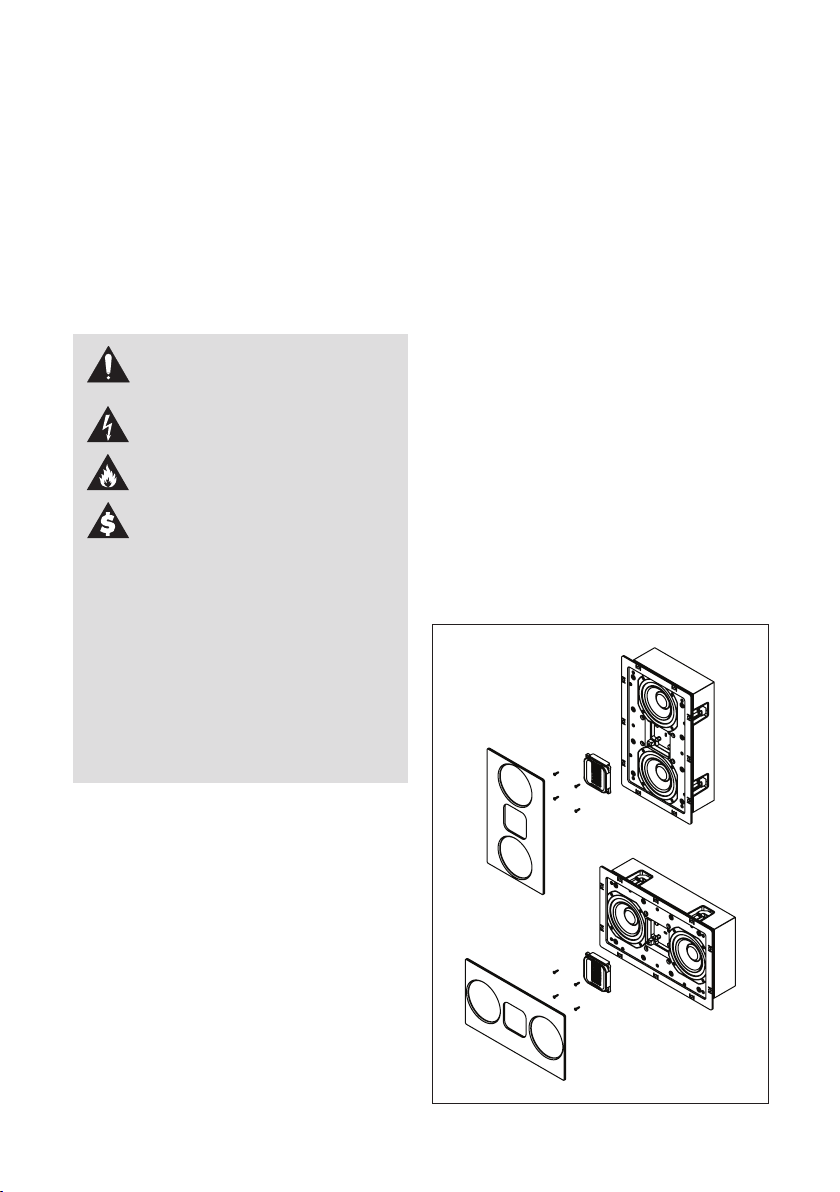
5 Connect speaker cable. Be consistent when
connecting speaker leads to the terminals
on the speaker. Take great care to assign
the same color to the (+) terminal on both
the speaker and the amplifier. For conve-
nience during installation, Tribute 5XW and
Monument 7XW feature binding posts on
both the top and bottom of the enclosure.
Only one set of connections is nec-
essary.
Fig. 2
Loading ...
Loading ...
Loading ...