Loading ...
Loading ...
English • 3Installation Guide • FreeSpace Adjustable Tile Bridge
PRO.BOSE.COM
Installation
q
e
w
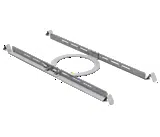
Assembling the Tile Bridge
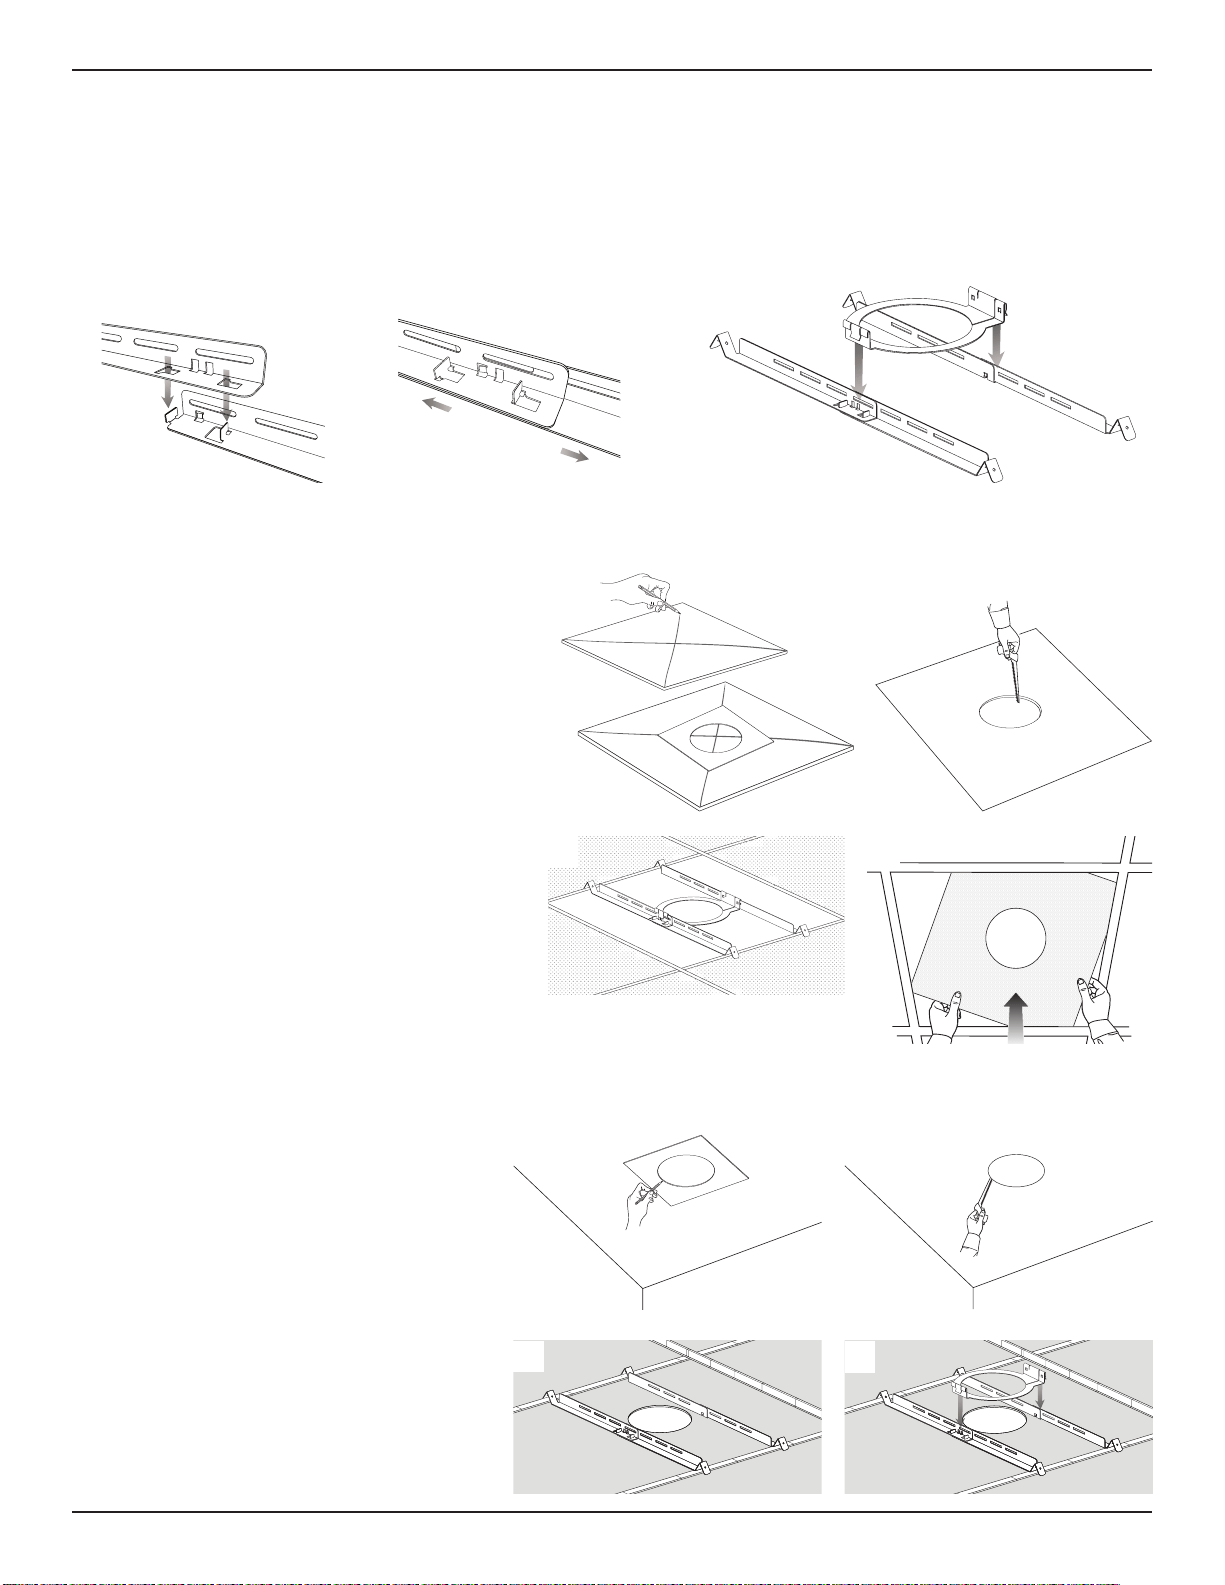
1. Align the rails and insert the tabs into the slots.
2. Pull the rails outward to secure them together.
Note: If you are installing in a hard ceiling, assemble the tile bridge after inserting the rails and ring through the hole
cutout.
3. Align the rails parallel to each other and press the tile bridge ring down to secure the ring to the rails.
Cutting the Ceiling Tile
1. Remove the tile and use the template included
with your loudspeaker to trace a loudspeaker
hole onto the tile. To center the template on
the tile, draw an X by connecting the corners
diagonally and center the template using the
crossing point.
2. Cut a hole into the tile.
q w
Installing a Tile Bridge in Acoustic Ceiling Tile
Installing the Tile Bridge
1. Place the assembled tile bridge across the
ceiling grid. If necessary, adjust the tile bridge
so the rails rest on the ceiling grid.
2. Replace the tile in the ceiling.
For instructions on loudspeaker installation, see
the Mounting the Loudspeaker section in the
appropriate loudspeaker installation guide.
q w
Installing a Tile Bridge in Hard Ceiling (Existing Construction)
Cutting the Ceiling
1. Use the template to trace a hole onto the
ceiling.
2. Cut a hole into the ceiling.
q w
Installing the Tile Bridge
1. Insert the tile bridge rails and ring through
the hole and place the rails parallel to each
other across the ceiling grid or ceiling
furring.
2. Assemble the tile bridge.
For instructions on loudspeaker installation, see
the Mounting the Loudspeaker section in the
appropriate loudspeaker installation guide.
q w
Loading ...
Loading ...
Loading ...