
Loading ...
Loading ...
Loading ...
12
Using the Controls
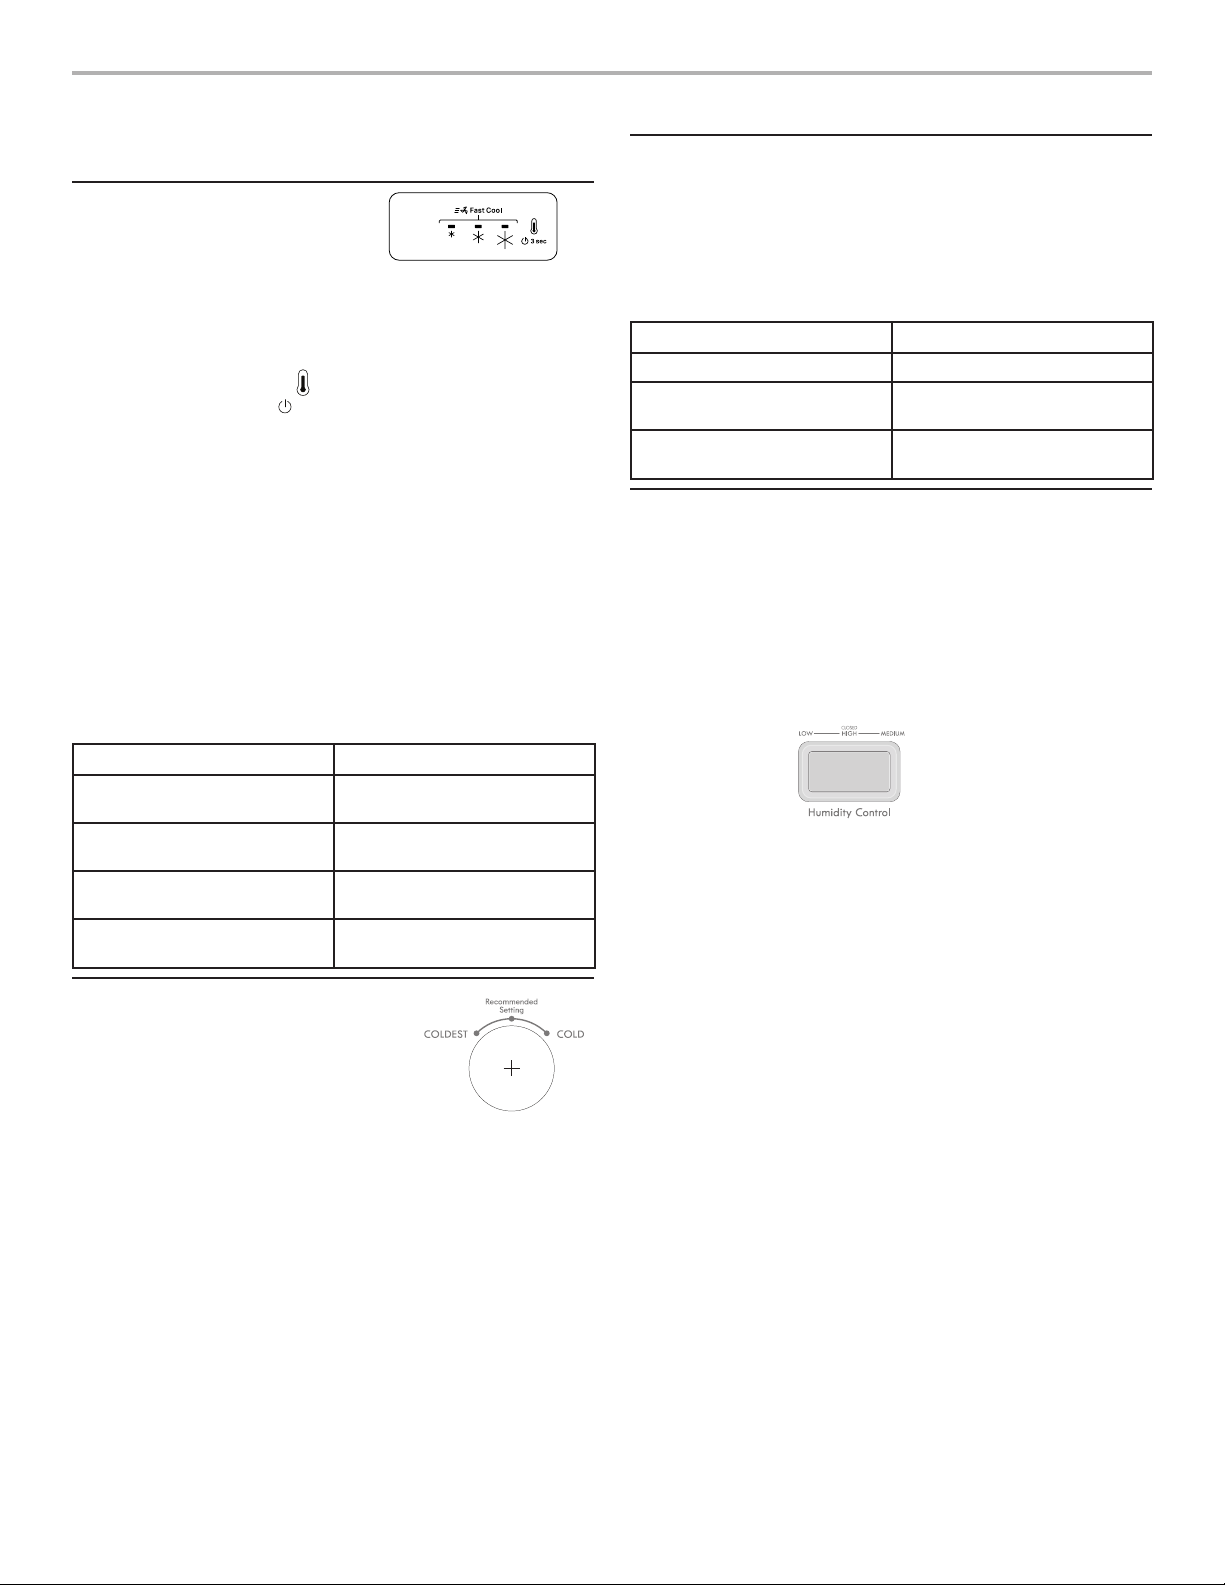
Temperature Control
For your convenience, the
temperature control is preset at the
factory. When you rst install your
refrigerator, make sure the control is
still preset to the Recommended setting as shown.
To turn the unit o, press and hold the thermometer icon for 3
seconds. Simply press and release icon to turn unit back on.
NOTE: Neither compartment will cool when the control is set to
OFF.
Adjusting the Temperature Control
If you need to adjust the temperature on either the refrigerator or
freezer compartment, use the settings listed in the table below as
a guide.
NOTE: Except when starting the refrigerator, do not adjust the
control more than one setting at a time. Wait 24 hours between
adjustments for the temperature to stabilize.
■ Press and release the thermometer icon twice to advance the
LED indicated coldness setting. The rst press previews, and
the second press locks in the new setting. From left to right, the
rst LED setting is least cold, the second colder, and the third
coldest.
CONDITION/REASON: ADJUSTMENT:
REFRIGERATOR too warm Temperature Control one
setting to the left.
REFRIGERATOR too warm/too
little ice
Temperature Control one
setting to the left.
REFRIGERATOR too cold Temperature Control one
setting to the right.
FREEZER too cold Temperature Control one
setting to the right.
Freezer Control
The Freezer Control is located on the back
wall of the freezer. It regulates the amount
of air owing between the freezer and the
refrigerator compartments.
When you plug in the refrigerator for the
rst time, turn the Freezer Control to the
Recommended setting.
Adjust the Freezer Control
If you want to temporarily increase the cold airow to either the
freezer or refrigerator compartment, adjust the control as listed in
the table below.
IMPORTANT: When you no longer need a colder freezer or
refrigerator compartment, return the Freezer Control to the
Recommended setting to keep the refrigerator operating at
optimum eciency.
CONDITION/REASON: ADJUSTMENT:
Heavy ice use Max
Hot room temperature Max - To maintain ice
making production rate
Large quantity of groceries in
refrigerator compartment
Min - To quickly chill food
and beverages
Crisper Humidity Control (on some models)
You control the amount of humidity in the moisture-sealed
crisper. Depending on the produce you are storing, select the
desired Humidity Level.
Adjusting the Humidity Control
The Humidity Control is a three position toggle switch. Press switch
down to left for LOW moisture in crisper. Press switch so that it
is level for HIGH crisper moisture. Press switch down to right for
MEDIUM crisper moisture.
Humidity Level - LOW setting
LOW (slotted switch edge out) lets moist air out of the crisper for
best storage of fruits and vegetables with skins.
■ Fruit: Wash, let dry and store in refrigerator in plastic bag or
crisper. Do not wash or cut berries until they are ready to use.
Sort and keep berries in original container in crisper, or store in
a loosely closed paper bag on a refrigerator shelf.
■ Vegetables with skins: Place in plastic bag or plastic container
and store in crisper.
Humidity Level - HIGH Setting
HIGH (switch edges closed o) keeps moist air in the crisper for
best storage of fresh, leafy vegetables.
■ Leafy vegetables: Wash in cold water, drain and trim or tear
o bruised and discolored areas. Place in plastic bag or
plastic container and store in crisper.
Humidity Level - MEDIUM Setting
MEDIUM (perforated switch edge out) keeps a medium amount
of moisture in the crisper for a storage combination of Fruits and
Leafy Vegetables.
3 sec
OPERATING YOUR REFRIGERATOR
Recommended Setting
Loading ...
Loading ...
Loading ...