*P518-468*
P518-468
c
d
f
j
h
b
a
g
e
i
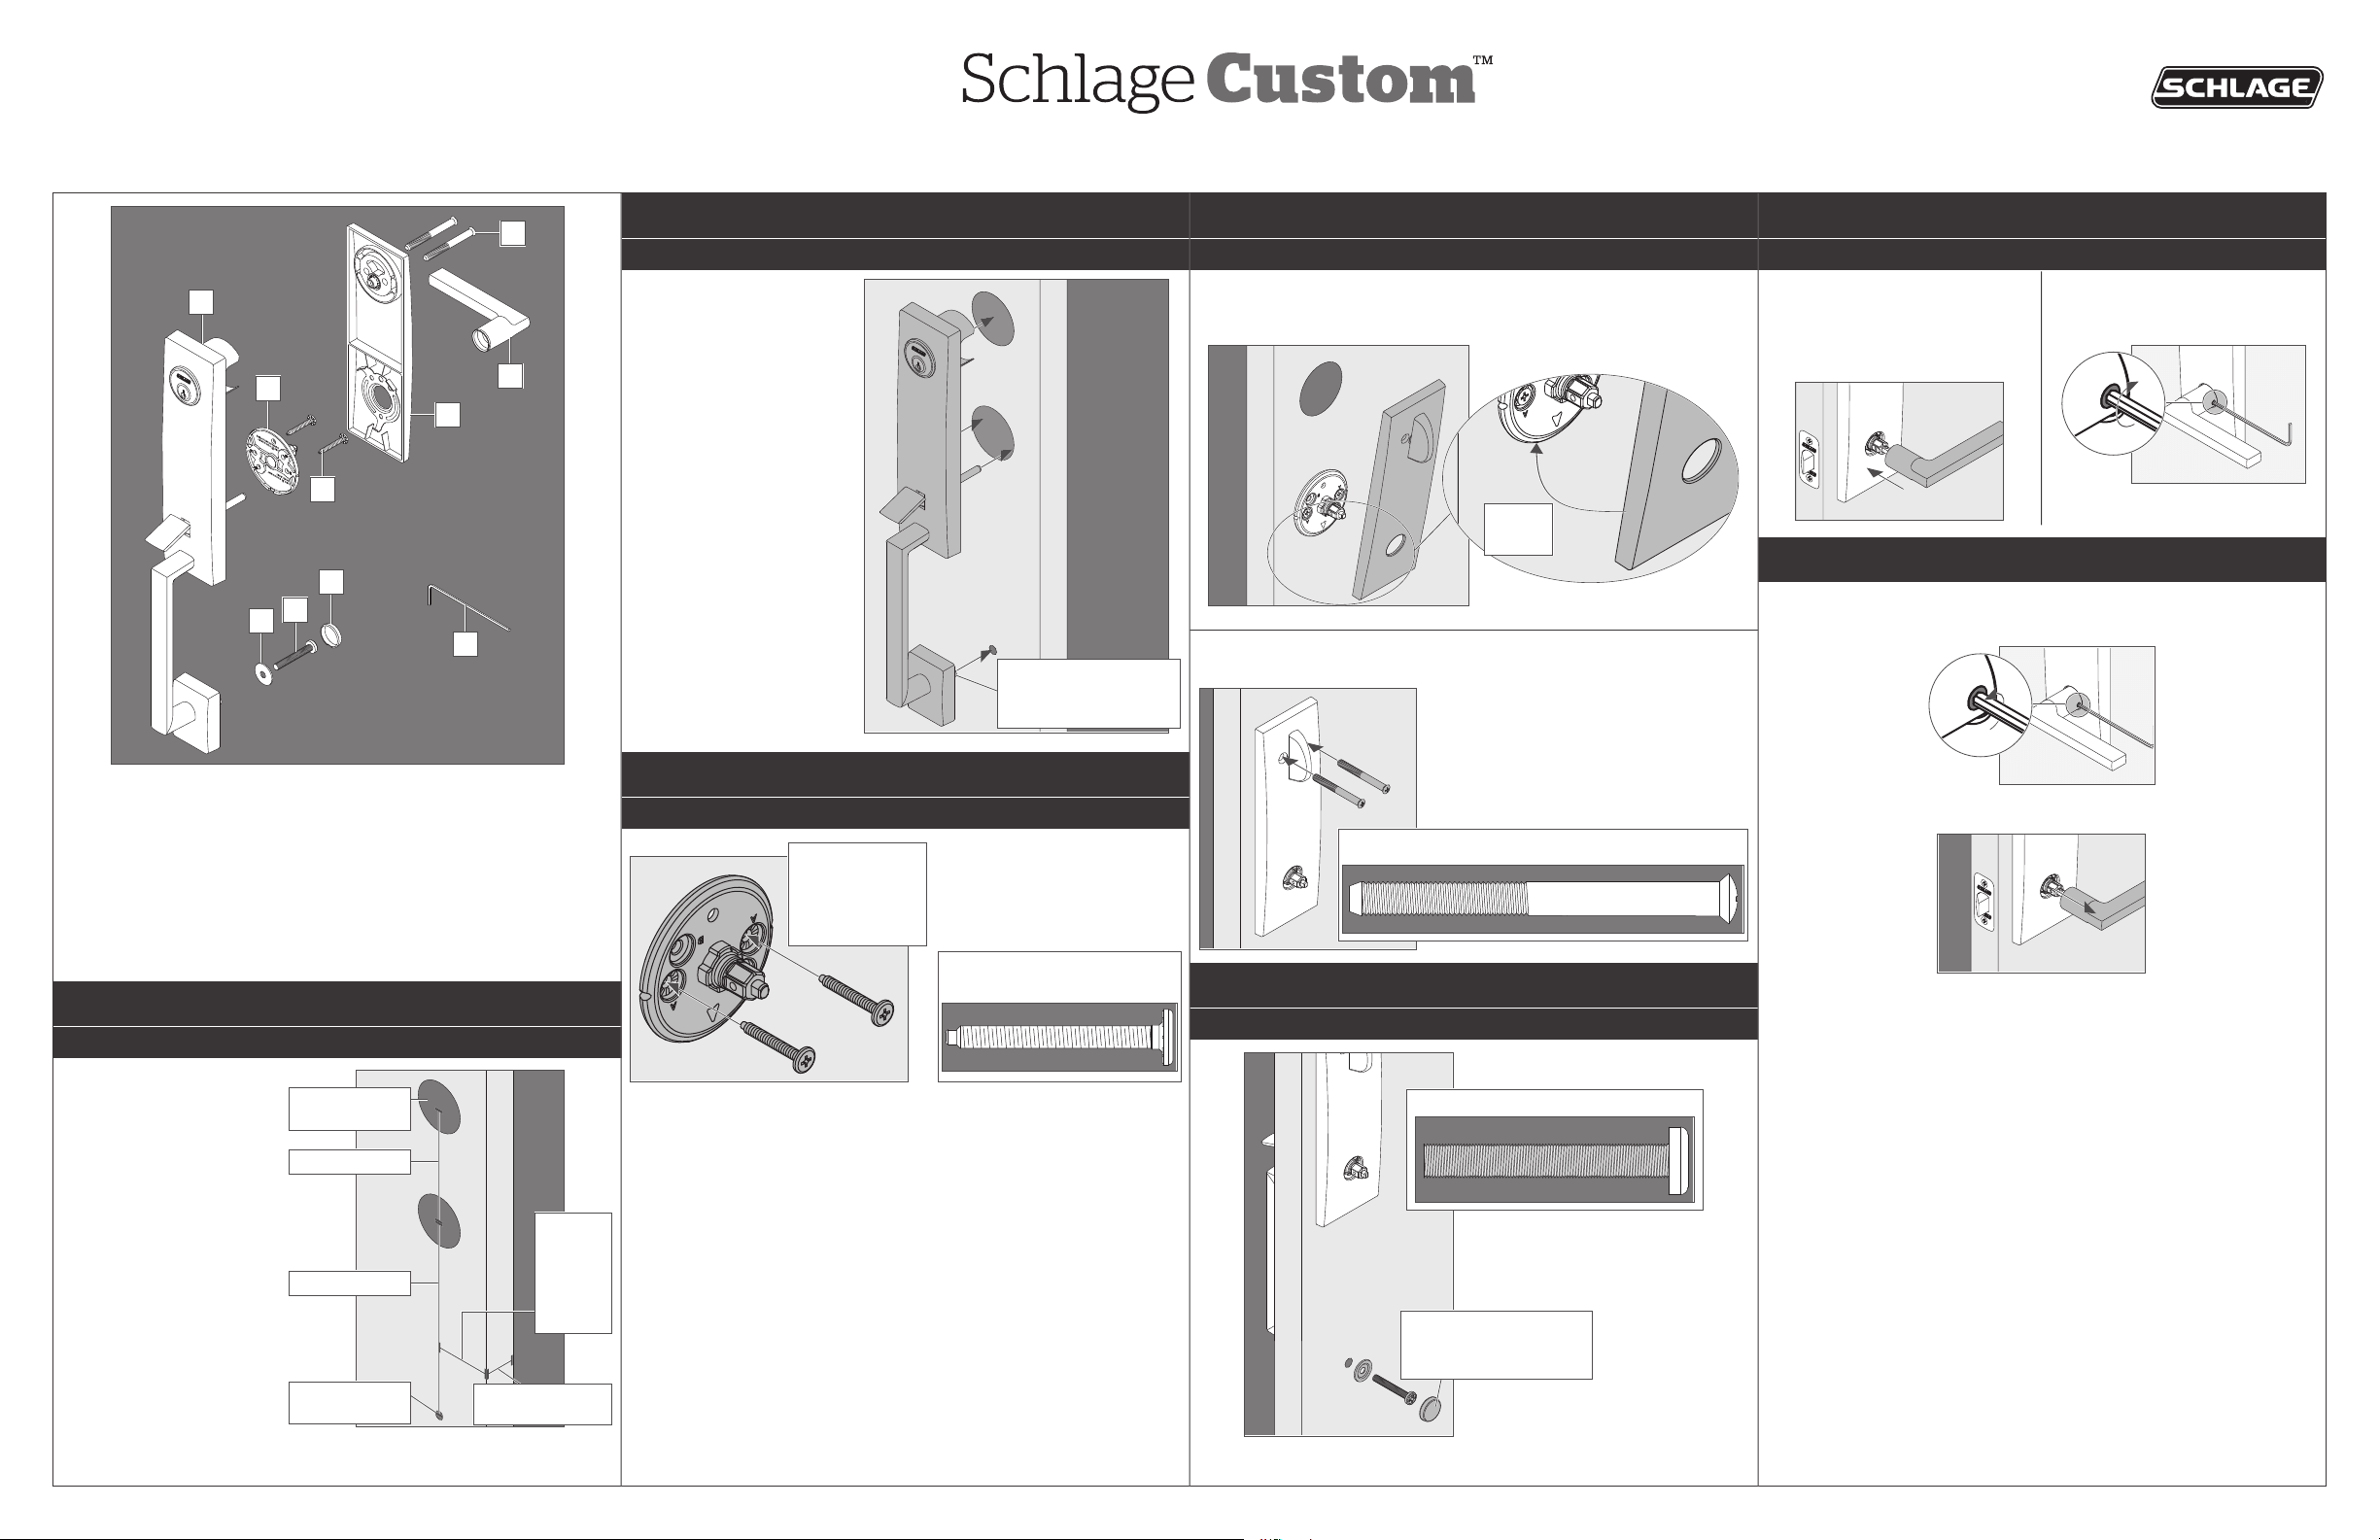
a. Handle
b. Washer
c. Handle bolt
d. Bolt cover
e. Chassis
f. Chassis screws
g. Interior plate
h. Plate screws
i. Knob/Lever
j. Hex wrench (Do not discard!)
a. Manija
b. Arandela
c. Perno de la manija
d. Cubierta del perno
e. Chasis
f. Tornillos del chasis
g. Placa interior
h. Tornillos de la placa
i. Pomo/manija
j. Llave hexagonal (¡no desechar!)
1 Check door dimensions.
Verique las dimensiones de la puerta.
1a If dimensions do not
match, you may need to
modify your door.
Si las dimensiones no
concuerdan, es posible que
tenga que modicar su puerta.
For further assistance, call
Customer Service at 1-888-805-
9837.
En caso de necesitar
asistencia, póngase en
contacto con Servicio al
Cliente al 1-888-805-9837.
* May vary from 8 1/4" (210 mm)
to 9 3/4" (248mm) for existing
hole.
† This measurement should
match the other door in the
set.
* Puede variar de 8 1/4" (210 mm) a 9 3/4"
(248mm) para el agujero existente.
† Esta medida debe coincidir con la otra
puerta en el conjunto.
2 Install the handle.
Instale la manija en el oricio inferior.
L
You may need help holding
the handle in place during
installation.
L
Es posible que necesite
ayuda para mantener la
manija en su lugar durante
la instalación.
Push rmly! Then hold in place.
¡Empuje rmemente! Luego,
manténgalo en el lugar.
3 Install the interior chassis.
Instale el chasis interior.
Install into holes
marked A.
Instale en los
oricios con la
marca A.
Actual Size (2)
Tamaño real (2)
4 Install the interior plate.
Instalar la placa interior.
4a Hook clip into bottom chassis rst. Then snap into place.
Primero coloque el sujetador en la parte del chasis. Luego póngalo en
su lugar a presión.
Hook
Gancho
4b Secure with screws.
Sujete con los tornillos.
Actual Size (2) | Tamaño real (2)
5 Install the handle bolt.
Instale el perno de la manija.
Cover snaps over washer.
La tapa se cierra a
presión sobre la arandela.
Actual Size | Tamaño real
6 Install the knob/lever.
Instale la perilla/palanca.
6a Push knob/lever rmly into
place.
Empuje la perilla/manija
rmemente para colocarlas en
su lugar.
6b Then tighten set screw.
Luego, apriete el tornillo de
jación.
Change levers | Cambio de manijas
1. Loosen set screw, but do not
remove.
Aoje el tornillo de jación, pero no
lo quite.
2. Pull lever off. Tire de la manija para retirarla.
3. Reinstall appropriately. Then
tighten set screw.
Vuelva a instalar correctamente.
Luego, apriete el tornillo de jación.
2 1/8" (54 mm)
holes | oricios
1 3/8" - 1 3/4"
(35mm) - (44mm)
9" (229 mm)*
5 1/2" (140 mm)
2 3/8"
or |o
2 3/4"
(60mm
or |o
70mm)†
3/8" (10 mm)
hole | oricio
Adjust post to t hole.
Ajuste el poste para que
encaje en el oricio.
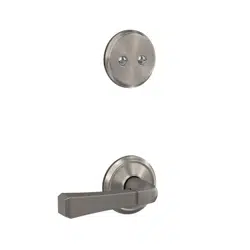
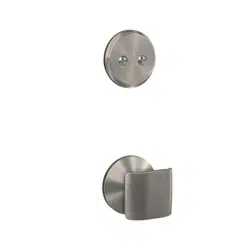
Model FCT93, One-piece Dummy Handleset Installation Instructions

© Allegion 2018
Printed in U.S.A.
P518-468 Rev. 03/18-a
e
f
i
j
h
l
k
d
c
a
g
m
b
a. Cylinder
b. Cylinder ring
c. Handle
d. Washer
e. Handle bolt
f. Bolt cover
g. Thumbturn
h. Thumbturn screws
i. Chassis
j. Chassis screws
k. Trim
l. Knob/lever
m. Hex wrench (Do not discard!)
a. Cilindro
b. Anillo del cilindro
c. Manija
d. Arandela
e. Perno de la manija
f. Cubierta del perno
g. Cerrojo manual
h. Tornillos del cerrojo manual
i. Chasis
j. Tornillos del chasis
k. Moldura
l. Pomo/manija
m. Llave hexagonal (¡no desechar!)
1 Check door dimensions.
Verique las dimensiones de la puerta.
1a If dimensions do not
match, you may need to
modify your door.
Si las dimensiones no
concuerdan, es posible que
tenga que modicar su puerta.
For further assistance, call
Customer Service at 1-888-805-
9837.
En caso de necesitar
asistencia, póngase en
contacto con Servicio al
Cliente al 1-888-805-9837.
* May vary from 8 1/4" (210 mm)
to 9 3/4" (248mm) for existing
hole.
† This measurement should
match the other door in the
set.
* Puede variar de 8 1/4" (210 mm) a 9 3/4"
(248mm) para el agujero existente.
† Esta medida debe coincidir con la otra
puerta en el conjunto.
2 Install the handle into the bottom hole.
Instale la manija en el oricio inferior.
L
You may need help
holding the handle in
place during installation.
L
Es posible que necesite
ayuda para mantener la
manija en su lugar durante
la instalación.
Push rmly! Then hold in
place.
¡Empuje rmemente! Luego,
manténgalo en el lugar.
3 Install the interior chassis.
Instale el chasis interior.
Install into holes
marked A.
Instale en los
oricios con la
marca A.
Actual Size (2)
Tamaño real (2)
4 Install the handle bolt.
Instale el perno de la manija.
Cover snaps over washer.
La tapa se cierra a
presión sobre la arandela.
Actual Size | Tamaño real
5 Install the interior trim.
Instale la moldura interior.
click
hacer clic
hook
gancho
OR
O
click
hacer clic
hook
gancho
6 Install the knob/lever.
Instale la perilla/manija.
6a Push knob/lever rmly into
place.
Empuje la perilla/manija
rmemente para colocarlas en
su lugar.
6b Then tighten set screw.
Luego, apriete el tornillo de
jación.
7 Install the cylinder and ring into the top hole.
Instale el cilindro y el anillo en el oricio superior.
8 Install the thumbturn.
Instale el pestillo.
Actual Size (2) | Tamaño real (2)
Change levers | Cambio de manijas
1. Loosen set screw, but do not
remove.
Aoje el tornillo de jación, pero no
lo quite.
2. Pull lever off. Tire de la manija para retirarla.
3. Reinstall appropriately. Then
tighten set screw.
Vuelva a instalar correctamente.
Luego, apriete el tornillo de jación.
2 1/8" (54 mm)
holes | oricios
1 3/8" - 1 3/4"
(35mm) - (44mm)
9" (229 mm)*
5 1/2" (140 mm)
Standard
Estándar
4" (102 mm)
Minimum
Mínimo
2 3/8"
or |o
2 3/4"
(60mm
or |o
70mm)†
3/8" (10 mm)
hole | oricio
Adjust post to t hole.
Ajuste el poste para que
encaje en el oricio.
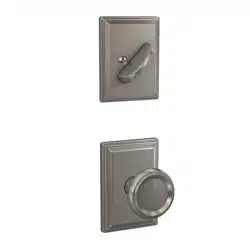
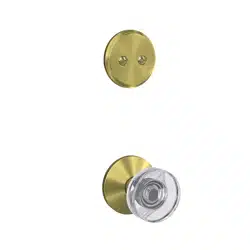
Model FC93, Dummy Handleset Installation Instructions
Customer Service Service à la clientèle
1-888-805-9837 www.schlage.com