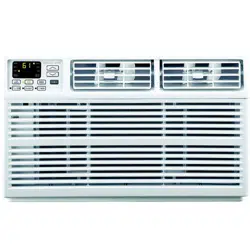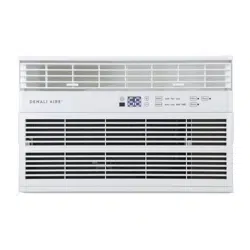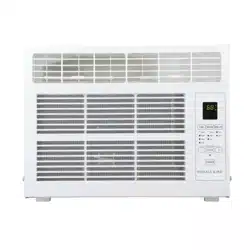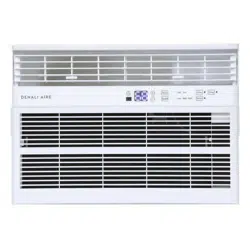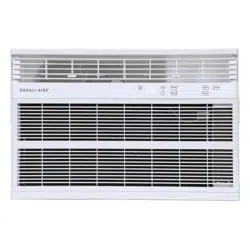
FOR MODELS:
1DAC15K
1DAC18K
1DAC24K
1DACH18K
1DACH24K
WINDOW AIR CONDITIONER
USER MANUAL
Before using your air conditioner, please read this manual carefully and
keep it for future reference, along with your receipt. Specifications and
performance data is subject to change without notice.
CCONONSSUUMMEERR P PRRODODUCUCTT I INNFFORMORMAATTIIONON
For your own rFor your own recorecords, please attach a copy of your sales rds, please attach a copy of your sales receipt to this manual and complete the following:eceipt to this manual and complete the following:
Model Number:Model Number: _____________________________________ _____________________________________ Serial Number: Serial Number: _______________________________________ _______________________________________
PurPurchase Date: chase Date: ____________________________________ ____________________________________ StorStore Pure Purchased: chased: _____________________________________ _____________________________________
Installation Date: Installation Date: ___________________________________ ___________________________________ Installation Co.: Installation Co.: ______________________________________________________________________________
Installer Name: Installer Name: _____________________________________ _____________________________________ Installer Phone No.: Installer Phone No.: ___________________________________ ___________________________________

TABLE OF CONTENTS
IMPORTANT SAFETY INSTRUCTIONS .........................................................................
...................................................................................
INSTALLATION HARDWARE AND REQUIREMENTS....................................................
INSTALLATION & ASSEMBLY INSTRUCTIONS ..............................................................
USING YOUR AIR CONDITIONER ................................................................................
........................................................................
CARE AND MAINTENANCE .........................................................................................
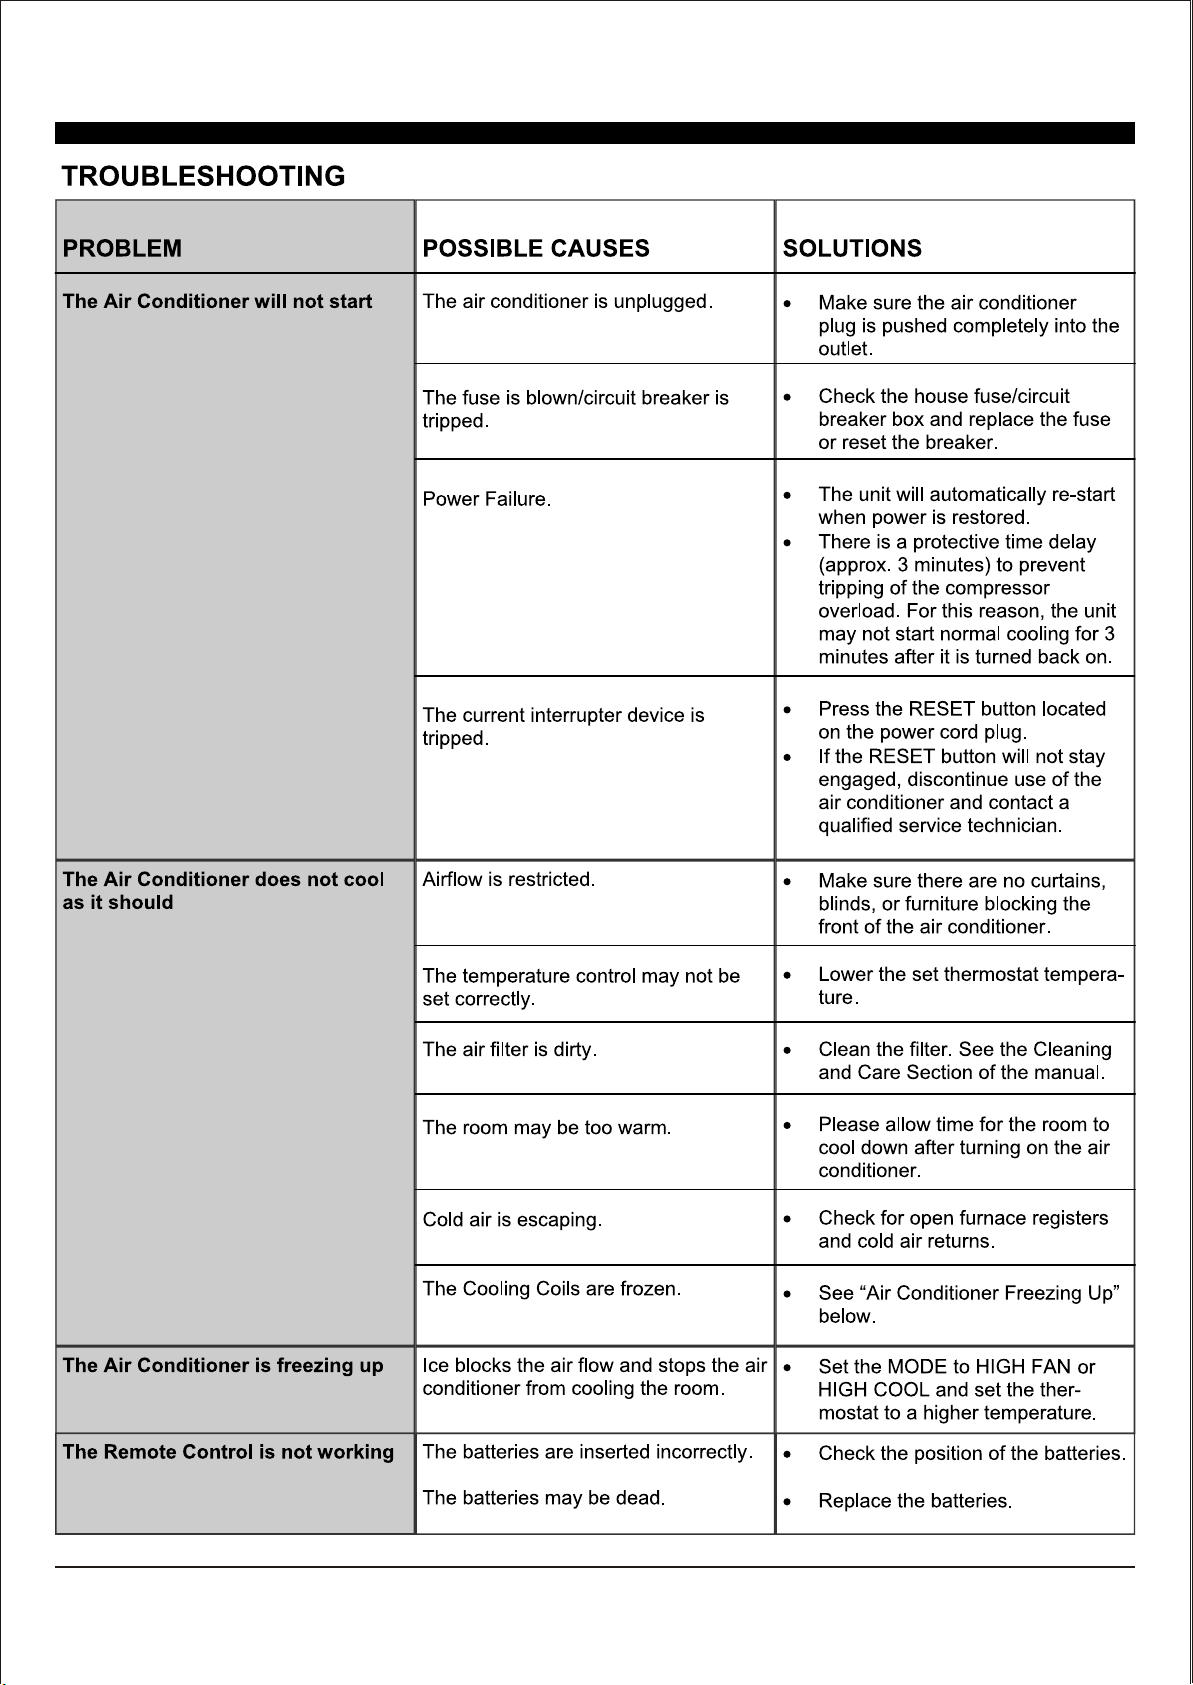
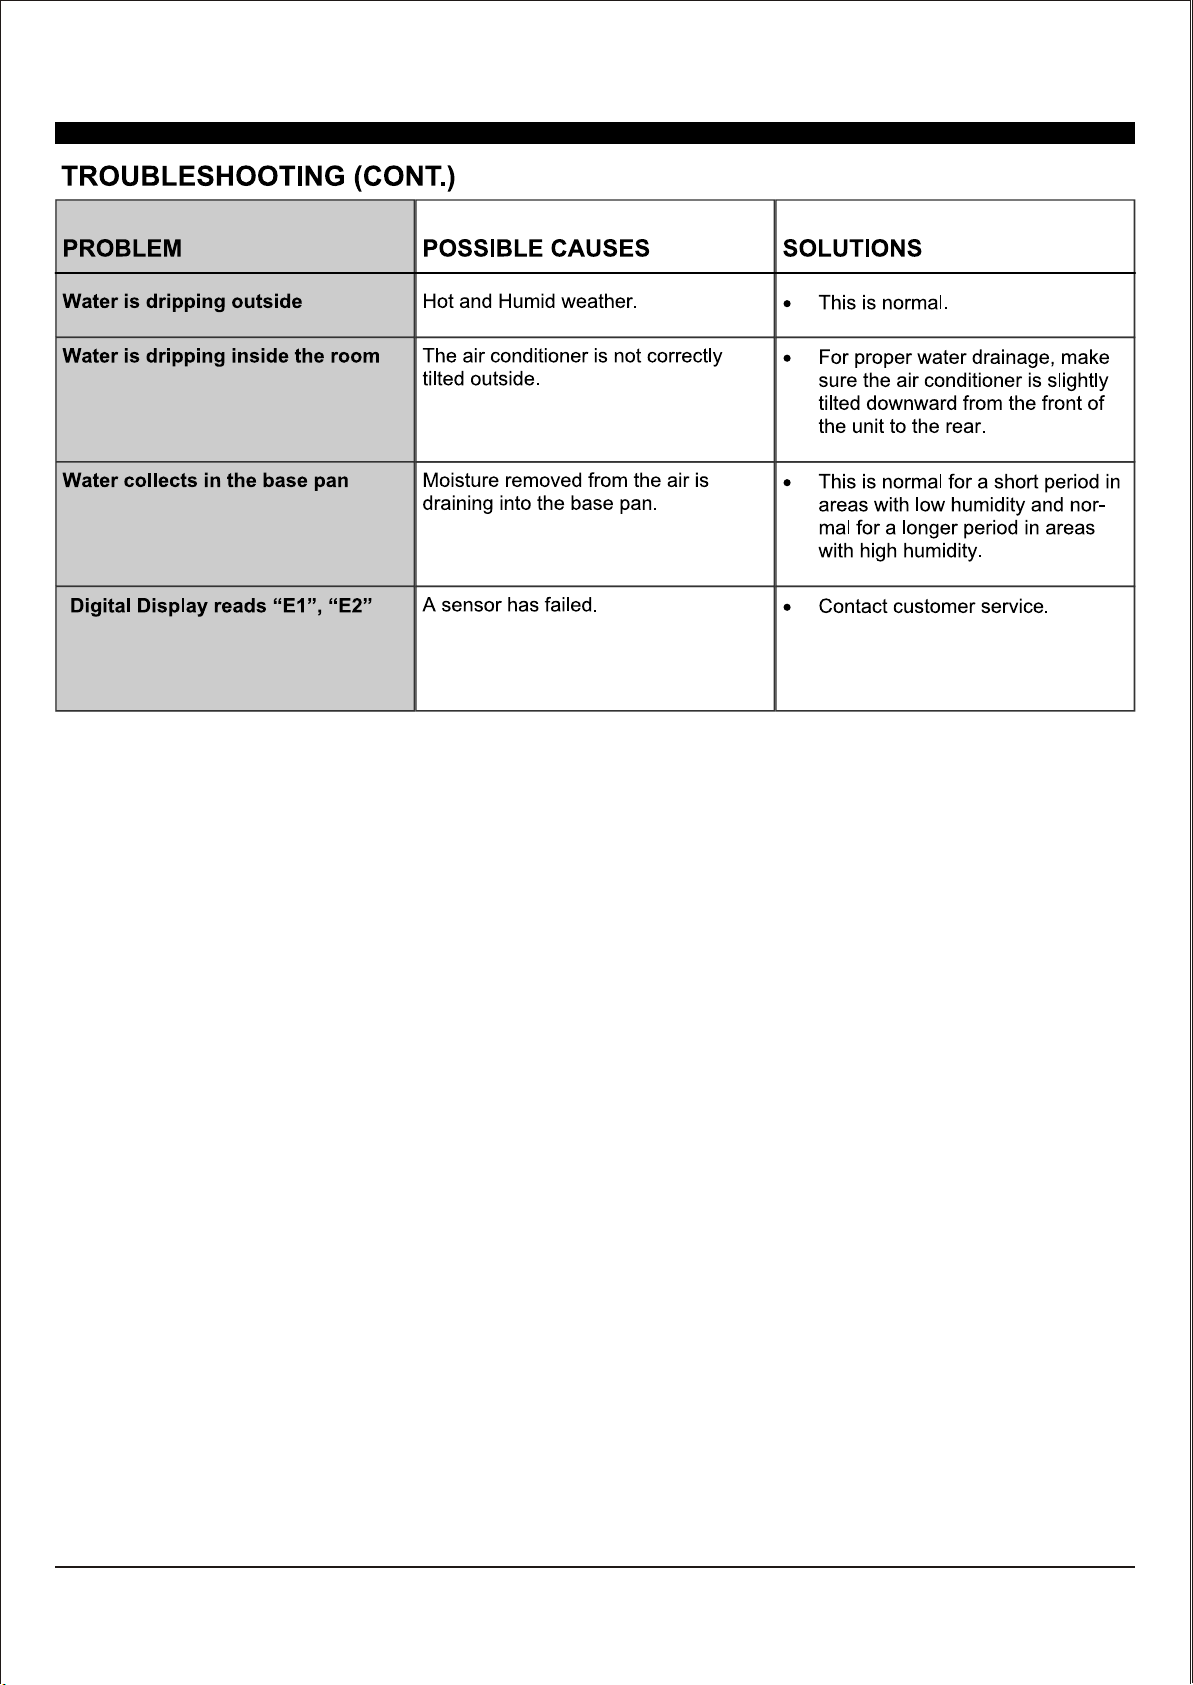
TROUBLESHOOTING .................................................................................................
ELECTRICAL REQUIREMENTS
USING YOUR REMOTE CONTROL ......
1
2
3
4
13
15
16
17
1
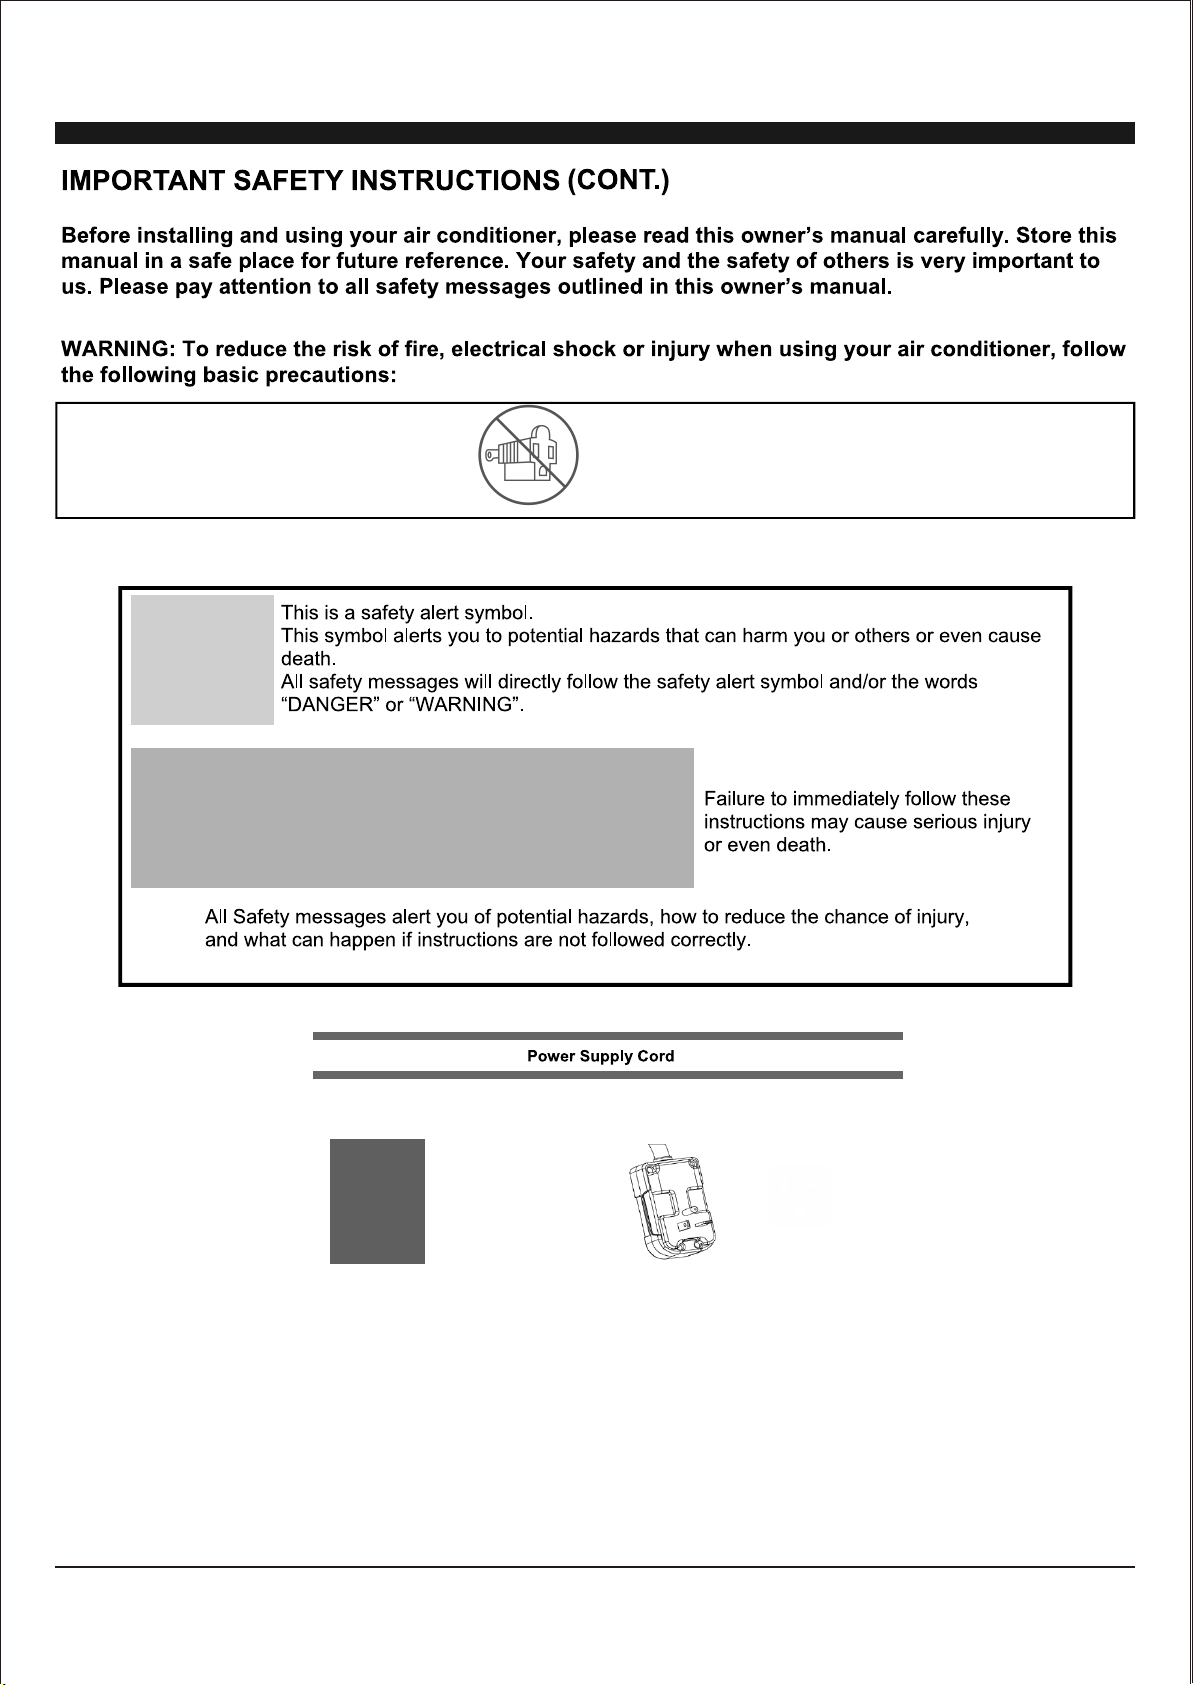
• Plug into a ground 3 prong outlet.
• Do Not remove the ground prong.
• Do Not use a plug adapter.
• Do Not use an extension cord.
• Unplug the air conditioner before any maintenance.
• Use two or more people to move and install the air
conditioner.
15K
15A/115V
18K/22K/24K
20A/230V
2
15K
15A/115V
18K/22K/24K
20A/230V
Electrical Shock Hazard
Plug into a grounded 3 prong outlet.
Do Not remove the ground prong.
Do Not use an adapter.
Do Not use an extension cord.
Failure to follow these instructions can
result in electrical shock, fire or even
death.
3
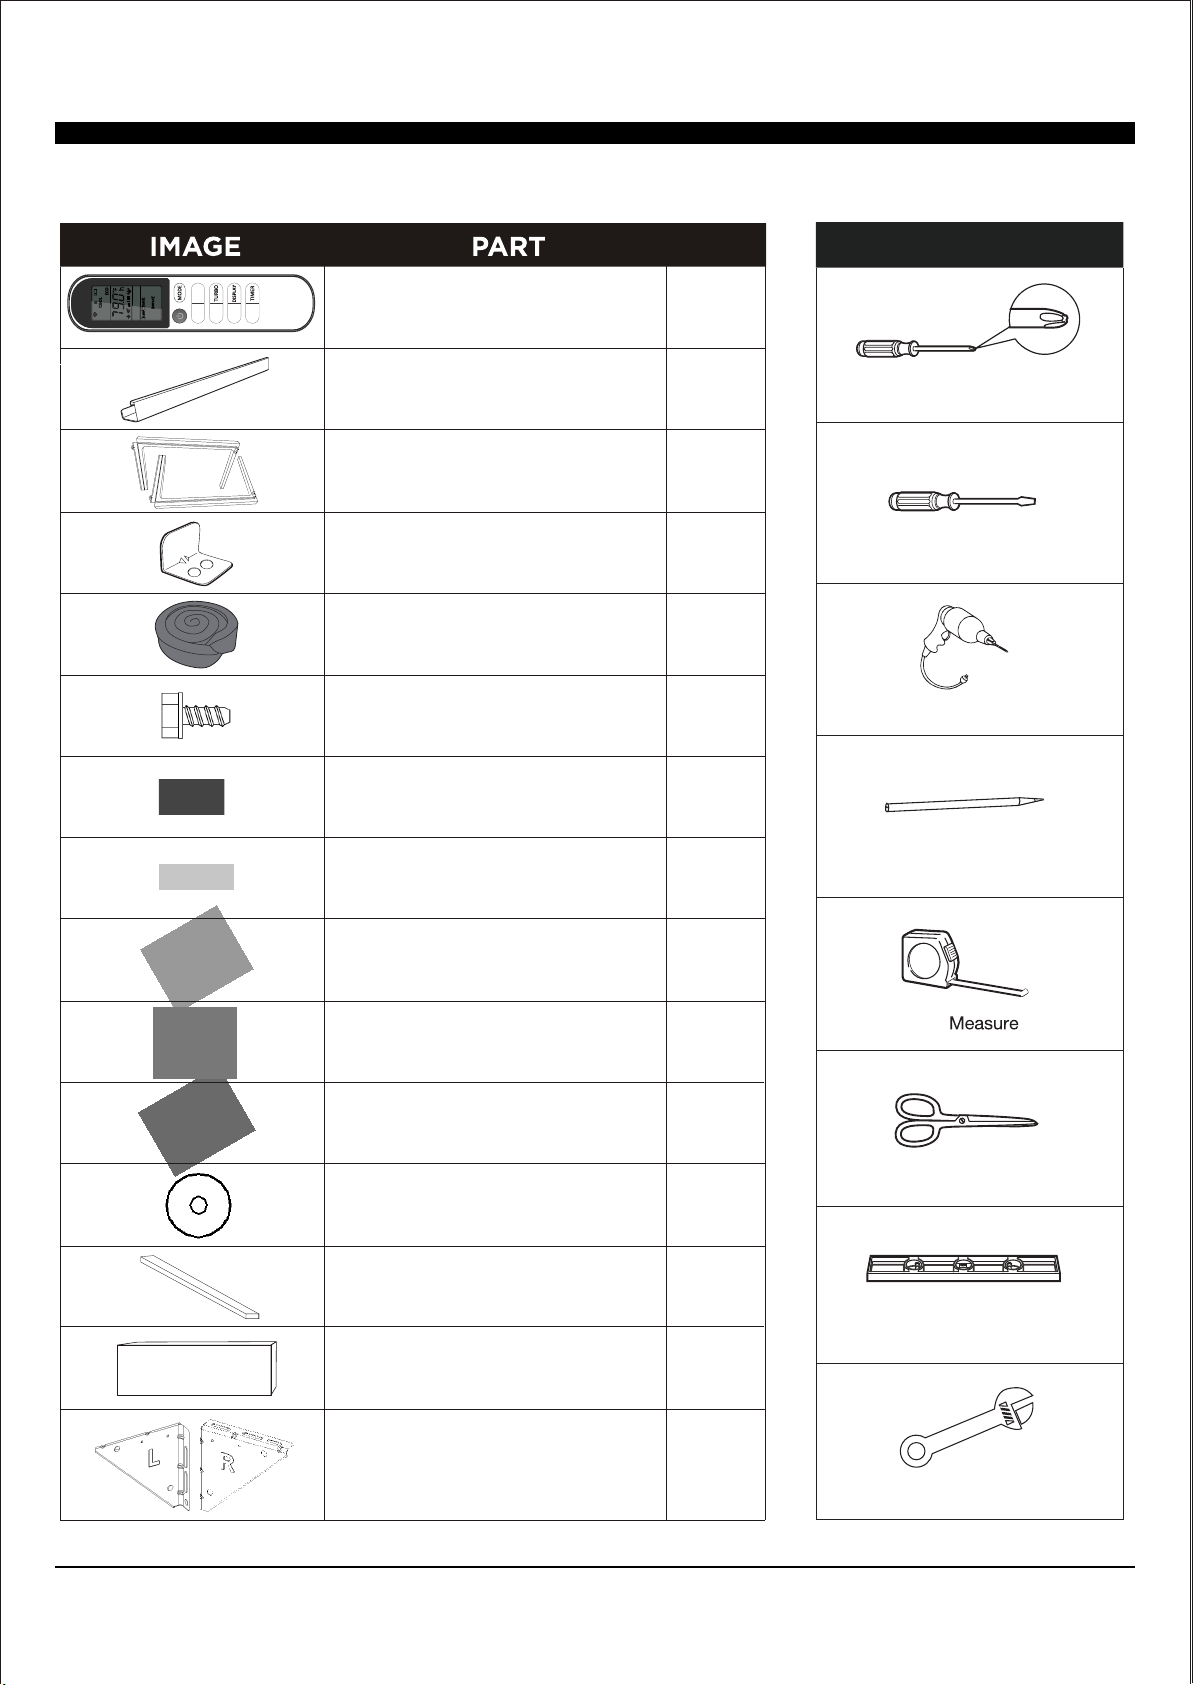
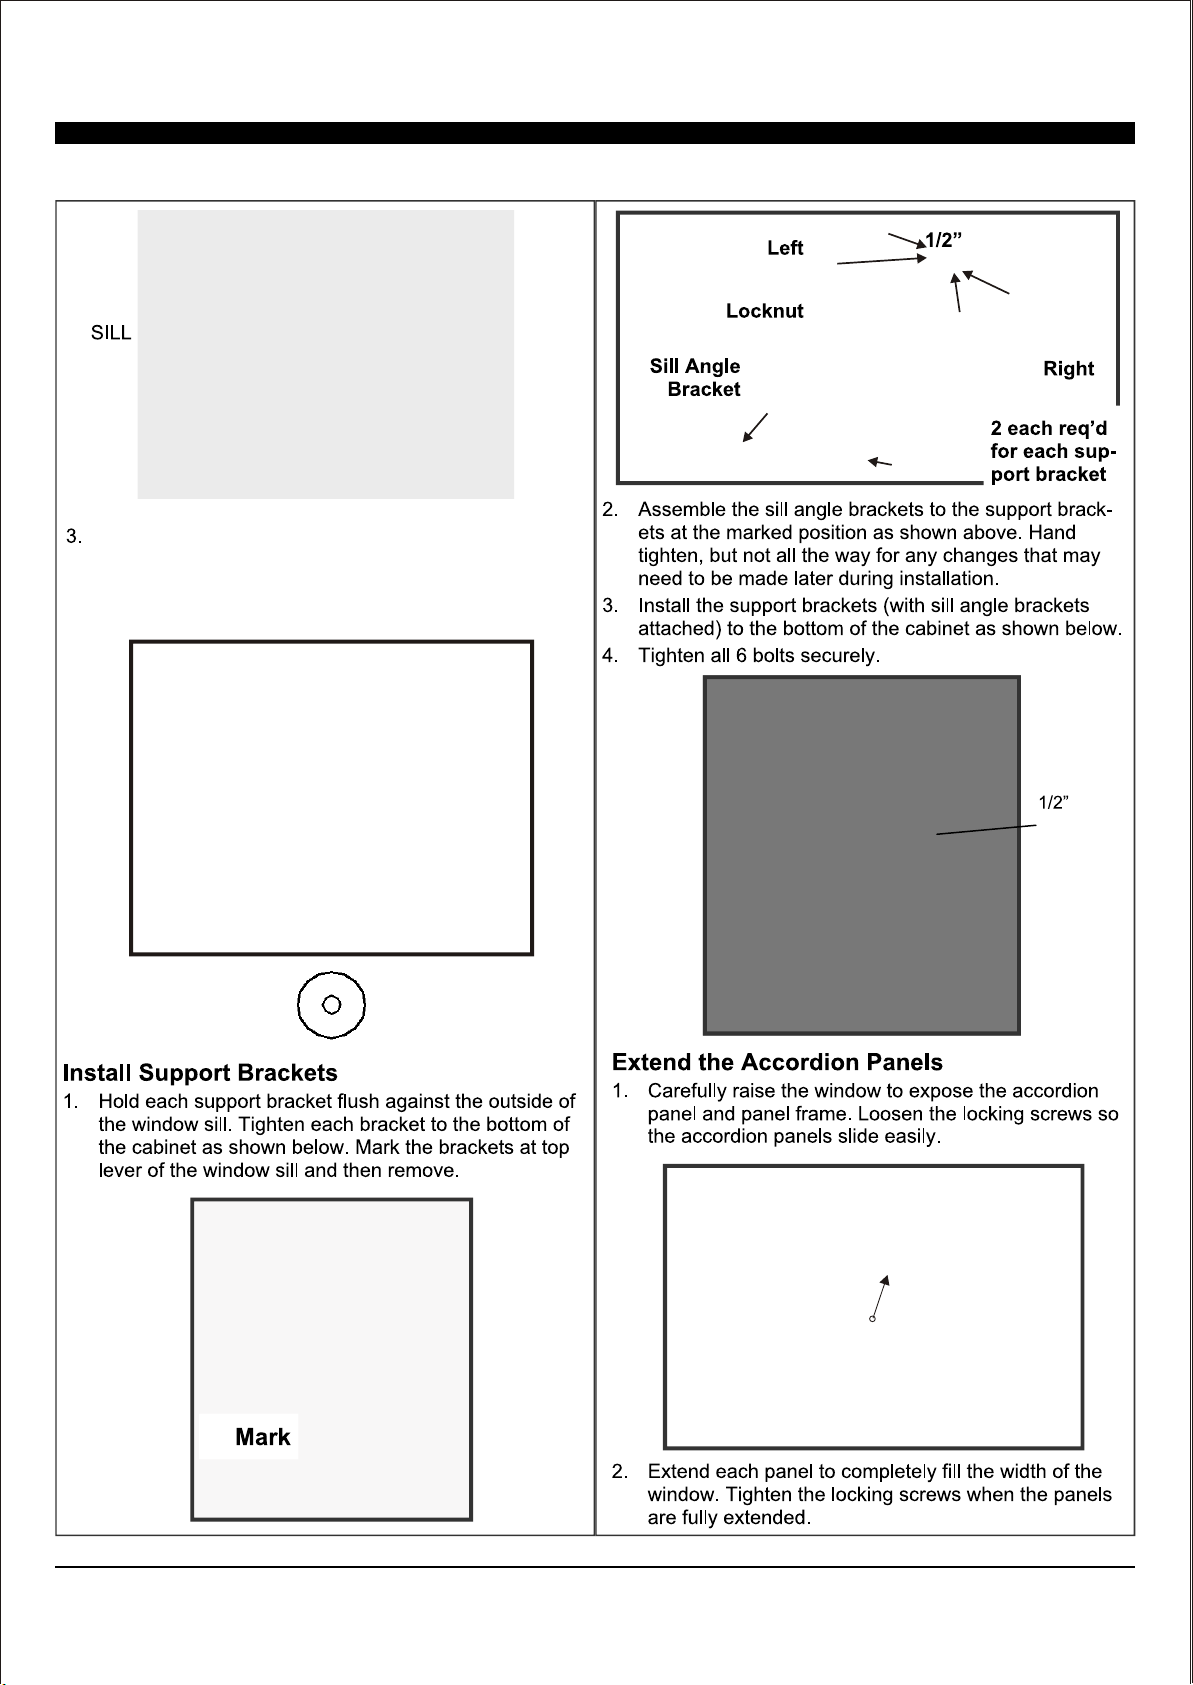
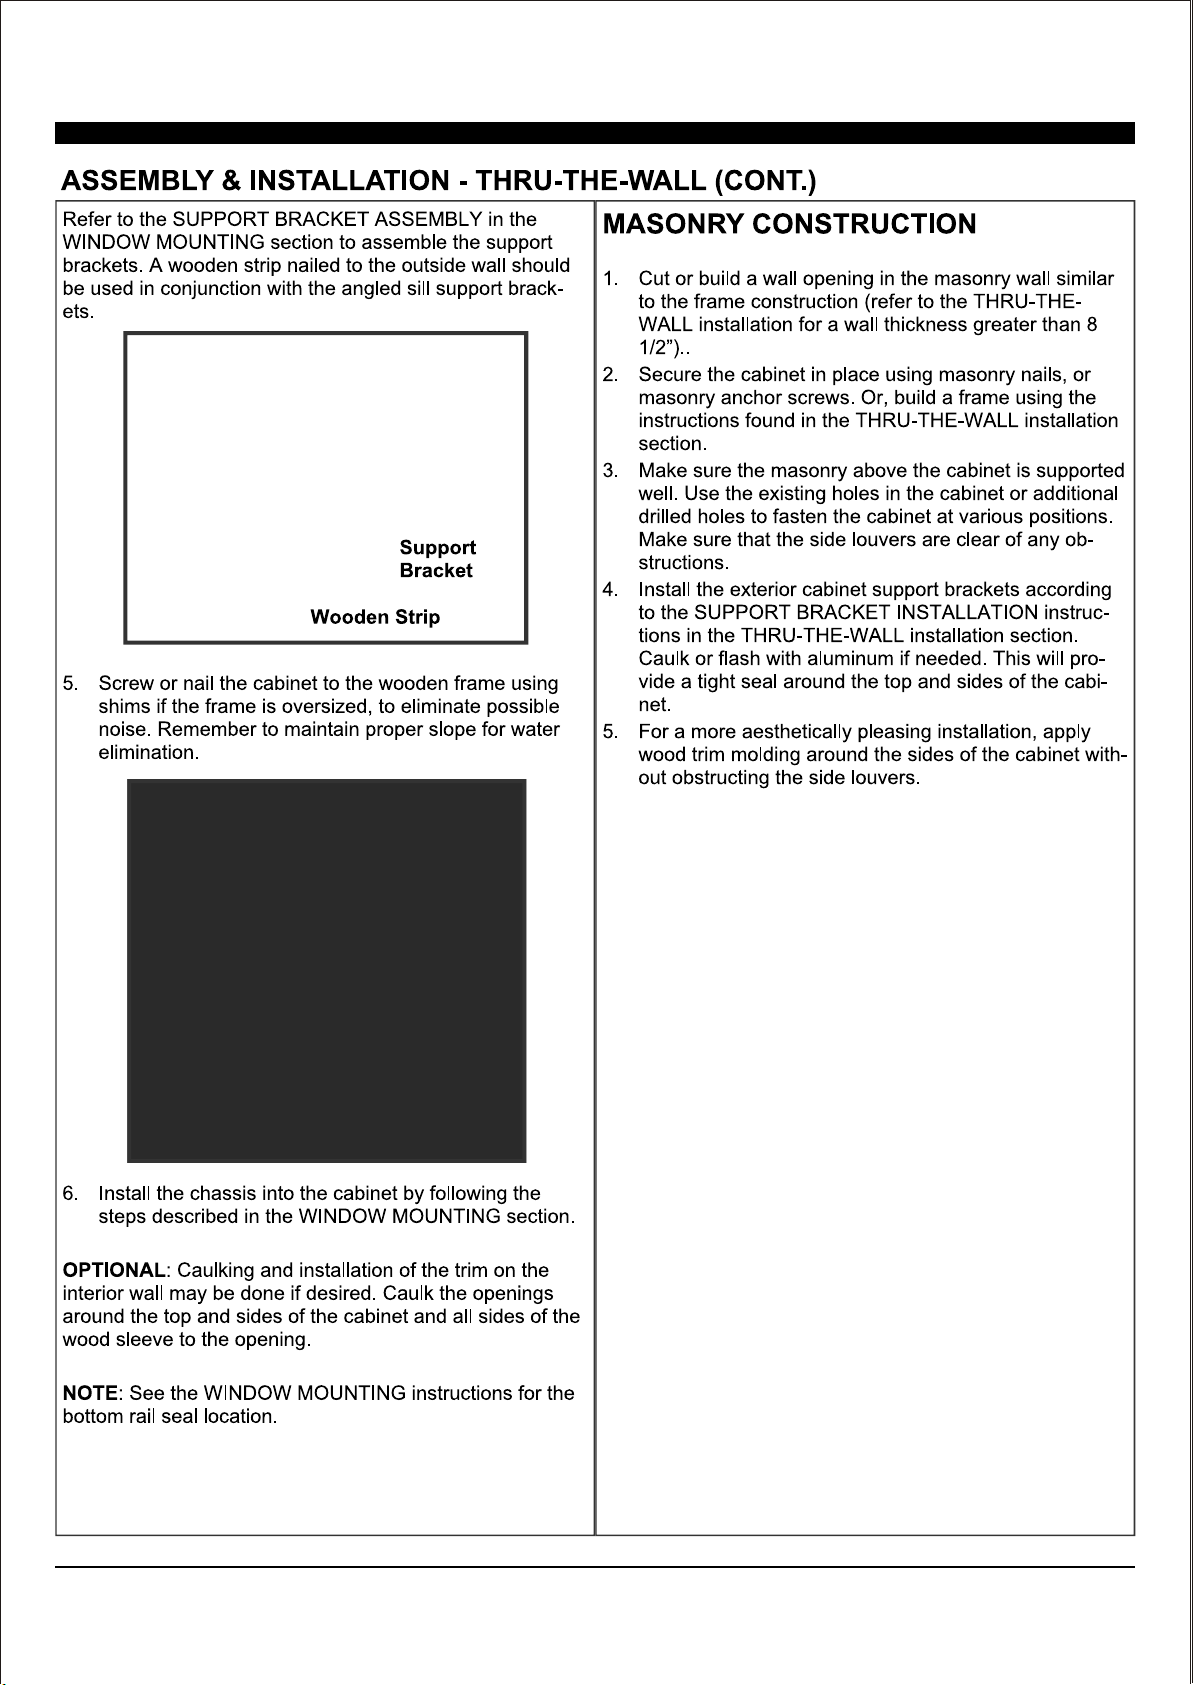
Sill Angle Bracket
1/2" Long Flat Head Bolt
and Locknut
Metal Washer
Remote Control
Top Mounting Rail
(With Foam)
Accordian Panels
(With "Left" & "Right"
remark on the front face)
Window Sash Seal
(Foam)
5/16" Long Hex-head Screw
5/8" Long Hex-head Screw
5/8" Long Flat Head Bolt
and Locknut
1/2" Long Hex-head Screw
Foam Top Window Foam
(Thin foam for back-up use)
Insulation Strip
(Foam
Support Bracket
(With "R" and "L" remark)
QTY.
1
1
2
1
1
10
4
2
2 ea.
2
4 ea.
2
1
2
2
Sash Lock
(Two holes)
INSTALLATION HARDWARE INCLUDED
NOTE: Save carton and these Installation Instructions for future reference. The carton is the best way to store unit during winter or when not in use.
I FEEL
ECO
FAN
<
<
TOOLS NEEDED
Phillips Head Screwdriver
Flat Head Screwdriver
Pencil
Drill & 3/16” Drill Bit
Tape
Scissors or Knife
Level
Adjustable Wrench
4
15K/18K
18 18.75
23.75
26.5
19.00
19.50
28.00
30.00
41.00
41.00
22K/24K
SASH
SASH
1/2 MIN
1/2 MIN
19 MIN
19 1/2 MIN
FIG.1
FIG.3
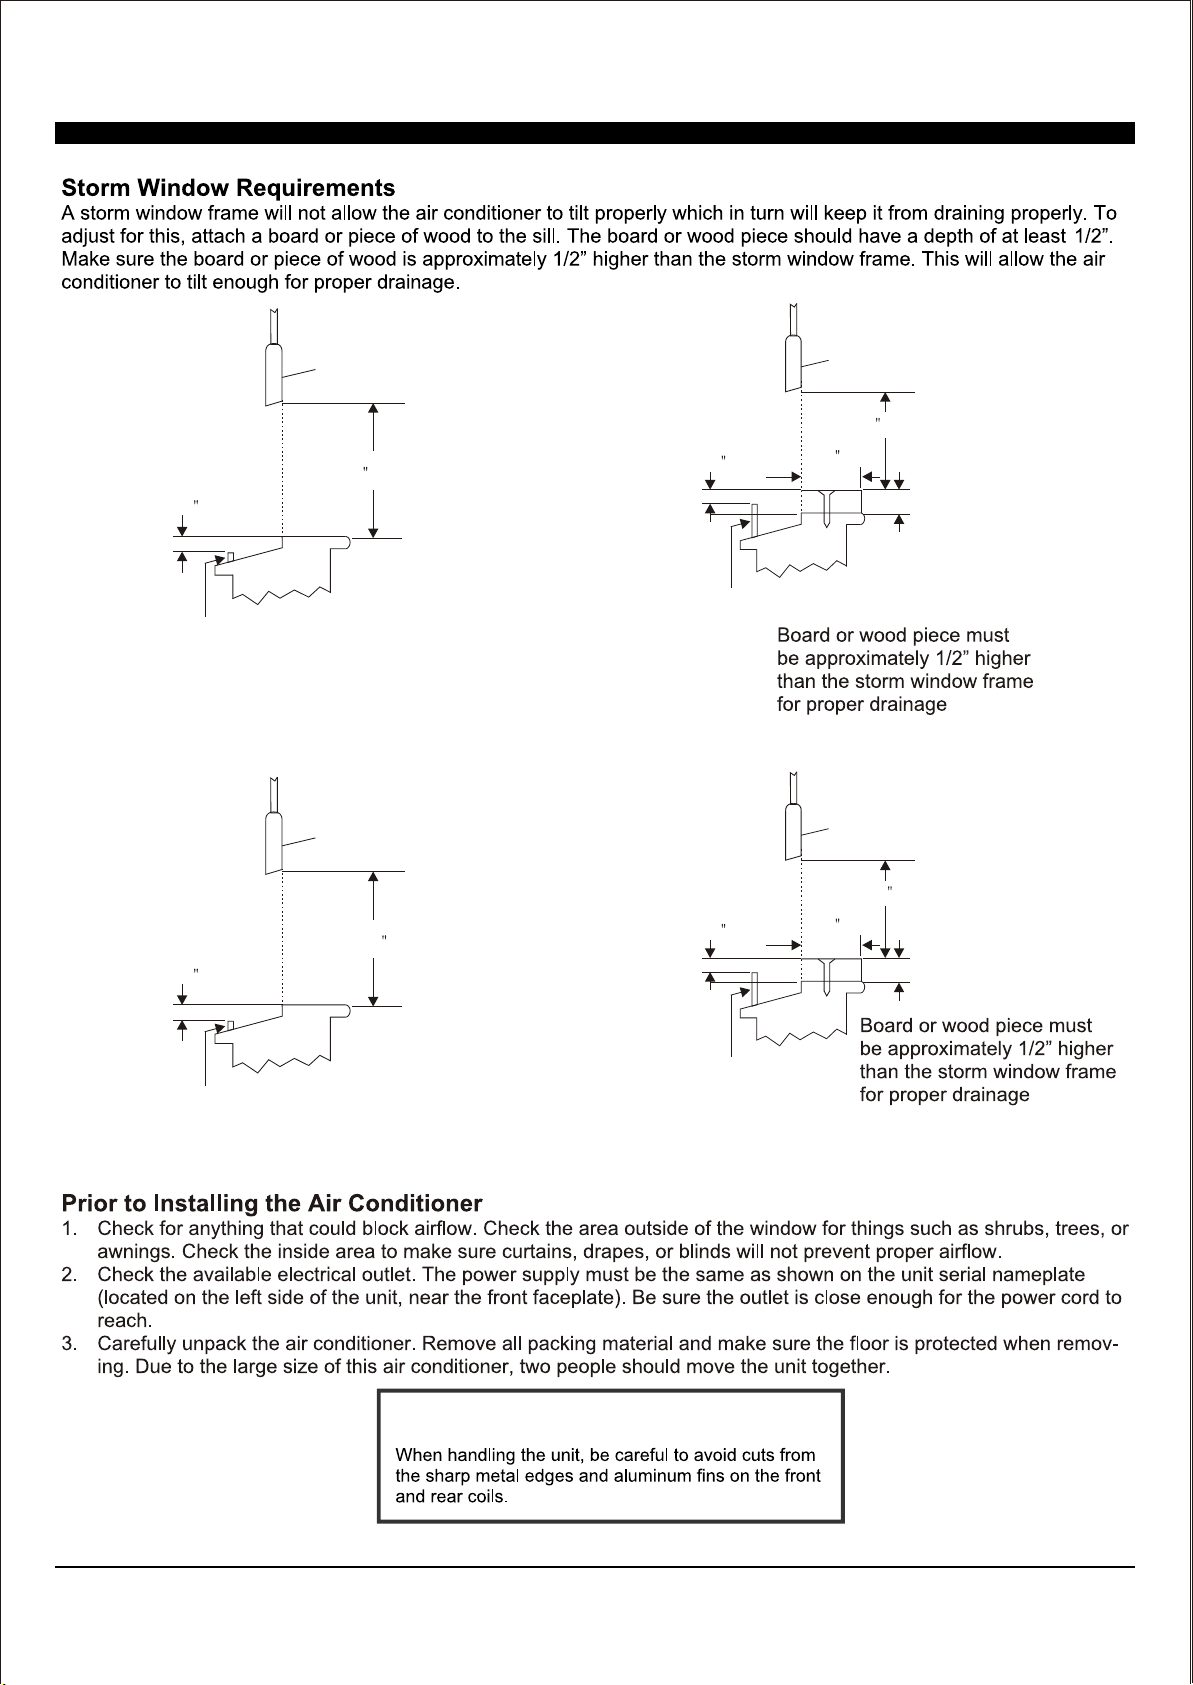
Storm Window Frame or Obstruction
Storm Window Frame or Obstruction
FIG.2
FIG.4
SASH
SASH
1/2 MIN
1/2 MIN
19 MIN
19 1/2 MIN
1/2 MIN
1/2 MIN
Storm Window Frame
or Obstruction
5
(15K/18K See FIG.1/FIG.2 ; 22K/24K See FIG.3/FIG.4).
Storm Window Frame
or Obstruction
6
FIG.5
FIG.5
FIG.6
FIG.7 & 8
FIG.7
FIG.8
FIG.9
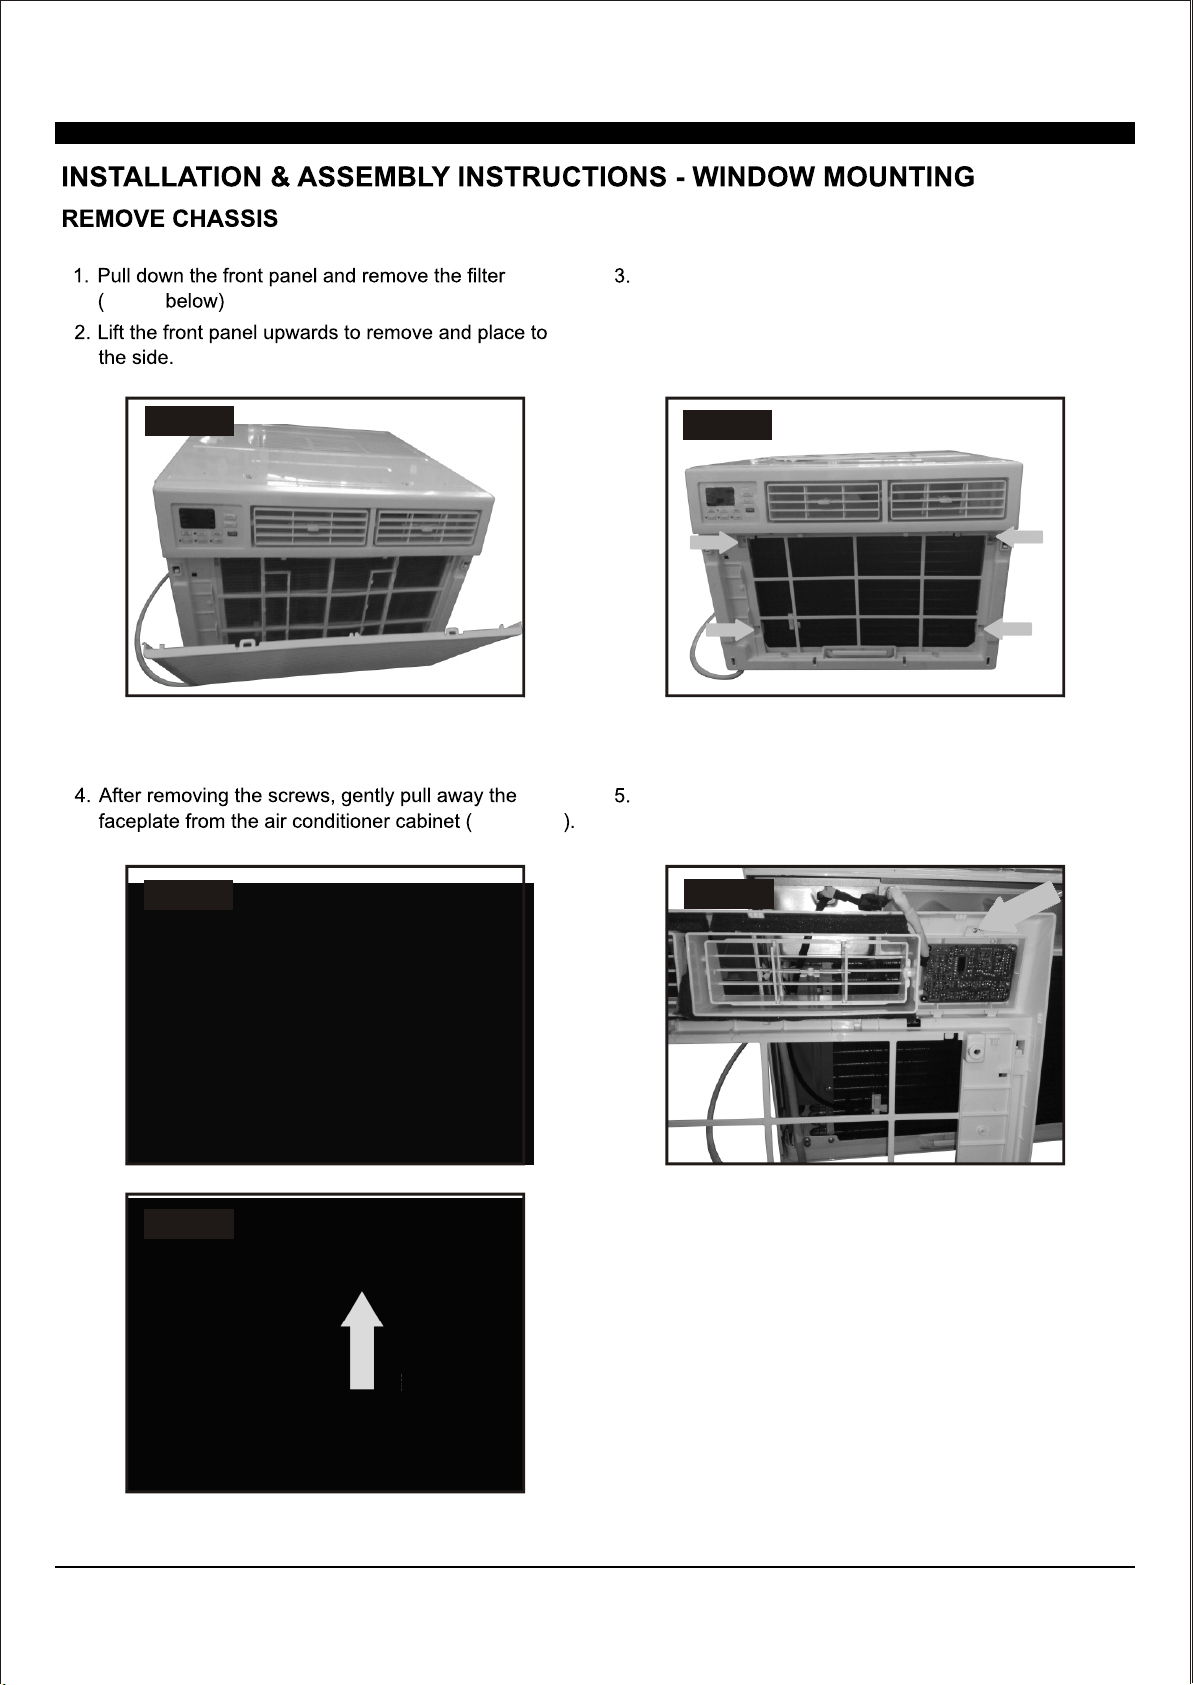
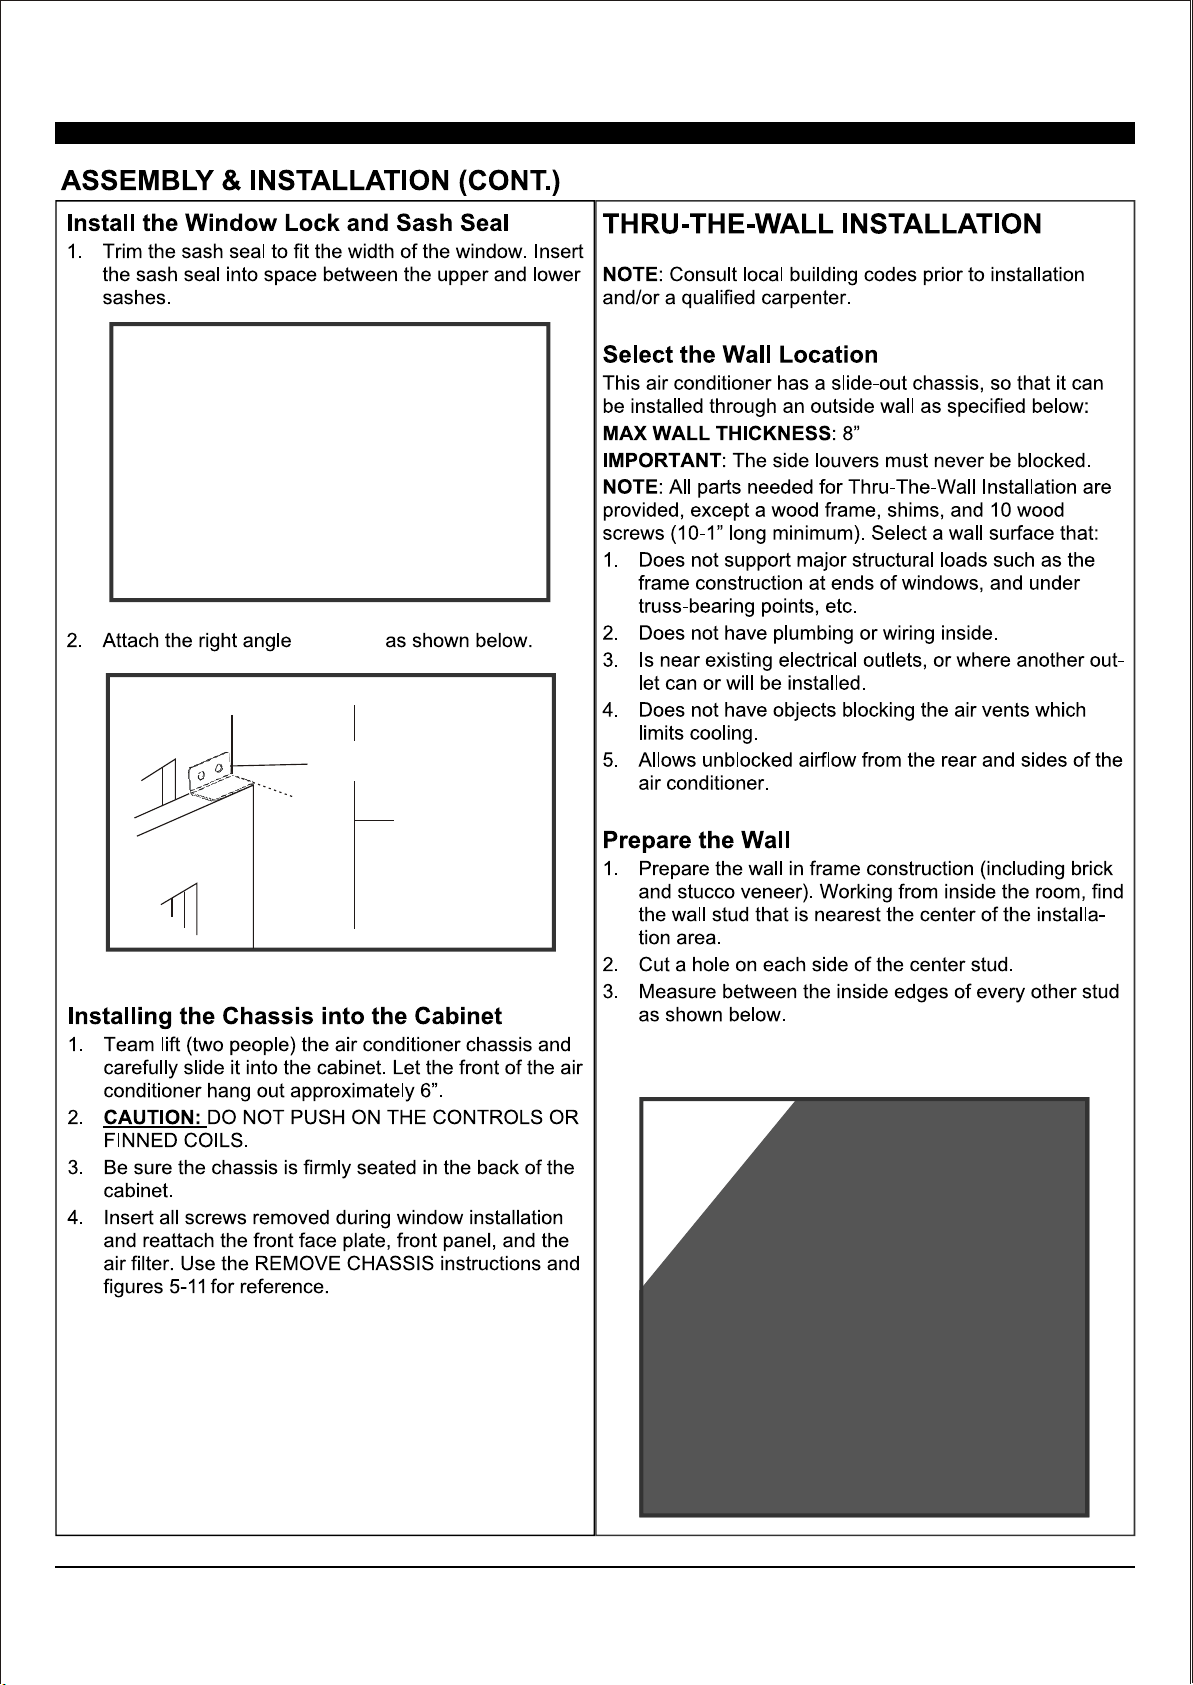
Remove the control panel screw(s) from the front
panel (FIG. 9)
Loc
ate the four faceplate screws and remove. These
s
c
r
ews will need to be re-installed after mounting the
air conditioner
(FIG. 6 above)
Note: Remove one screw for the 15,000 BTU and 18,000 BTU.
Remove two screws for the 24,000 BTU.
Press in here
on both sides
Lift up
7
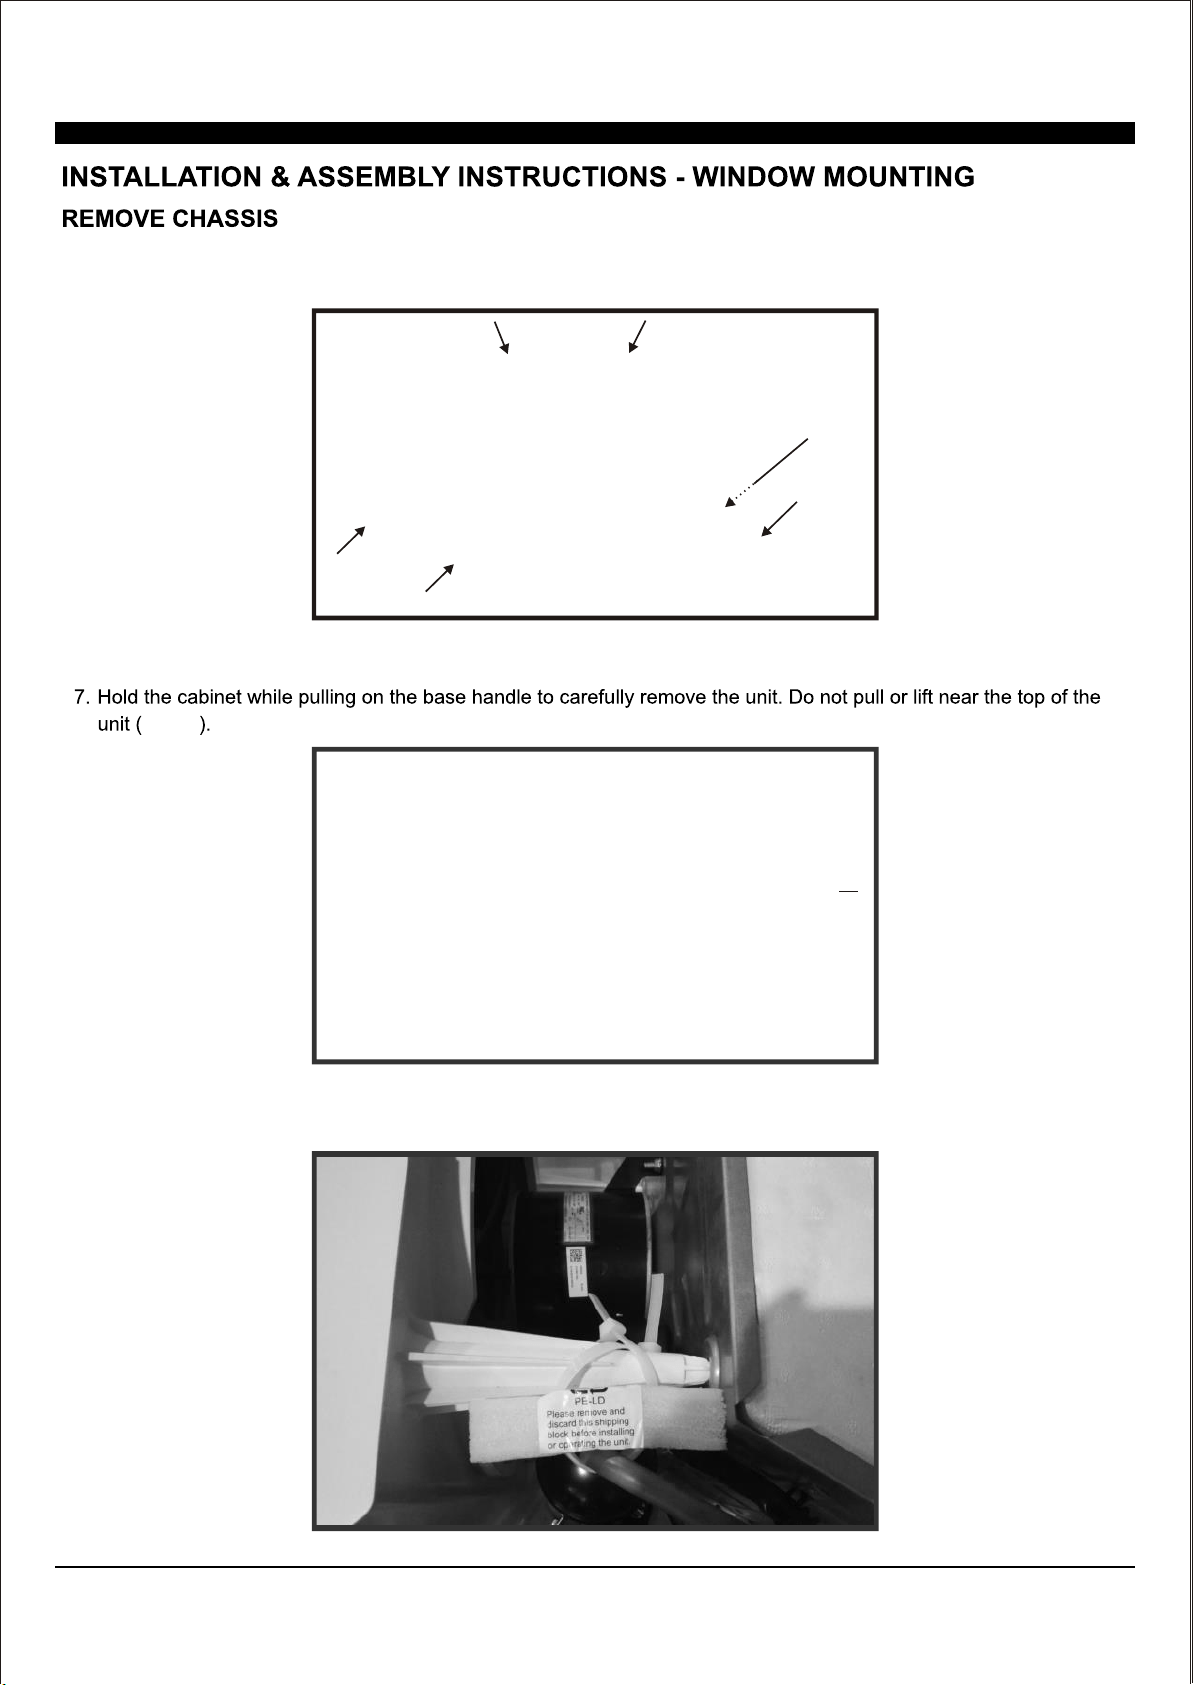
6.Remove the six screws from the cabinet. (There are two screws on the top, left and right.) (FIG.10)
FIG.10
FIG.11
FIG.11
8. (FIG.12).Remove the shipping block for the 24K
FIG.12
Do not
pull or
lift in
this
area
This may
result in
damage.
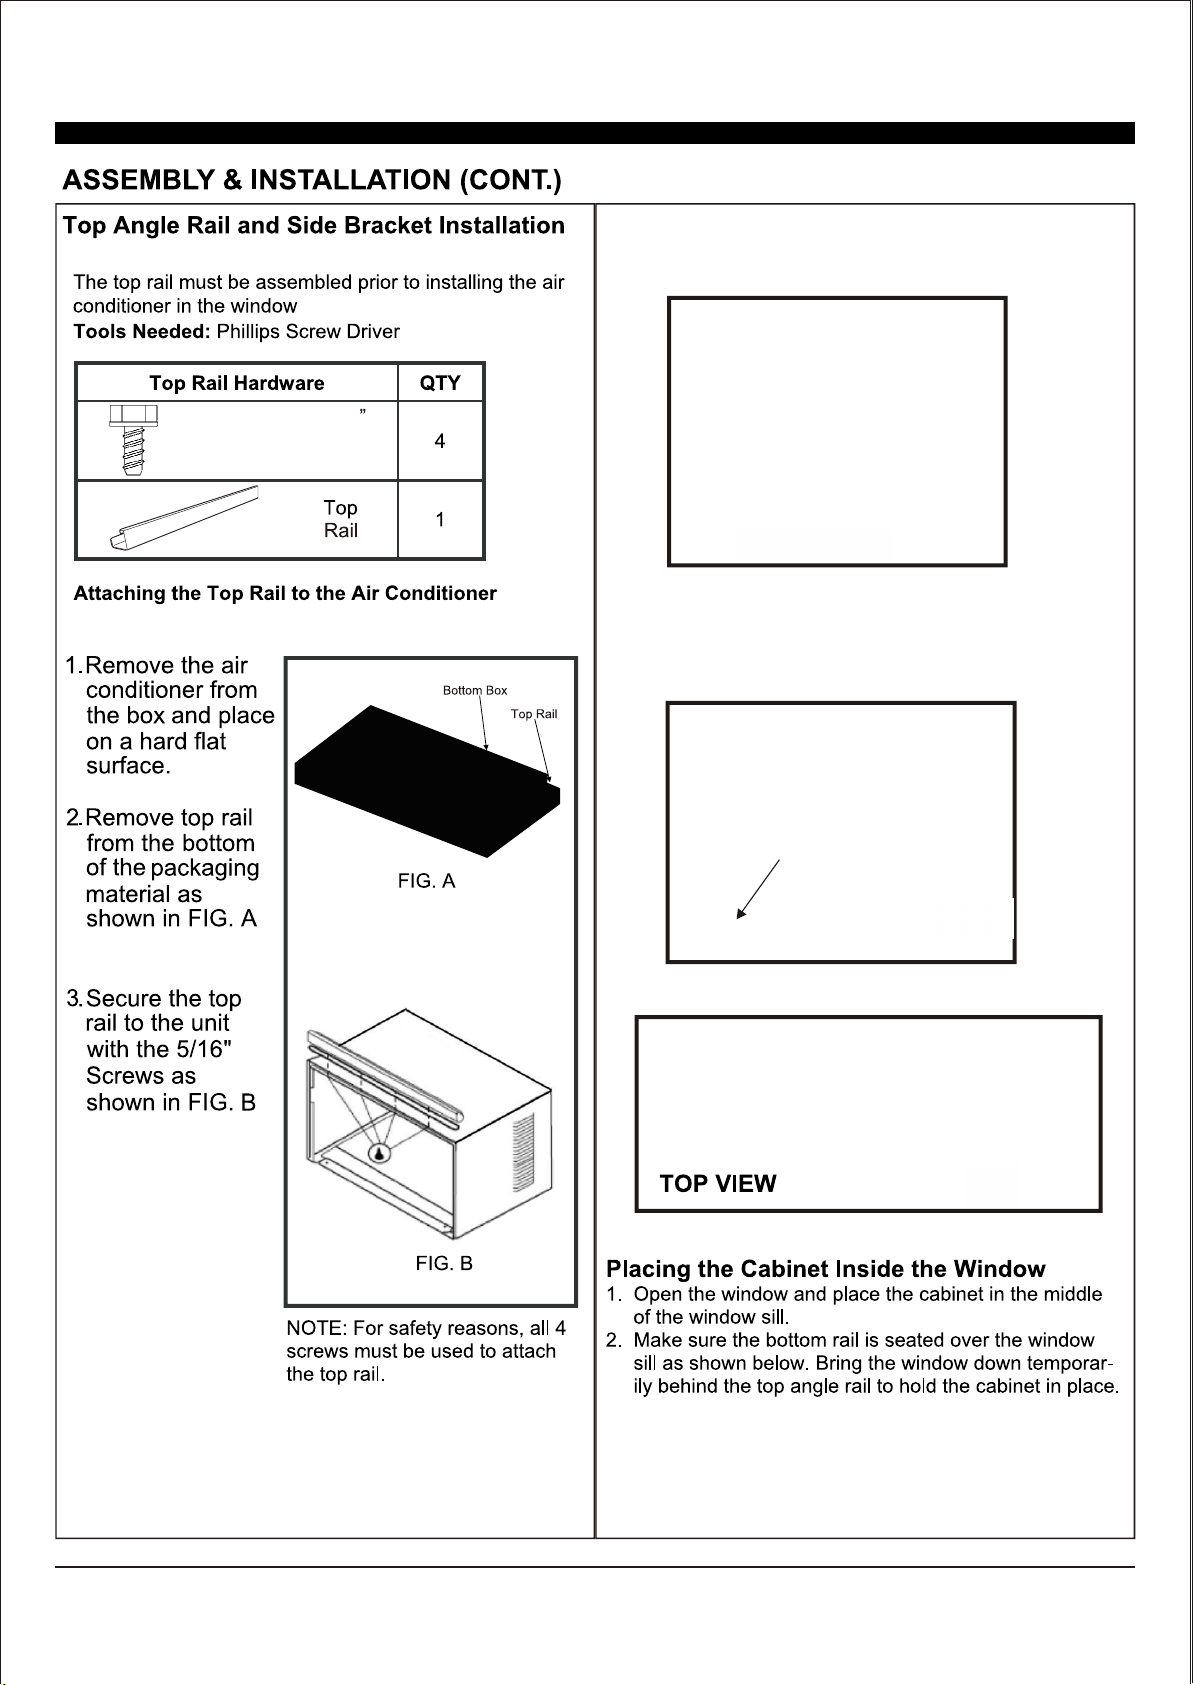
8
5/16" Long
Hex-head Screw
FIG.13a
(FIG.13b-14).
FIG.13b
5/16
Long
Hex-head
Screw
(It is suggested to keep a downward slope so
accumulated rain water can drain out from the
backside of the unit.
)
FIG.14
Window
Accordion
Panel
Window
Accordion Panel
Window
Accordion
Panel
Top Window Foam
and Top Angle Rail
Insert top and bottom legs of window accordion panel
frame into channel in the top angle and bottom rail. Do
both sides. Install side retainer to cabinet as shown.
5.
4.
Confirm the "I" section insert into the window
accordion panel for both sides as shown in (FIG.13a).
9
5/8" Long Flat Head Bolt
Long Flat head
Bolt and Locknut
Long
Flat head Bolt
and Locknut
5/8" Long
Hex-head Screw
1/2" Long
Hex-head Screw
5/8" Long
Hex-head Screw
Metal Washer
STOOL
SLOPE
Fasten cabinet to window sill using two 5/8" Round
-Head screws. Pre-drill holes if needed. Add the
window foam (for back-up use) over the screws.
(It should set on the gasket for 22K/24K)
5/8" Long
Hex-head Screw
Sash Lock
sash lock
10
FIG.15
11
15K/18K
18 1/4 (46.4 cm)
23 7/8 (60.6 cm)
22K/24K
19 1/2 (49.5 cm)
26 9/10 (68.3 cm)
Y
FIG.16
FIG.18
FIG.17
(Page 6 and 7)
12
FIG.19
FIG.20
13
1
2
3
4
5
6
7
8
9
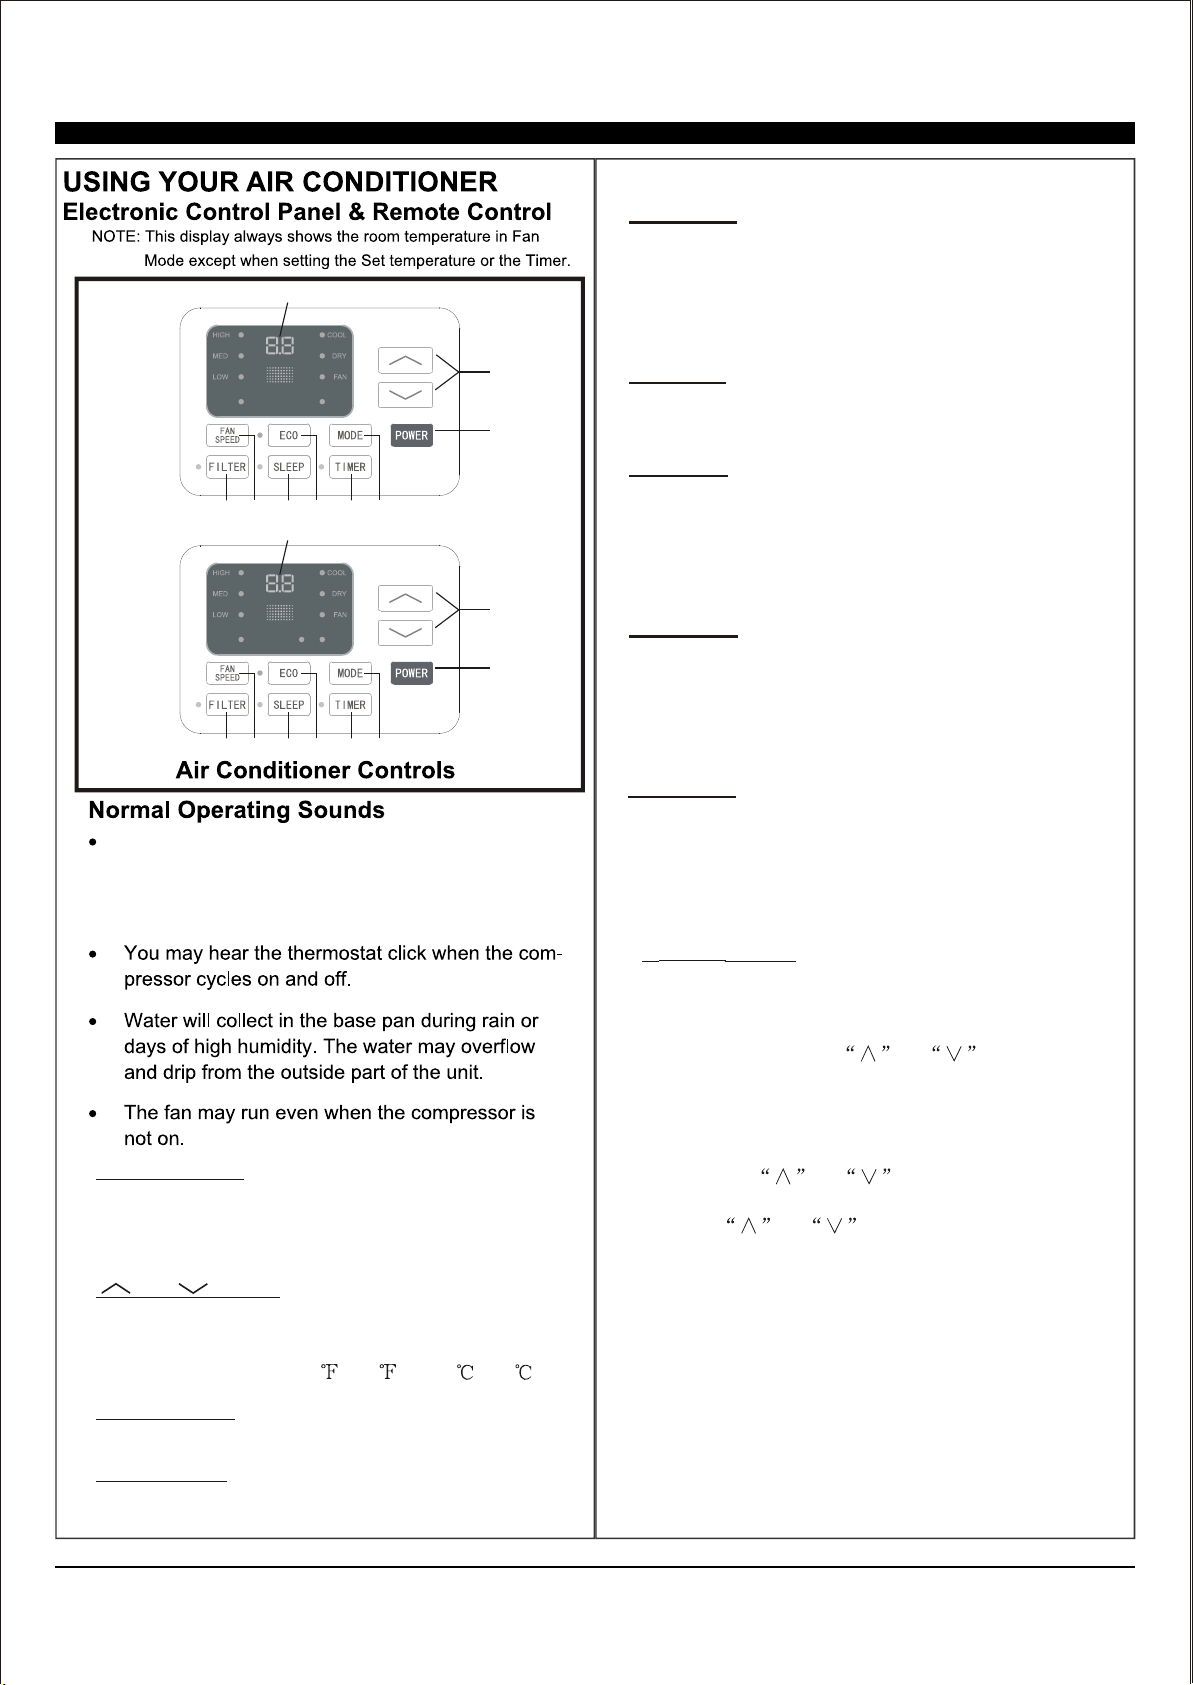
1. Digital Display: Without timer setting, the
operation mode is Cooling, Dry, Fan, Heat and
Auto, and the set temperature will be displayed.
Time will be displayed under timer setting.
2. and Button: Use these buttons on the
control panel and remote to increase or decrease
the Set Temperature or Timer.
Temperature range: 61 ~88 or 16 ~31 .
3. Turn the air conditioner on and P o w e r B u t t o n :
off.
4. Mode Button: Press the mode button to cycle
through the various modes: Cool, Dry, Fan and
Auto, or Heat.
AUTO
SPEED
AUTO
MODE
1
2
3
4
5
6
7
8
9
HEAT
AUTO
SPEED
AUTO
MODE
For Cooling model
For Heating model
Cool Mode: The cooling function allows the air
conditioner to cool the room and at the same time
reduces humidity. Press the MODE button to
activate
the cooling function. To optimize this function, adjust
the temperature by pressing the up and down arrows
and the speed by pressing
the Fan Speed button.
Dry Mode: This function reduces the humidity of the
air to make the room more comfortable. Press
MODE
button to set the DRY mode.
Fan Mode: This mode will only circulate the air.
Press MODE button to select FAN MODE. Pressing
the FAN SPEED button allows you to change the fan
speed setting from HI, MED and LO. If using the
remote control, it will store the fan speed setting from
the most previous use.
Auto Mode: In AUTO mode the unit automatically
chooses the fan speed and the mode of operation
(COOL, DRY or FAN). In this mode the fan speed and
temperature are set automatically according to the
room temperature (Room temperature is determined
by the temperature sensor located in the unit.)
Heat Mode: (if applicable) The heating function
allows the air conditioner to heat the room. Press the
MODE buttons to activate this function. Adjust
temperature and s
peed with the up and down arrow
keys.
You may hear a pinging noise caused by water
hitting the condenser on rainy days, or when
the humidity is high. The design features help
remove moisture and improve efficiency.
5.
Timer
Button:
Use these buttons on the control
panel and remote to set the Timer.
Timer Off: The timed stop is programmed by
pressing the TIMER button. Set the
time by
pressing the button or
, set
the temperature with pressing
Timer On:
button first
the button or
with pressing the
button or .
stop
until your
desired stop time is displayed, then press TIMER
button again.
When the unit
is off, press TIMER
.
Press TIMER button
a second time, set the stop time
Press TIMER button a
third time, confirm your settings and stop time.
The display will show the time your machine will
automatically turn on.
Note: It can be set to automatically turn off or on
in 0.5-24 hours. Each press of the
buttons will increase or decrease the timer. The
Timer can be set in 0.5 hours increment below 10
hours and 1 hour increment for 10 hours or
above. The SET light will turn on while setting.
To cancel the set function, press the TIMER
button again.
14
horizontal tabs
air deflector air deflector
10.Directional Louvers: Use the horizontal tabs to
control horizontal airflow and the air deflectors to
control vertical airflow.
6. ECO Button: When the unit is in ECO mode, the
light will turn on. In ECO mode, the unit will turn-
off once the room is cooled to the user's set
temperature. The fan will also be off at this point.
The unit will turn back on when the room
temperature rises above the user's set
temperature. Before the compressor starts, the
fan motor will run for a while, then it will stop for
a while-and will repeat to provide a more
comfortable-feeling and save energy.
Sleep Button: Press the SLEEP button and all
the display lights will turn off after a while
(Sleep light is always on). In SLEEP mode, the
air conditioner will automatically adjust the
temperature and fan speed to make the room
more comfortable during the night. The set
temperature will automatically raise every
30-60 minutes, and at most change 6x until the
set temperature is 81°F-82°F (27.2°C-27.7°C).
7
7..
.
8.
9.
Fan
Speed
Button:
Press
the FAN SPEED button
to select between LO, MED , HI or AUTO. In
COOL MODE you can choose the following
settings: HI, MED, LO, or AUTO. In FAN MODE
you can choose
from HI, MED or LO.
Filter Button: The Filter Check light will only
turn on as a reminder to clean the filter after the
fan motor has been in operation for a total of
500 hours. To turn the light off, press and hold
the Filter Check button for 3-5 seconds.
9.
8.
15
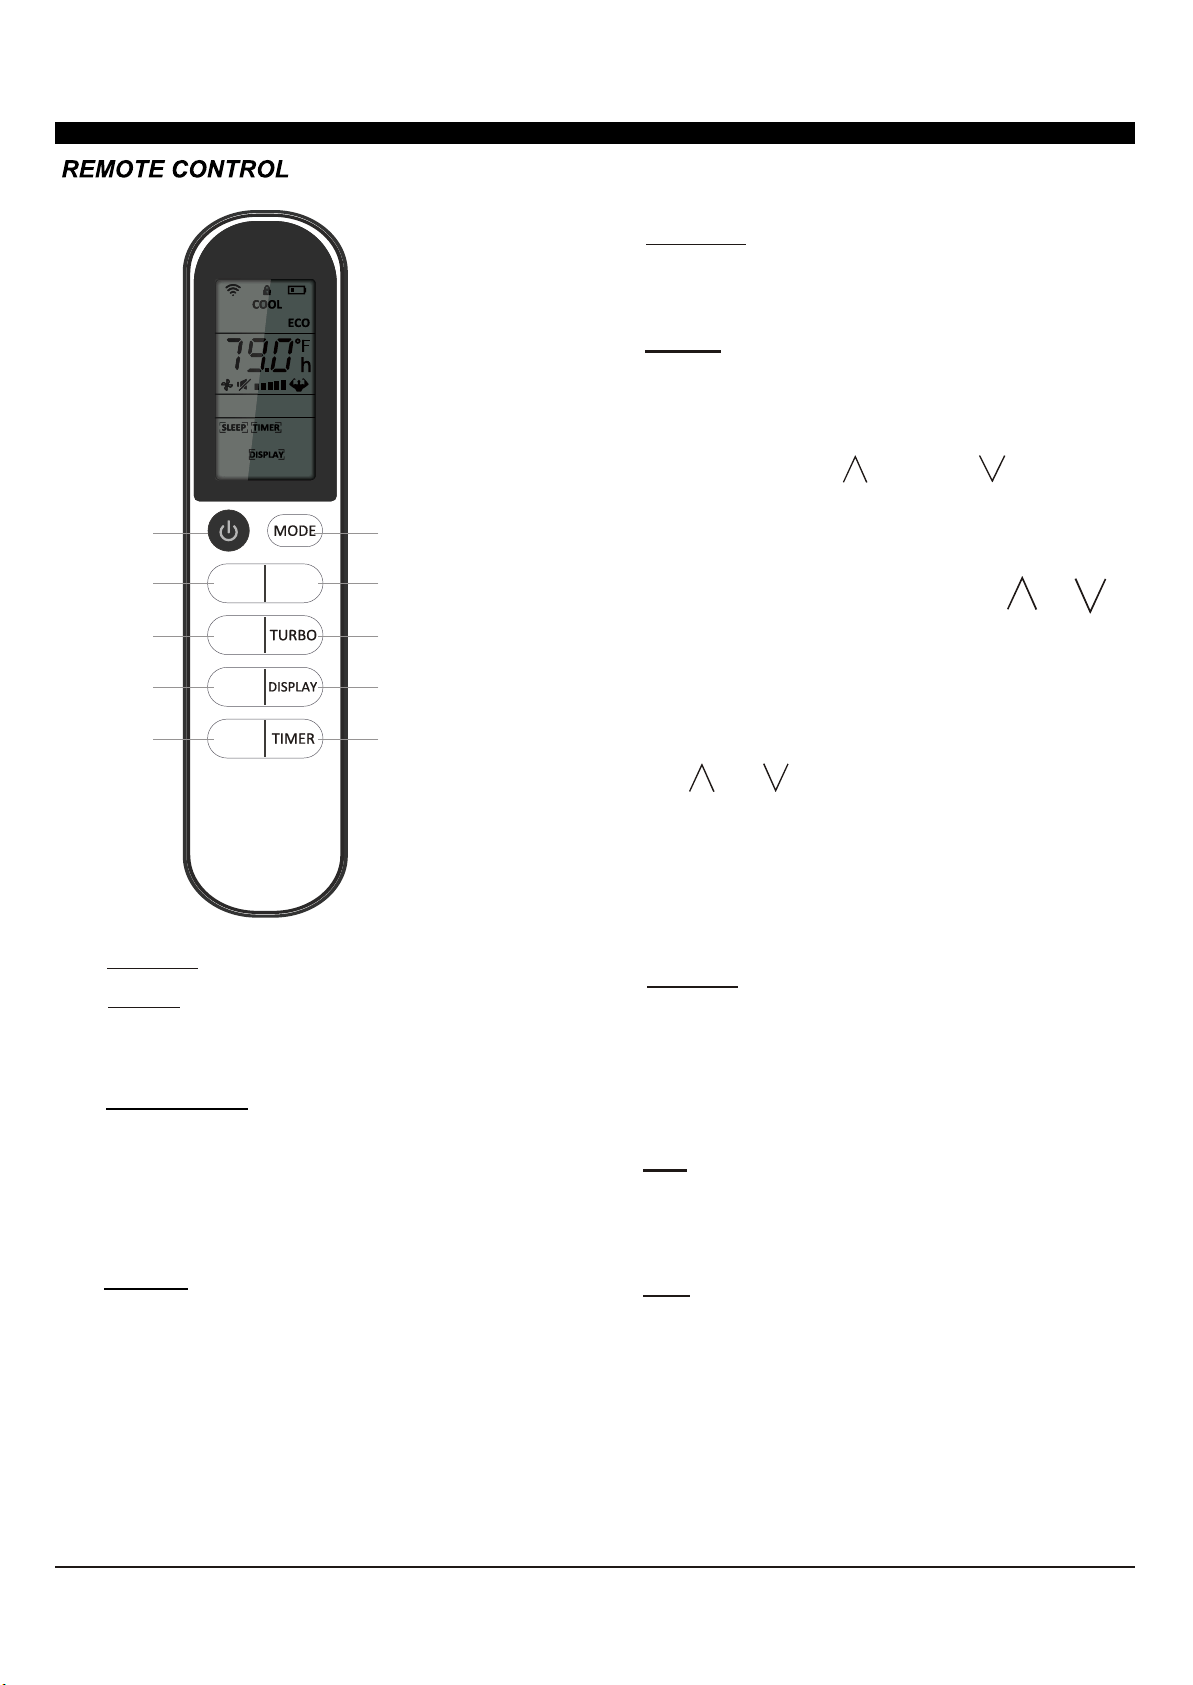
Battery Size: AAA - NOTE: Do not mix old and new batteries or different types of AAA batteries..
TURBO: When the remote is
ON,
pre
s
s
the
TURBO button to activate high fan mode.
NOTE For °F to°C change
: After inserting
the batteries in the off state, within 3 minutes,
press and hold TURBO button for 5+ seconds
to switch display from °F to °C.
1. POWER: Turn the air conditioner on and off.
2. MODE : Press the button to select the mode
of operation, AUTO, COOL, DRY and FAN
3.
^
" " and " ":
^
Use these buttons to increase
or decrease the Set Temperature or Timer.
Temperature range is 61°F to 88°F (16°C-31°
C)
4.
9.
8.
5. DISPLAY :
By pressing the DISPLAY button, this
will
switch off/on all lights or LED display.
7.
6.
TIMER: Use the buttons on the control panel and
remote to set the TIMER
Timer Off: When the unit is on, timer can be set
by pressing the TIMER button. Set the run time
by pressing the up " " or down " " button until
the desired run time is displayed, then press
TIMER button again.
Timer On: When the unit is off, press the TIMER
button, set the time by pressing the " " or " "
button. Press TIMER button again to confirm the
setting. Both the TIMER on and off indicators will
illuminate once set.
NOTE: It can be set to automatically turn off or on
in 30 minutes to 24 hour intervals. Each press of
the " " or " " buttons will increase or decrease
the timer. The TIMER can be set in 30 minute
increments up to 10 hours, and 1 hour increments
for 10 or hours and above. The SET light will turn
on while setting. To cancel the set function, press
the TIMER button again.
"I FEEL": Press the "I FEEL" button to activate
the follow me function, which enables the remote
to take the temperature at its current location, and
send this signal to the air conditioner to optimize
the temperature around you and ensure comfort.
FAN: Press the "FAN" speed button to select the
from fan options. You can choose Hi, Med, Lo or
Auto in Cool Mode, and Hi, Med, Lo in Fan Mode.
ECO: When the unit is in ECO mode, the light will
illuminate. In ECO mode, the unit will turn off
once the room is cooled to the set temperature.
The unit will turn back on when the room
temperature rises above the set temperature.
Before the compressor starts, the fan motor will
keep cycling, to provide for a comfortable
environment, while saving energy.
I FEEL
ECO
FAN
1
2
33
4
5
6
7
8
9
>
>
*NOTE: Models 1DACH18K & 1DACH24K also have heating
modes. This function can be reached using the "MODE" button.
*
USING YOUR REMOTE CONTROL
16
FIG. 21
21
NOTE:
CARE AND MAINTENANCE
Clean your air conditioner to keep it looking new,
minimize dust build up and for optimal performance.
The air filter should be checked at least once a
month to see if it needs cleaning. Trapped particles
and dust can build up in the filter and may
decrease airflow as well as cause the cooling coils
to accumulate frost.
To clean the air filter, power the unit off and:
Power off an unplug the air conditioner to
prevent shock or fire hazard. The cabinet and
front panel of the air conditioner may be dusted
with an oil-free cloth or wiped down with a
damp cloth in a solution of warm water and
mild liquid soap. Rinse thoroughly with a damp
cloth and wipe dry.
Never use harsh cleaner, wax or polish on the
front of the cabinet.
To store the air conditioner when it is not in use for
an extended period of time, remove it carefully from
the window according to the installation instructions
and cover it with plastic or place it in the original
box. Remove the batteries from the remote before
storing.
17
18
NOTE
A highly recommended troubleshoot for any issue in general consists of turning off unit and unplugging for 5 minutes. It is also
recommended to try another wall outlet. For further assistance, contact Consumer Services at 888-433-6254 or 888-4DENALI.

DA/User_WAC/01032020
DENALI AIRE 5401 DANSHER RD., COUNTRYSIDE, IL 60525 | 888-433-6254 | DENALIAIRE.COM SUPPORT@DENALIAIRE.COM