Loading ...
Loading ...
Loading ...
11
mWARNING! Keep hose away from sharp objects.
Bursting hoses may cause injury. Examine hoses regularly and
replace if damaged. Do not attempt to mend a damaged hose.
Operation
Starting + Stopping
mIMPORTANT! This spray washer is equipped with a
micro-switch sensitive to water ow. This Total Stop System
(TSS) senses water ow in the pump. When the trigger is
released, water stops owing through the pump. The TSS then
automatically turns the motor o to protect the pump from
overheating, thus saving energy and prolonging pump life.
mWARNING! Always remove battery before lling
with water. NEVER immerse unit in water. Close battery
compartment door securely before lling. Always use
caution when handling or using any powered product
where water is present.
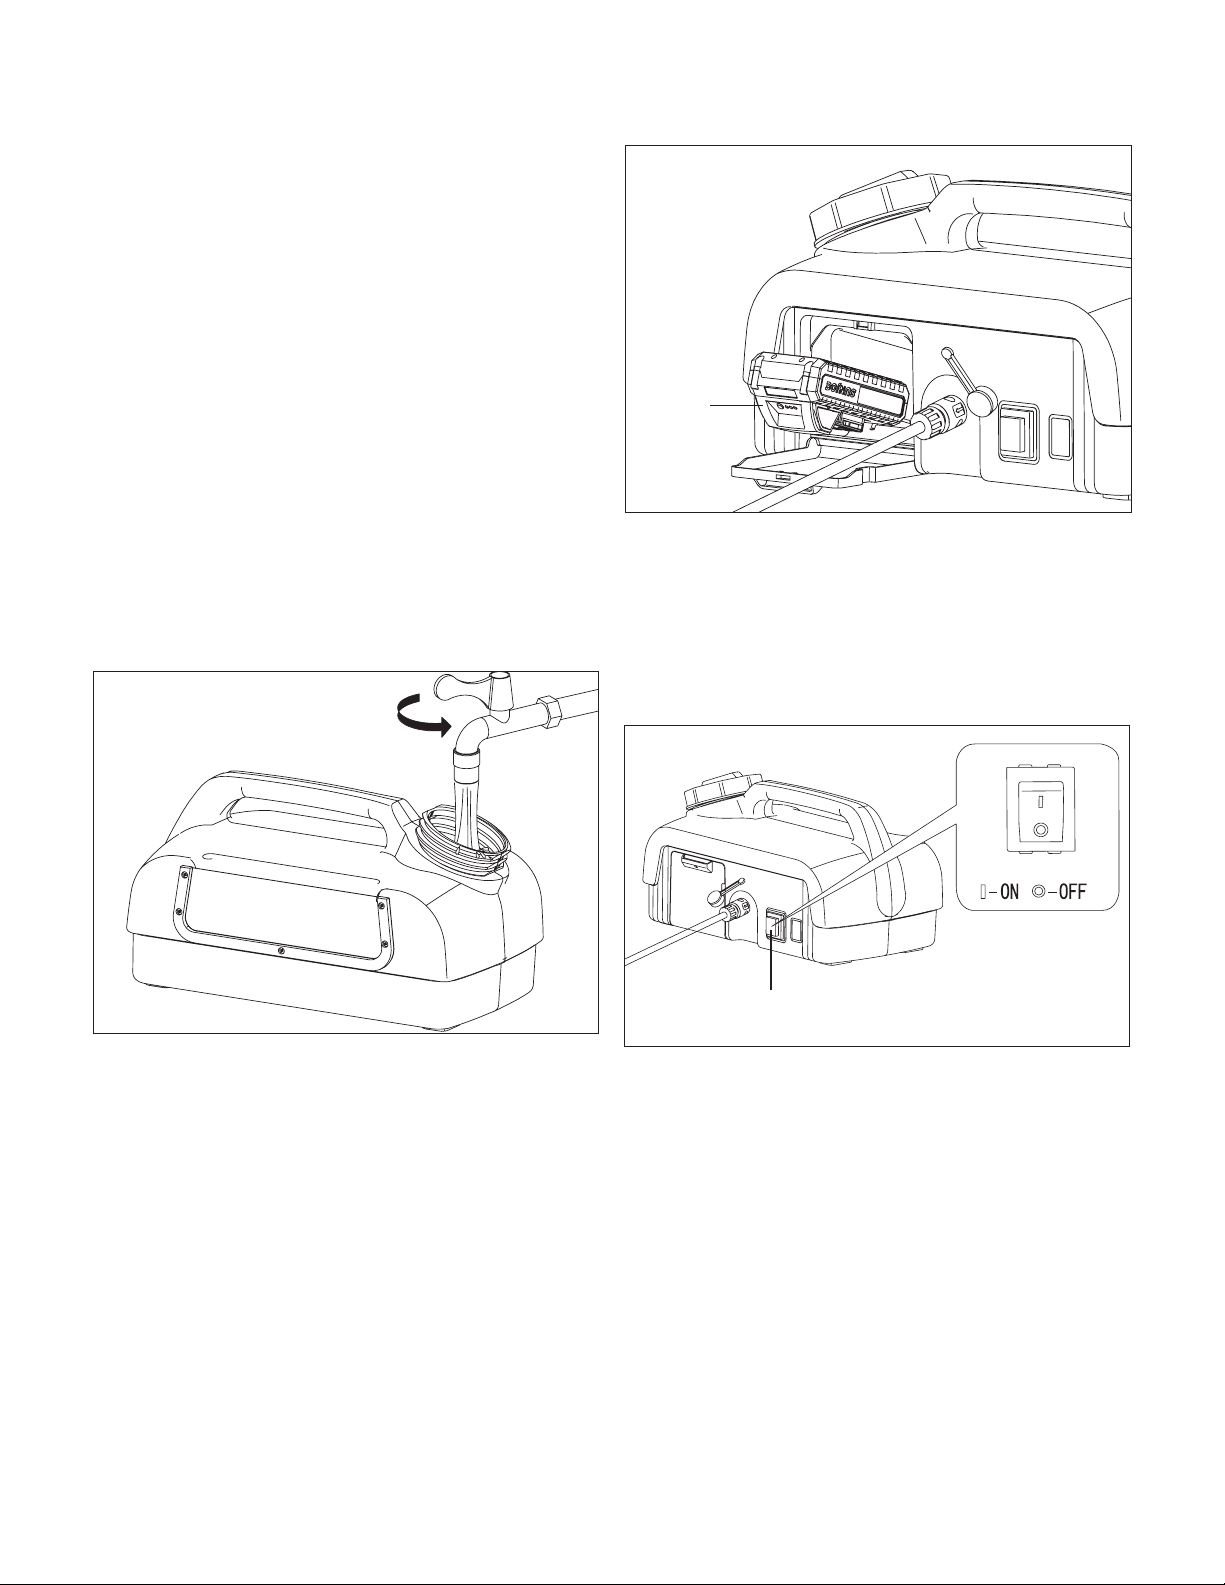
1. Fill the water tank with clean water (Fig. 5).
mWARNING! The intake water temperature must not
exceed 140ºF/60ºC.
mCAUTION! The washer must only be used with clean
water; use of unltered water containing corrosive chemicals
will damage the washer.
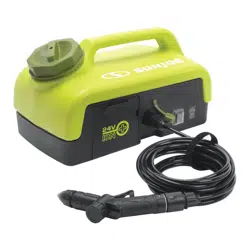
2. Open the battery compartment cover and slide the battery
in until it clicks to lock it into position, then close the
battery compartment cover (Fig. 6).
3. Position the washer as CLOSE as possible to the
object that need to be cleaned.
NOTE: The washer must be used on a secure and stable
surface in a standing, upright position.
4. Press the ON (I) side of the ON/OFF switch to start the
portable washer and squeeze the spray gun trigger to use
the machine (Fig. 7).
NOTE: It's recommended to bleed the air in the hose
every time before starting the spray washer. Follow the
instructions in Maintenance section to bleed the air.
5. To shut down the unit, push the OFF(O) side of the
ON/OFF switch (Fig. 7), and remove the battery.
Fig. 5
Fig. 6
Battery
Fig. 7
ON/OFF switch
Loading ...
Loading ...
Loading ...