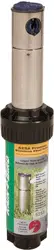
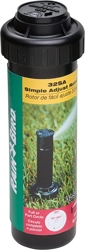
Rain Bird® Simple Adjust Series Rotors
Operating Instructions for 32SA, 42SA, 42SA+, 52SA Series
1. Find and set the fixed LEFT edge.
First, turn the center cap of the rotor all the way to the right until it stops. Then turn it to the left
until it stops. This is your fixed left edge. Rotate the entire rotor case to align the left edge into
the correct position. This is the starting point from which water rotation will begin.
NOTE: Do not force the rotor past the fixed left edge as it may strip the internal gears.
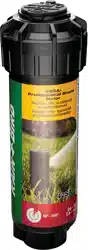
2. Adjust the arc pattern
The arc is preset to rotate 180º or a half circle. Using a flat-bladed screwdriver, turn the arc
adjustment screw clockwise (+) to increase the arc or counterclockwise (-) to decrease the arc.
The pattern is adjustable from 40º to 360º. These adjustments can be made while the water is on
or off.
NOTE: when adjusting the arc while the rotor is operating, only turn the arc adjustment
screw in the direction the rotor is already turning. Turning it against the direction it is already
turning can damage the rotor by stripping the gears.
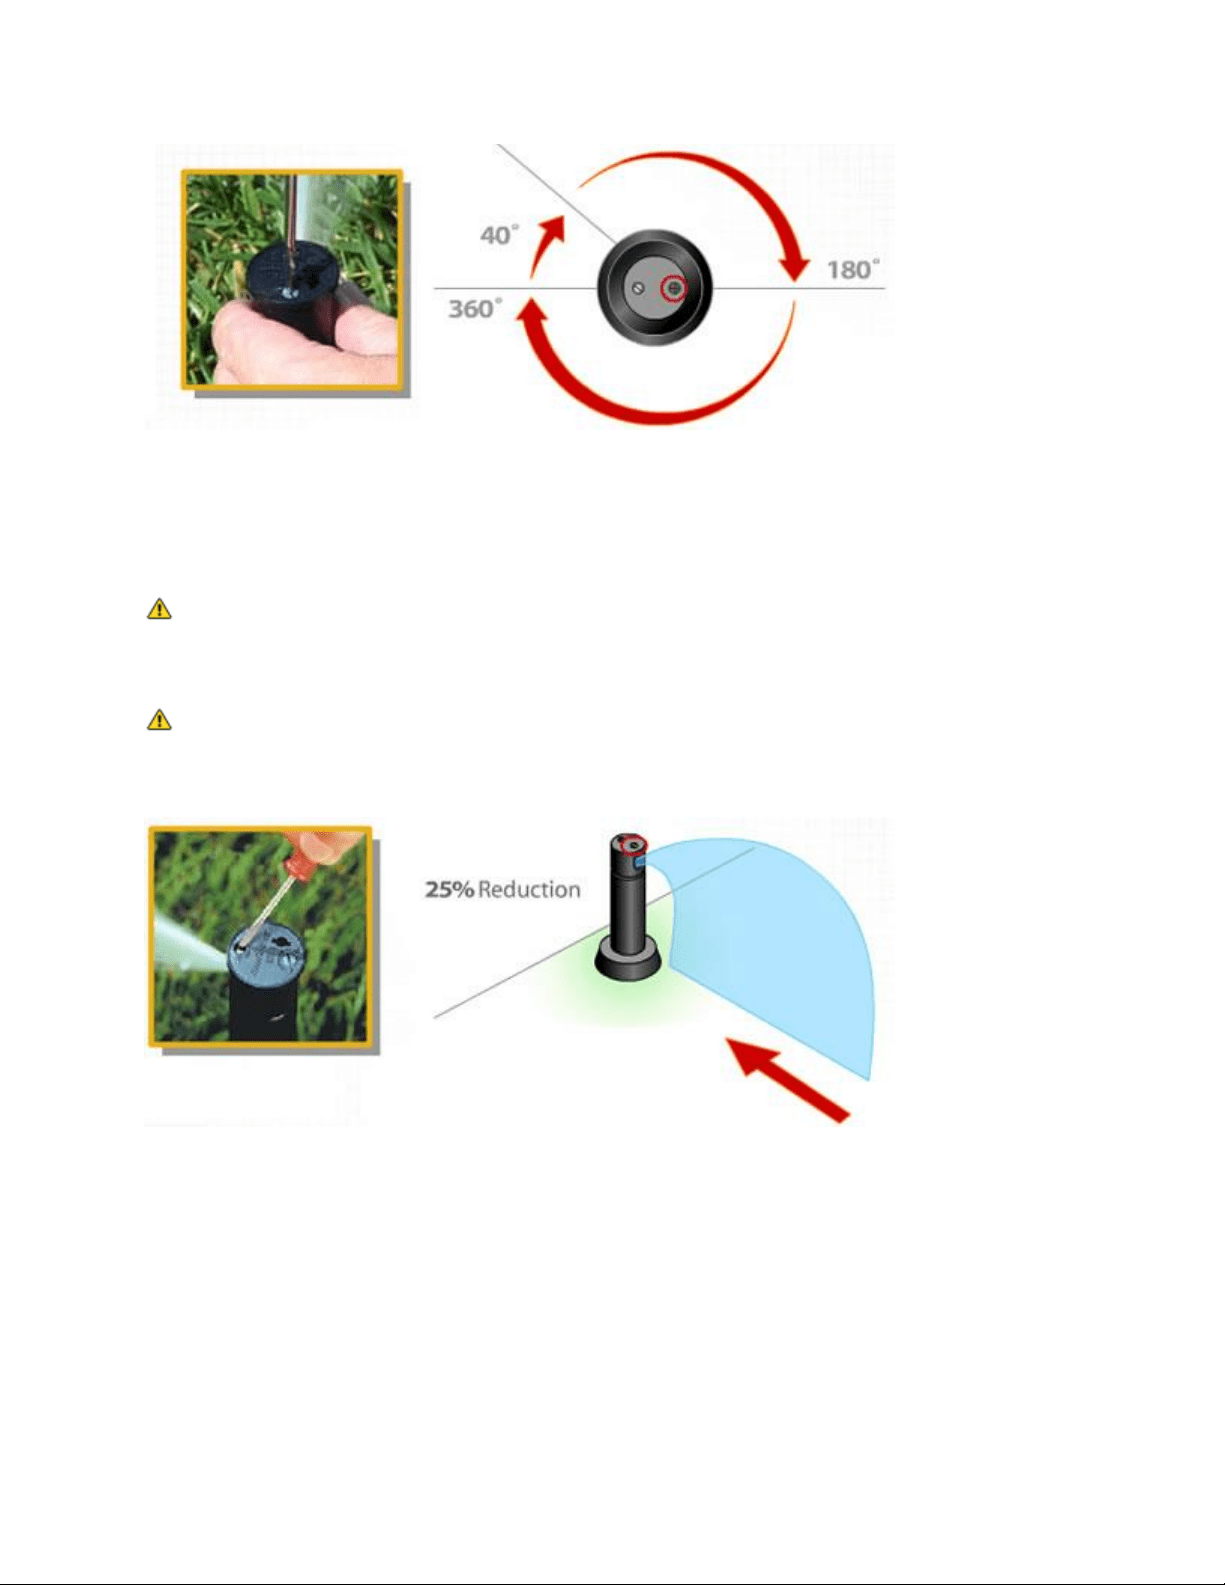
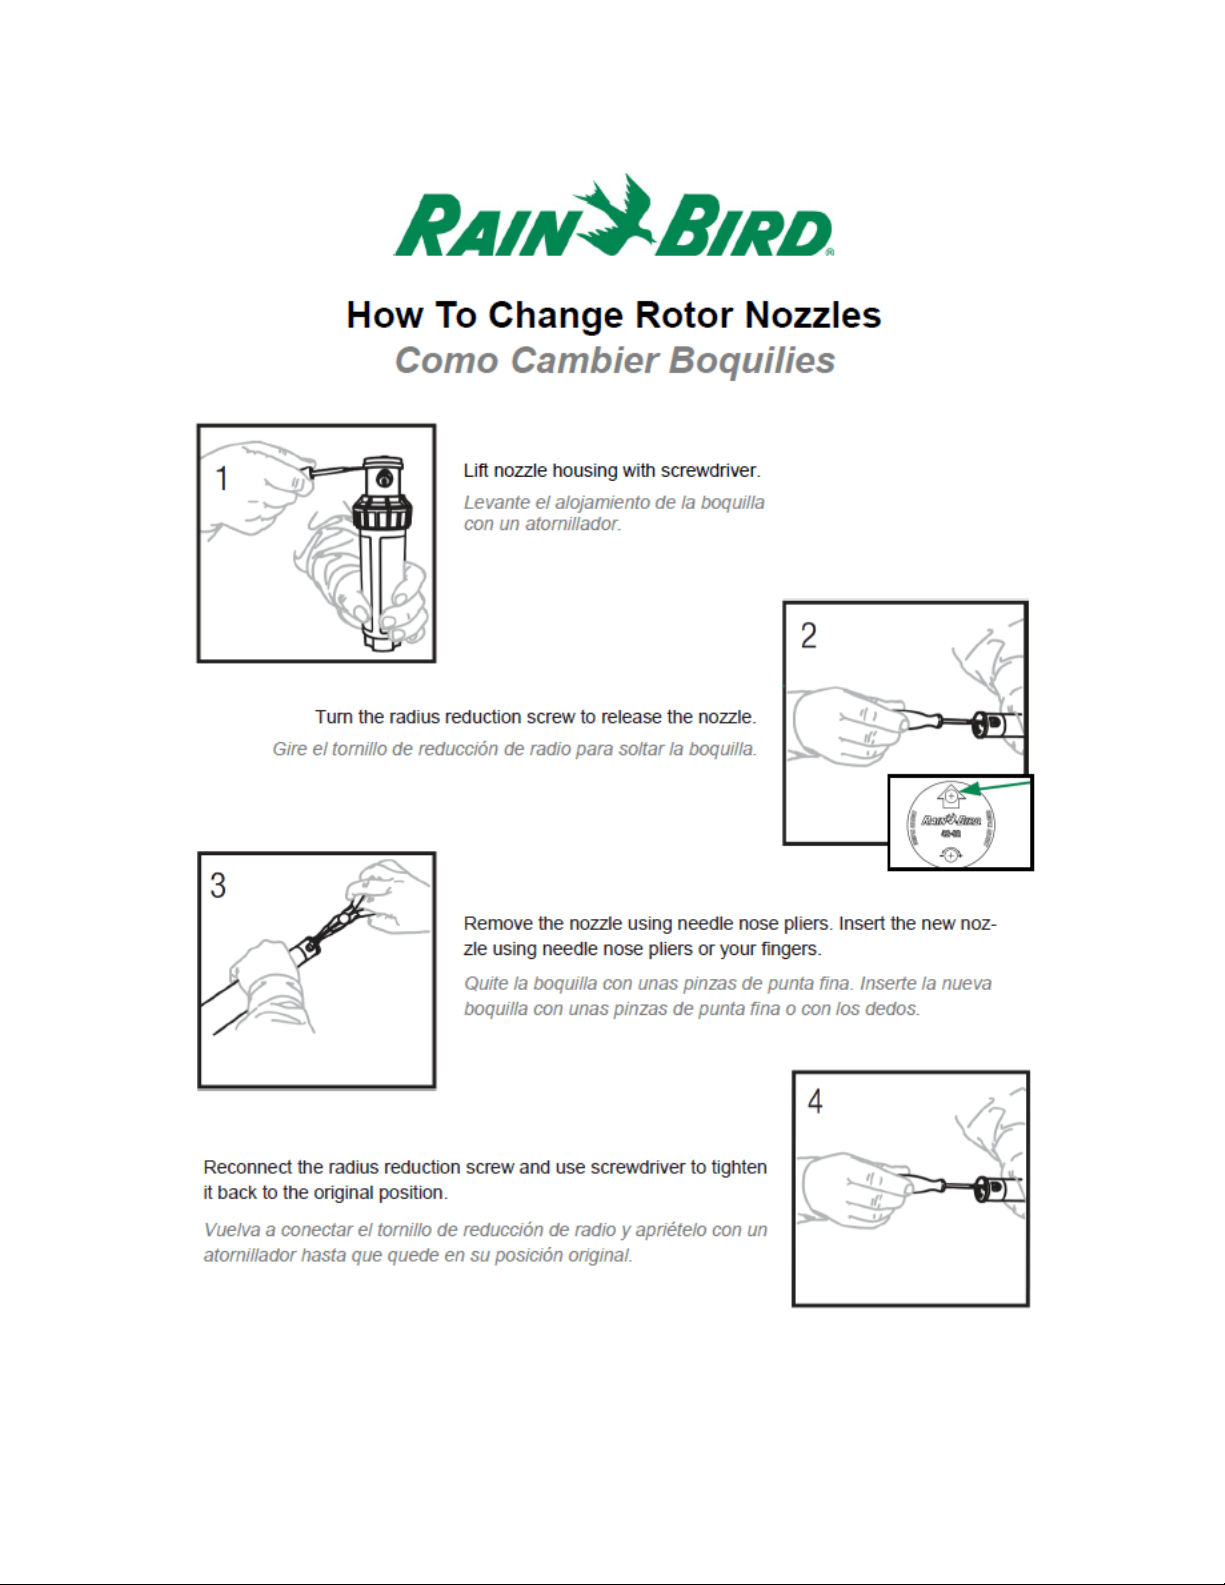
3. Adjust the spray distance
With the water on or off, you can adjust the distance of throw. Using a flat-bladed screwdriver,
turn the radius reduction screw to decrease the spray distance up to 25%.
NOTE: Do not back out the reduction screw so far that it does not sit in front of nozzle while
watering. This will allow water pressure to push rotor nozzle out into watering area and it can be
difficult to find.
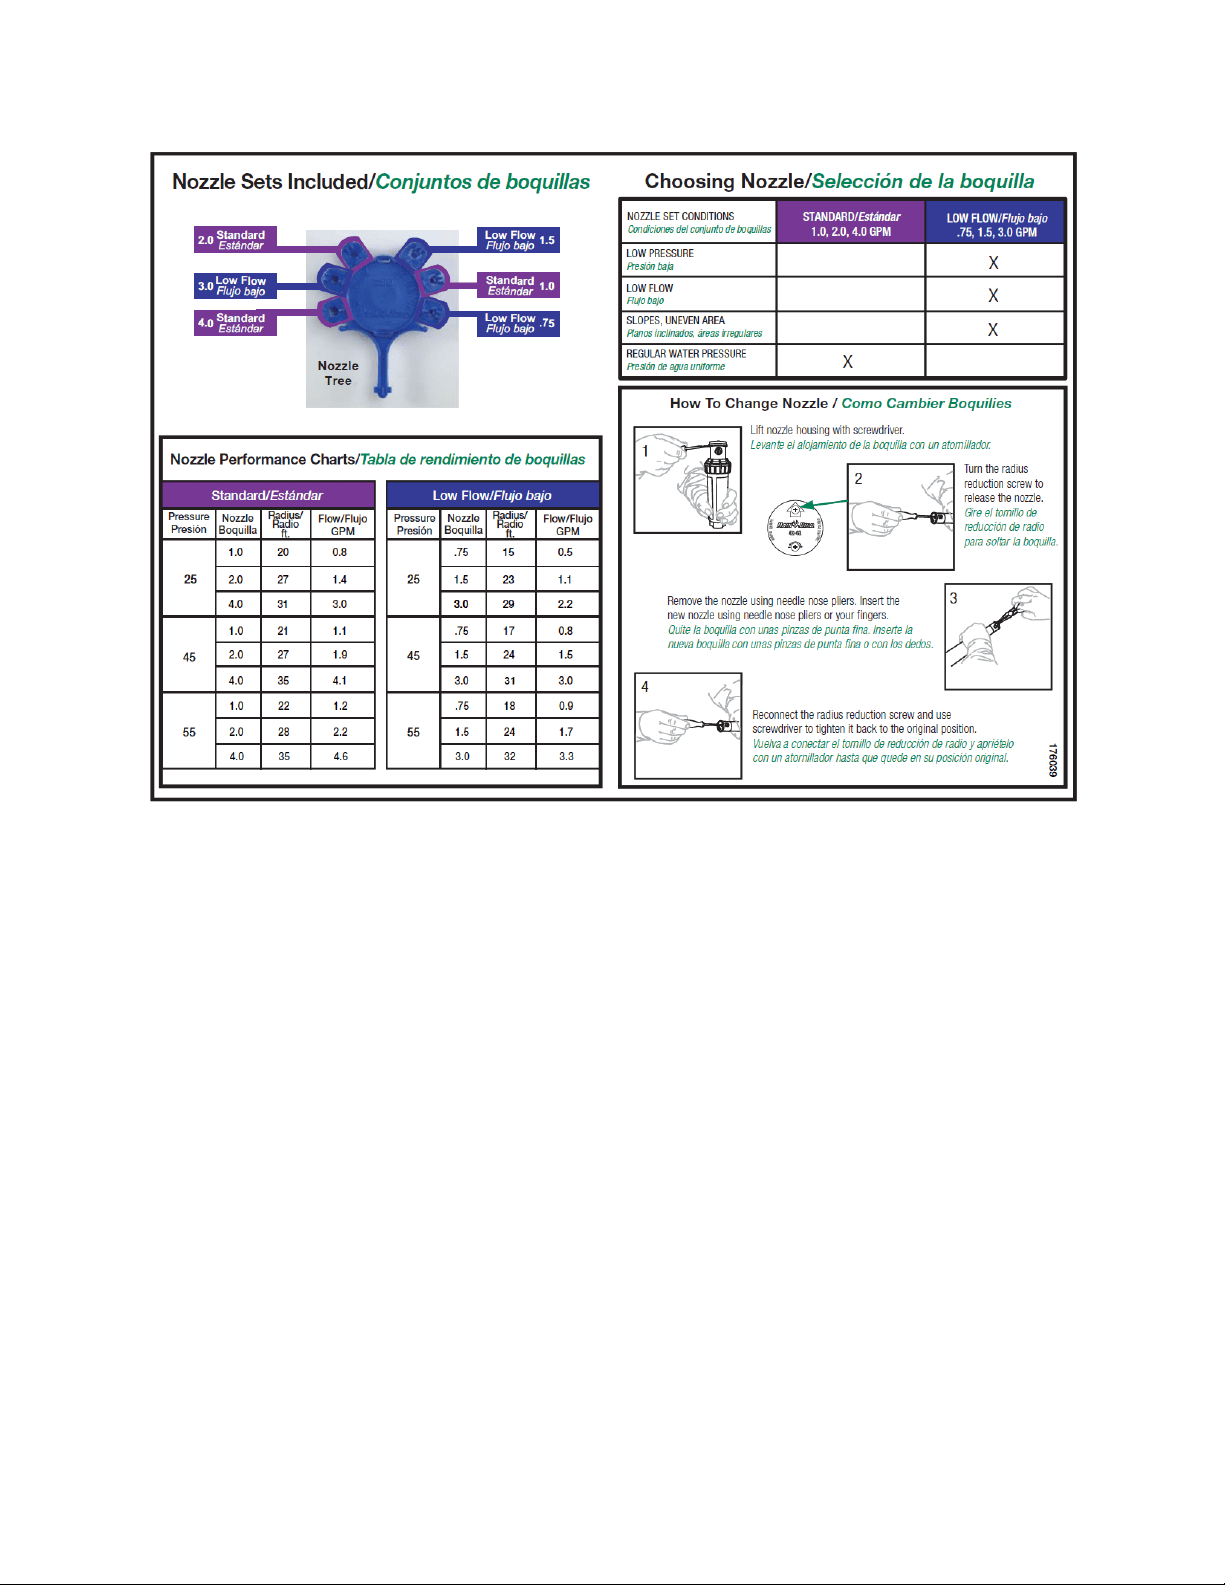
NOTE: Though the spray distance can range from 19-32 feet, the reduction screw can only
reduce the distance by 25%. Any other increase or reduction in distance must be accomplished
through changing rotor nozzles or changing water pressure.