Loading ...
Loading ...
Loading ...
24-Port Gigabit (Hi-Power) PoE+ Ethernet Smart Managed Pro Switch with 2 SFP Ports
Configure System Information User Manual62
2. Launch a web browser.
3. In the address field of your web browser, enter the IP address of the switch.
If you do not know the IP address of the switch, see
Access the switch on-network and
connected to the Internet on page 18 or Access the switch off-network on page 27.
The Local Device Login page displays.
If you did not yet register the switch with
your NETGEAR account, the Register to unlock
all features page displays. For more information, see
Register the switch on page 31.
4. Enter one of the following passwords:
• After registration, enter the local device password.
By default, the local device password is password
.
You must change this password
at initial login.
• If you previously managed the switch through the Insight app or
Cloud portal, enter
the Insight network password for the last Insight network location.
For information about the credentials, see
Credentials for the local browser UI on
page 30.
5. Click the Login
button.
The System Information page displays.
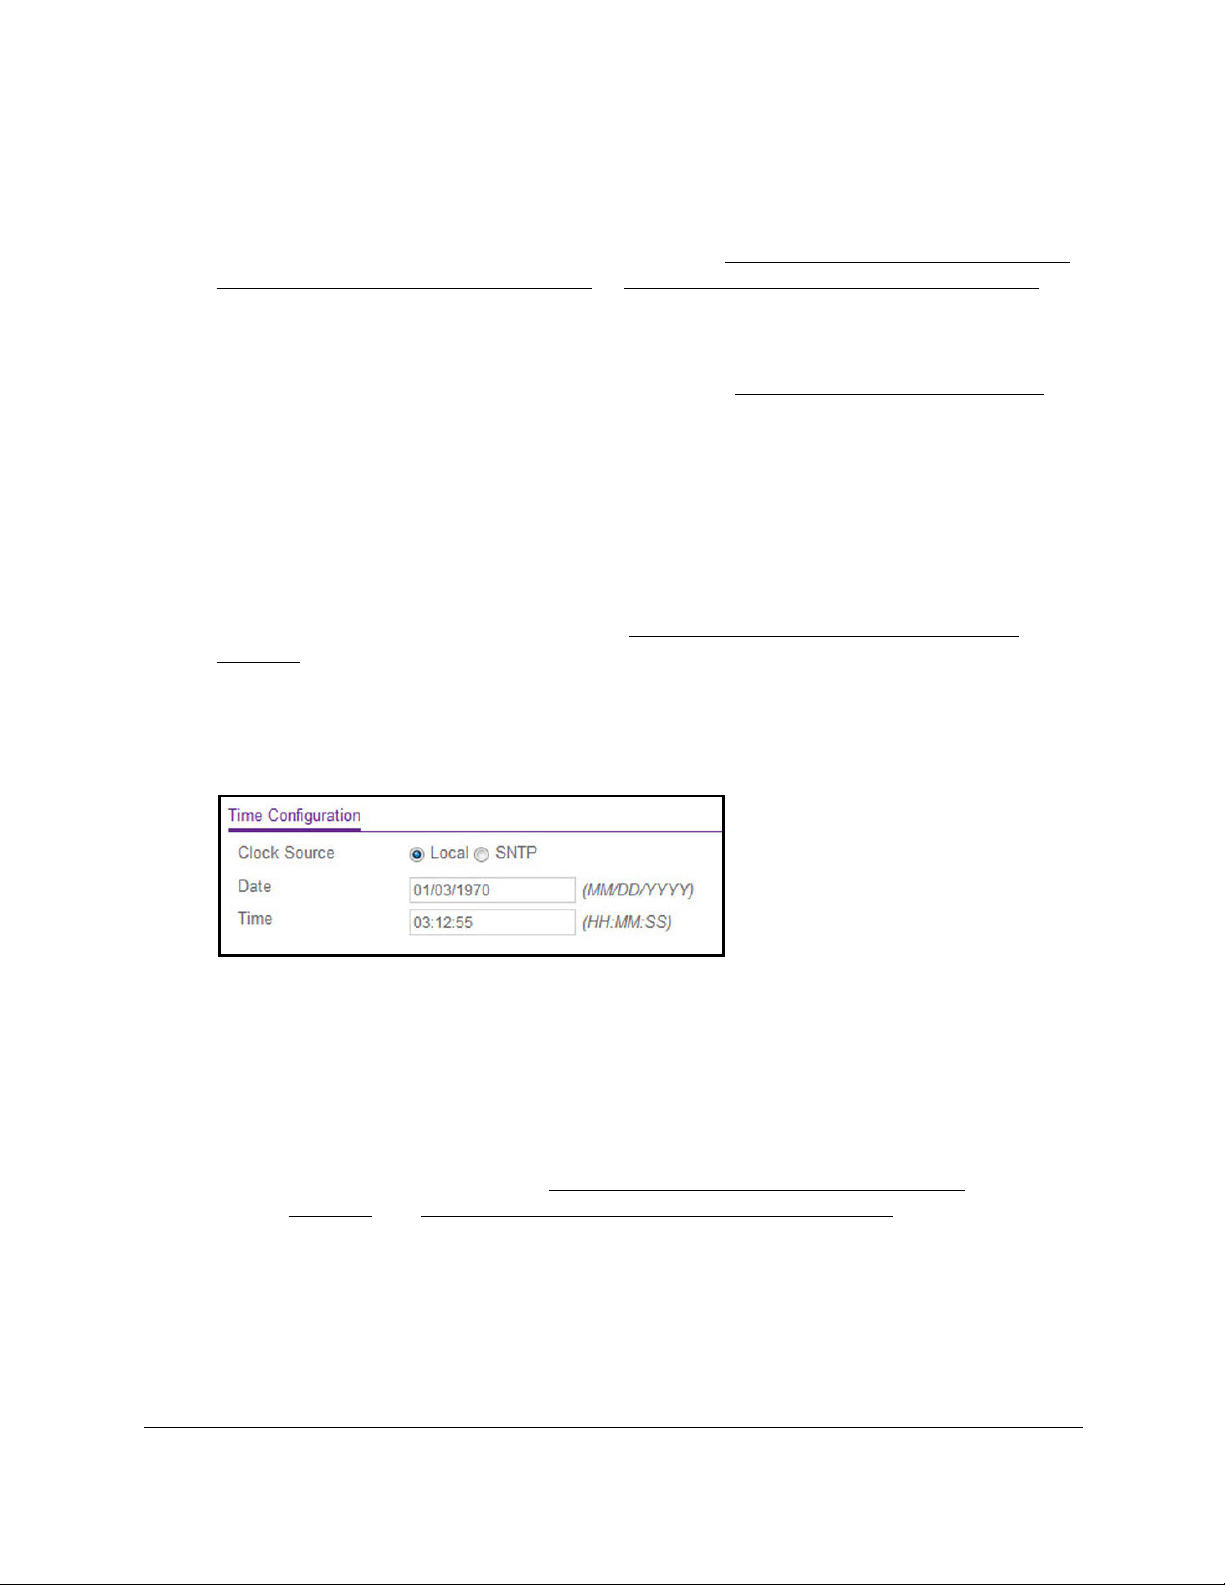
6. Select System > Management
> Time > Time Configuration.
7. Select the Clock Source Local radio button.
8. In the Date
field, specify the current date in months, days, and years (MM/DD/YYYY).
9. In the Time field, specify the current time in hours, minutes, and seconds (HH:MM:SS).
Note: If you select the
Clock Source Local radio button and enter information
in the Date and Time fields, over a period of time, the date and time
might become inaccurate. However, if you use SNTP, the date and
time remain accurate (see
Configure the time settings with SNTP on
page 63 and Configure the global SNTP settings on page 65).
Note: If you do not enter a date and time, the switch calculates the date and
time using the CPU’s clock cycle.
10. Click
the Apply
button.
Your settings are saved.
Loading ...
Loading ...
Loading ...