User manual Range Hood
Research, plan and prepare the optional accessories & tools.
-35423.png)
-361549.png)
-314505.png)
-424669.png)
-390374.png)
Note: the supplied are subjected to change without notice due to product development.
-95257.png)
-301904.png)
IMPORTANT:
-963147.png)
-809690.png)
IMPORTANT: Observe all governing codes and ordinances.
-864079.png)
| Specifications: | |
| Body Design | Seamless Stainless Steel, Satin Finish |
| Power Rating | 120V / 60Hz (USA & Canada standard) |
| General Input Power | 156W (150W + 2x3W) |
| Motor Input Power | Max: 150W (75W + 75W), Min: 110W (55W + 55W) |
| Ampere | 2A |
| Levels Of Speed Control | 4 Levels |
| Airflow (Q/L/M/H) | 385CFM / 490CFM / 715CFM / 900CFM |
Noise Level dB | Approximately 28 to 64 (Lowest to Highest Speed) |
| Number Of Motors | 2 Motors |
| Motor Type | Single Chamber Ultra Quiet |
| Fan Type | Centrifugal Blower |
| Control Type | Four-speed Gesture Sensing & Touch Control Switch Panel |
| Filtration Type | Stainless Steel Baffle Filter |
| Illumination | 3W12V Maximum |
| Venting Size | 3-1/4” X 10” Rectangle Top / Rear Vent Options |
| Timer | 1-15 minutes adjustable timer |
NOTE: To avoid damage to your hood, prevent debris from entering the vent opening.
CAUTION: If moving the cooking range is necessary to install the hood, unplug the power on an electric range. SHUT OFF THE GAS VALVE BEFORE MOVING A GAS RANGE.
-5447.png)
-237984.png)
-154012.png)
-833460.png)
9. Turn power ON in control panel. Check all lights and fan operations.
Control Panel Layout and Buttons Configurations:
-144089.png)
Please Note: when using gesture control function, please make sure to move your hand from 2 signal ports completely.
-809690.png)
If the range hood or LED light does not operate after installation | • Check if the range hood has been plugged in, make sure that all power has been turned back ON, fused not blown and all electrical wiring are properly connected. • Swap out light assembly to working ones to deter-mine whether it is caused by defective bulbs. See Replacing the Light Bulbs on Page 14. |
The range hood vibrates when the blower is on | • The range hood might not have been secured properly on to the cabinet or wall. |
The blower or fan seems weak | • Check that the duct sized used is at least 6” or 3-1/4 x 10”. Range hood WILL NOT function efficiently with insufficient duct size. For example: 7” duct over 6” top vent and loosely secured. • Check if duct is clogged or if damper unit (half-circular flapper) is not installed correctly or opening properly. A tight mesh on a side wall cap unit might also cause restriction to the air flow. |
The lights work but the blower is not spinning at all, is stuck or is rattling | • The blower might be jammed or scraping the bottom due to shipping damage. • Disconnect the power cord, remove the fan grill and the fan blade, might see the fan blade or/and motor is not in the proper position (offset from the center). Try to fix/adjust it or please contact us immediately. |
The hood is not venting out properly | • Make sure the distance between the stove top and the bottom of the hood is within recommended 27” and 30” in distance. *Due to different ceiling height configurations, recommended height may not be applicable. • Reduce the number of elbows and length of duct work. Check if all joints are properly connected, sealed, and taped. • Make sure the power is on high speed for heavy cooking. |
SAFETY WARNING: Never put your hand into area housing the fan while the fan is operating!
-919419.png)


-351239.png)
-518061.png)
Reference file: 
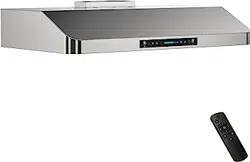
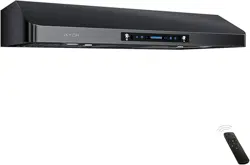
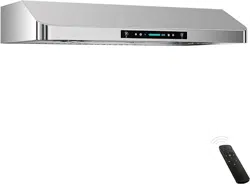
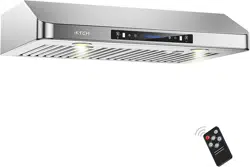
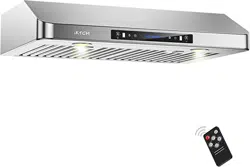
IKTCH IKC01-30 30 Inch Under Cabinet Range Hood
Series: Classic
Additionally, the document applies to other IKTCH models: IKC01, IKC02, IKC05, IKC06