
Loading ...
Loading ...
Loading ...
English | 17
Bosch Power Tools F 016 L81 736 | (23.5.17)
The declared vibration emission level represents the main ap-
plications of the tool. However if the tool is used for different
applications, with different accessories or insertion tools or is
poorly maintained, the vibration emission may differ. This
may significantly increase the exposure level over the total
working period.
An estimation of the level of exposure to vibration should also
take into account the times when the tool is switched off or
when it is running but not actually doing the job. This may sig-
nificantly reduce the exposure level over the total working
period.
Identify additional safety measures to protect the operator
from the effects of vibration such as: maintain the tool and the
accessories, keep the hands warm, organisation of work pat-
terns.
Mounting and Operation
Starting
Battery Charging
Do not use other battery chargers. The supplied battery
charger is designed for the Lithium-Ion battery in your gar-
den product.
Observe the mains voltage! The voltage of the power
supply must correspond with the data given on the name-
plate of the battery charger. Battery chargers marked with
230 V can also be operated with 220 V.
The battery is equipped with temperature monitoring that al-
lows charging only in the temperature range between 0 °C
and 45 °C. In this manner, a high battery service life is
achieved.
Note: The battery supplied is partially charged. To ensure full
capacity of the battery, completely charge the battery in the
battery charger before using your power tool for the first time.
The lithium-ion battery can be charged at any time without re-
ducing its service life. Interrupting the charging procedure
does not damage the battery.
The “Electronic Cell Protection (ECP)” protects the lithium-
ion battery against deep discharging. When the battery is run
down or discharged, the garden product is shut off by means
of a protective circuit: The blade no longer moves.
Do not continue to press the On/Off
switch after the garden product has
been automatically switched off. The battery can be dam-
aged.
Charging Procedure
The charging procedure starts as soon as the mains plug is
plugged into the socket and the battery is then inserted into
the battery charger.
Due to the intelligent charging method, the charging condi-
tion of the battery is automatically detected and the battery is
charged with the optimum charging current, depending on
battery temperature and voltage.
This gives longer life to the battery and always leaves it fully
charged when kept in the charger for storage.
Note: The charging procedure is only possible when the bat-
tery temperature is within the allowable charging tempera-
ture range, see section “Technical Data”.
AL 1130 CV
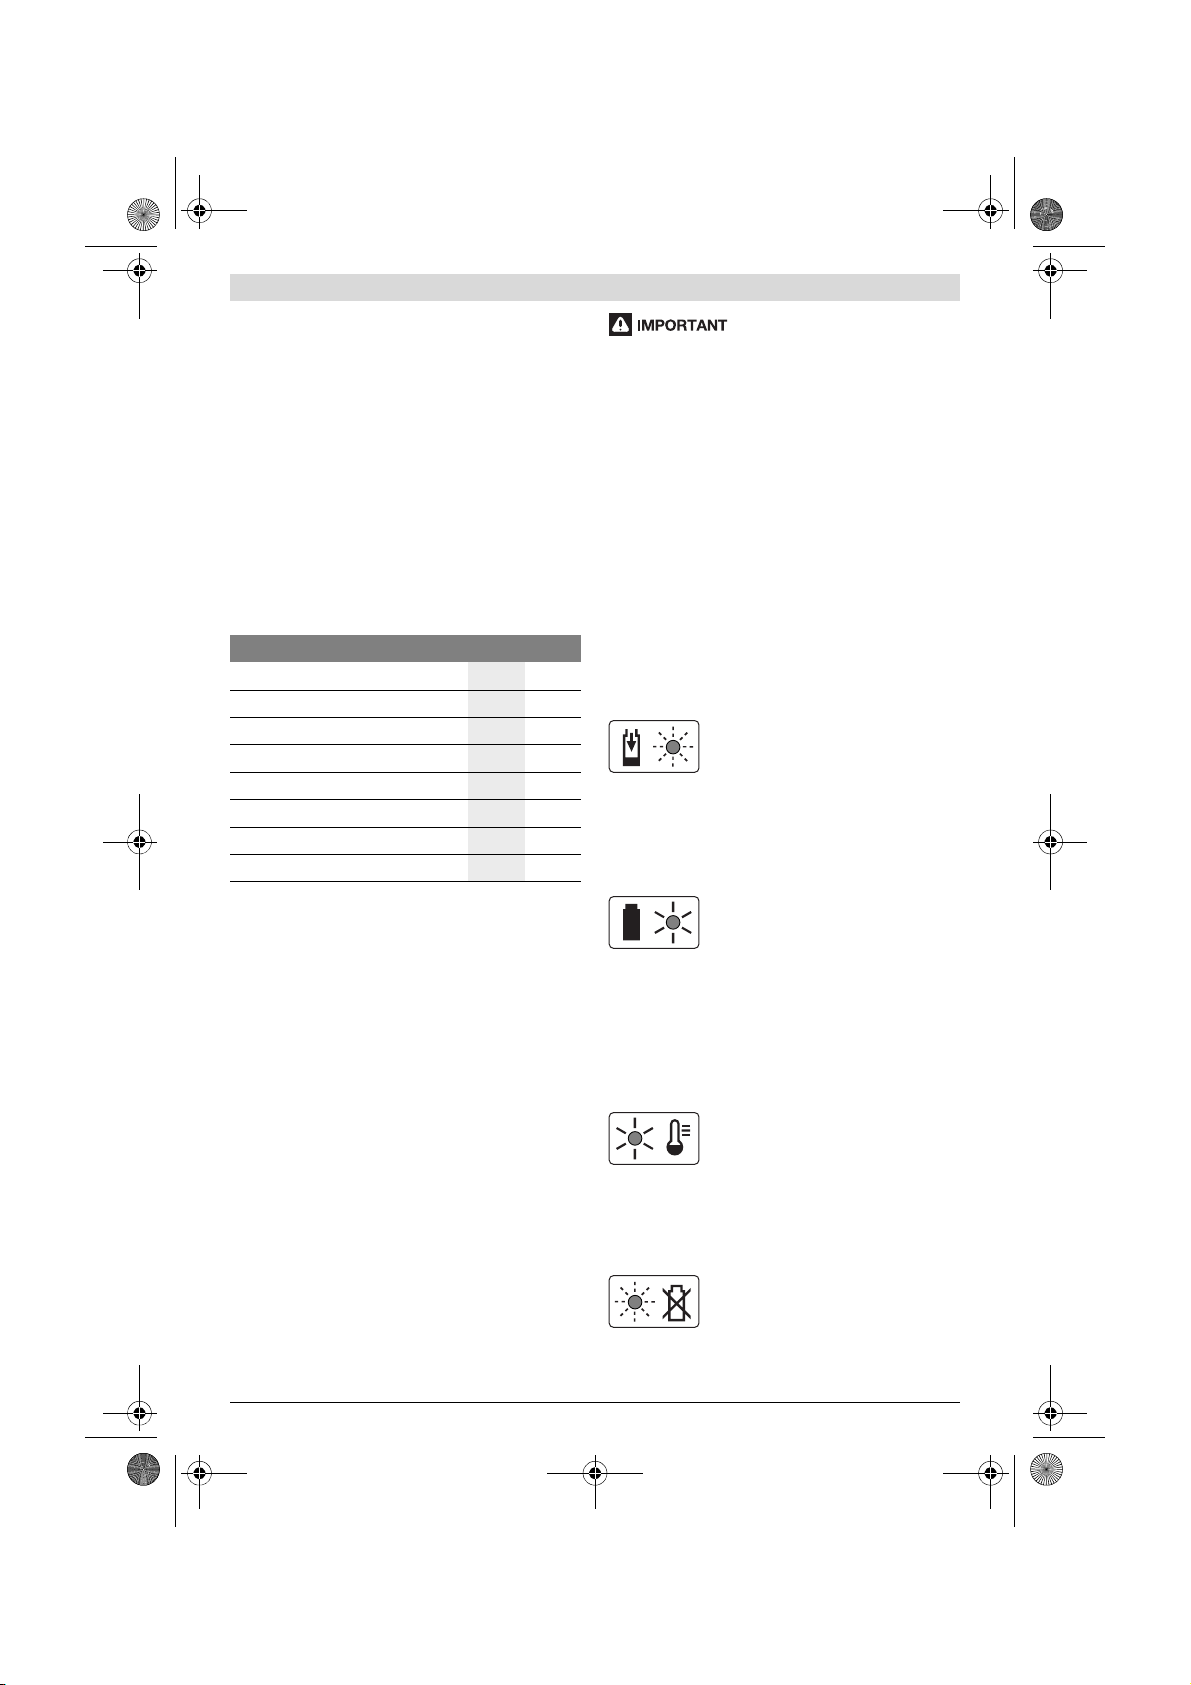
Flashing Green Battery Charge Indicator
The rapid-charging procedure is signalled
by a flashing green battery charge indica-
tor.
Note: The rapid-charging procedure is only possible when the
battery temperature is within the allowable charging temper-
ature range, see section “Technical Data”.
Continuous Lighting of the Green Battery Charge
Indicator
Continuous lighting of the green battery
charge indicator indicates that the battery
is fully charged.
Afterwards, the battery can be removed for immediate use.
When the battery is not inserted, continuous lighting of the
battery charge indicator indicates that the mains plug is in-
serted in the socket and that the battery charger is ready for
operation.
Continuous Lighting of the Red Battery Charge
Indicator
Continuous lighting of the red battery
charge indicator indicates that the temper-
ature of the battery is not within the allowa-
ble charging temperature range, see sec-
tion “Technical Data”. As soon as the allowable charging
temperature range is reached, the battery charger automati-
cally switches to rapid charging.
Flashing Red Battery Charge Indicator
A flashing red battery charge indicator in-
dicates a different malfunction of the charg-
ing procedure, see section “Troubleshoot-
ing”.
Action Figure Page
Delivery Scope
1 257
Inserting the Battery
2 257
Starting
3 257
Stopping
4 258
Working Advice
5 258
Blade Maintenance
6 259
Storage and Transport
6 259
Selecting Accessories
7 259
OBJ_BUCH-1685-008.book Page 17 Tuesday, May 23, 2017 2:11 PM
Loading ...
Loading ...
Loading ...