
Loading ...
Loading ...
Loading ...
16 English
Then place the egg boiler on a level, dry surface and connect the appliance to a
properly installed and earthed 230V AC mains socket.
Please refer to the following secons for details on the boiling procedure.
Before using the appliance for the rst me, it is advisable to add 140 ml of cold
water to the egg cooker and boil it. Aer boiling, you can discard the water. The
egg cooker is now ready for use.
4. Boiling eggs
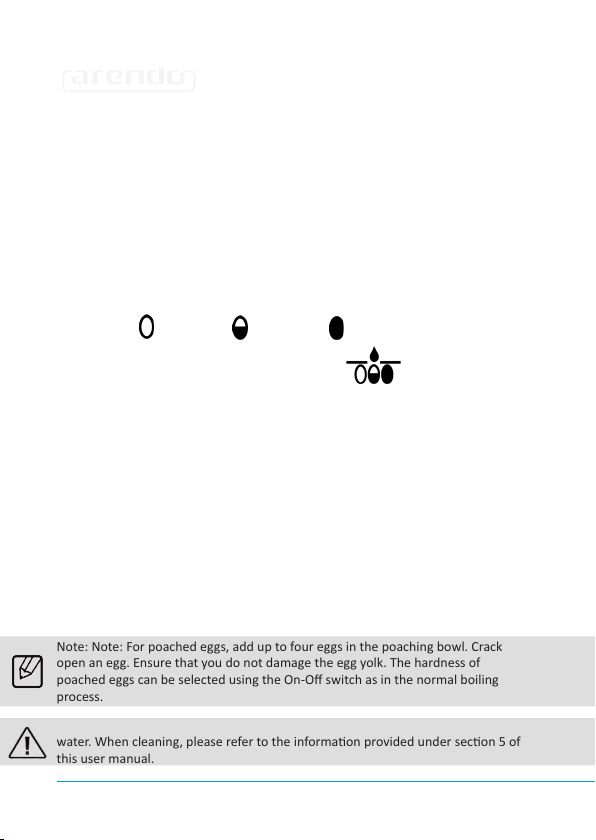
The appliance allows you to adjust the degree of hardness of the eggs to be
boiled. For this purpose, various opons are provided on the On-O switch (
"OFF", "so" ( ), "medium"( ) and "hard" ( )).
1. Fill the measuring cup with 140 ml of water ( ).
2. Now carefully pour the water from the measuring cup into the stainless
steel bowl at the top of the egg cooker and then insert the egg holder.
3. Using the egg piercer located at the boom of the measuring cup, make
a hole in the wider end of the egg and place the eggs into the egg holder
with the hole facing upwards.
4. Close the egg cooker by placing the lid on it.
5. Connect the plug to a properly installed socket.
6. Using the selector switch on the front panel of the appliance, select the
desired degree of hardness for your eggs. The indicator starts glowing.
7. An audible signal is heard as soon as the boiled eggs are ready.
8. Put the On-O switch to the "OFF" posion to switch o the egg cooker.
Then open the lid.
9. Remove the egg holder along with the eggs and rinse the eggs under cold
running water. This makes it easy to remove the eggshells.
Note: Note: For poached eggs, add up to four eggs in the poaching bowl. Crack
open an egg. Ensure that you do not damage the egg yolk. The hardness of
poached eggs can be selected using the On-O switch as in the normal boiling
process.
Note: It is advisable to clean the appliance aer each use and discard any excess
water. When cleaning, please refer to the informaon provided under secon 5 of
this user manual.
Loading ...
Loading ...
Loading ...