Loading ...
Loading ...
Loading ...
13
General Operation
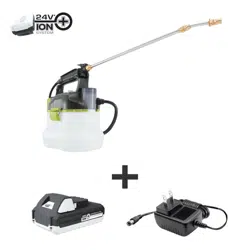
1. Insert the battery and turn on the sprayer.
2. The sprayer may be operated with the trigger gun resting
in the handle + trigger gun holder, or you may remove and
hold the trigger gun and the sprayer in separate hand
(Fig. 13).
3. Aim the sprayer nozzle directly at the plants or objects to
be sprayed.
NOTE: Make sure to stand far enough from the object
being sprayed to prevent the spray from splashing back
onto you.
4. Press the trigger to start spray.
5. After using, release the trigger and turn o the unit.
Remove the battery from the battery compartment.
6. Thoroughly wash your hands and any area where skin has
been exposed to the spray. Drain and clean the cordless
sprayer as directed in the Maintenance section.
Operating Tips
• Never point the nozzle tip at yourself or others.
• Avoid spraying on windy days. Spray can be accidentally
blown onto plants or objects that should not be sprayed.
• Never spray in the direction of people or animals; always
spray downwind.
• Especially in warmer weather, spray in the early morning
or late afternoon. Excessive heat can evaporate the spray
before it settles.
• Never smoke, eat, or drink while operating the sprayer.
Maintenance
mWARNING! To avoid serious personal injury, always
remove the battery pack from the tool when cleaning or
performing any maintenance.
mWARNING! When servicing, use only identical
replacement parts. Use of any other parts may create a hazard
or cause product damage.
Avoid using solvents when cleaning plastic parts. Most plastics
are susceptible to damage from various types of commercial
solvents and may be damaged by their use. Use clean cloths
to remove dirt, dust, oil, grease, etc.
mWARNING! Do not at any time let brake uids, gasoline,
penetrating oils, etc., come in contact with plastic parts.
Chemicals can damage, weaken, or destroy plastic which may
result in serious personal injury.
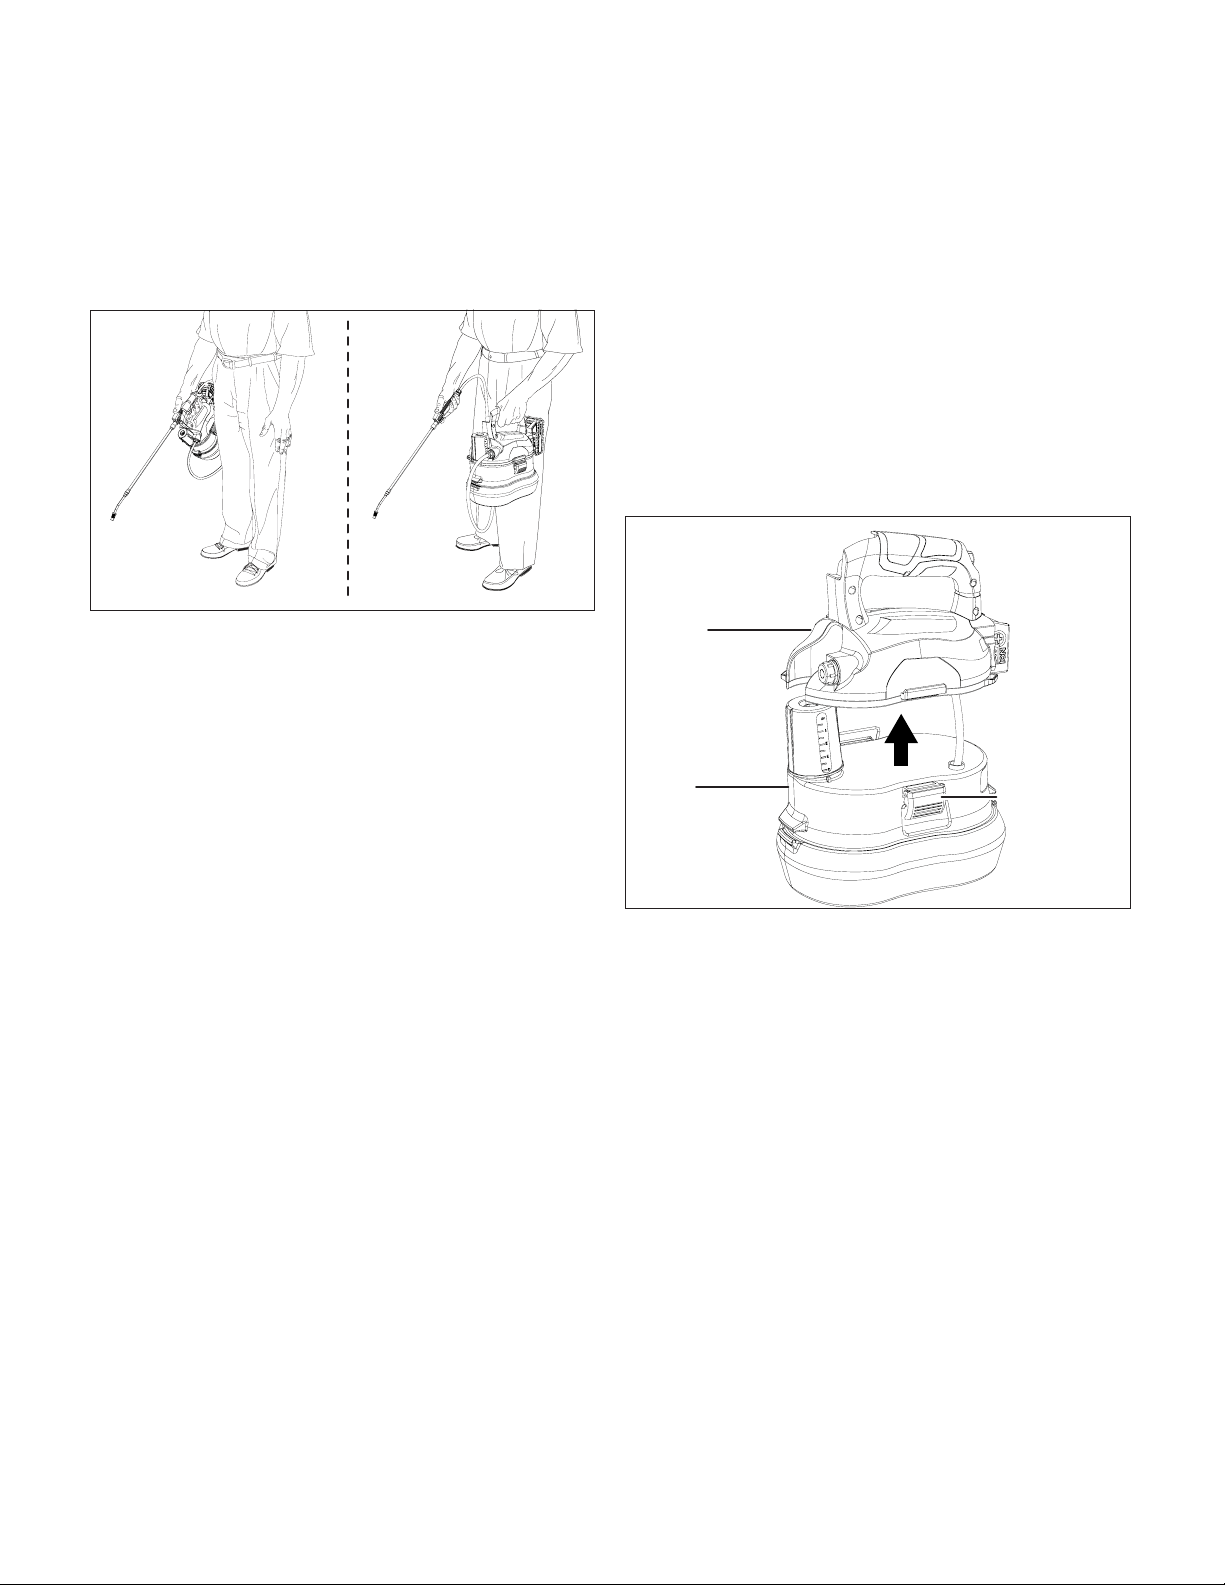
Draining the Tank
If there is any liquid left in the tank after spraying, the tank
should be drained before cleaning. Do not store chemicals in
the tank.
1. Make sure the battery is removed.
2. Release the tank latches on both sides, and lift up the
motor housing from the tank (Fig. 14).
3. Unscrew the measuring cup and drain the tank thoroughly.
mWARNING! Always store and dispose of chemicals
properly. Disposal of contaminated rinse water should be
performed according to local ordinances and by laws.
Clean the Tank
1. Fill the tank about one-third full with clean water. For a
better clean result, use a small amount of mild household
detergent.
NOTE: Never use ammable chemicals or abrasive
cleaning agents to clean the tank.
2. Reattach the clean tank to the motor housing. Flip up the
tank latches to lock the tank in place.
3. Insert the battery pack. Spray until the tank has been
emptied. Make sure to direct the spray toward an area
that will not be damaged by the spray solution.
4. Repeat the procedure with clean water. If needed, rinse
the tank again, then drain again as directed above.
5. Wipe the outside of the tank with a clean, dry cloth.
Remove the battery. Air dry the tank and all parts of the
unit before storing.
Fig. 13
Fig. 14
Motor
housing
Tank
Tank latch (on
both sides)
Loading ...
Loading ...
Loading ...