Loading ...
Loading ...
Loading ...
7
• Failure to observe these basic instructions will reduce the performance and increase
noise levels of the cooker hood.
• Any installation work must be carried out by a qualified electrician or competent
person.
•Do not connect the ducting system of the hood to any existing ventilation system
which is being used for any other appliance ,such as warmer tube, gas tube , hot wind
tube.
•The angle of the bend of the expansion pipe should not be less than 120º; you must
direct the pipe horizontally, or, alternatively, the pipe should go up from the initial point
and should be led to an outer wall.
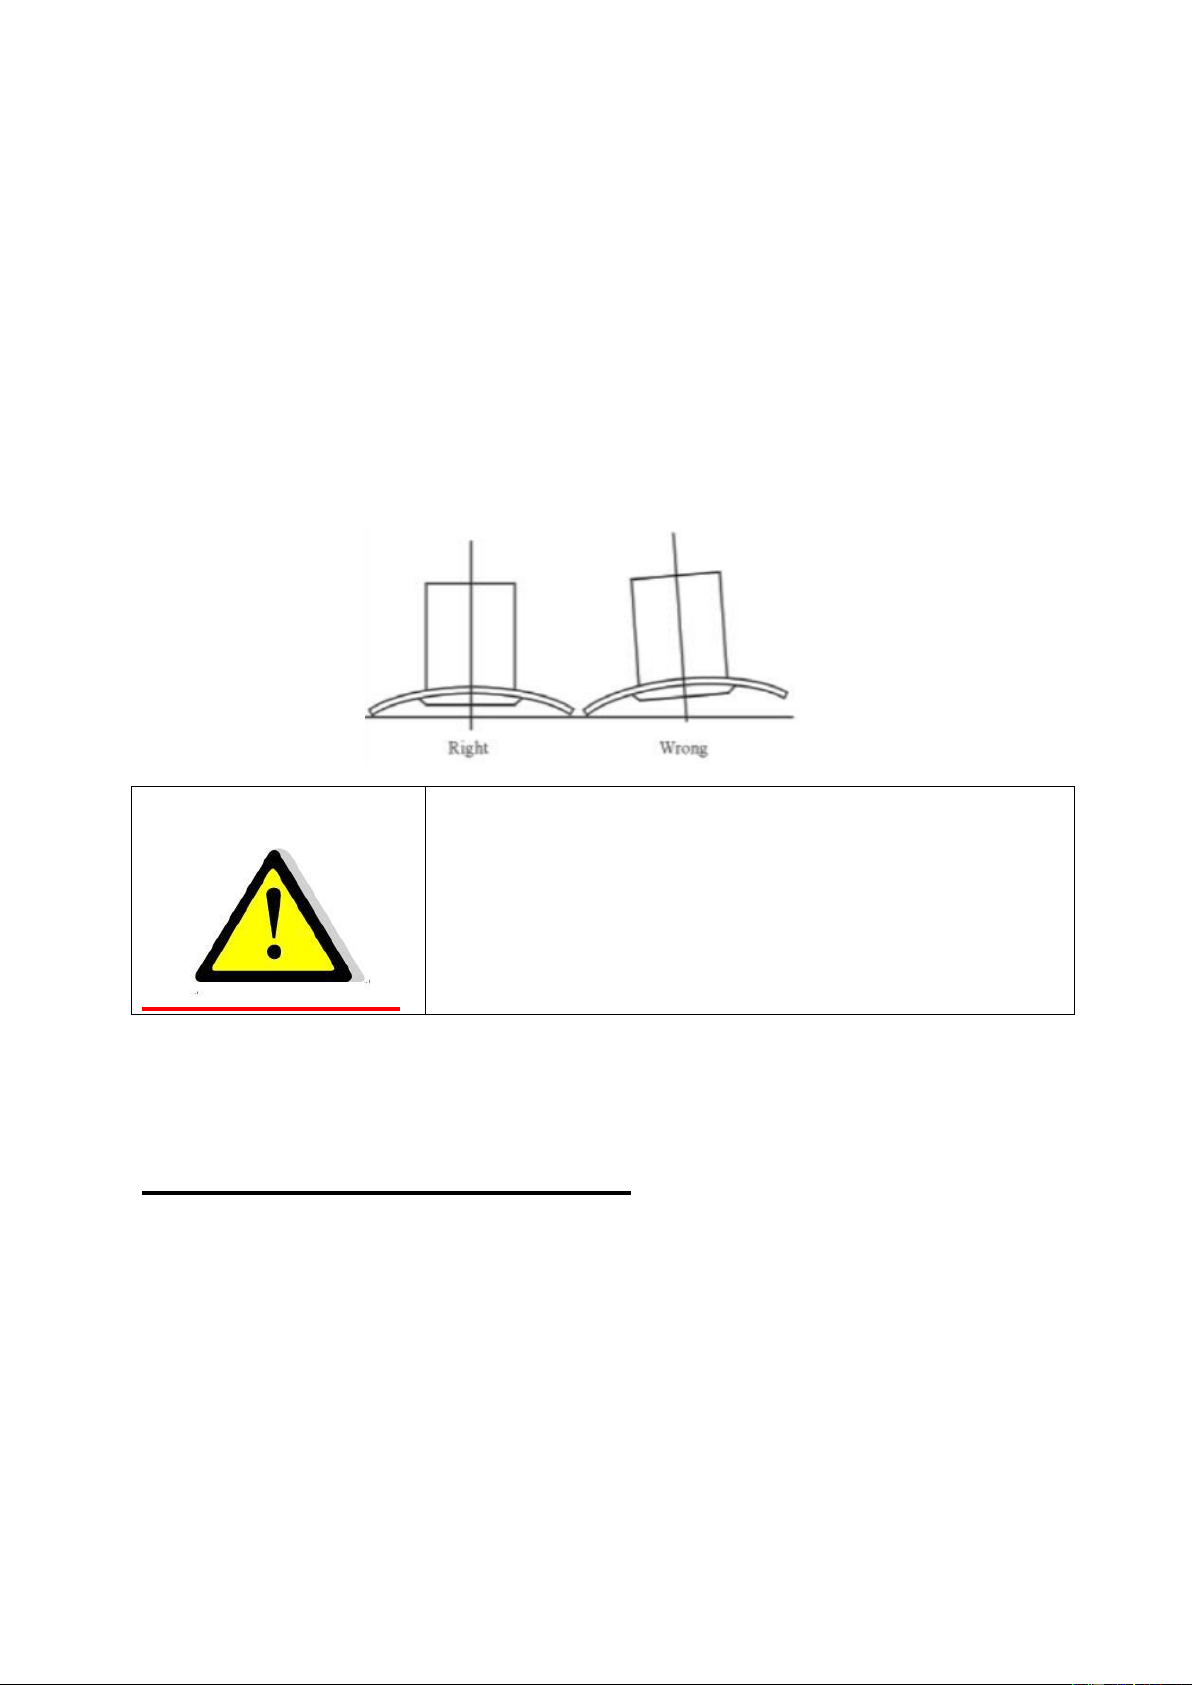
•After the installation ,make sure that the cooker hood is level to avoid grease
collection at on end.
•Ensure the expansion pipe selected for installation complies with relevant standards
and is fire retardant.
WARNING:
For safety reason, please use only the same
size of fixing or mounting screw which are
recommended in this instruction manual.
Failure to install the screws or fixing device in
accordance with these instructions may result
in electrical hazards.
Start Using Your Cooker Hood
Electronic button
1. Press the button “Low”, the inner indicator light of switch starts shining, the motor is
running at low speed. Press the button again, the motor stop.
2. Press the button “Mid”, the inner indicator light of switch starts shining, the motor is
running at medium speed. Press the button again, the motor stop.
3. Press the button “High” ,the inner indicator light of switch starts shining, the motor is
running at high speed. Press the button again, the motor stop.
4. Press the button “Light”, both lights start shining .Press the button again ,the lights
are switched off then.
Loading ...
Loading ...
Loading ...