Loading ...
Loading ...
Loading ...
6 7
Filling the Water Tank
1. Hold the handle to stabilize the steamer and
remove the removable water tank by rotating it
counterclockwise with the other hand.
2. Gently pull out the rubber water tank cover at the
top of the tank.
Tip: Using distilled, purified or filtered water is highly recommended and
will reduce mineral buildup. Do not use oils, perfumes or scented additives.
3. Using the included measuring cup, pour water
into the opening and then close the rubber cover
securely.
4. Dry off any excess water from the tank. Attach the water tank back to the
steamer by lining up the triangle on the water tank with the unlock symbol
on the steamer. Press in the water tank and secure by turning clockwise.
Using the Steamer
1. Read the manufacturer's fabric label to make sure the fabrics are suitable for
steaming.
2. Hang the garment in an area that will not be impacted by heat and steam,
such as on a shower rod.
• This steamer is anti-dripping, meaning it can be used horizontally to steam
garments on an ironing board.
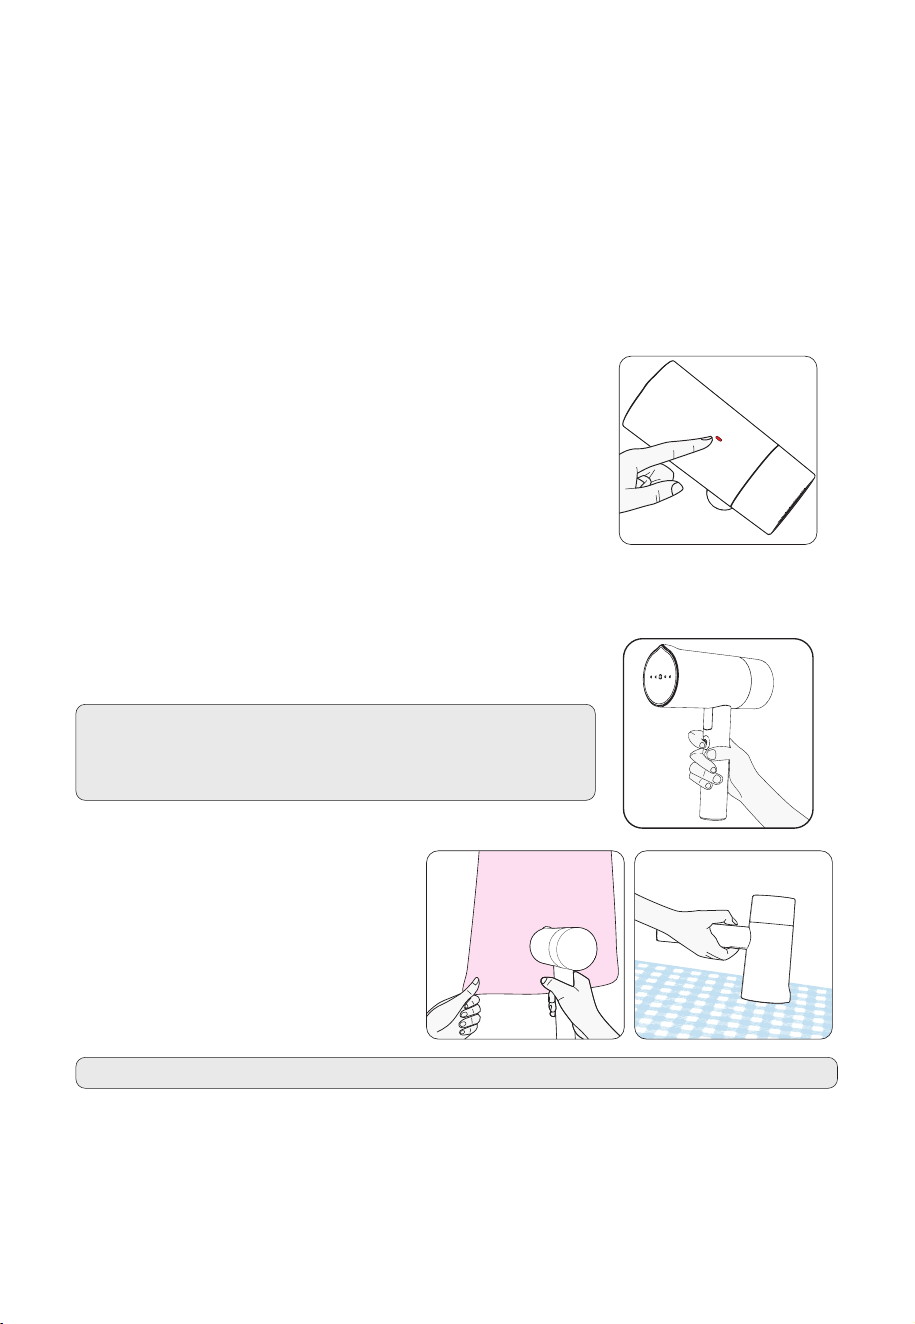
3. Plug the steamer into an outlet; the indicator light
will turn red, indicating the steamer is heating.
4. After about 30 seconds the indicator light will turn off, indicating the steamer
is preheated.
5. To generate steam, press and hold the steam button
and steam will emit from the steamer.
Note: Please press the steam button after the
indicator light is off, otherwise it may cause water
leak from the steamer.
6. Use your free hand to keep
the fabric taut and stretched.
Steam the garment with slow,
downward strokes, keeping the
head of the steamer in contact
with the fabric.
Note: It is normal to feel or hear the water pump in the handle.
7. When finished steaming, release the steam button and unplug from the
outlet.
8. Allow the steamer to completely cool off before storing. To avoid mineral
buildup, empty the tank after each use.
Loading ...
Loading ...
Loading ...