Loading ...
Loading ...
Loading ...
Audio Recording Level
77
Using a Microphone or Audio Source Connected to an XLR Terminal
Regardless of the position of the audio recording dial, auto level control will be applied to each channel
independently. Auto level control helps prevent some distortion when a high level of audio is input.
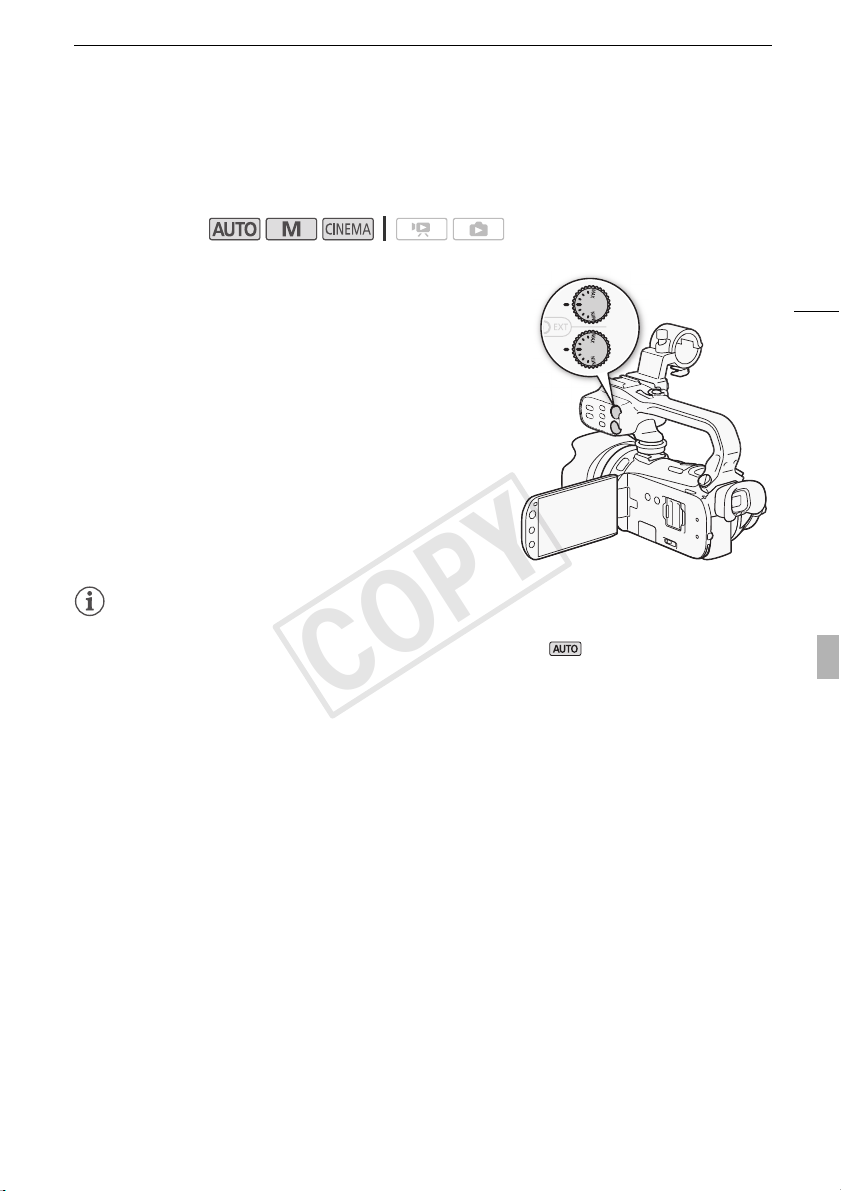
Turn the corresponding audio level dial to adjust the audio
recording level as necessary.
• When a dial is in the center position between MIN and MAX
(as shown to the right), the approximate sensitivity is as
follows.
- For microphone input: -60 dBu (full scale -18 dB)*
- For line input: 4 dBu (full scale -18 dB)
* When the microphone attenuator is off.
NOTES
• The audio level indicator will appear on the screen when a microphone or audio source is connected
to an XLR terminal and the camcorder is set to a mode other than mode.
• As a guideline, adjust the audio recording level so that the audio level meter will go to the right of the
-18 dB mark (about one mark right of the -20 dB mark) only occasionally.
• When the audio level meter reaches the red point (0 dB), the sound may be distorted.
• If the audio level is too high and the sound gets distorted while using an external microphone
connected to an XLR terminal, activate the microphone attenuator with the ATT switches. For a
microphone connected to the MIC terminal, adjust the audio recording level manually.
• We recommend using headphones to check the sound level while adjusting the audio recording
level or when the microphone attenuator is activated.
Operating modes:
COPY
Loading ...
Loading ...
Loading ...