Loading ...
Loading ...
Loading ...
12. The red Heating Light may be illuminated as the water is heated for the
next brew cycle. The brewer will be ready for use in approximately 15
seconds. NOTE: During this period, your brewer will prepare for the next
brew. The pump may make a vibrating sound. This is normal.
Stopping the Brew Process
If you need to stop the brewing after the process has started, press the
Power Button to turn the brewer off. The flow of coffee, tea or hot cocoa
will stop, the heating element will shut off and the green Power Light will turn
off. NOTE: You may get less coffee, tea or hot cocoa in your cup during your next
brew. We recommend that you perform a cleansing brew after a terminated
brew. Then your NEXT brew will be the proper volume.
Ready to Brew Your First Cup (Continued)
SECTION 1 Set-Up & First Brew
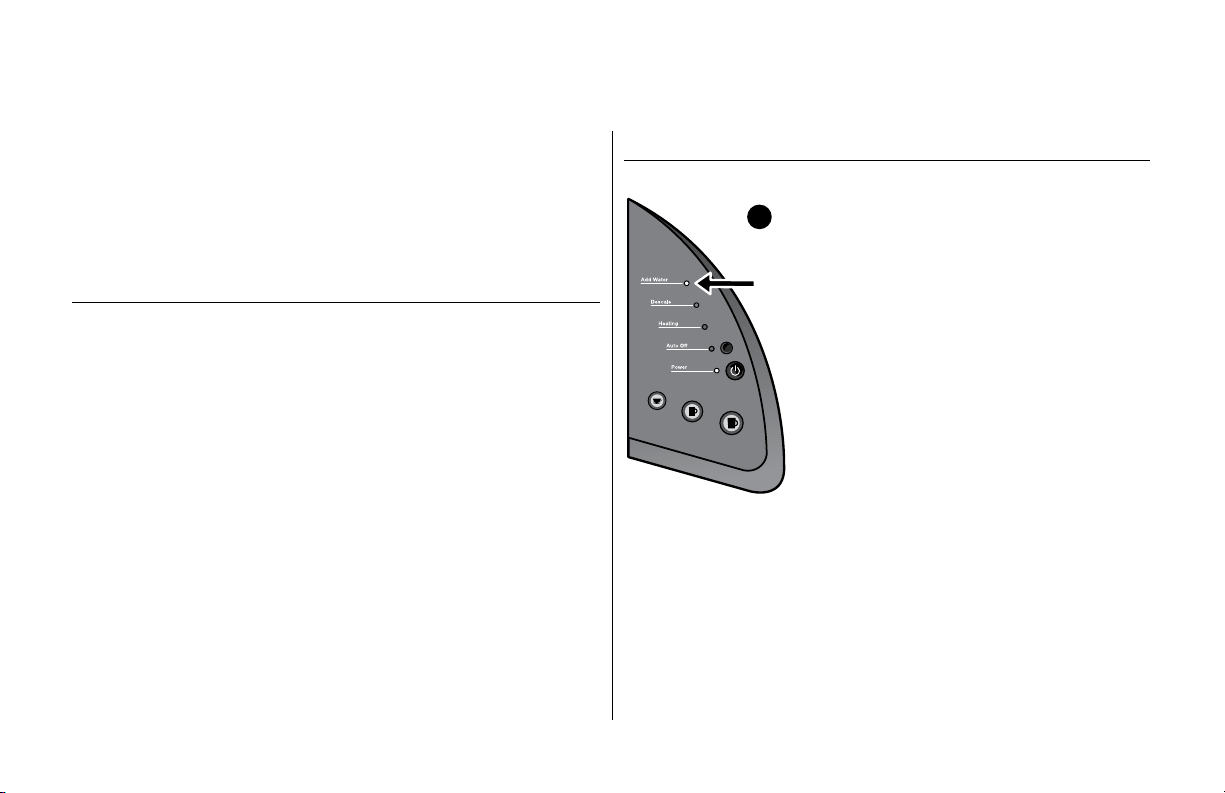
Adding Water
The blue Add Water Light will illuminate when the
water level in the Water Reservoir is low or if the
Water Reservoir has been removed (fig. 6). The
brewer will not allow you to brew when the blue Add
Water Light is illuminated.
The Water Reservoir can be filled in two ways.
1. Remove the Water Reservoir Lid and pour water
directly into the Water Reservoir while it is still
attached to the brewer. Fill with water to and not
beyond the MAX FILL line. Replace the lid.
2. Remove the Water Reservoir from brewer by
first removing the Lid from the Water Reservoir,
then lifting the Water Reservoir straight up and
away from brewer. Fill with water to and not
beyond the MAX FILL line. Place the Water
Reservoir back on the brewer and replace the
Lid. IMPORTANT: Do not remove the Water
Reservoir during the brewing process.
fig.
6
8
Loading ...
Loading ...
Loading ...