
Loading ...
Loading ...
Loading ...
10
en-us Installation Procedure
Installation Procedure
Installation Procedure
CAUTION
Sharp edges. Use protective gloves when installing
the cooktop.
Note: The appliance is heavy. It is advisable to install it
with a second person.
Installing the heat shield
CAUTION
Sharp edges. Use protective gloves when installing
the plate.
For safety reasons, the heat shield must be properly
installed when closed cabinets are used. This prevents
components from overheating as a result of the
recirculation of hot air from the cooktop.
The heat shield is the same width as the cooktop. For
shipping, it is screwed to the burner box.
After unpacking the cooktop, unscrew the heat shield.
The heat shield will be able to rotate freely, as shown in
the illustration.
Install Appliance
WARNING
Before you plug in an electrical cord or turn on
power supply, make sure all controls are in the OFF
position.
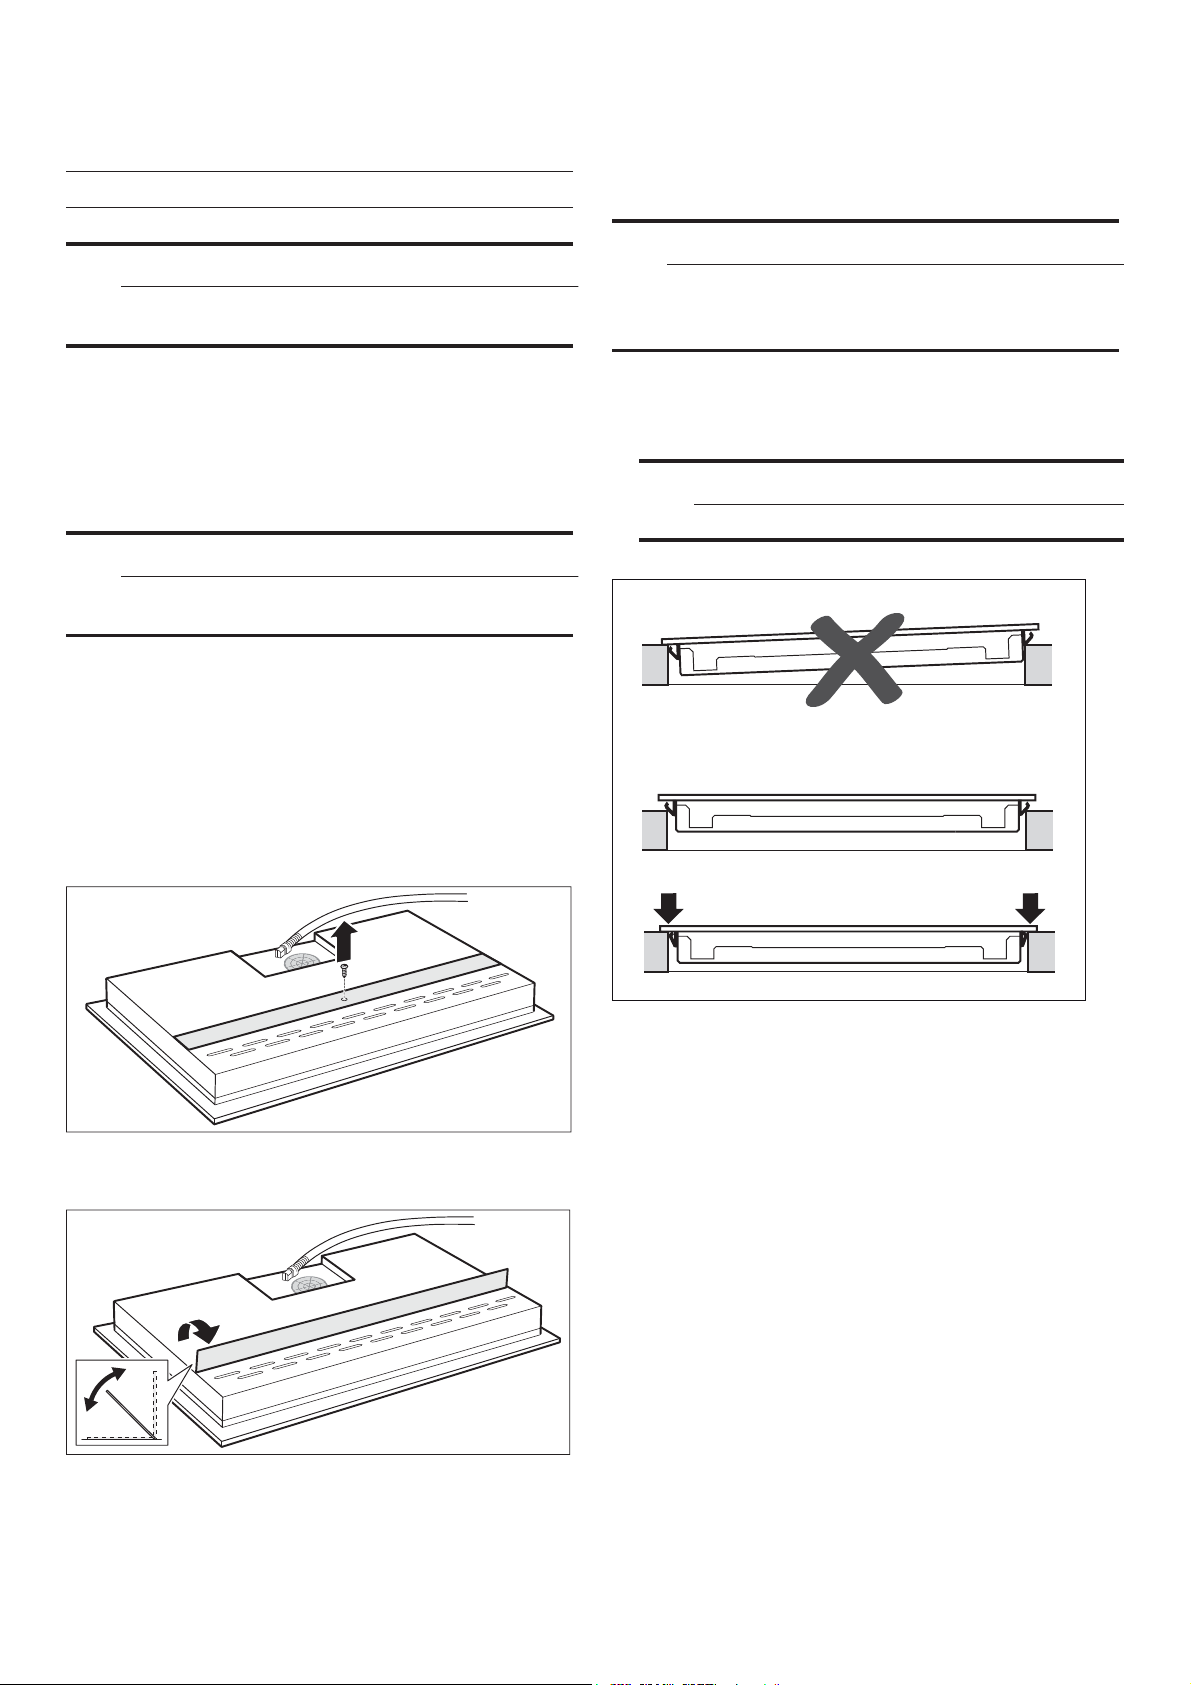
1. Evenly insert appliance into cut-out. Press appliance
firmly into the cut-out.
CAUTION
Do not kink or pinch connecting cable.
2. Only for flush installation:
Check appliance for functionality first (see section
“Check the installation").
Fill in the gap between the worktop and the ceramic
cooktop using a suitable heat-resistant silicone
adhesive (e.g. Novalsil® S70, Ottoseal® S70). Smooth
the sealing joint using the smoothing agent
recommended by the silicone manufacturer. Check the
usage information for the silicone adhesive.
Do not turn on the appliance until after the silicone
adhesive has completely dried (at least 24 hours,
depending on room temperature).
Loading ...
Loading ...
Loading ...