
Loading ...
Loading ...
Loading ...
32
Advanced Guide
Basic Guide
Camera Basics
Auto Mode /
Hybrid Auto Mode
Other Shooting Modes
Playback Mode
Wireless Features
Setting Menu
Accessories
Appendix
Index
P Mode
Tv, Av, M, C1, and C2 Mode
Before Use
Shooting Display Options
Press the [ ] button to show or hide shooting information, grid lines,
or the electronic level.
To congure the on-screen display in greater detail, access [ 1] tab >
[Shooting information display] (=
92).
● Screen brightness is automatically increased by the night view
function when you are shooting under low light, making it easier
to check how shots are composed. However, on-screen image
brightness may not match the brightness of your shots. Note that
any on-screen image distortion or jerky subject motion will not
affect recorded images.
● For playback display options, see “Switching Display Modes”
(=
102).
● You can conserve battery power in [
], [ ], [ ], [ ], or
[
] mode by selecting MENU (=
33) > [ 2] tab > [Display
Mode] > [Display priority] > [Power Saving], but screen display
may be choppier.
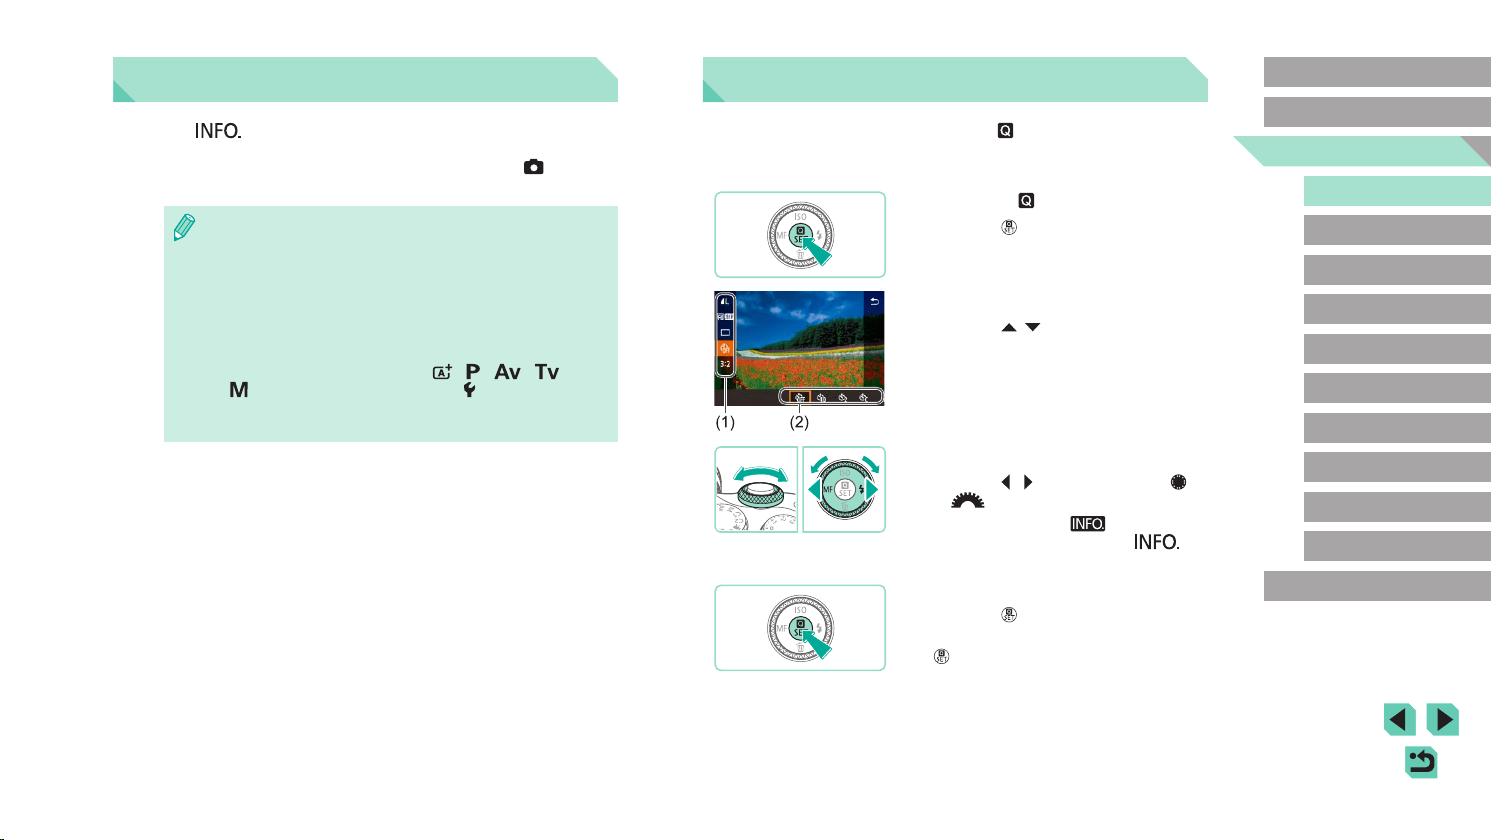
Using the Quick Set Menu
Congure commonly used functions in the (Quick Set) menu.
Note that menu items and options vary depending on the shooting mode
(=
195) or playback mode (=
208).
1
Access the menu.
● Press the [ ] button.
2
Choose a menu item.
● Press the [ ][ ] buttons to choose a
menu item (1).
● Available options (2) are shown at the
bottom of the screen.
3
Choose an option.
● Press the [ ][ ] buttons or turn the [ ]
or [ ] dial to choose an option.
● Items labeled with a [
] icon can
be congured by pressing the [ ]
button.
4
Conrm your choice and exit.
● Press the [ ] button.
● The screen before you pressed the
[
] button in step 1 is displayed again,
showing the option you congured.
Loading ...
Loading ...
Loading ...