Loading ...
Loading ...
Loading ...
SEDONA CARE & USE/INSTALLATION
|
27
BEFORE YOU CONTACT LYNX CUSTOMER CARE
Please check a few things before calling for service:
• Is there fuel supplied to the grill?
• Is the main shut-off valve open?
• Are you using the correct type of fuel? (LP or Natural Gas)
(See INDEX: “Gas Connections” for further details.)
• Is your propane cylinder empty? Have you recently
refilled the propane cylinder? If so, is the connection
tight?
• Have you opened the valve on the propane cylinder?
• Is the grill plugged in to a live electric circuit? If not, has
the 9V battery been replaced recently?
If you’ve checked the above items, review the
troubleshooting list below before calling the manufacturer
for service.
LIGHTS WON’T LIGHT
Check Power
Ensure that the grill is connected to a GFI protected, live
AC power source and that he GFI device has been reset.
Reset Transformer
Disconnect power from the grill and wait 5 minutes for
the transformer to cool down and reset. Then
reconnect power. If, after resetting the
transformer and replacing bulbs, you still do not
have power, contact Lynx Customer Care.
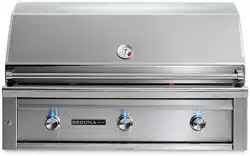
Replace the Bulb
Replacement bulbs are halogen, 12 volt, 10W max, T3 type
with a G4 bi-pin base, and are readily available at most
hardware stores or home improvement centers. The glass
cover is held in place by two spring tension tabs. The bulbs
are easily removable without the use of tools. Simply grasp
the glass lens at the outer corners, near the front tension
clips and push the lens back. Then, swing the lens down and
pull it loose. You may have to loosen the screw to remove
the lens.
Avoid touching
the glass of a new
bulb. Halogen
bulbs are very
sensitive to the oils
found in human skin. Touching the bulbs may shorten their
life.
Pull the bulb straight out from the socket without twisting.
Hold the bulb using a paper towel or other cloth and
gently press it straight into the socket. The glass cover
should be gently snapped back into place.
GRILL WON’T LIGHT
First, confirm that the grill is getting electricity by turning
on the lights, then:
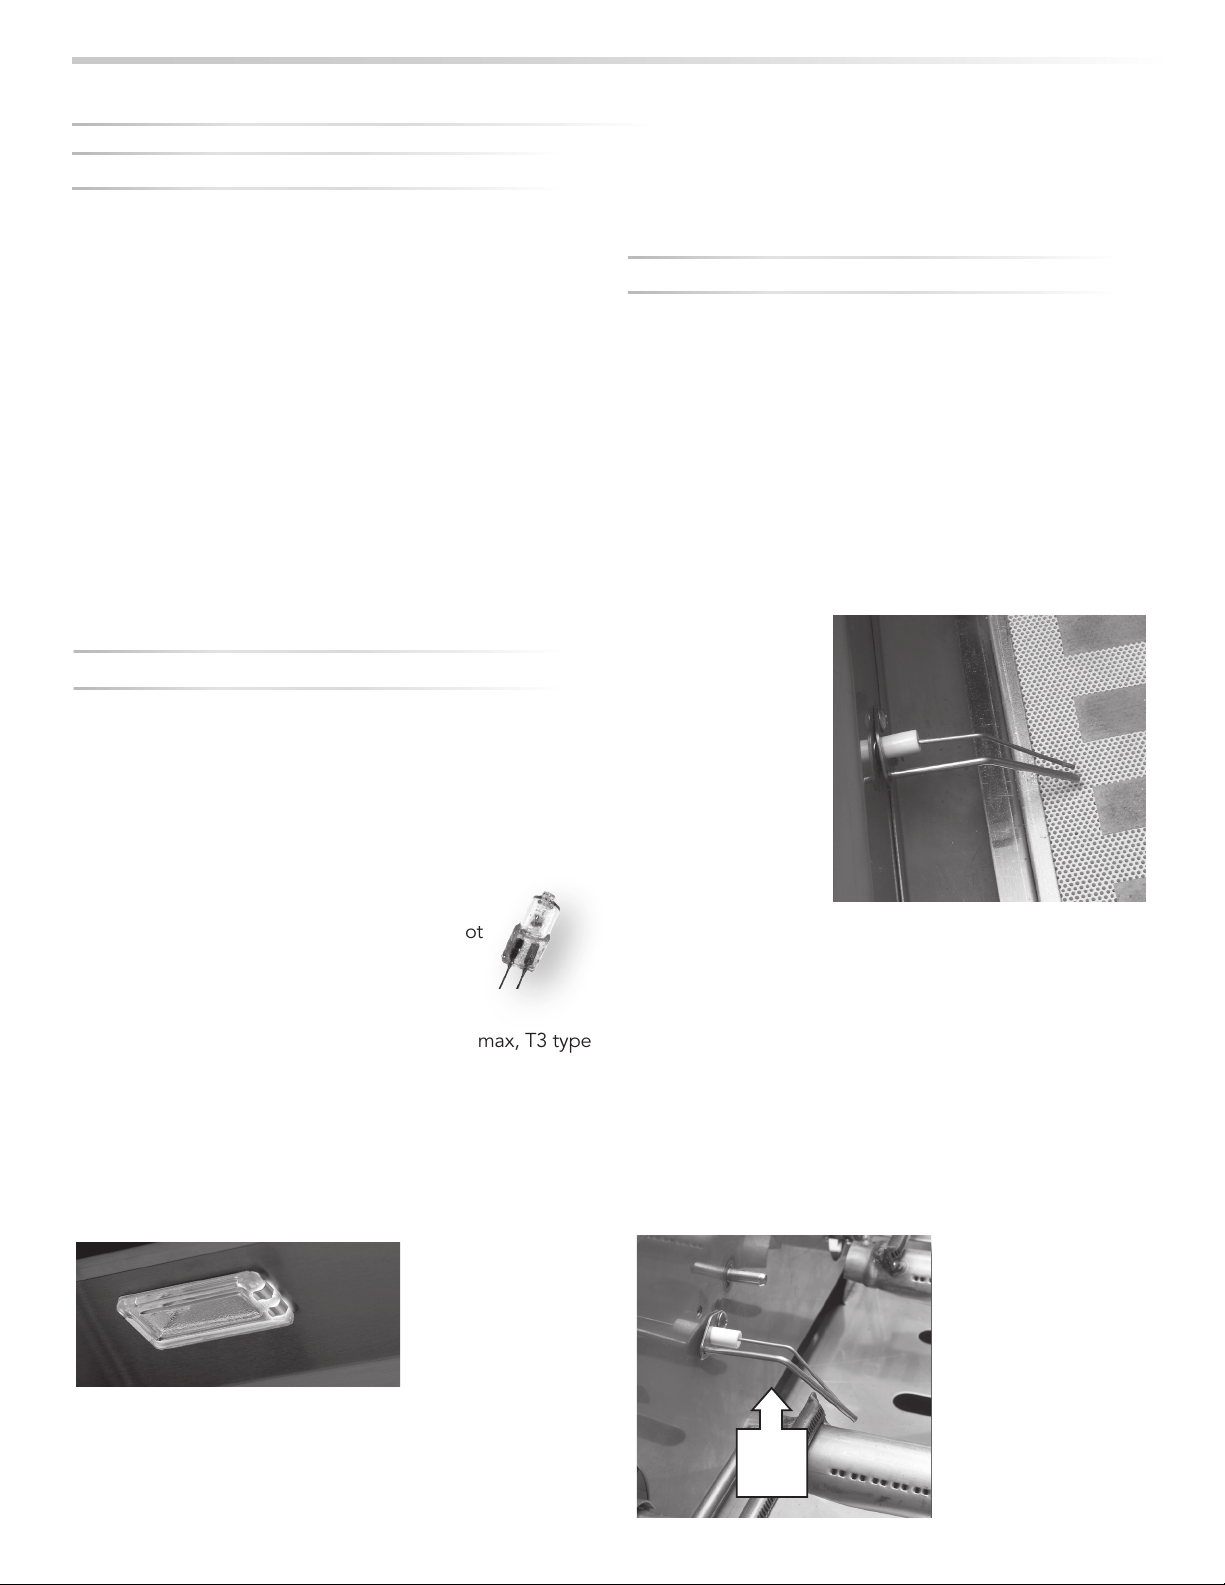
Check the Igniters
Your grill uses an electric ignition system that creates a
spark when the gas control knob is pushed in.
• Ensure that all burner controls are set to OFF.
• Remove the cooking grates and briquette trays.
• Watch and listen to all igniters as you push in and hold
the corresponding control knob.
(Be sure you push in
the correct control
knob and keep the
knob in the “OFF”
position)
• Listen for a rapid
clicking sound when
the control knob
is pushed in. You
should also see
an electrical spark
jump between all
the ignition electrodes. If no clicking is heard, and no
spark is seen, check the electrical connections or try
replacing the 9 volt battery. If the power is OK ensure that
there is a proper gap of approximately 1/8” between the
electrodes.
• Check the remaining igniters. If igniters don’t spark,
proceed with troubleshooting or match-light the burner.
Check the Burners
If the igniters are working check to see if gas is reaching
the burners by attempting to match light a burner.
BE CAREFUL! IF
THE BURNER FAILS
TO IGNITE, WAIT 5
MINUTES BEFORE
ATTEMPTING TO
IGNITE OTHER
BURNERS! (See
INDEX: “Match
Lighting” for further
details.)
PULL ON
SPRING
TABS TO
RELEASE
LIGHT
COVER
TROUBLESHOOTING YOUR GRILL
PULL ON
SPRING
TABS TO
RELEASE
LIGHT
COVER
Spark
Igniter
Loading ...
Loading ...
Loading ...