Loading ...
Loading ...
Loading ...
en Installation and connection
14
3
Water inlet hose
4
Cover caps
Requirements for the installa-
tion location
The appliance may "wander" when it
spins. Observe the instructions for
the installation location.
Note:Please read the safety informa-
tion →Page4 to ensure that you use
the appliance safely.
WARNING
Risk of electric shock!
The appliance contains live parts.
Touching live parts is dangerous.
▶
Do not operate the appliance
without a cover cap.
WARNING
Risk of injury!
When using the appliance on a base,
the appliance may tip over.
▶
Always secure the feet of the appli-
ance to a base using the manufac-
turer's fixing brackets →Page30
before using the appliance for the
first time.
ATTENTION!
¡ If the appliance is installed in
areas exposed to frost or out-
doors, frozen residual water may
damage the appliance and frozen
hoses may crack or split.
▶
Do not install or operate this ap-
pliance anywhere that is liable to
experience frost and/or out-
doors.
¡ The appliance underwent a func-
tion test before leaving the factory
and may, therefore, contain resid-
ual water. This residual water may
leak out if the appliance is tilted at
an angle greater than 40°.
▶
Tilt the appliance carefully.
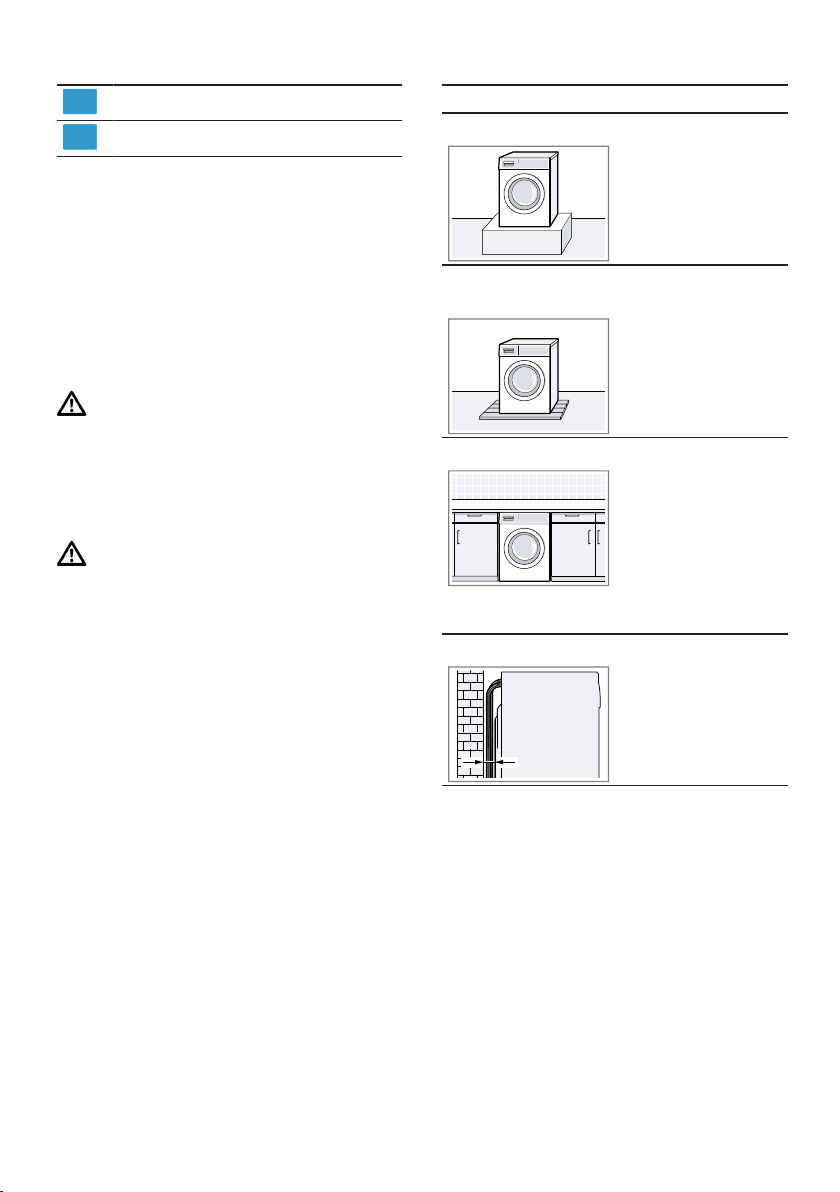
Installation location Requirements
On a base Secure the appliance
with fixing brackets
→Page30.
On a wooden joist
floor
Place the appliance
on a water-resistant
wooden board which
is screwed tightly to
the floor. The wooden
board should be at
least 30 mm thick.
In a kitchen unit ¡ A niche width of
60 cm is required.
¡ Only install the ap-
pliance under-
neath a continuous
worktop that is se-
curely connected
to adjacent cabin-
ets.
On a wall Do not trap the hoses
between the wall and
the appliance.
Removing the transit bolts
The appliance is secured for trans-
portation using transit bolts on the
rear of the appliance.
Notes
¡ Please read the safety information
→Page4 to ensure that you use
the appliance safely.
¡ Keep the transit bolts, screws and
sleeves in a safe place for future
transport →Page52.
1. Pull the hoses out of the holders.
Loading ...
Loading ...
Loading ...