Loading ...
Loading ...
Loading ...
ENGLISH I 9
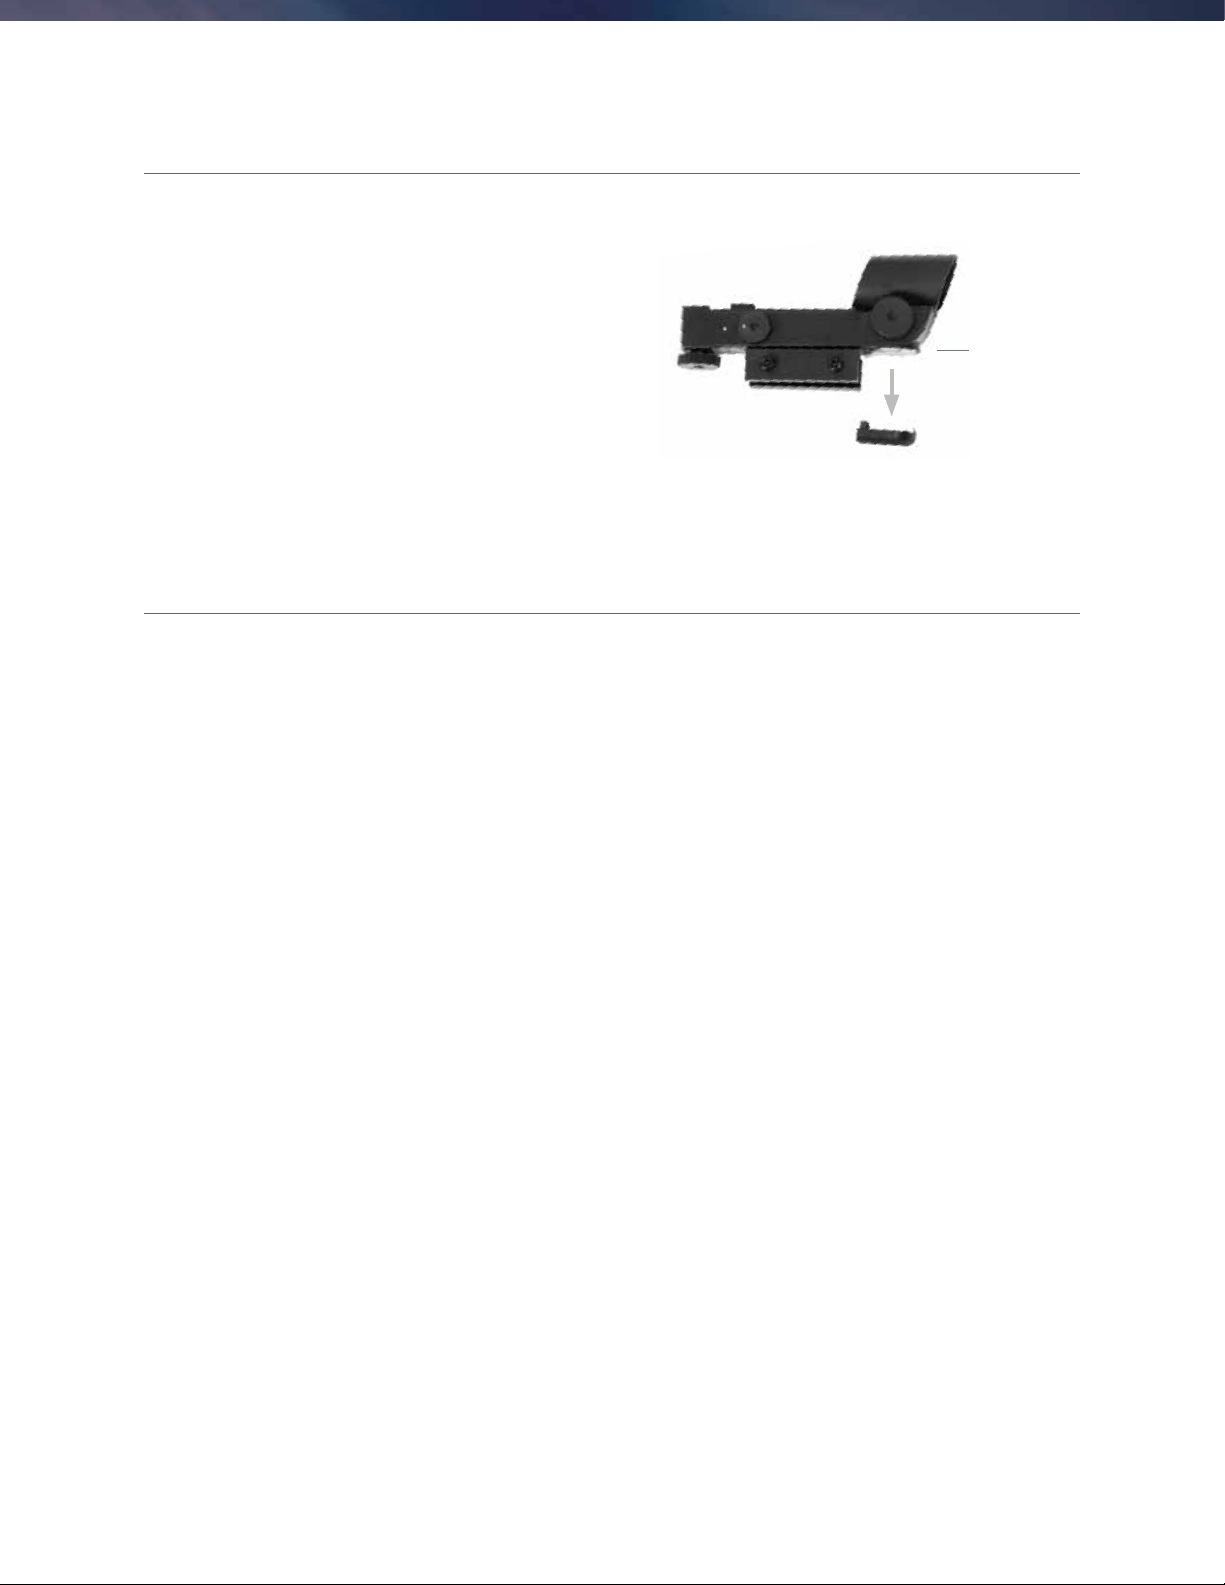
CHANGING THE FINDERSCOPE BATTERY
To replace the StarPointer battery, remove the finder from
the scope and turn it over. The battery compartment is
located directly under the large lens assembly. Using a
small screwdriver or your fingernail, gently lift straight up
on the cover to remove it. The battery is held in place by a
spring contact. Gently lift this contact and turn the finder
on its side. The battery should slip right out. Replace the
battery with a 3-Volt CR2032 button cell battery. Slide
the new battery under the contact, making sure that the
positive terminal of the battery (the side marked with a
“+”) is pointing upward, toward the spring contact. The
battery should snap in place. Replace the cover by lining
up the pins on the cover with the holes in the finderscope
and pressing it down. Be sure to dispose of the old battery
according to your local laws.
ALIGNING THE FINDERSCOPE
The StarPointer finderscope is a reflex sight that uses a red LED to project a red dot onto the round glass window. When
you look through the window, you see the red dot superimposed on your target. The first time you assemble your telescope,
you’ll need to align the finderscope with the main optics of the telescope. Although this step can be done at night, it is
significantly easier to do during the day. Once you have completed the finderscope alignment, you should not have to repeat
this step unless the finderscope is bumped or dropped.
To install the StarPointer finderscope:
1. Take the telescope outside during the day. Using your naked eye, find an easily recognizable object, such as a streetlight, car
license plate, or tall tree. The object should be as far away as possible, but at least a quarter mile away.
2. Remove the main dust cover from the telescope and make sure your 20 mm eyepiece is installed.
3. Move the telescope left and right or up and down so that it is roughly pointing toward the object you chose in step 1.
4. Look through the telescope’s eyepiece and manually move the telescope until the object you chose lies in the center of the
view. If the image is blurry, gently turn the focus knobs until it comes into sharp focus.
5. Once the object is centered in your 20 mm eyepiece, turn on the finderscope by turning the power/brightness switch knob
on the side of the unit as far as it will go.
6. With your head positioned about a foot behind the finder, look through the round window and locate the red dot. It will
probably be close to, but not on top of, the object you see when you are looking through the 20 mm eyepiece.
7. Without moving the telescope, use the two adjustment knobs on the side and underneath the finderscope. One controls the
left-right motion of the reticle, while the other controls the up-down motion. Adjust both until the red dot appears over the
same object you are observing in the 20 mm eyepiece.
Now choose some other distant targets to practice aiming your telescope. Look through the StarPointer finderscope window
and place the red dot over the target you are trying to view and verify that it appears in the 20 mm eyepiece of the scope.
With your finderscope aligned, your telescope is fully assembled and you are ready to observe!
NOTE: Be sure to turn off the StarPointer finderscope when not in use to conserve battery power.
Battery
Compartment
Loading ...
Loading ...
Loading ...