To avoid the risk of electric shock, do not immerse the iron in water or other liquids.
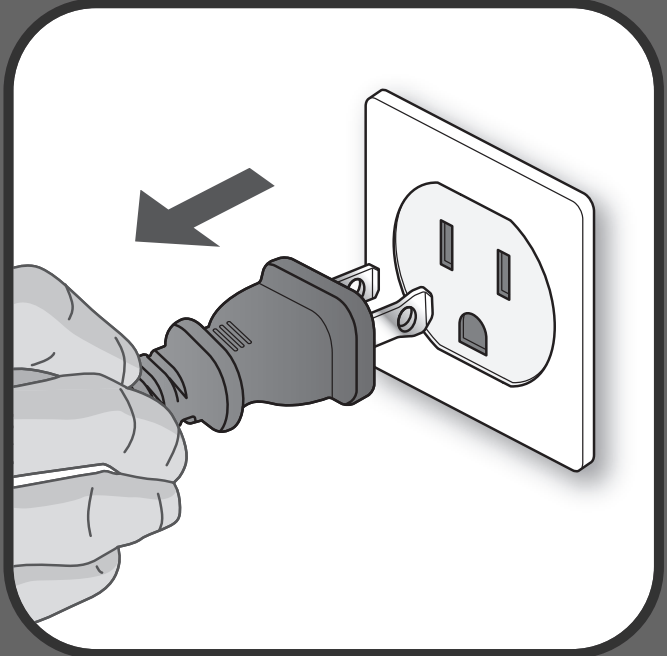
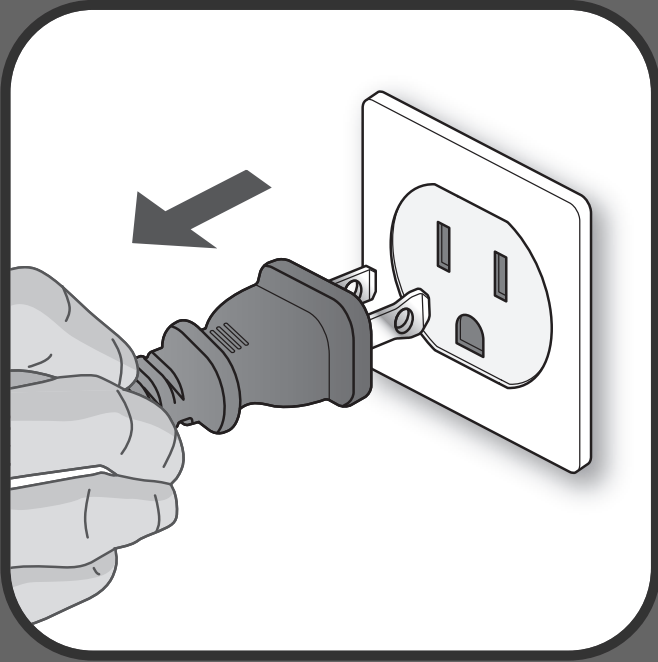
Always turn the iron OFF before plugging or unplugging the iron from the electrical outlet. Never pull on the cord to disconnect the iron from the electrical outlet; instead, grasp the plug and pull on the plug to disconnect the iron.
Do not let the cord touch hot surfaces. Let the iron cool completely before putting the iron away. Coil the cord loosely around the iron when storing.
Always disconnect the iron from the electrical outlet before filling the iron with water, emptying the water from the iron, and when the iron is not in use.
Do not operate the iron with a damaged cord or in the event the iron has been dropped or damaged. To avoid the risk of electric shock, do not disassemble the iron. Take it to a qualified serviceman for examination and repair. Incorrect assembly might result in a risk of electric shock when the iron is used after reassembly.
Close supervision is required for any appliance used by or near children. Do not leave the iron unattended while the iron is connected or on an ironing board.
Burns can occur from touching hot metal parts, hot water, or steam. Use caution when you turn a STEAM IRON upside down – there might be hot water in the reservoir. To avoid a circuit overload, do not operate an iron on the same circuit with another high wattage appliance.
If an extension cord is absolutely necessary, a cord with an ampere rating equal to or greater than the maximum rating of the iron shall be used. A cord rated for less amperage can result in a risk of fire or electric shock due to overheating. Care shall be taken to arrange the cord so that it cannot be pulled or be tripped over.
The iron must be used and rested on a stable surface;
When placing the iron on its stand, ensure that the surface on which the stand is placed is stable;
The iron must not be left unattended while it is connected to the supply mains.
WHAT WATER MAY BE USED ?
Your iron has been designed to operate using untreated tap water. If in doubt, check with your local water authority. However, if your water is very hard, you can mix 50% untreated tap water with 50% distilled or demineralised water.
IMPORTANT Heat concentrates the elements contained in water during evaporation.The types of water listed below contain organic waste or mineral elements that can cause spitting, brown staining or premature wear of the appliance: water from tumble dryers, scented or softened water, water from refrigerators, batteries or air conditioners, pure distilled or demineralised water or rain water should not be used in your iron. Also do not use boiling, or bottled mineral water.
ENVIRONMENT
Environment protection first ! i Your appliance contains valuable materials which can be recovered or recycled.
Leave it at a local civic waste collection point.
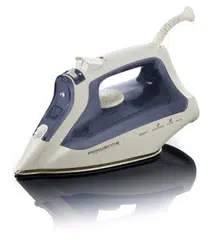
PRODUCT DESCRIPTION
1. Thermostat pilot light
2. Auto off indicatorlight
3. Burst of steam button
4. Spray button
5. Steam lever
6. Filling inlet
7. Precision tip
8. Anti-calc valve
9. Anti-drip
10.Temperature control dial
11.Cord rewinder*
SET UP
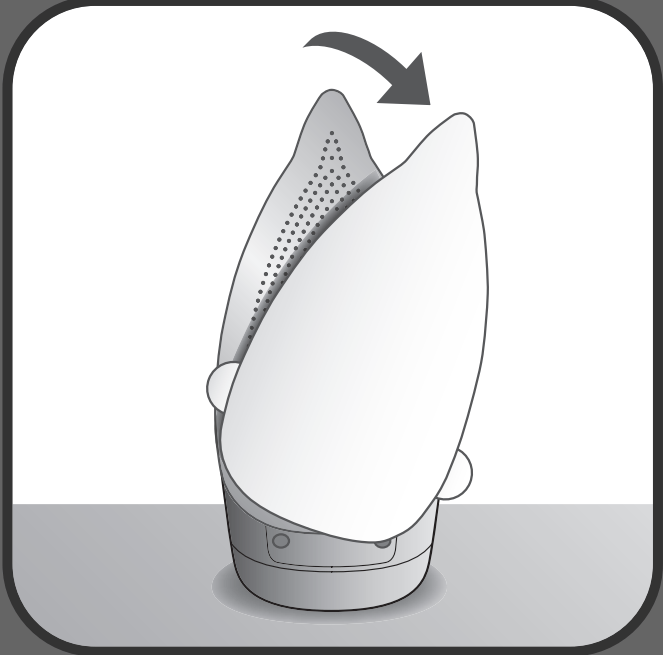
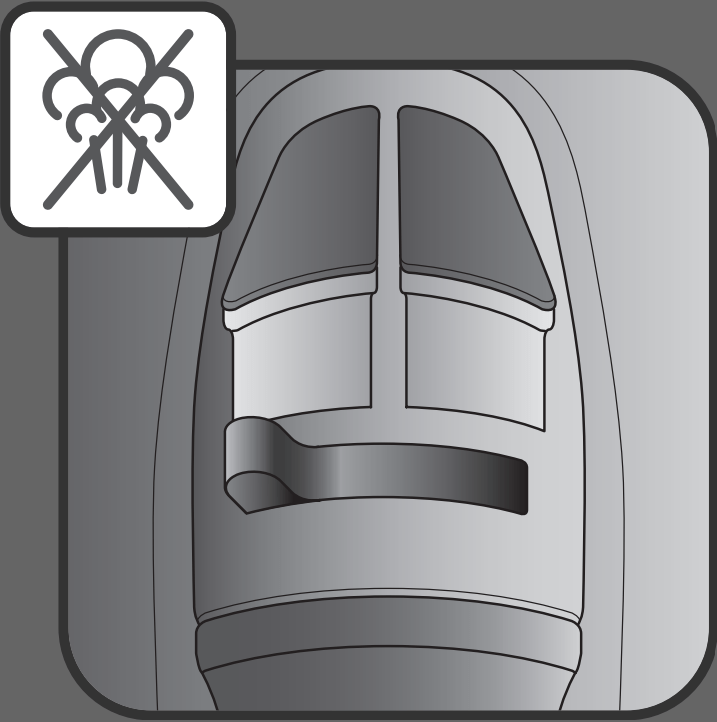
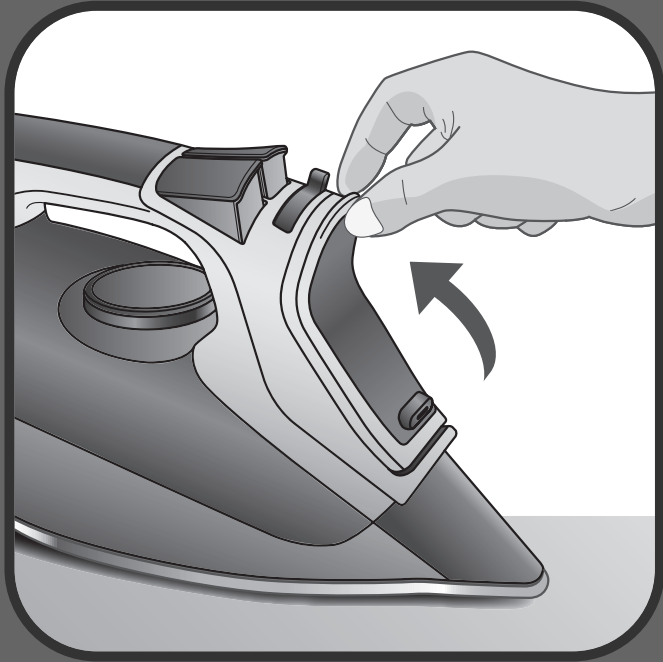
Remove the soleplate cover.
Set the steam lever on position.
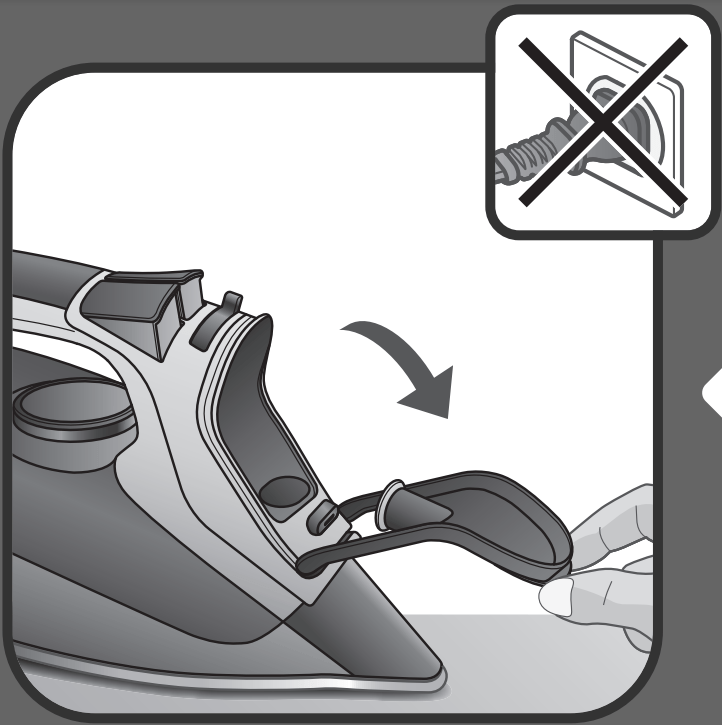
Open the filling inlet door (the iron is unplugged).
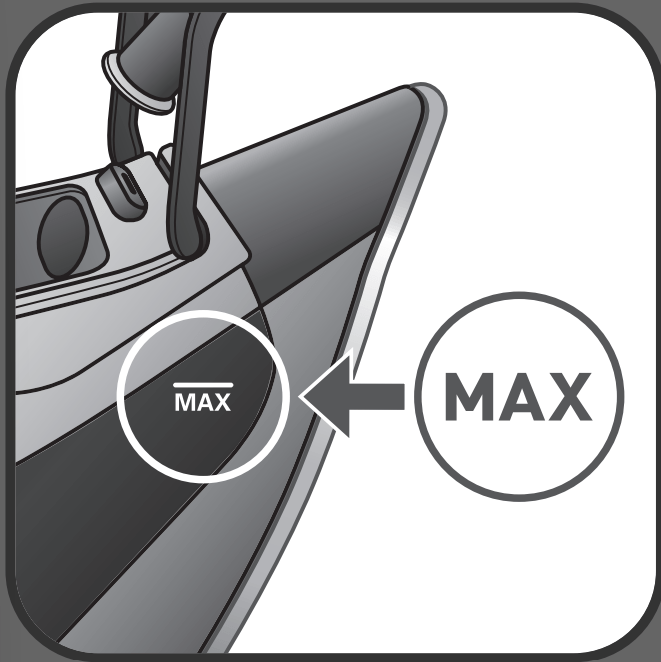
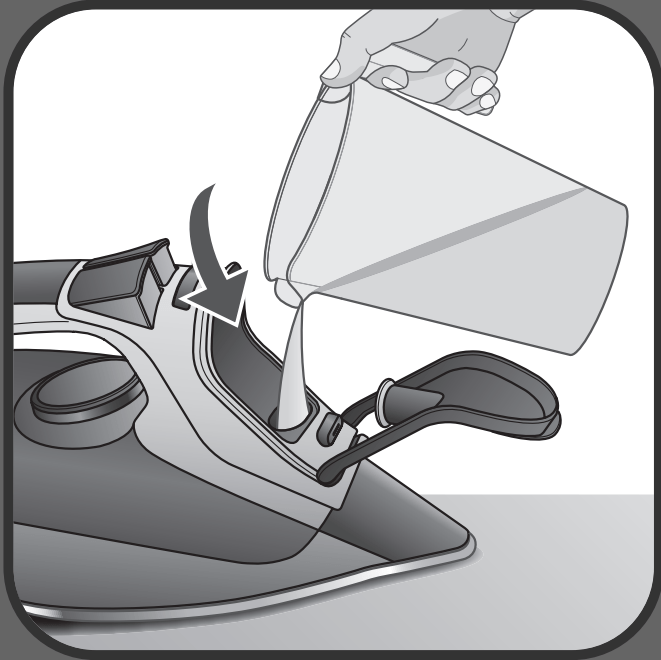
Fill in the water tank.
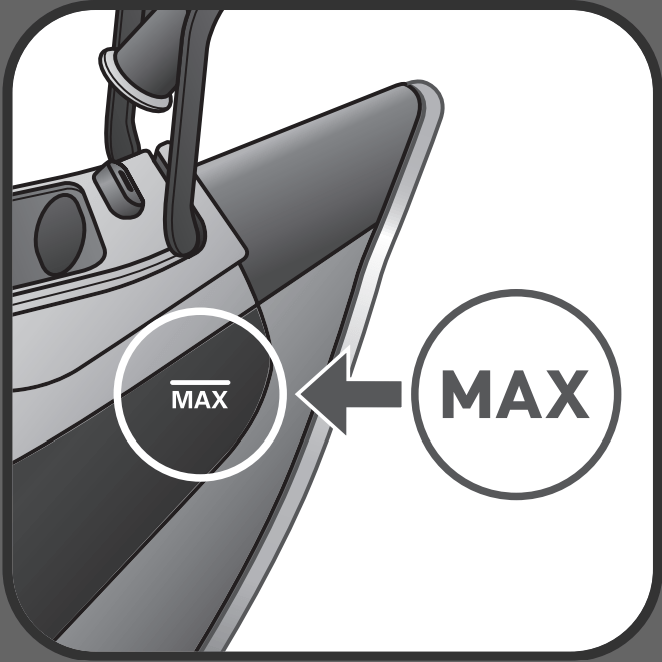
Stop filling water when MAX level is reached.
Close the filling inlet door.
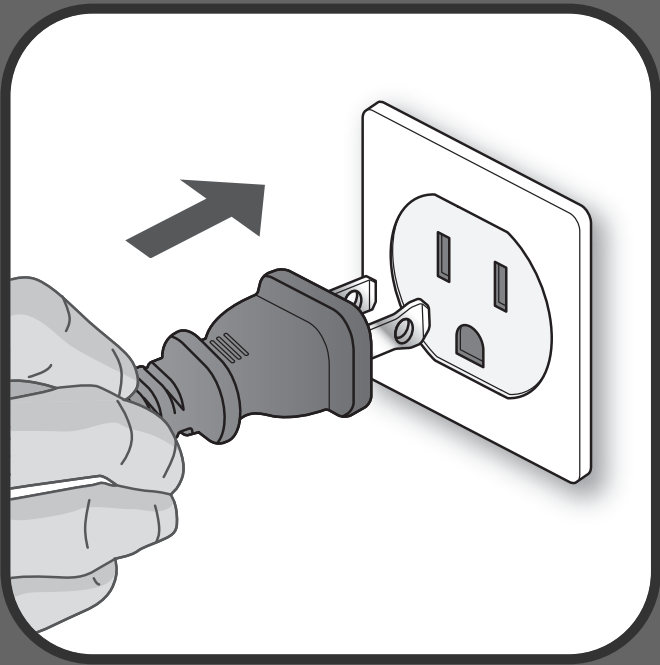
Place the iron on the heel and plug the iron.
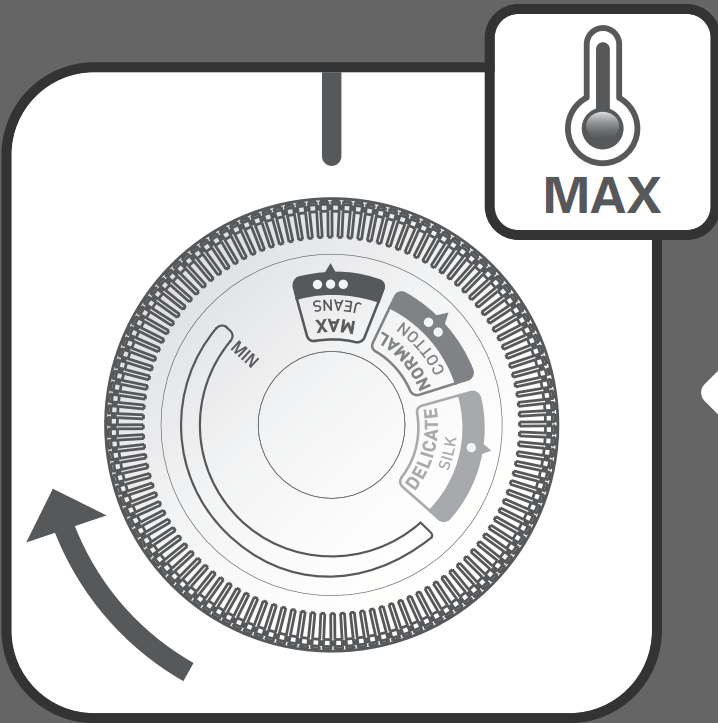
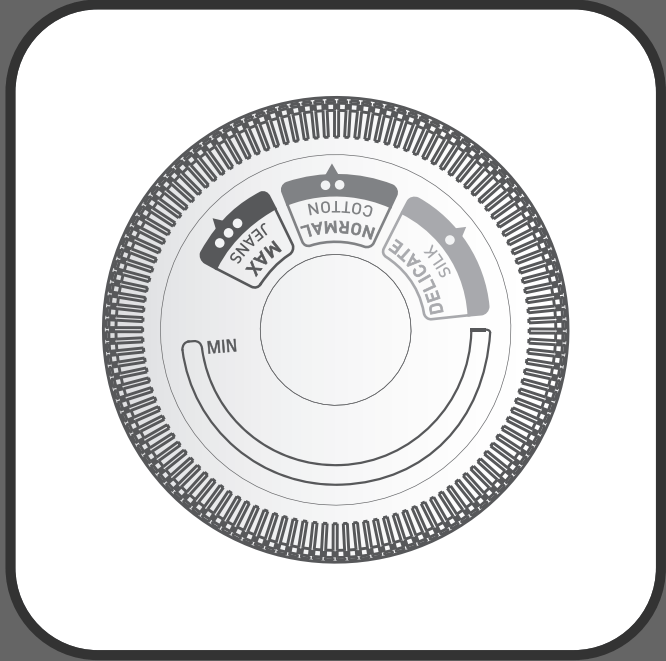
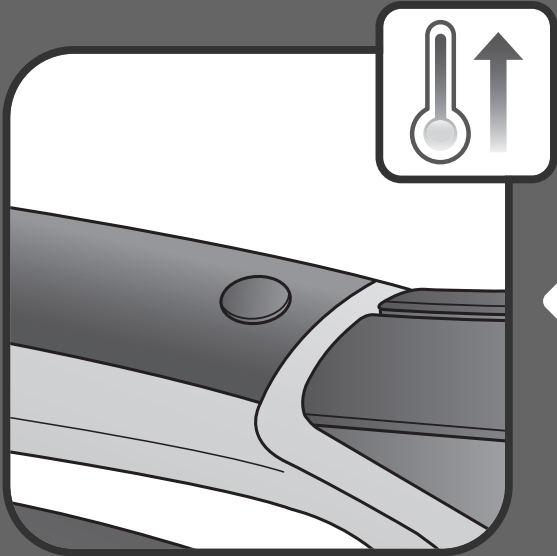
Set the thermostat knob on the desired setting.
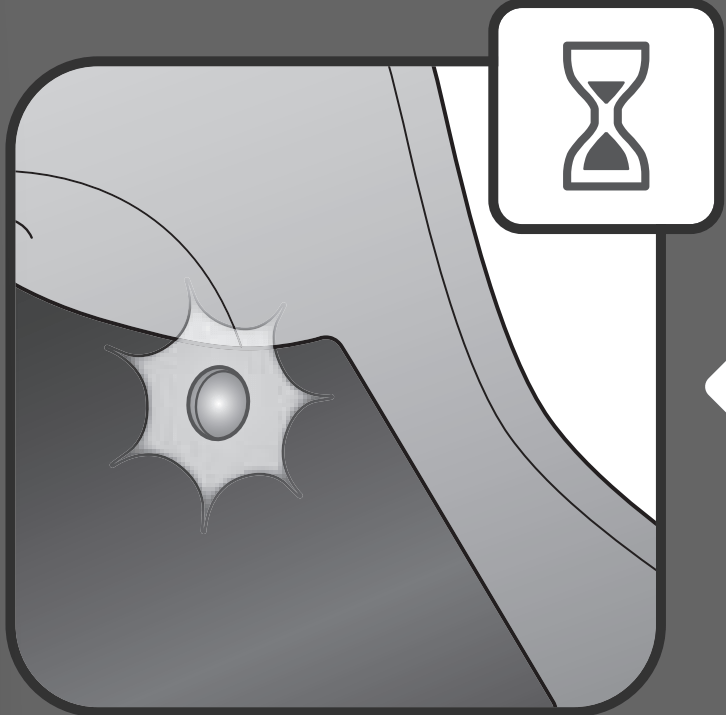
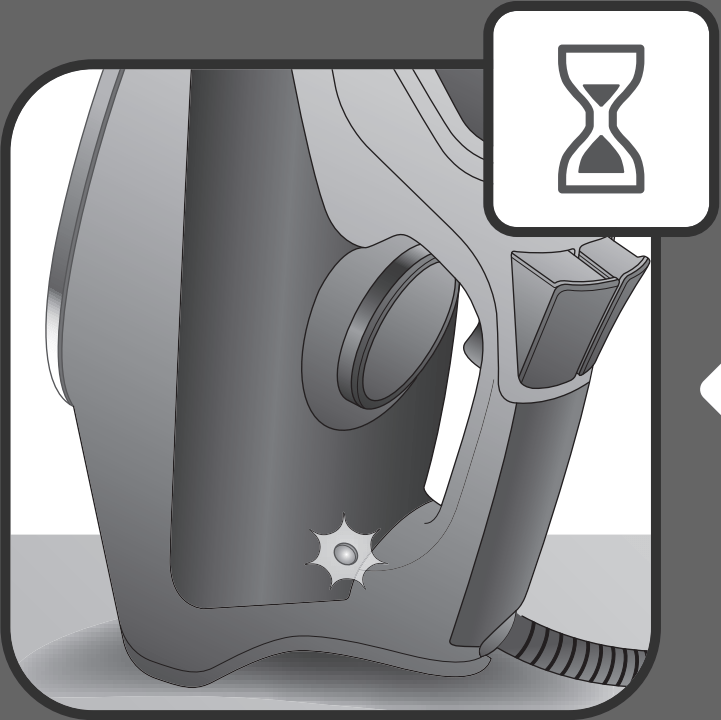
The pilot light is switched on when the iron is heating up.
Once the pilot lights switched offthe iron is ready to be used and steam can be activated.
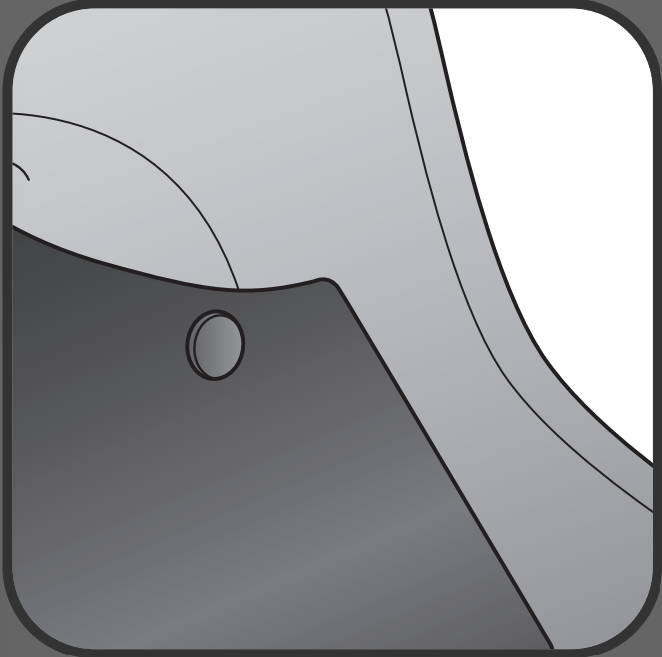
AUTO OFF
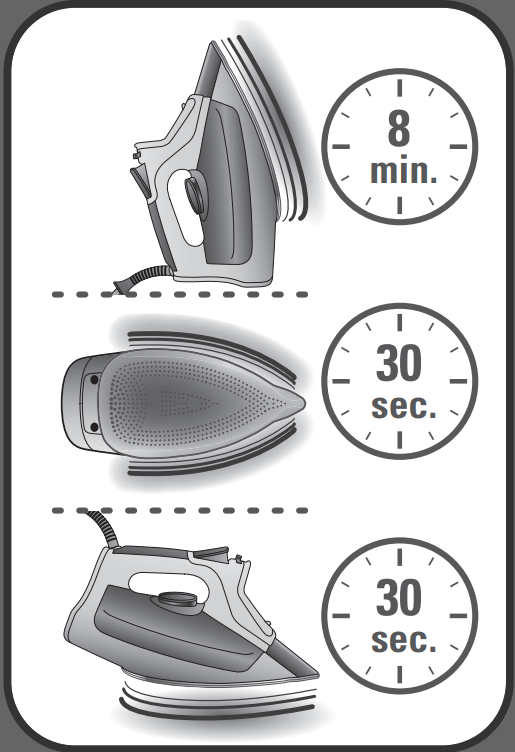
When plugged, the iron will automatically switch off after:30 seconds when left on the sole plate or side;8minutes when left on its heel
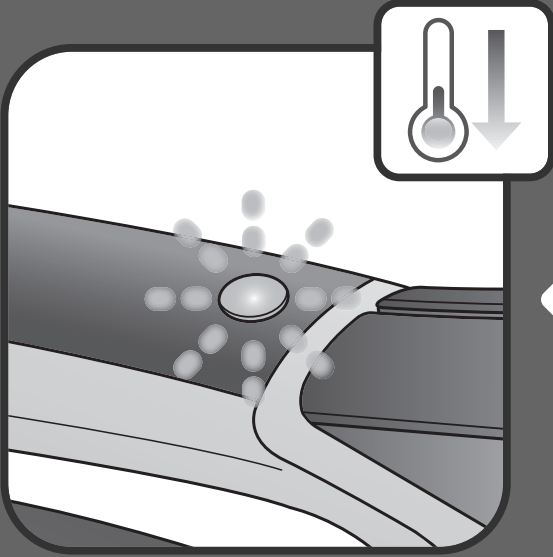
When Auto Off function is on the Auto Off indicator light blinks and the iron starts to cool down.
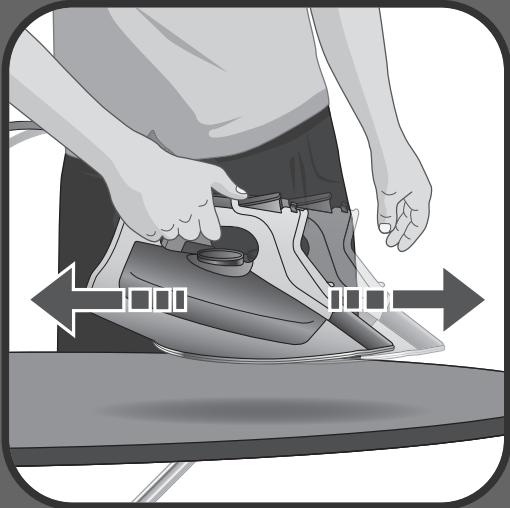
Move the iron back and forth to reactivate it.
When Auto Off function is off the Auto Off indicator light stops blinking and the iron heats up again.
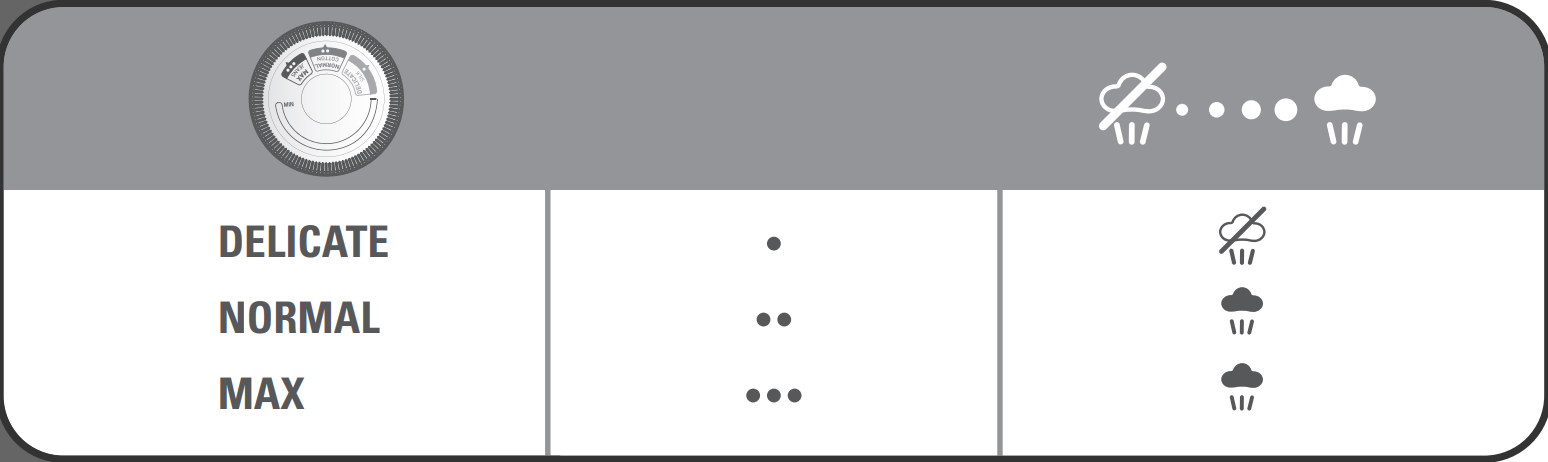
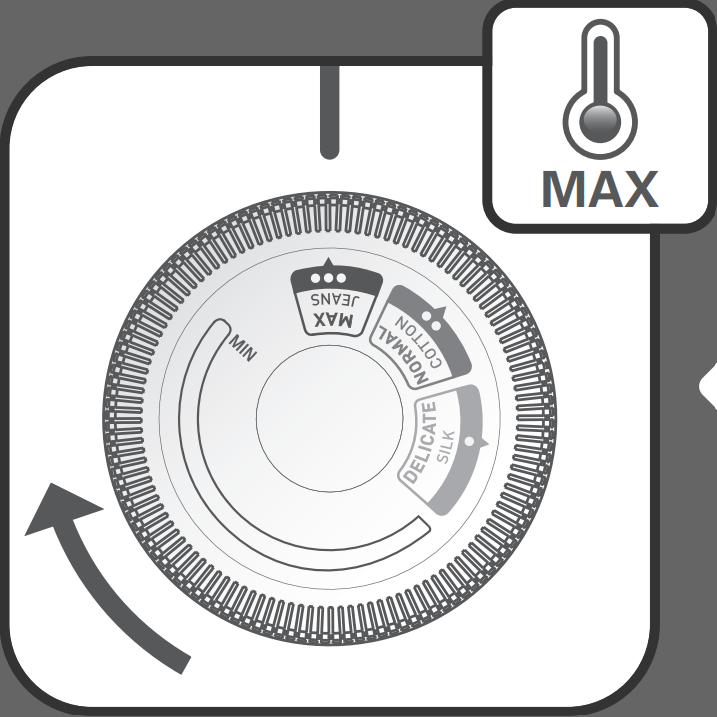
SETTING THE TEMPERATURE
DRY IRONING
Set the steam lever on position
SPRAY
Press the spray button.Press the spray button.
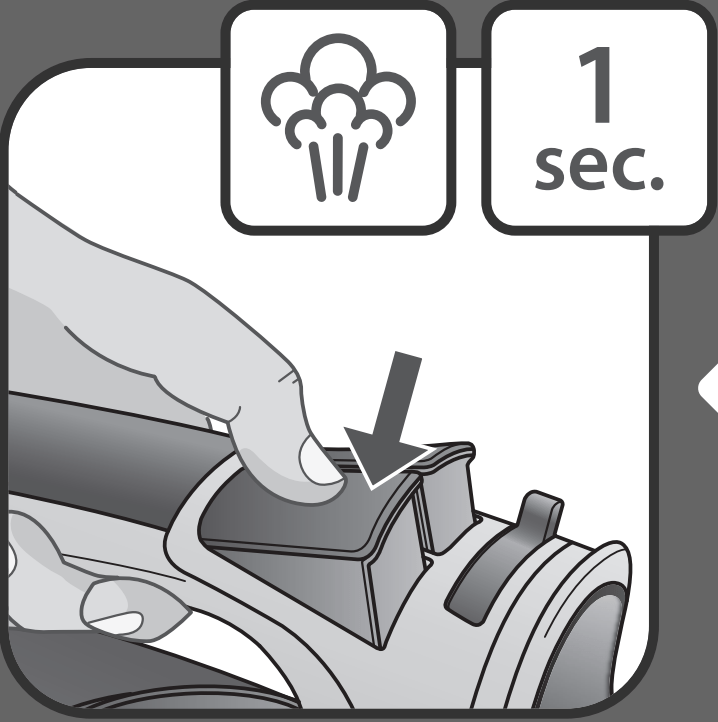
SHOT OF STEAM
Set the thermostat knob on MAX position.
Press the burst of steam button for 1 second.
Wait for 2 seconds and repeat the operation if necessary
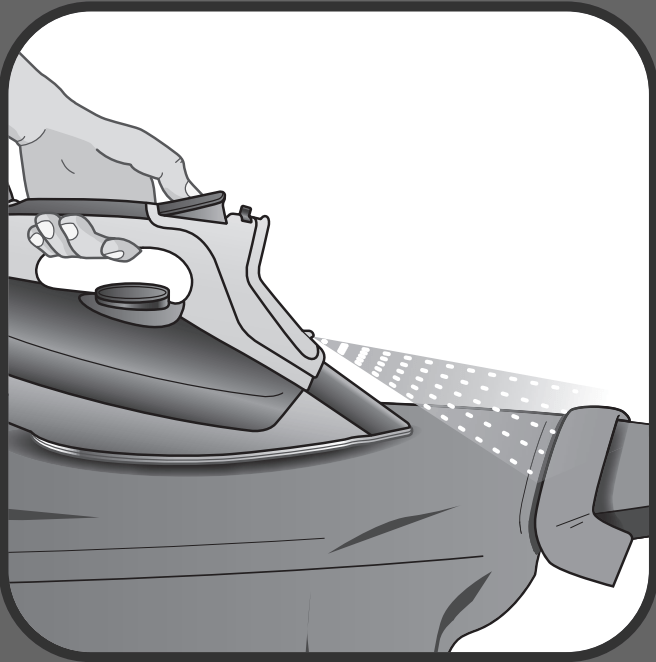
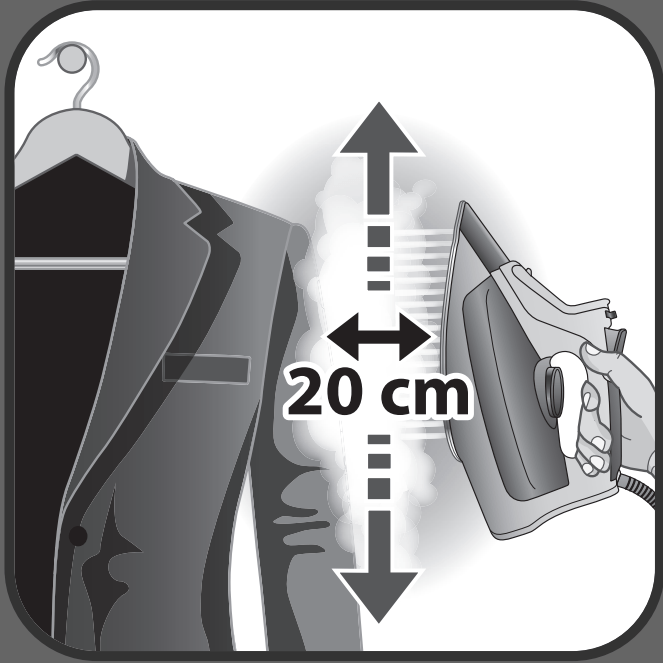
VERTICAL STEAM
Set the thermostat knob on MAX position.
Hold the iron vertically and press the shot of steam button for 1 second.
Wait for 2 seconds before repeating the operation if necessary
The iron has to be held 8 inches/20cm away from the garment.
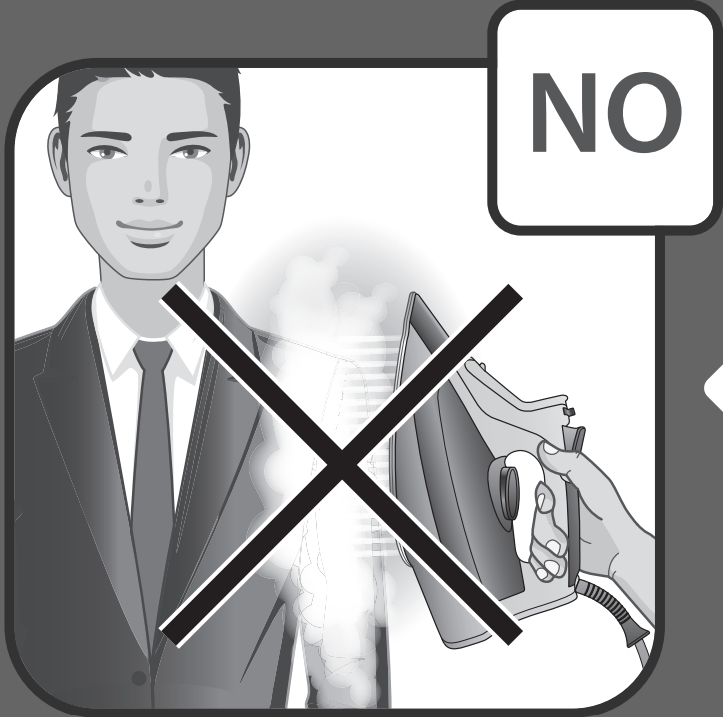
Do not do vertical steaming on yourself or on others.
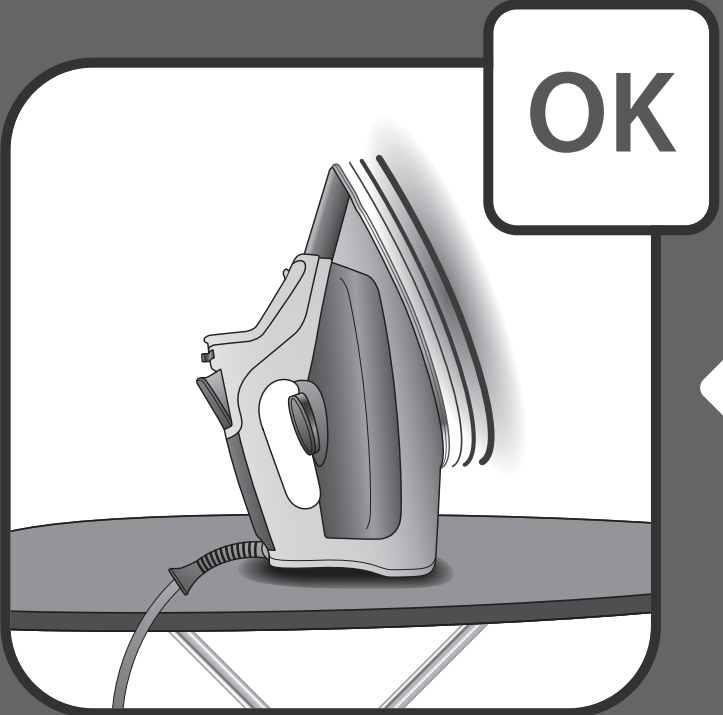
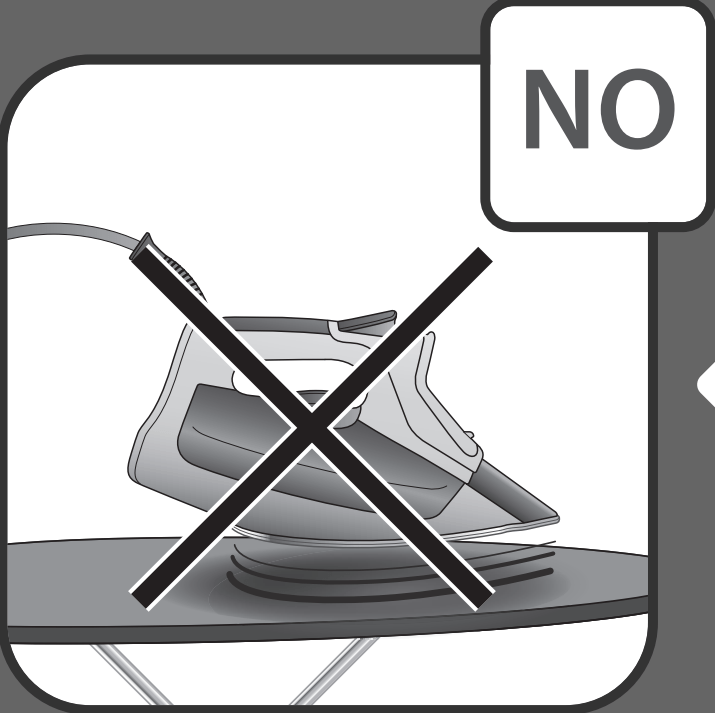
WARNING
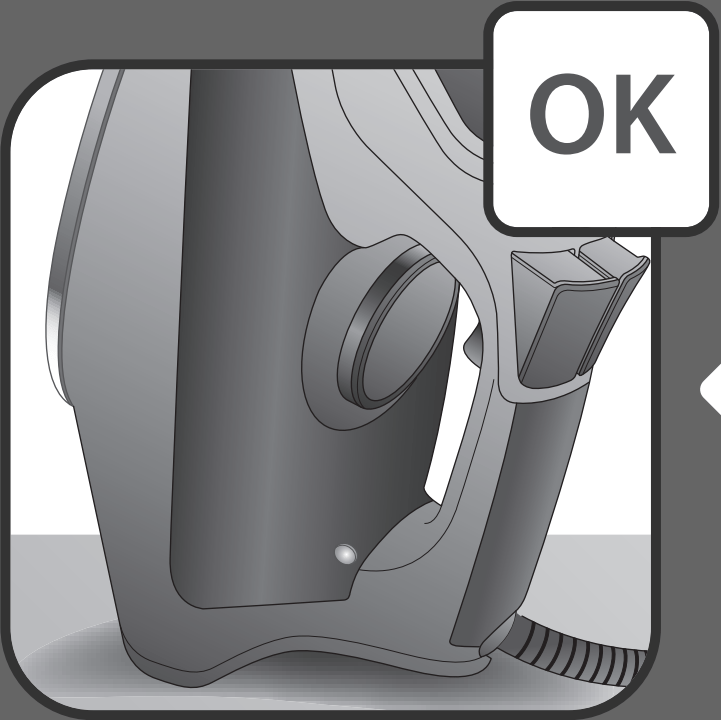
When the iron is plugged put it on its heel.
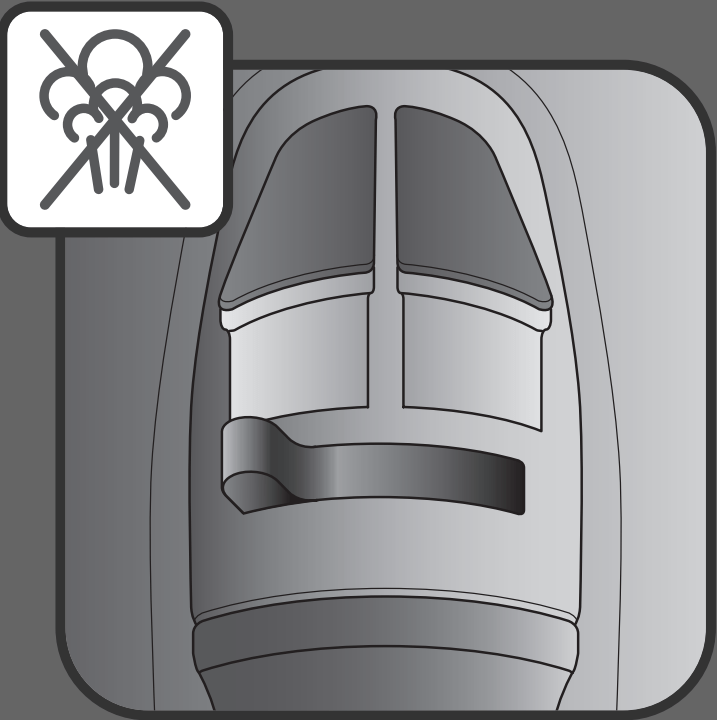
Do not leave the iron on the soleplate when plugged.
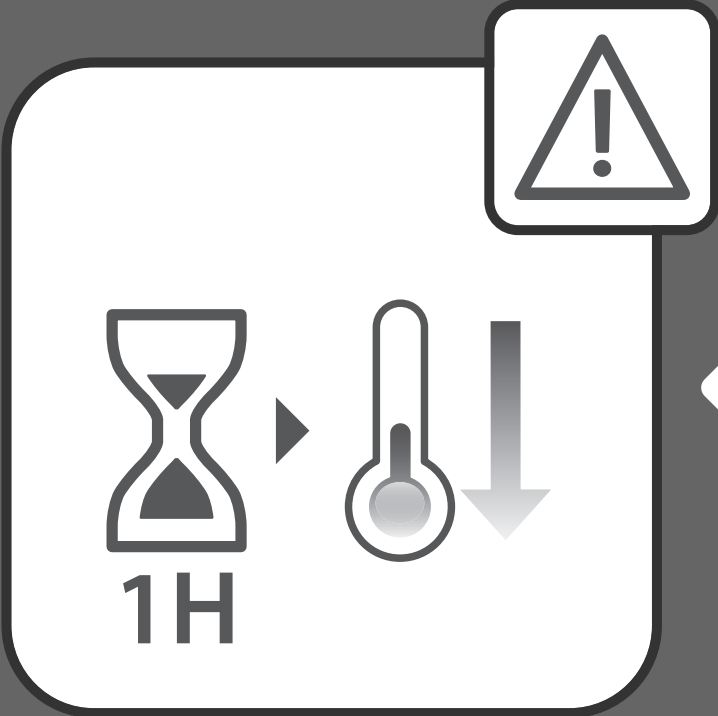
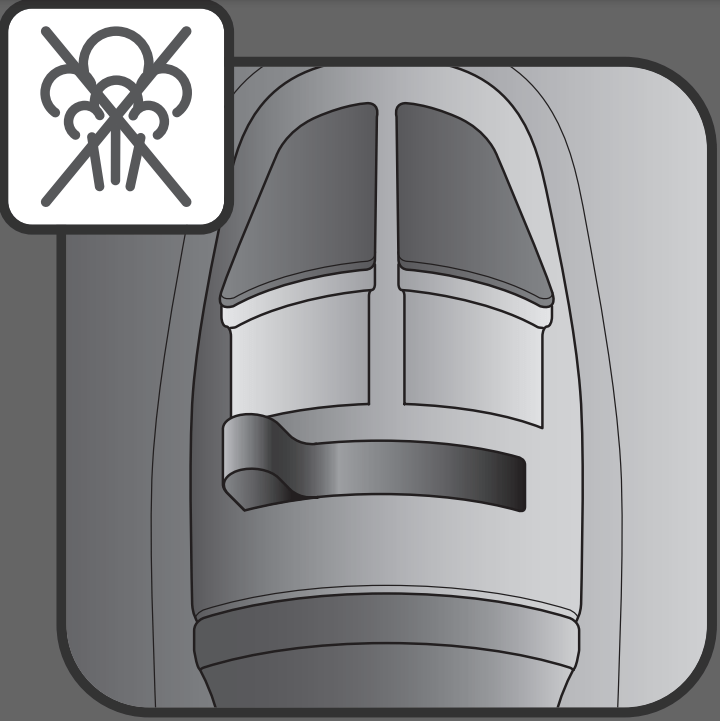
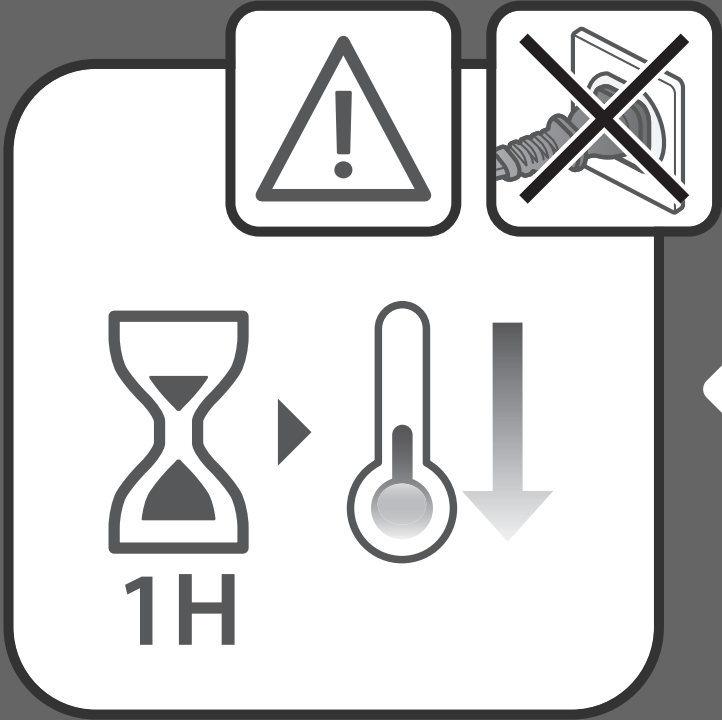
SOLEPLATE CLEANING
Let the iron cool down for 1 hour after unplugging it.
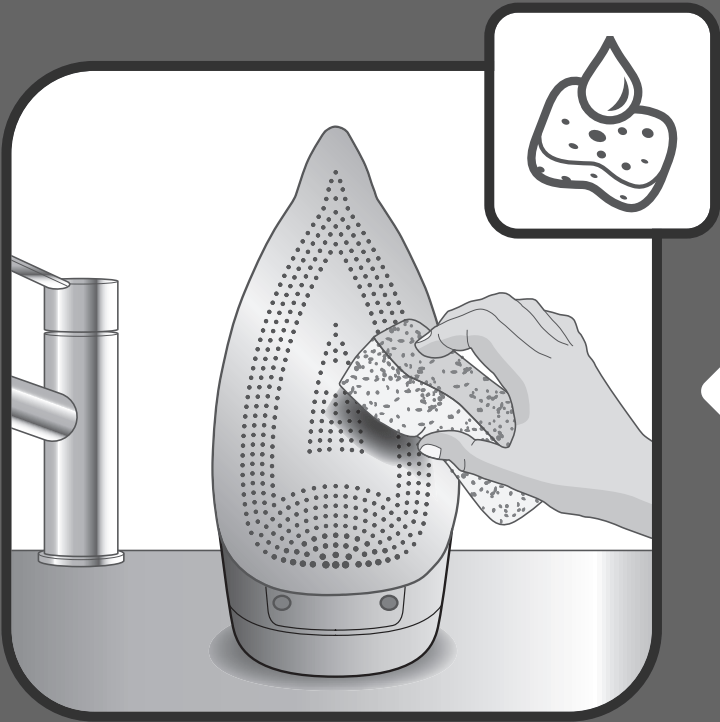
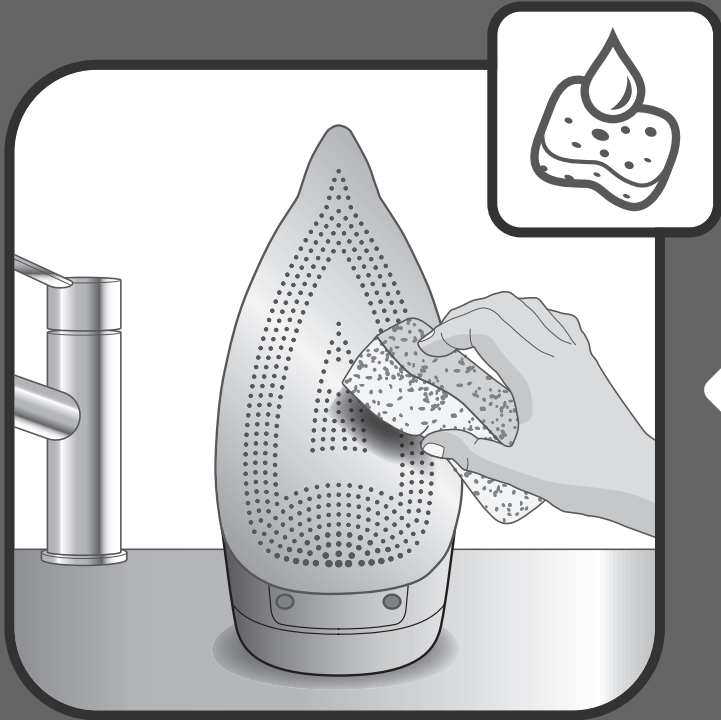
Once the soleplate has cooled down you can wipe it with a damp cloth or sponge.
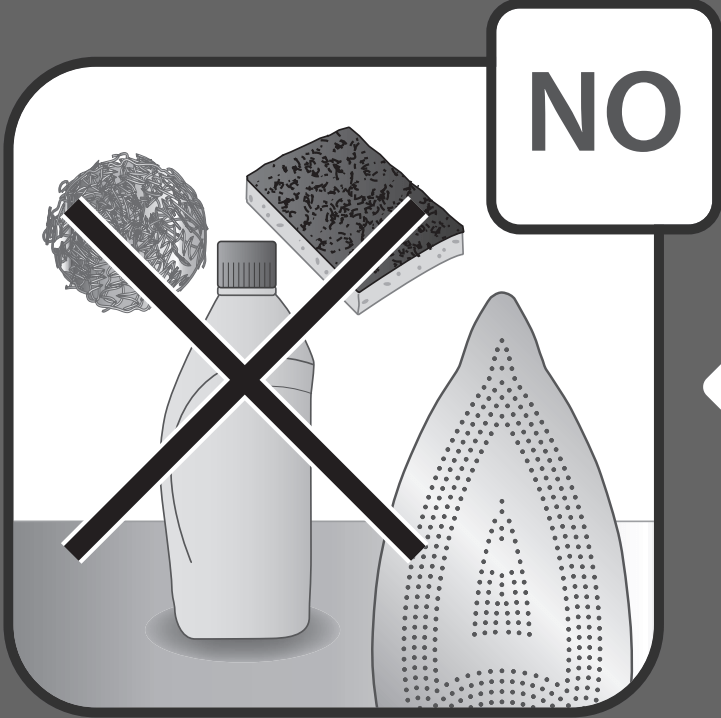
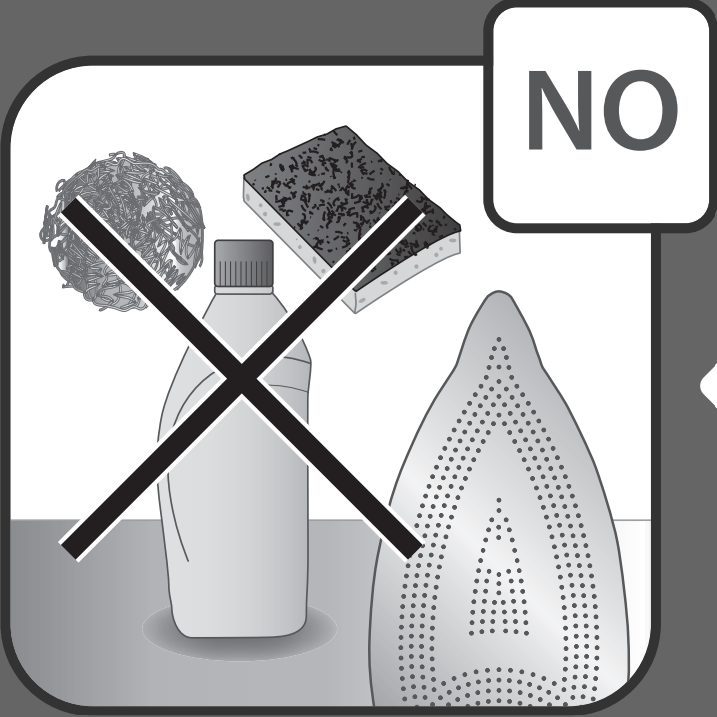
Do not use detergent to clean the soleplate. We recommend the Rowenta soleplate cleaning kit. Do not use sharp or abrasive cleaning accessories to clean the soleplate.
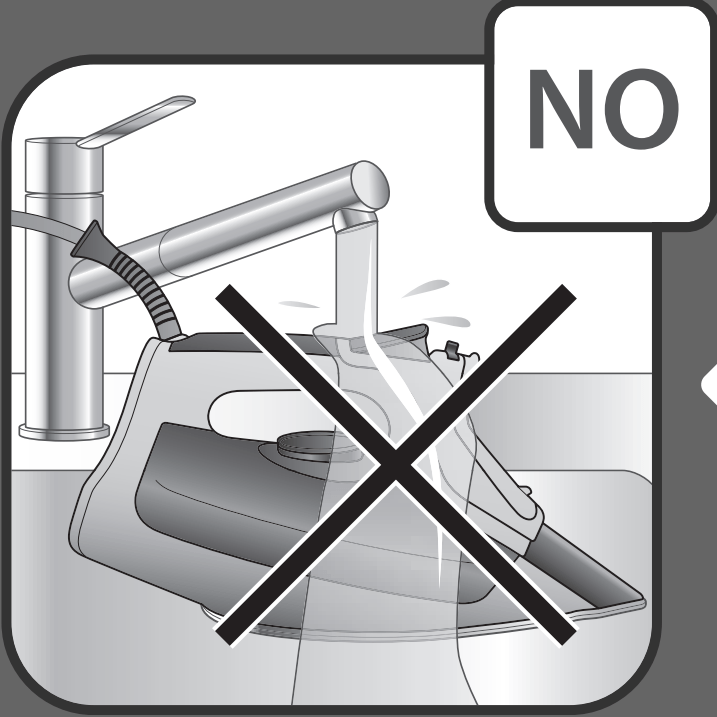
Do not pour water onto the iron.
IRON STORAGE
Unplug the iron
Switch the steam lever / STORE or iron may leak if some water remains in the iron.
Let the iron cool down for 1 hour after unplugging it.
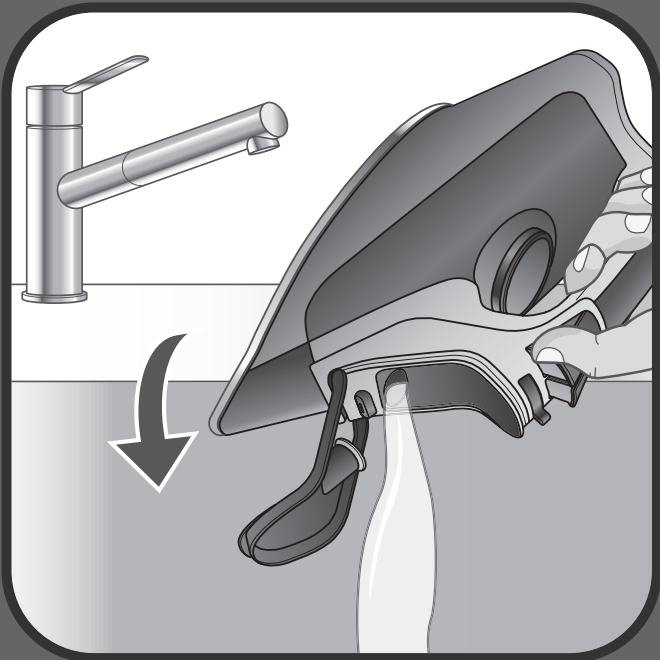
Empty the water tank over a sink (the iron is unplugged).
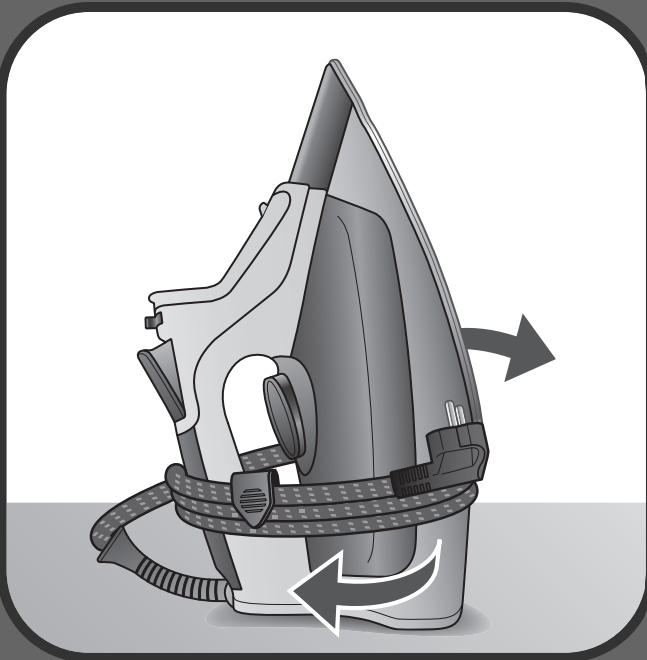
Wrap the cord around the iron’s heel and store it in vertical position.
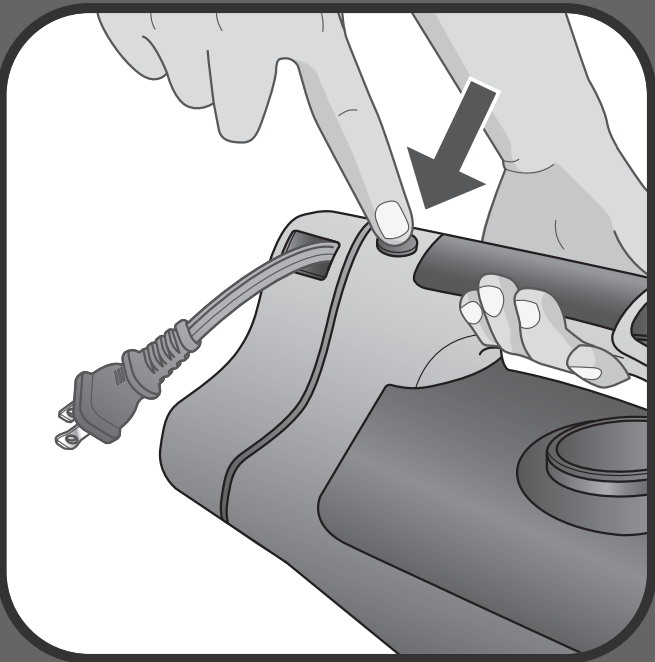
Press the cordreel button, the cord will automatically be rewinded.
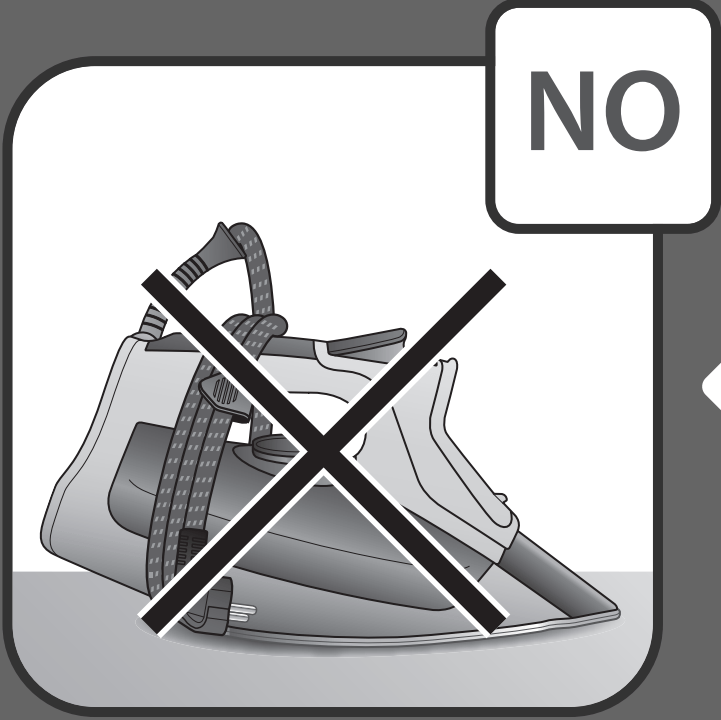
Do not store the iron in horizontal position.
CLEANING THE ANTI CALC VALVE (every 2 weeks)
We recommend to clean the anti calc valve every 2 weeks
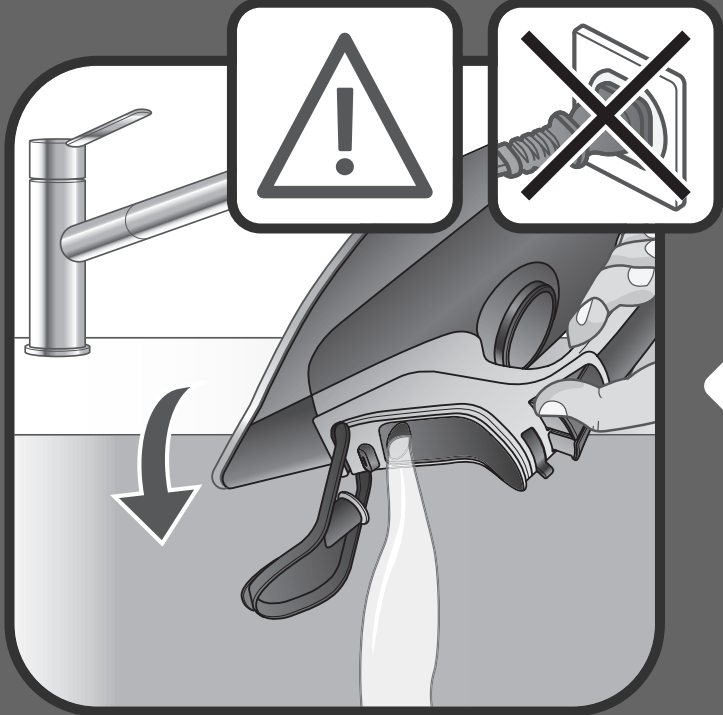
Empty the water tank over a sink (the iron is unplugged).
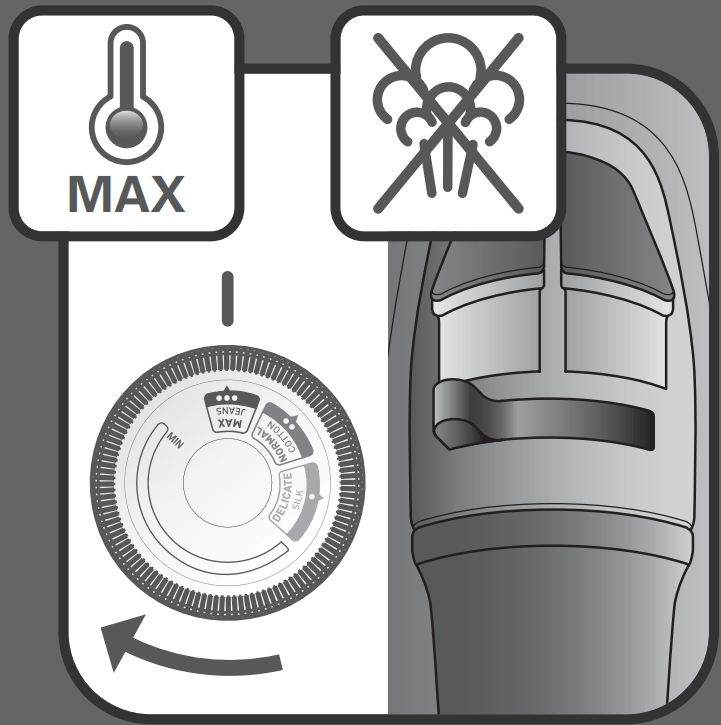
Set the thermostat knob on MAX position and the steam lever on
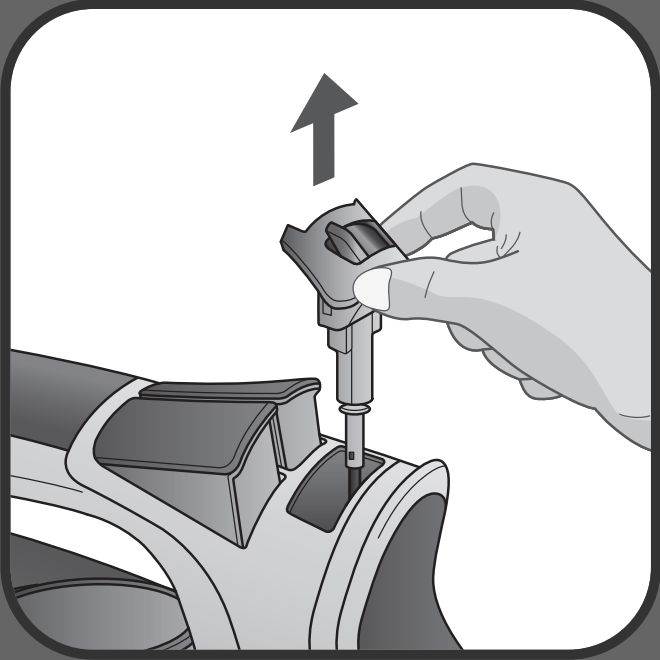
Remove the anti calc valve
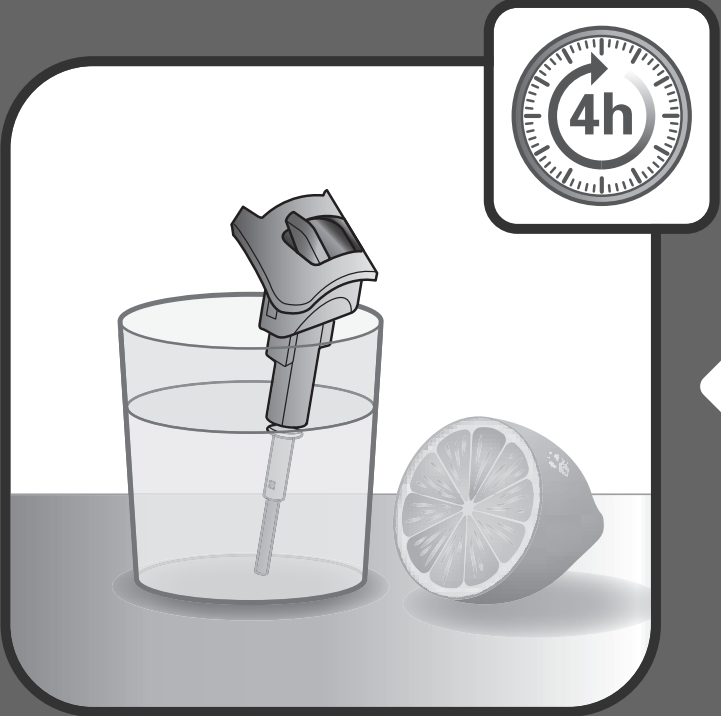
Soak the anti calc valve in a cup of plain lemon juice or a cup of white vinegar for 4 hours. WARNING: never touch the end of the valve.
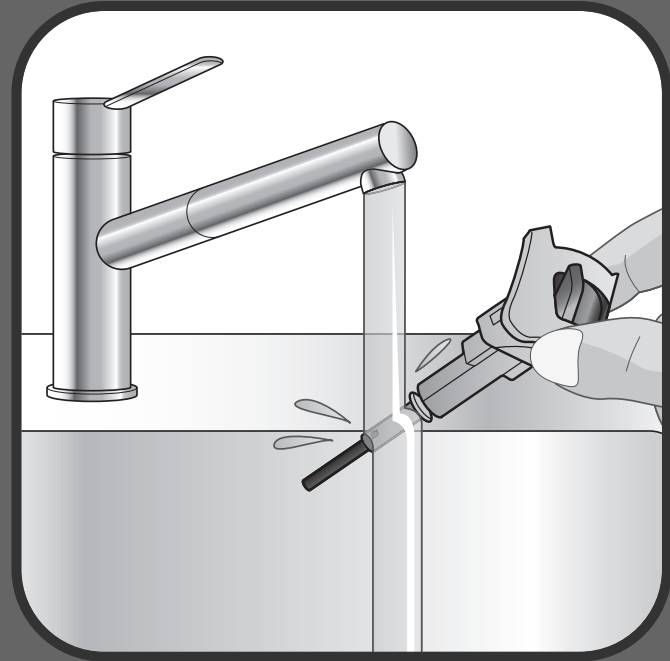
Rinse the anti calc valve under running water.
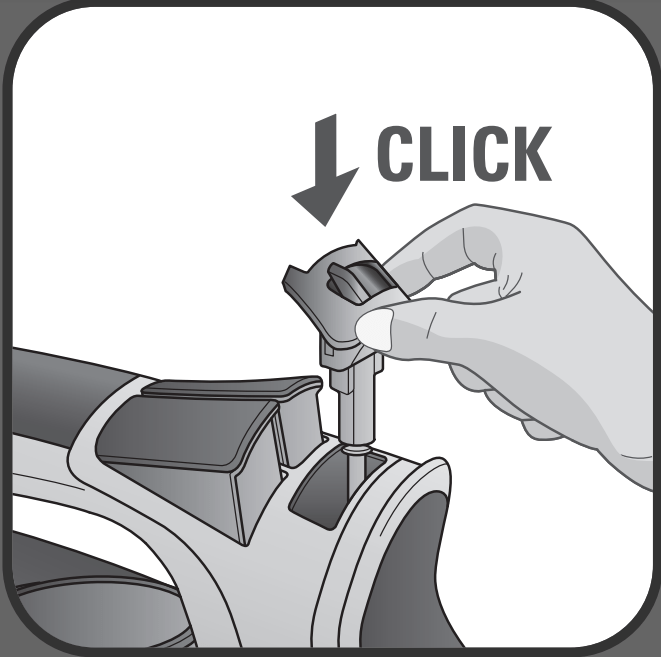
Replace the anti calc valve. WARNING: the iron will not function without the anti calc valve.
SELF CLEANING (every 2 weeks)
We recommend to perform self cleaning operation every 2 weeks
Set the steam lever on position.
Fill in the water tank until MAX level is reached.
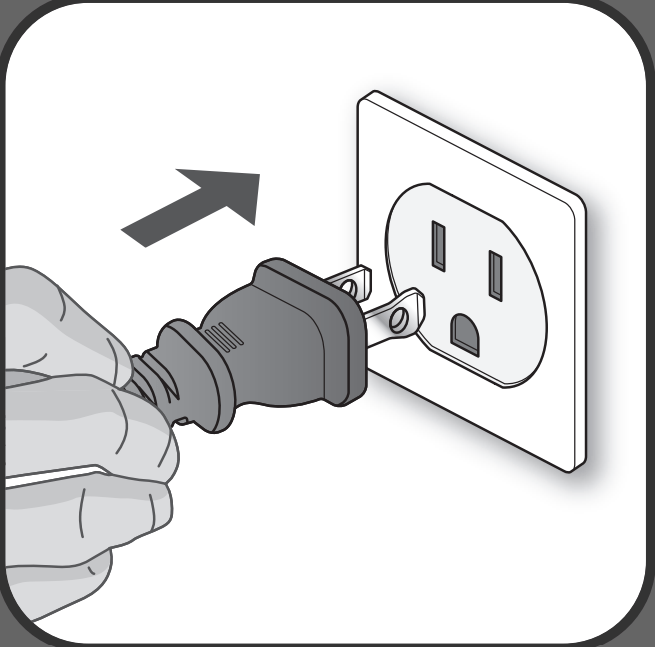
Plug the iron
Set the thermostat knob on MAX position.
The pilot light is switched on when the iron is heating up.
Once the pilot light is switched off the iron is ready to be used.
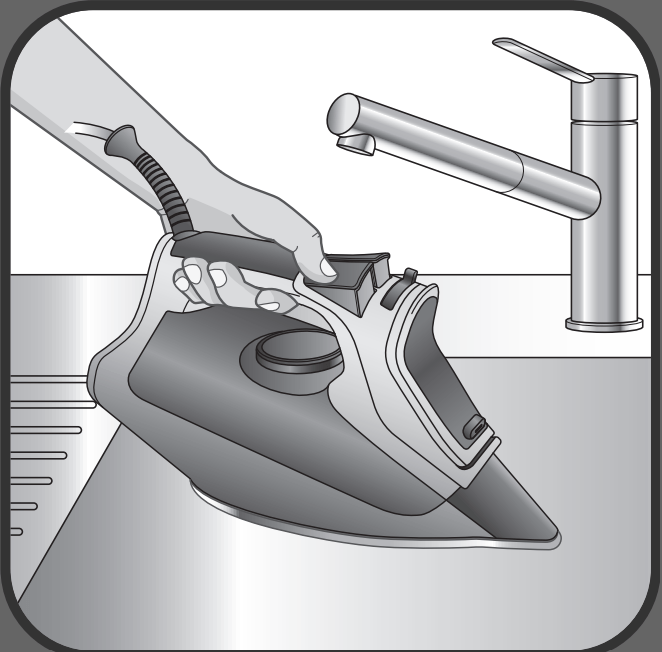
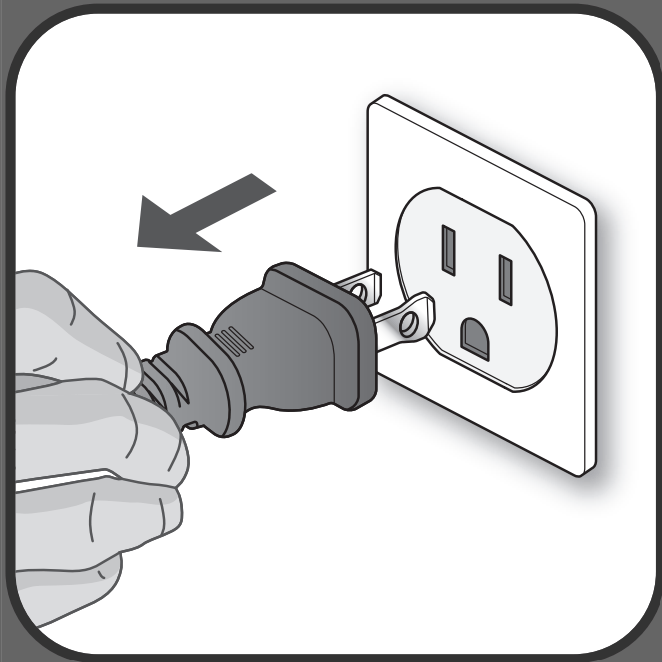
Unplug the iron.
Hold the iron over a sink
Remove the anti calc valve (the thermostat knob is on MAX position).
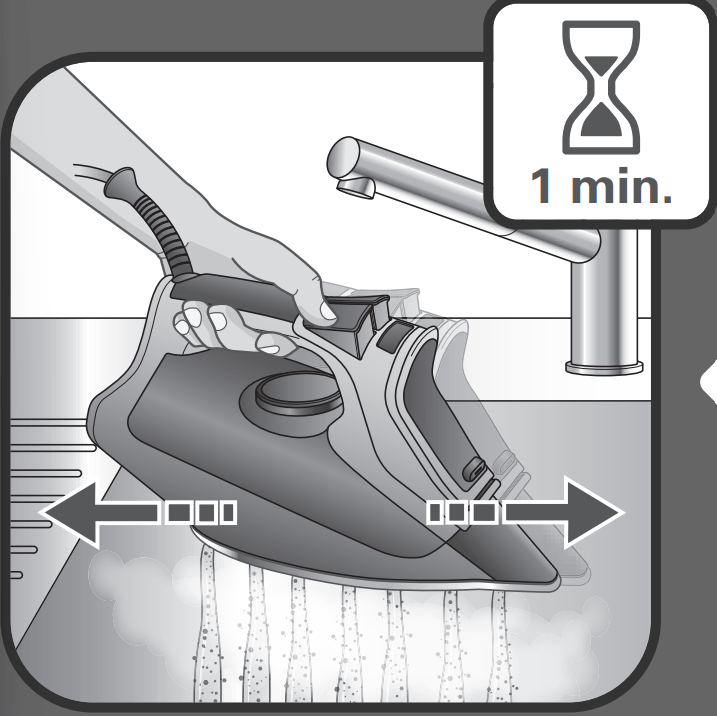
Gently shake the iron over the sink for 1 minute.
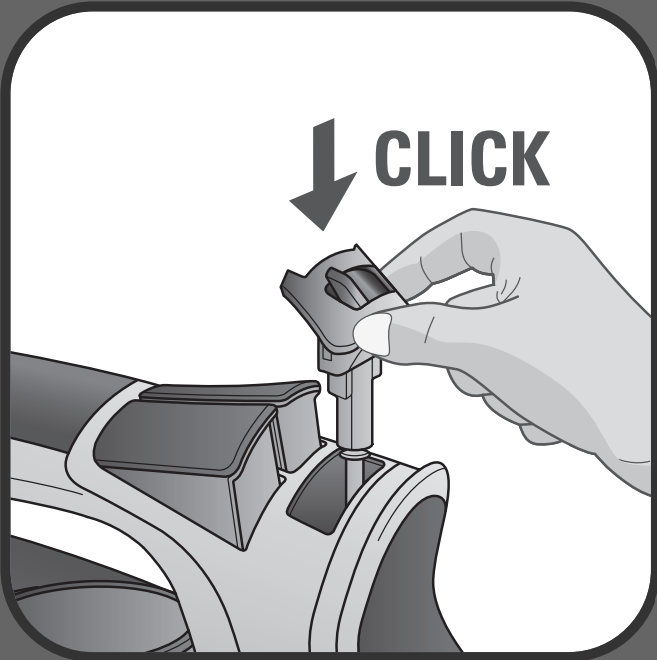
Replace the anti calc valve into position
Plug the iron.
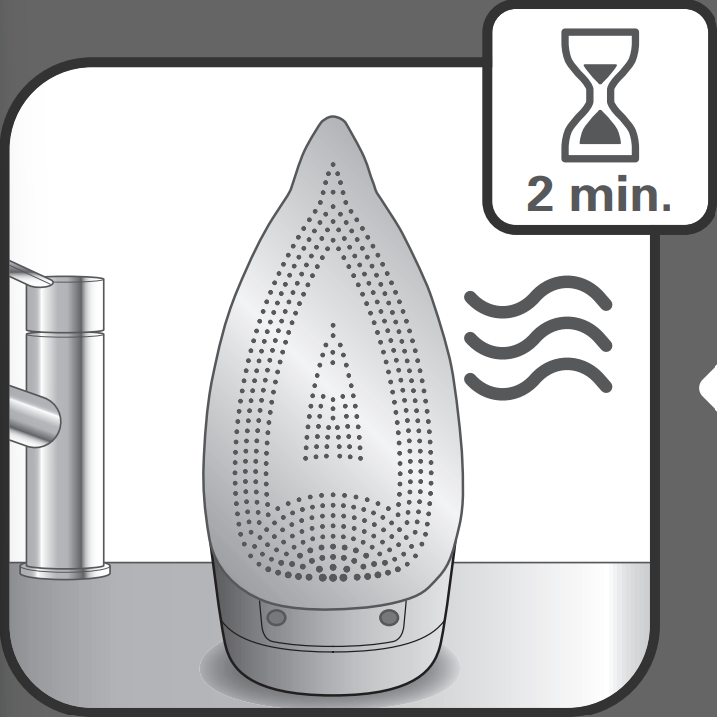
Let the iron heat up for 2 minutes to dry the soleplate.
Unplug the iron.
Let the iron cool down for 1 hour after unplugging it
Once the soleplate has cooled down you can wipe it with a damp cloth or sponge.
Do not use detergent to clean the soleplate. We recommend the Rowenta soleplate cleaning kit. Do not use sharp or abrasive cleaning accessories to clean the soleplate.
 Environment protection first ! i Your appliance contains valuable materials which can be recovered or recycled.
 Leave it at a local civic waste collection point.
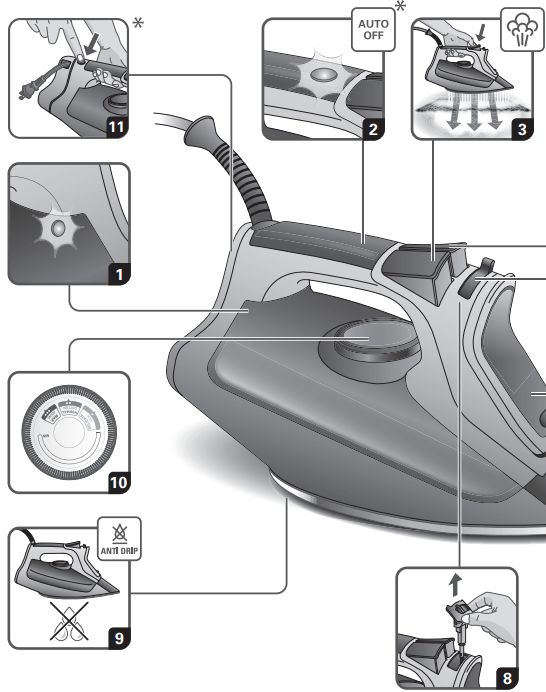
 position
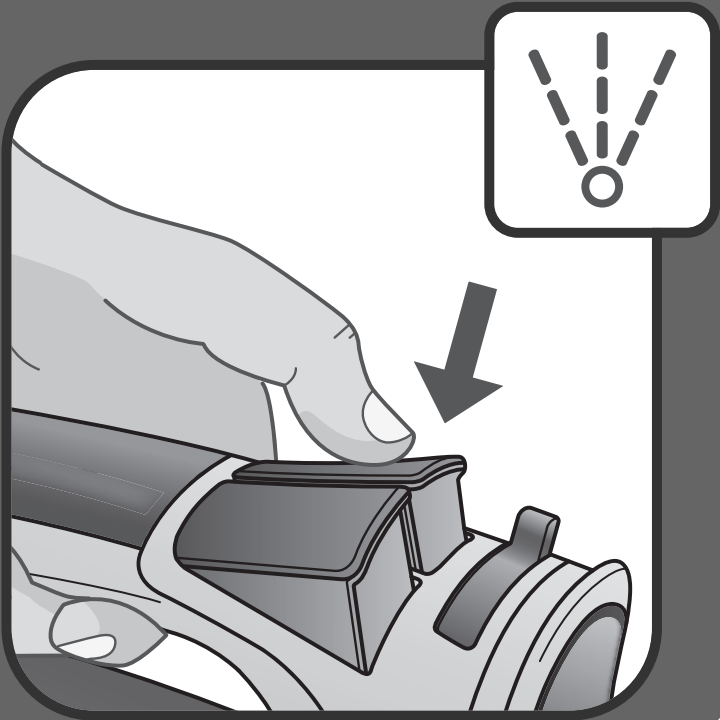

 / STORE or iron may leak if some water remains in the iron.
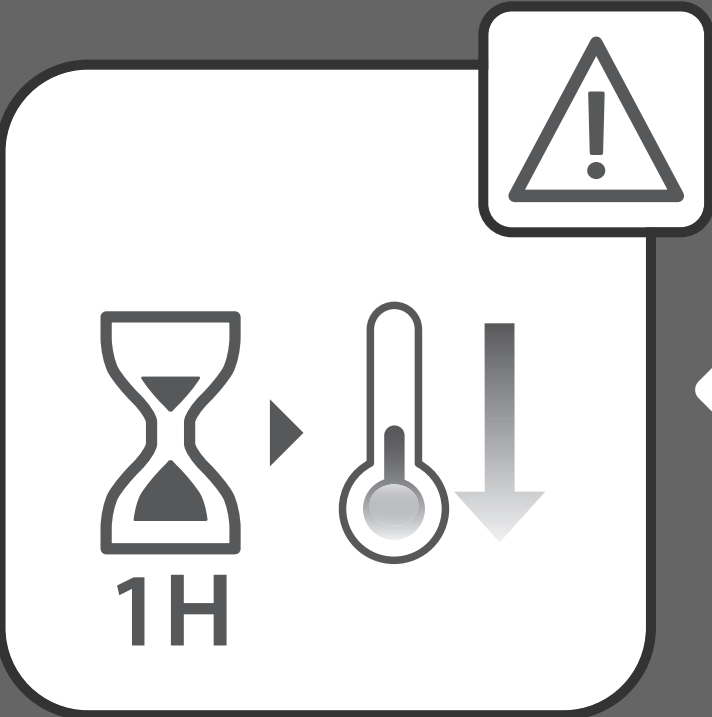


 position.