Loading ...
Loading ...
Loading ...
9
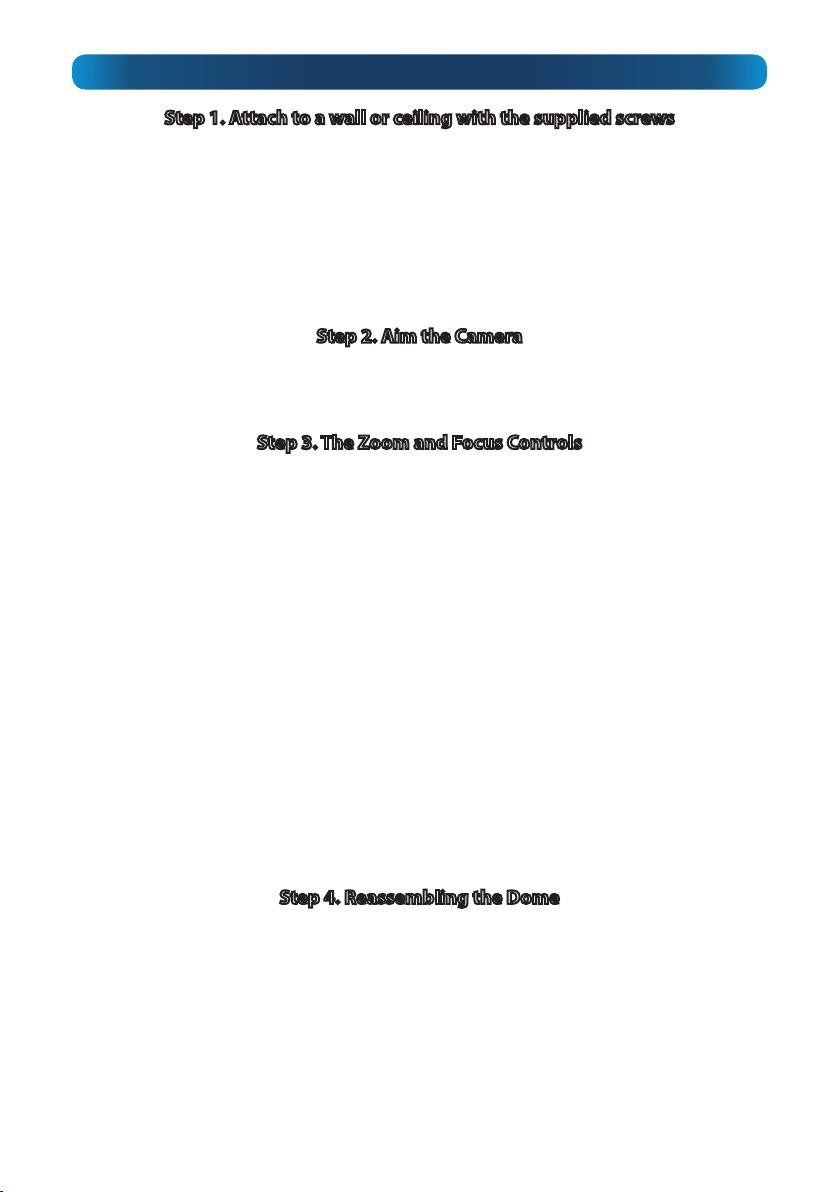
Step 1. Attach to a wall or ceiling with the supplied screws
• As shown in Fig A, use the supplied star-key to remove the screws holding the
top of the dome in place.
• Locate the mounting holes with rubber O rings, indicated by the red arrows on
Fig B.
• For wooden surfaces, use the supplied screws. We recommend drilling guide
holes using the template in the pack for any hardwood mounting.
• If you’re mounting to masonry, use the supplied wall plugs.
Step 2. Aim the Camera
The camera itself is mounted on an adjustable platform within the dome. Once the
camera is mounted, you can change the way the camera faces by adjusting this
platform. Exercise care - it’s not as robust as the outside of the dome!
Step 3. The Zoom and Focus Controls
The zoom and focus controls are located beneath the lens itself as shown in Fig C.
To adjust the zoom and focus controls...
• You’ll need to be able to see a live output from the camera while you’re working.
The best solution is use a mobile device running the SwannView Plus app.
• Loosen the two locking screws shown on the diagram (opposite) but don’t
remove the screw entirely.
• First, set the zoom to the level you desire. This will be determined by how large
an area you want to monitor, and how far away from the camera you require
detail to be clearly visible. Everything will be really blurry until the camera is
focused.
• Now, focus the camera by adjusting the position of the focus ring. Move the
ring slowly until the image becomes sharp - for the best focus, go past this point
slightly, and then back again in order to nd the exact “centre point” of the focus.
• You might notice that adjusting the focus slightly changes the zoom - this is
normal.
• Tighten the screws to lock the lens in place.
Step 4. Reassembling the Dome
When you’ve aimed the camera and set the zoom and focus, replace the black interior
dome hood (1) and then the dome cover (2) and secure the star-key screws.
1. Ensure that the interior dome cover is securely replaced and isn’t obstructing
the lens - if it’s out of place, the IR light from the active night vision can reect
back into the lens and wash out the picture.
2. Likewise, ensure the soft seal around the front of the lens housing is pressed
rmly against the clear part of the dome when resealing, otherwise the night
vision might blind the camera.
Loading ...
Loading ...
Loading ...