Loading ...
Loading ...
Loading ...
11
5. “PressOK”:thenpresstheiconcorrespondingtoOKonthe
display (g. 2). “Please wait...” is displayed and the applian-
ce begins to deliver water from the hot water spout.
The appliance ends the rst start up procedure and goes o.
The coee maker is now ready for normal use.
Please Note:
• Whenusingtheapplianceforthersttime,youneedto
make 4/5 cups of coee or 4/5 cappuccinos before the ap-
pliance starts to give satisfactory results.
TURNING THE APPLIANCE ON
Please Note:
Before turning the appliance on, make sure the main switch on
the back of the appliance is in the I position (g. 1).
Each time the appliance is turned on, it performs an automatic
preheat and rinse cycle which cannot be interrupted.
A drop animation indicates that rinsing is underway (see sec-
tion “Meaning of animations”).
The appliance is ready for use only after completion of this
cycle.
Danger of burns!
During rinsing, a little hot water comes out of the coee spouts
and is collected in the drip tray underneath.
Avoid contact with splashes of water.
• Toturntheapplianceon,pressthe button (g. 5).
The appliance begins the heating cycle indicated by a
thermometer icon (g. 6) which lls as the cycle advan-
ces. During heating, the machine performs an automatic
rinse cycle: as well as heating the boiler, the appliance
also heats the internal circuits by circulating hot water.
Once heating is complete, the appliance shows the time and
the coee taste and quantity selection bars set to the standard
values (“standard” quantity and taste). The coee maker is now
ready for use.
TURNING THE APPLIANCE OFF
Each time the appliance is turned o, it performs an automatic
rinse cycle which cannot be interrupted.
Important!
To avoid damaging the appliance, always press the (g.
5) button to turn o.
Danger of burns!
During rinsing, a little hot water ows from the coee spouts.
Avoid contact with splashes of water.
To turn the appliance o, press the button (g. 5). The
appliance performs the rinse cycle then goes o.
Please Note:
If the appliance is not used for an extended period, place the
main switch in the 0 position (g. 7).
Important!
Never place the main switch in the 0 position while the ap-
pliance is on.
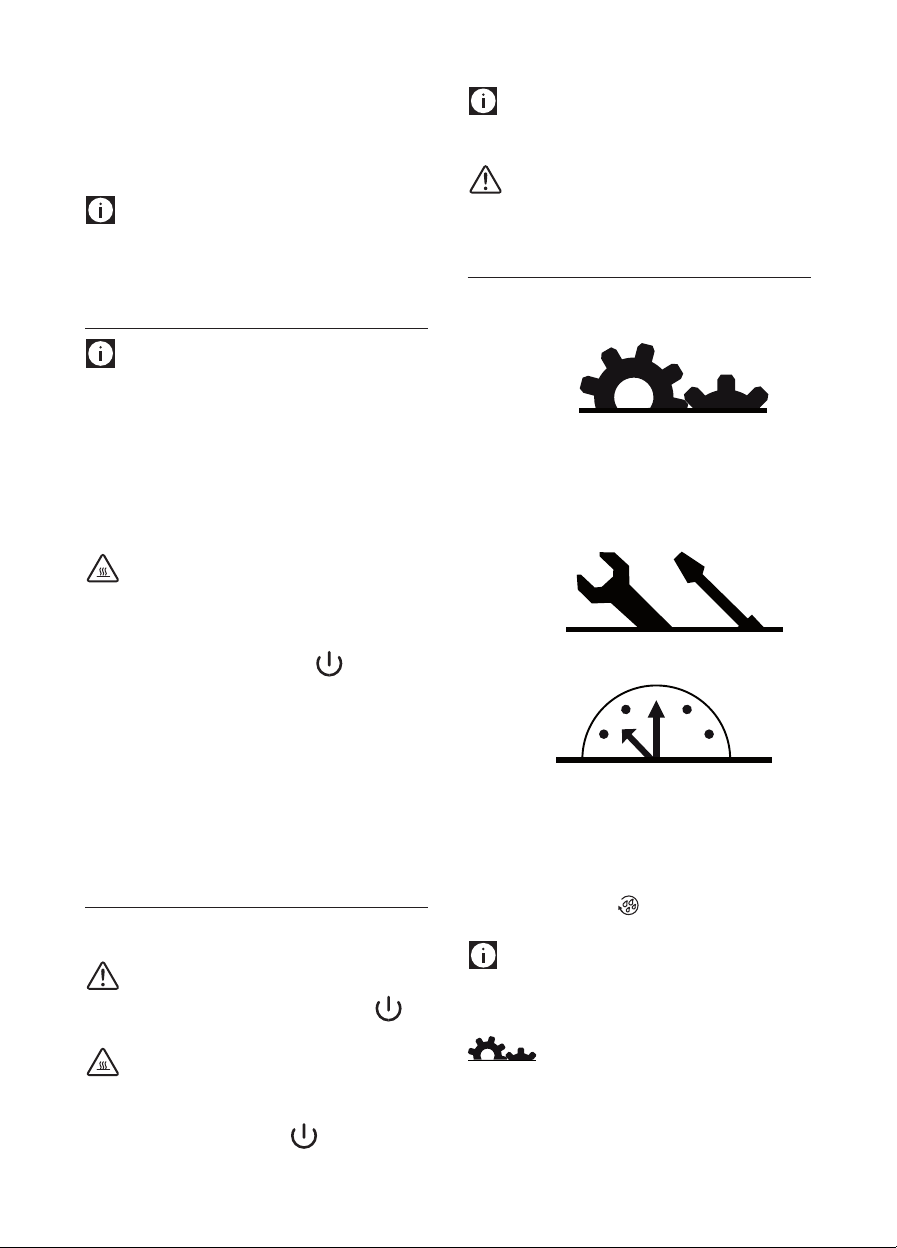
MENU SETTINGS
The settings menu is divided into 3 sections indicated by dierent icons.
Each section is divided into groups as described below:
SETTINGS
• Language
• EnergySaving
• Coeetemperature
• Waterhardness
• Displaycontrast
• Beep
• Defaultvalues
MAINTENANCE
• Descaling
• Statistics
CLOCK
• Adjusttime
• Auto-Start
• Auto-O(Stand-by)
To access the required section, press the P icon and use the se-
lection icons (C4 and C10) to scroll until the image you want is
displayed. Then press the icon to conrm (or the P icon
again to exit).
Please Note!
When navigating in the settings menu and you want to exit,
press the P icon a number of times.
Setting the language
To modify the language on the display, proceed as follows:
1. Choose the “SETTINGS” section as described above;
2. Press the selection icons < or > until “Language” is displa-
yed;
Loading ...
Loading ...
Loading ...