Loading ...
Loading ...
Loading ...
Others
104
DVQX1310 (ENG)
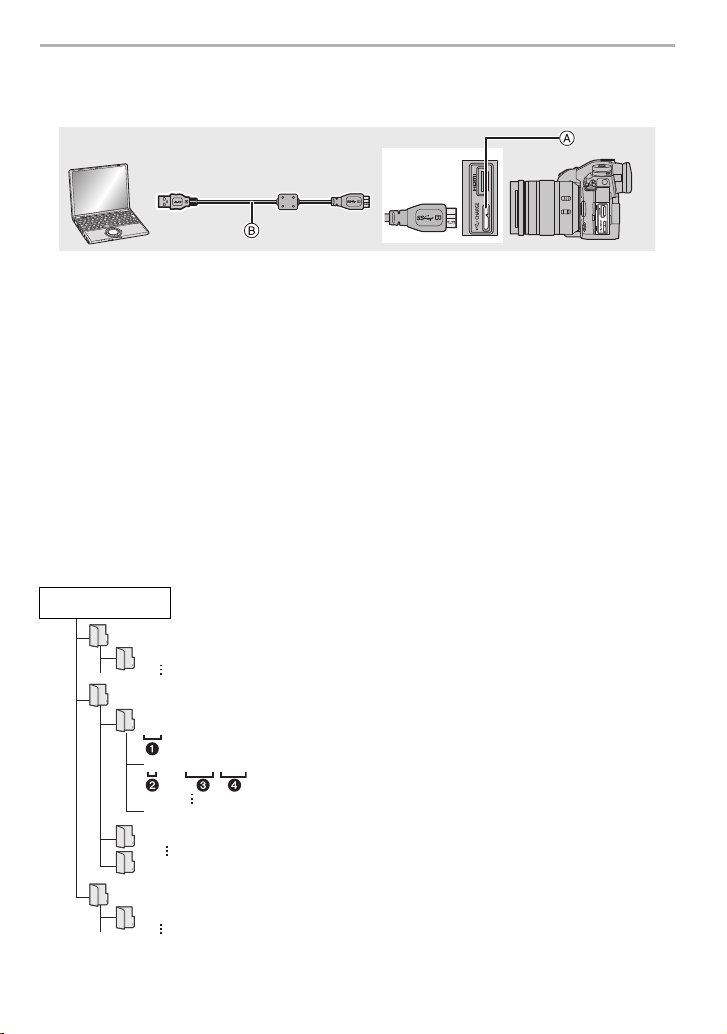
1 Connect the computer and camera with the USB connection cable (supplied).
• Please turn on this unit and your PC before connecting.
• Do not use any other USB connection cables except the supplied one.
2 Press 3/4 to select [PC(Storage)], and then press [MENU/SET].
• If [USB Mode] is set to [PC(Storage)] in the [Setup] menu in advance, the camera will be
automatically connected to the PC without displaying the [USB Mode] selection screen.
3 Copy the images to a PC using “PHOTOfunSTUDIO”.
• Do not delete or move copied files or folders in Windows Explorer.
When viewing in “PHOTOfunSTUDIO”, you will not be able to play back or edit.
∫ Copying to a PC without using “PHOTOfunSTUDIO” (For Mac)
Even if you are using a Mac, or in any situation where “PHOTOfunSTUDIO” cannot be
installed, you can still copy files and folders by connecting the camera to the computer and
then dragging and dropping them to it.
• The content (folder structure) on the card of this unit is as follows.
A [USB/CHARGE] socket B USB connection cable (supplied)
For Windows: A drive ([LUMIX]) is displayed in [Computer]
For Mac: A drive ([LUMIX]) is displayed on the desktop
•Card
CAMSET: The camera’s setup
information
DCIM: Images
1 Folder number
2 Color space P: sRGB
_: AdobeRGB
3 File number
4 JPG: Still pictures
MP4: [MP4] Motion pictures
RW2: Pictures in RAW files
AVCHD: [AVCHD] Motion pictures
AVCHD
DCIM
100XXXXX
101XXXXX
999XXXXX
PXXX0001.JPG
PXXX0999.JPG
PRIVATE
CAMSET
AD_LUMIX
DC-G9BodyP-DVQX1310_eng.book 104 ページ 2017年11月13日 月曜日 午前9時59分
Loading ...
Loading ...
Loading ...