Loading ...
Loading ...
Loading ...
15
You can also click on the le or •
playlist and select Add to ‘Sync List’.
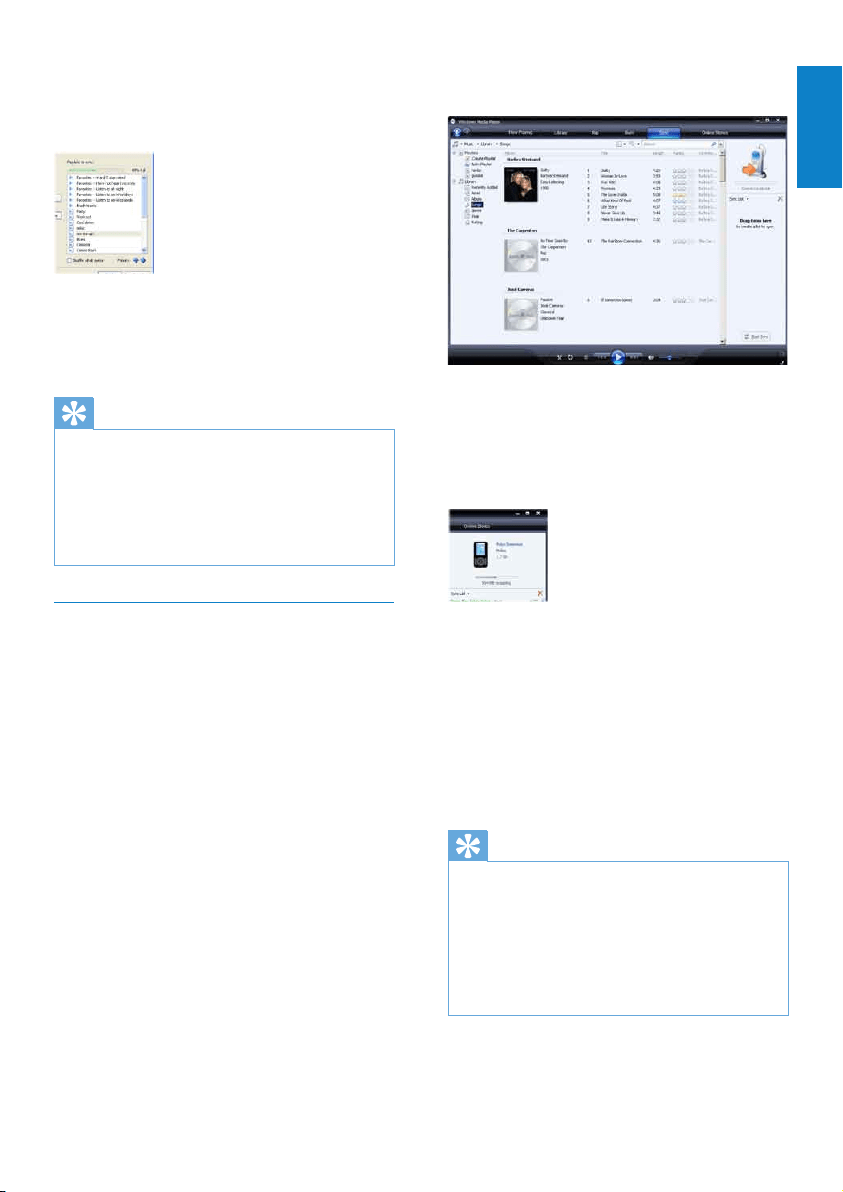
6 In the Sync List pane, verify that the items
you have selected to sync can all t on
GoGear Vibe.
If necessary, remove items from the •
list.
7 To remove items, right click on the item
in the Sync List pane, then select Remove
from List.
8 Click Start Sync button to transfer the
Sync List items to GoGear Vibe.
The progress is displayed on the »
bottom right of WMP11.
Click » Stop Sync to stop the transfer.
Tip
If the tracks to sync are protected, you are •
prompted to upgrade the security components
on your computer. When this happens, you
can play the track in WMP11 and when
prompted, follow the steps on the screen to
upgrade the security components. After you
have upgraded your security components, you
can sync the le to GoGear Vibe.
5 In the Playlist to sync pane, select the
Priority arrows to arrange them in the
order that you want them to sync.
If GoGear Vibe is full before sync is »
complete, the les and playlists that are
lower in priority on the list are omitted
from sync.
Tip
If your media library is too large to t on •
GoGear Vibe, you can select the Shufewhat
syncs check box, to shufe the les that are
in the playlists to sync. Thereafter, the les on
GoGear Vibe are replaced with a new set of
les (from the Playlists to sync pane) whenever
GoGear Vibe is connected to the computer.
Selectlesandplaylistsformanual
sync
If you want to sync manually, you are required
to a list of les and playlists you want to sync.
You can also shufe which les from your
playlists to sync to GoGear Vibe.
1 Start WMP11.
2 Turn on GoGear Vibe.
3 Connect GoGear Vibe to the computer.
4 Click the Sync tab.
5 Drag the les and playlists that you want
to sync from the Contents pane to the
Sync List pane.
English
EN
Loading ...
Loading ...
Loading ...