Loading ...
Loading ...
Loading ...
14 Press the OK button to start the rinsing cycle (this takes approximately 4
minutes).
CALC
CLE AN
-
The display shows the following icon to indicate that the rinsing cycle is
finished.
15 The display shows a tick icon.
16 Rinse the water tank and fill it with fresh water up to the MAX level. Place
the water tank back into the machine.
17 Press the OK button to return to the main menu.
18 The display shows the following icon to indicate that the machine is
heating up.
-
The machine performs an automatic rinsing cycle.
19 Remove the container. Remove and empty the drip tray. SLide the drip
tray back into the machine.
20 Place the water filter back in the water tank. Reinsert the classic milk
frother.
21 Remove and rinse the brew group see chapter ‘Cleaning and
maintenance’, section ‘Clean the brew group’.
The machine is now ready for use.
Interruption of the descaling cycle
Once the descaling cycle has started, you must complete it till the very end
without turning off the machine. In case you get stuck during the cycle or in
case of power failure or accidental disconnection of the power cord, you
can exit by pressing the standby button. If this occurs, empty and rinse
carefully the water tank, then fill it up to the CALC CLEAN level. Follow the
instructions in chapter ‘First installation’, section ‘Manual rinsing cycle’
before brewing any beverage. If the cycle was not completed, the machine
will require another descaling cycle to be performed at your earliest
convenience.
Cleaning and maintenance
Weekly cleaning of the brew group
Clean the brew group once per week.
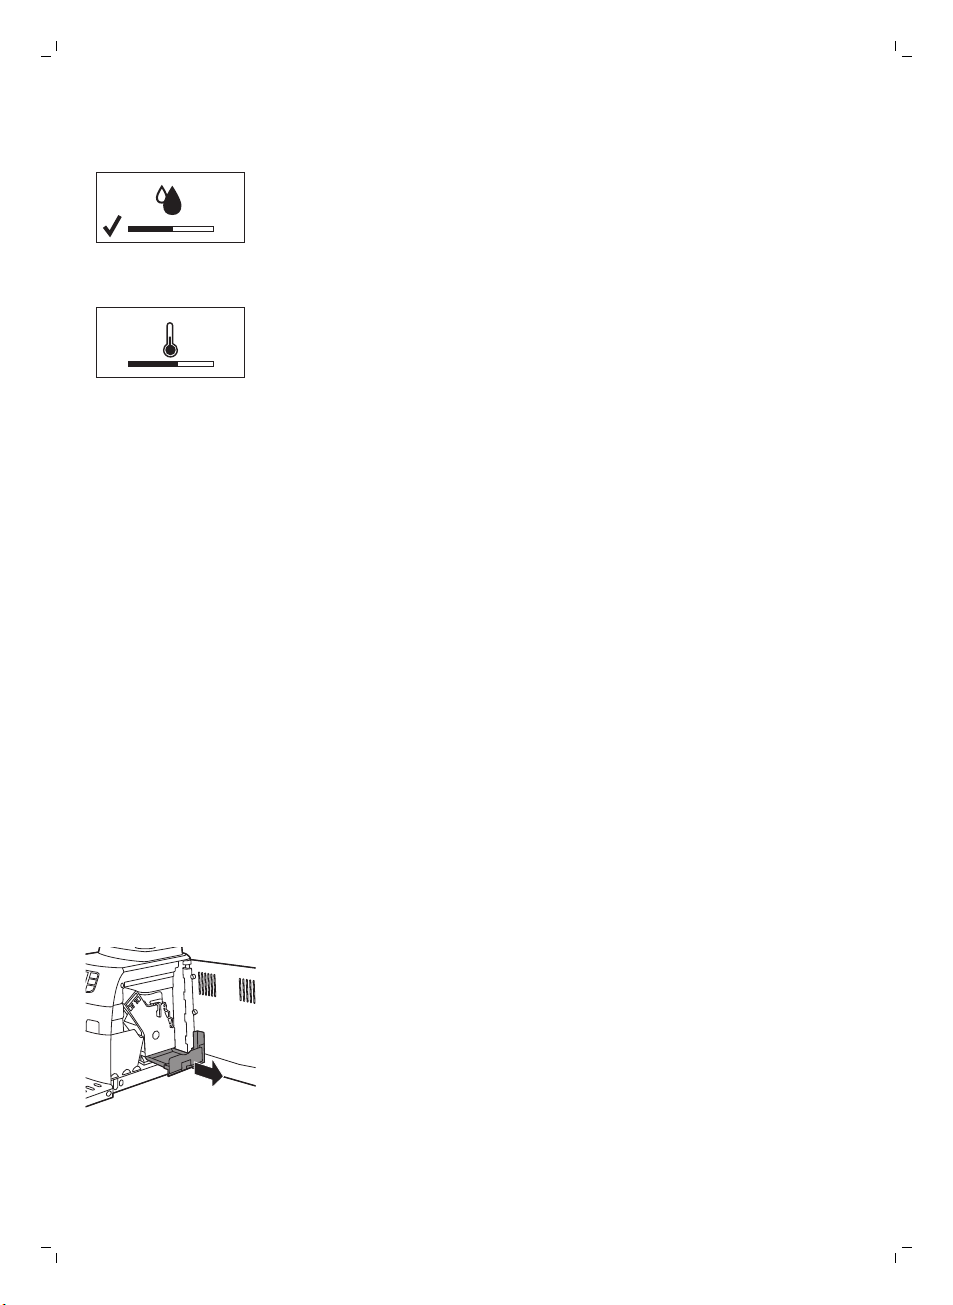
1 Remove the coffee grounds container and open the service door.
2 Remove the coffee residues drawer.
15
English
Loading ...
Loading ...
Loading ...