Loading ...
Loading ...
Loading ...
9
Programming time functions
At every power-up, the control shows the time of day blinking set at 12:00 as the initial value. The time
increases every minute. The only possible action is the “Clock Regulation”, all other oven operations are
inhibited.
In general, turn the Temp/Time selector left or right in order to edit the values and modify them by steps; hold
the knob on the left or right to fasten the decrease/increase operations.
Setting the time of day
Fig.1
“Auto” and “0:00” will start flashing when the unit is switched on for the first time. To set the clock, press the
central button for about 3 seconds. When
appears, press “+” or “-“ to set the correct time.
Wait until a beep tells you that the clock has been set (fig. 1).
To set the time at a later stage, press “+” and “-” together for 3 seconds and then adjust the clock as
described above.
Minute counter
Fig.2
As this minute counter does not control the oven, when it finishes counting the oven will continue to work.
To set, press the central button for 3 seconds until
appears (fig. 2). Press “+” and “-” to set the required
time.
The minute counter beeps when it finishes counting. To disable it, press any button.
To cancel the minute counter press the ‘-‘ button until the timer displays 0:00.
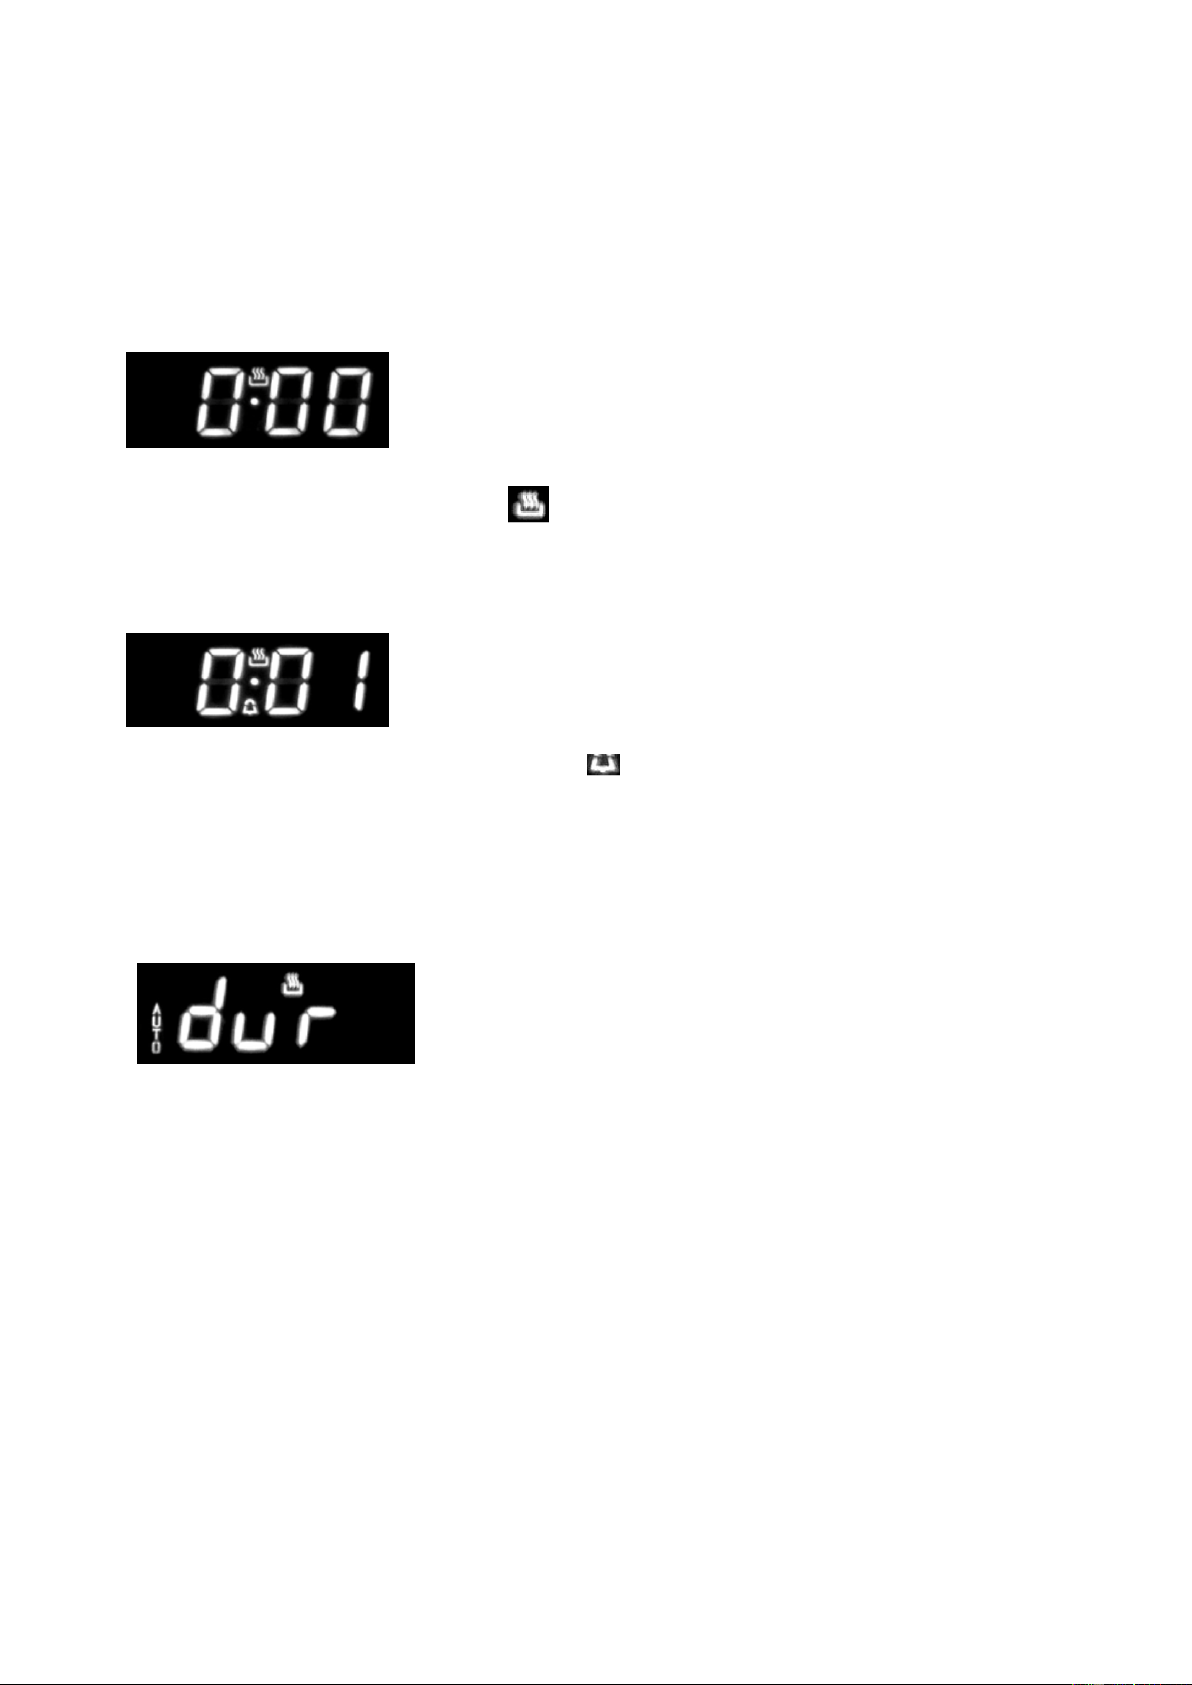
Cooking time
Fig. 3
This is a semi-automatic cooking function. It can be used to set cooking times. This function automatically
switches the oven off after the duration is complete.
Firstly your cooking mode and temperature should be set.
Press the central button for 3 seconds. Then press it again until “dur” appears (fig. 3). Press “+” and “-” to set
the required cooking timer.
The oven will work in the set mode and at the set temperature until the end of cooking time.
To cancel the cooking duration press the ‘-‘ button until the timer displays 0:00.
Loading ...
Loading ...
Loading ...