Loading ...
Loading ...
Loading ...
During Self Clean
f The self clean cycle uses extremely hot temperatures
to clean the oven cavity. While running the Self Clean
cycle, you may notice smoking or an odor. This is
normal; especially if the oven is heavily soiled.
f As the oven heats, you may hear sounds of metal parts
expanding and contracting. This is normal and will not
damage the oven.
f Do not force the oven door open when DOOR LOCKED
is displayed. The oven door will remained locked until
the oven temperature has cooled. Forcing the door open
will damage the door.
NOTE
f The Self Clean cycle cannot be started if the Lockout
feature is active.
f Once the Self Clean cycle is set, the oven door will lock
automatically. You will not be able to open the oven
door until the oven has cooled. The lock will release
automatically.
f Once the door has been locked, the DOOR LOCKED
indicator light will stop flashing and remain on. Allow
about 15 seconds for the oven door lock to activate.
After the Self Clean Cycle
f The oven door will remain locked until the oven
temperature has cooled.
f You may notice some white ash in the oven. Wipe it off
with a damp cloth or a soap-filled steel wool pad after
the oven cools. If the oven is not clean after one clean
cycle, repeat the cycle.
f If oven racks were left in the oven and do not slide
smoothly after a clean cycle, wipe racks and rack
supports with a small amount of vegetable oil to make
them glide more easily.
f Fine lines may appear in the porcelain because it went
through heating and cooling. This is normal and will not
affect performance.
Setting Self Clean with a Delayed
Start
(For model: LRG3091 / LRG3021)
1
Remove all racks and accessories from the oven.
2
Press the
Self Clean
button. The oven defaults to the
recommended three hour self clean for a moderately
soiled oven. Press twice for a two hour self clean or three
times for a four hour self clean.
3
Press the
Start Time
button.
5
Press the
START
button.
4
Use buttons to enter the time of day you
would like the Self Clean to start.
+
or
-
Changing the Oven Light
The oven light is a standard 40-watt appliance bulb. It will
turn on when the oven door is open. When the oven door is
closed, press the
Oven Light
button to turn the light on or off.
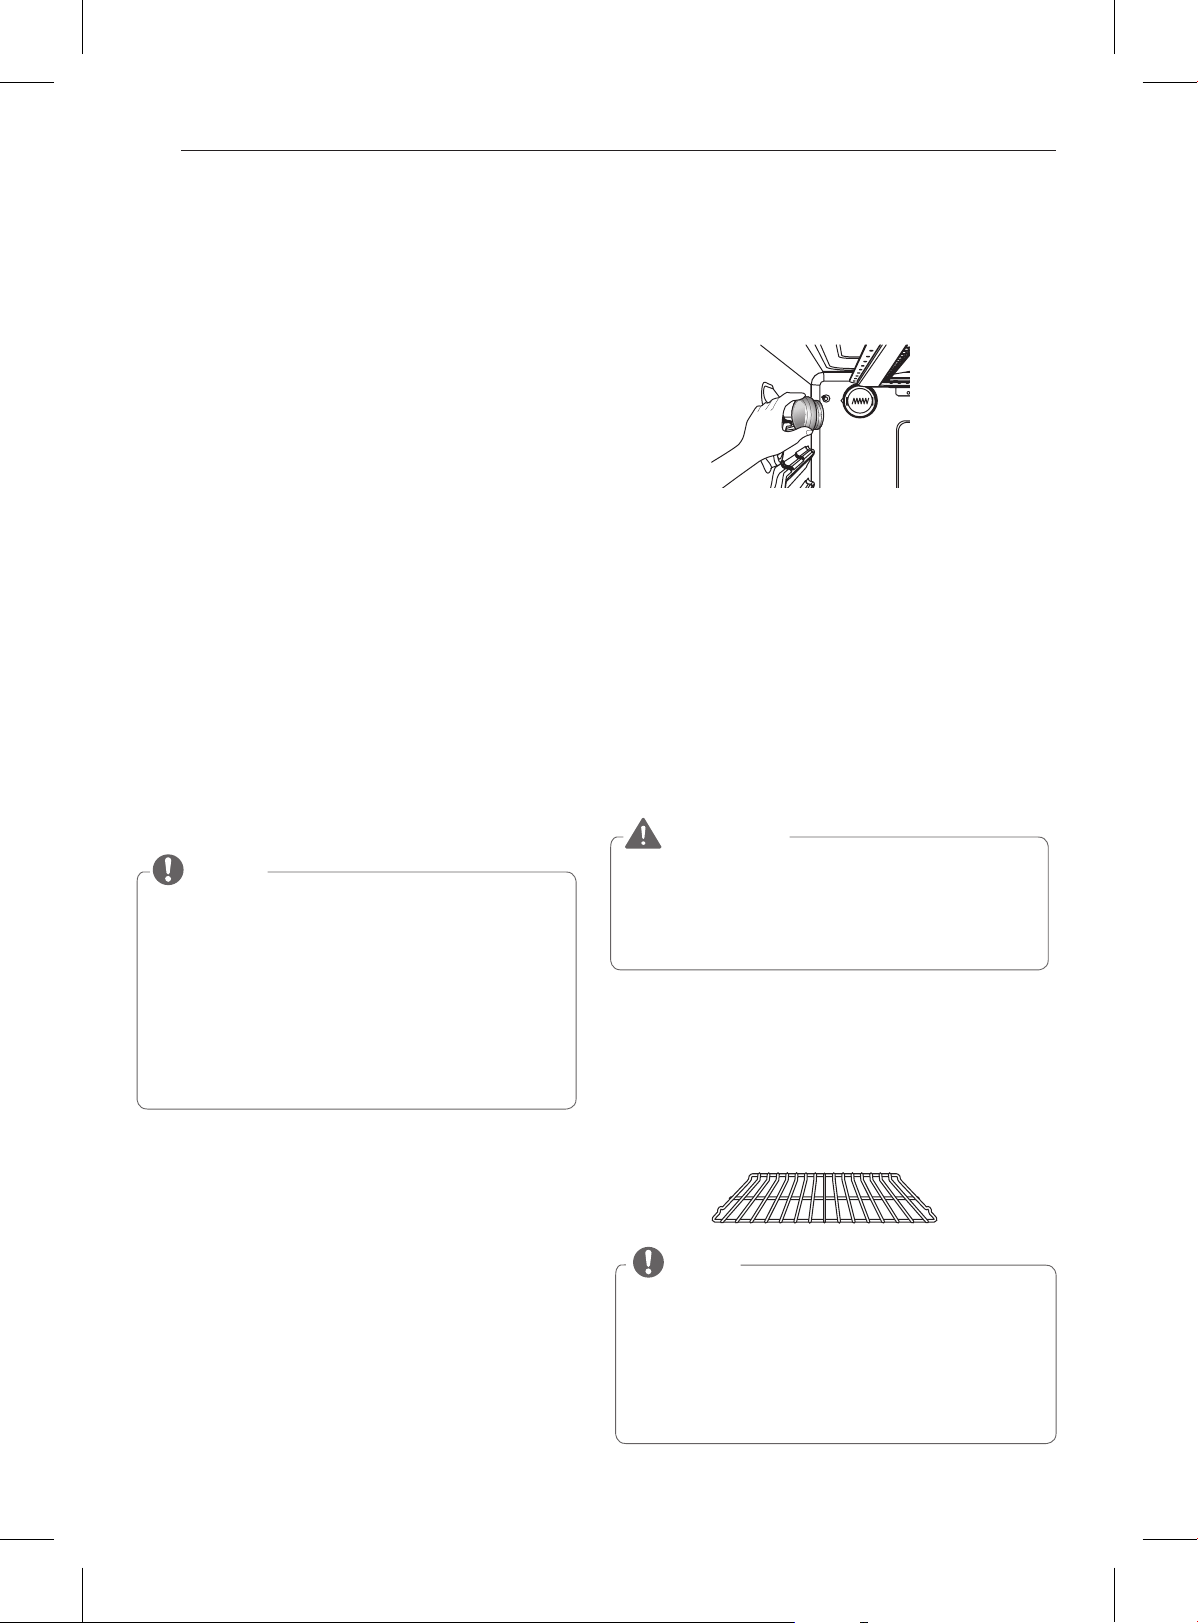
To replace the oven light
1
Unplug the range or disconnect the power.
2
Turn the glass bulb cover in the back of the oven
counterclockwise to remove it.
3
Turn the bulb counterclockwise to remove it from the
socket.
4
Insert the new bulb and turn it clockwise.
5
Insert the glass bulb cover and turn it clockwise.
6
Plug in the range or reconnect the power.
WARNING
f
Make sure that the oven and bulb are cool.
f
DISCONNECT the electrical power to the range at
the main fuse or circuit breaker panel. Failure to do
so can result in severe personal injury, death, or
electrical shock.
Oven Racks
Remove the oven racks before operating the self clean cycle.
1
Food spilled into the tracks could cause the racks to
become stuck. Clean with a mild, abrasive cleaner.
2
Rinse with clean water and dry.
NOTE
If the racks are cleaned using the self clean cycle (not
recommended), the color will turn slightly blue and the
finish will become dull. After the self clean cycle is
complete, and the oven has cooled, rub the sides of
the racks with wax paper or a cloth containing a small
amount of vegetable oil. This will make the racks glide
more easily into the rack tracks.
32
CARE AND CLEANING
Loading ...
Loading ...
Loading ...