Loading ...
Loading ...
Loading ...
5
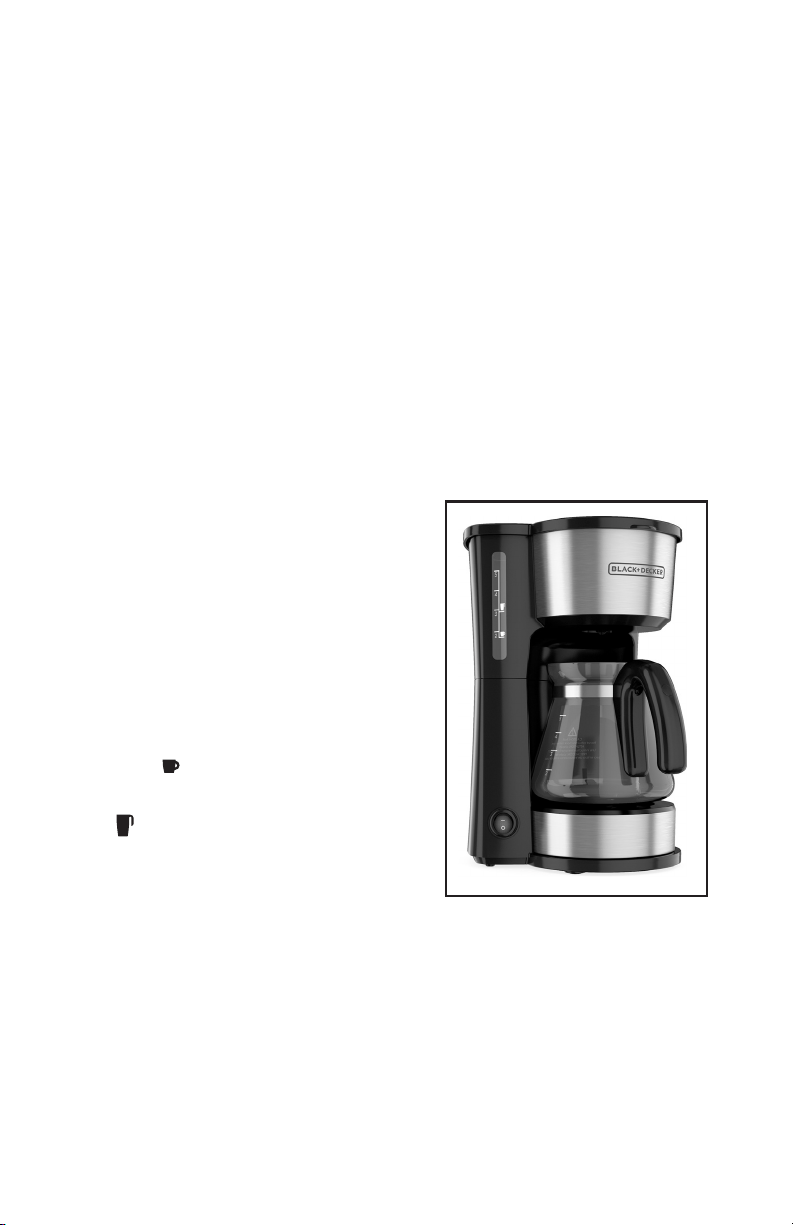
GETTING STARTED
This appliance is intended for household
use only.
• Remove all packing material, any stickers,
and the plastic band around the power plug.
• Remove all accessories and components.
• Go to www.prodprotect.com/applica to
register your product.
• Open lid
• Pour fresh cold water into water reservoir
up to 5-cup mark.
• Place empty basket-style paper lter into
removable brew basket.
• Place basket into lter basket holder.
• Uncoil power cord and plug into
standard electrical outlet.
• Brew water through appliance without
adding coee grounds. This removes any
dust or residue that may remain in the
system during the manufacturing process.
• Discard the water from the carafe and
paper lter from brew basket.
• Turn o the appliance; unplug and allow
appliance to cool down.
GENERAL BREWING INSTRUCTIONS
1. Open one-piece cover.
2. Pour fresh cold water up to desired
level mark into water reservoir.
-If brewing a single cup into a mug,
fill to the icon. This will produce
8 oz of coffee.
-If brewing into a travel mug, fill to
the icon. This will produce 12 oz.
of coffee.
3. Place permanent filter or paper
filter into the brew basket.
4. Insert brew basket into top of
coffeemaker.
5. Add desired amount of ground
coffee.
Not sure how much coee to use?
Begin by using 1 level tablespoon of
medium grind coee for each 5 oz. of
coee to be brewed. A full carafe holds
25 oz. of coee.
6. Close lid securely.
7. By using or taking away the
adjustable stand, arrange the
receptacle of your choice so that its
top is close to the spout.
8. Plug cord into standard electrical
outlet.
9. Press on/off (I/O) switch button;
blue light comes on and brewing
begins.
10. Turn off coffeemaker when done
brewing.
11. Unplug appliance when not in use.
BREWING COFFEE INTO THE CARAFE
1. Place adjustable stand on the base.
2. Place empty carafe on the
adjustable stand.
3. Brew coffee following the general
brewing instructions.
Loading ...
Loading ...
Loading ...