Loading ...
Loading ...
Loading ...
10
Meat Storage Guide
Store most meat in original wrapping as long as it is airtight and
moisture-proof. Rewrap if necessary. See the following chart for
storage times. When storing meat longer than the times given,
freeze the meat.
Fresh sh or shellsh......................... use same day as purchased
Chicken, ground beef, variety meats (liver) ...................... 1-2 days
Cold cuts, steaks/roasts .................................................. 3-5 days
Cured meats................................................................... 7-10 days
Leftovers - Cover leftovers with plastic wrap, aluminum foil, or
plastic containers with tight lids.
Crisper
Crisper Drawers
To remove and replace the crisper drawer:
1. Slide the crisper drawer straight out to the stop. Lift the front
and slide the drawer out the rest of the way.
2. Replace the drawer by sliding the drawer in fully past the
stop.
Crisper Cover
To remove and replace the crisper cover:
1. Remove the crisper(s).
2. Pull the glass straight out.
3. Replace the glass by pushing it straight in.
Crisper Humidity Control
You can control the amount of humidity in the moisture-sealed
crisper. Adjust the control to any setting between LOW and HIGH.
LOW (open) lets moist air out of the crisper for best storage of
fruits and vegetables with skins.
■ Fruit: Wash, let dry and store in refrigerator in plastic bag or
crisper. Do not wash or hull berries until they are ready to use.
Sort and keep berries in original container in crisper, or store
in a loosely closed paper bag on a refrigerator shelf.
■ Vegetables with skins: Place in plastic bag or plastic
container and store in crisper.
HIGH (closed) keeps moist air in the crisper for best storage of
fresh, leafy vegetables.
■ Leafy vegetables: Wash in cold water, drain and trim or tear
off bruised and discolored areas. Place in plastic bag or
plastic container and store in crisper.
FREEZER FEATURES
Your model may have some or all of these features.
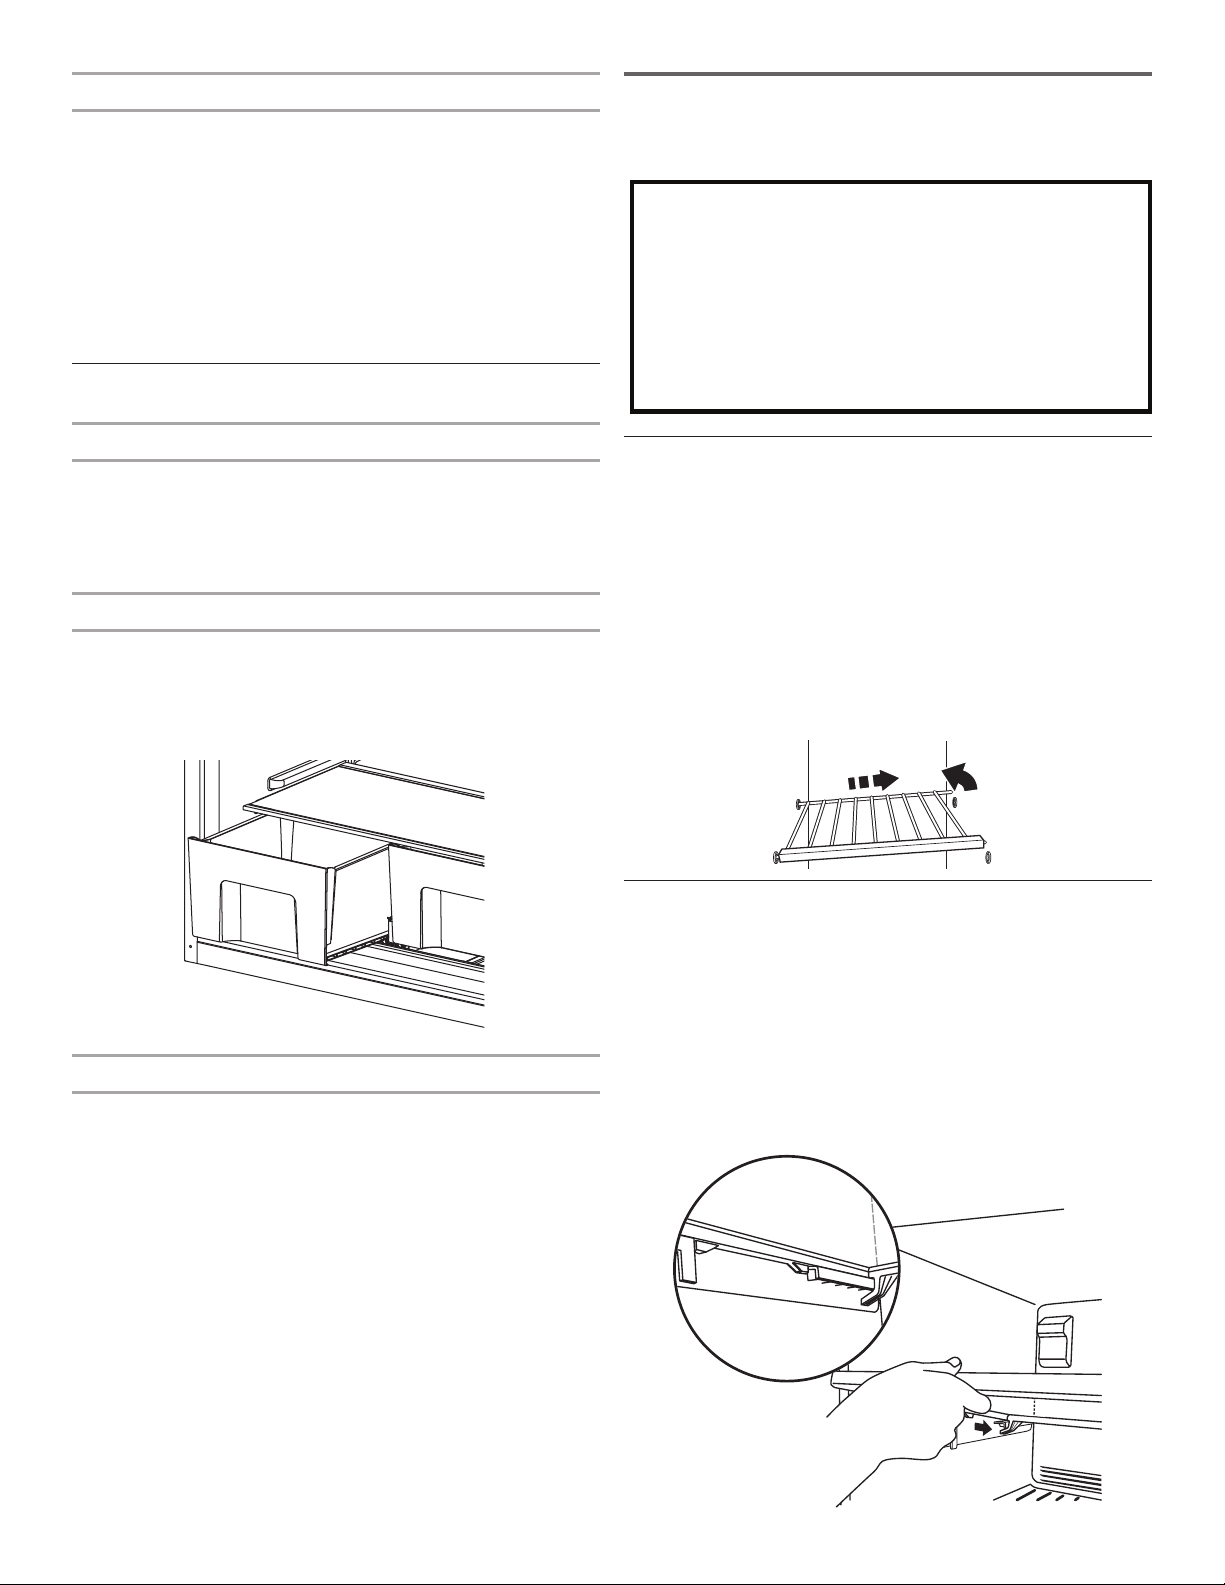
Wire Freezer Shelf
(on some models)
To remove and replace a wire shelf:
1. Remove the shelf by lifting the entire shelf slightly and moving
it all the way to the left-hand side. Tilt the right-hand side up
and out of the shelf supports.
2. Replace the shelf by inserting the left-hand end all the way
into the shelf supports. Then, lower the right-hand end of the
shelf and insert it into the shelf supports.
NOTE: The shelf should lower slightly and lock into place. If the
shelf does not appear stable, make sure both ends of the shelf
are inserted into the shelf supports.
Glass Freezer Shelf
(on some models)
To remove and replace a glass shelf:
1. Lift the front of the shelf to raise the shelf tabs up and out of
the opening in each shelf track. Slide the shelf out the rest of
the way.
2. Replace the shelf by tilting the back end downward to align
the back shelf tab under the track on each side of the freezer.
Gently push the shelf into the freezer until the two center shelf
tabs are positioned within the opening in each track. Lower
the shelf to rest on the shelf tracks.
Important information to know about glass shelves and
covers:
Do not clean glass shelves or covers with warm water when
they are cold. Shelves and covers may break if exposed to
sudden temperature changes or impact, such as bumping.
Tempered glass is designed to shatter into many small,
pebble-sized pieces. This is normal. Glass shelves and
covers are heavy. Use both hands when removing them to
avoid dropping.
Loading ...
Loading ...
Loading ...