Loading ...
Loading ...
Loading ...
5
EN
ENVIRONMENT
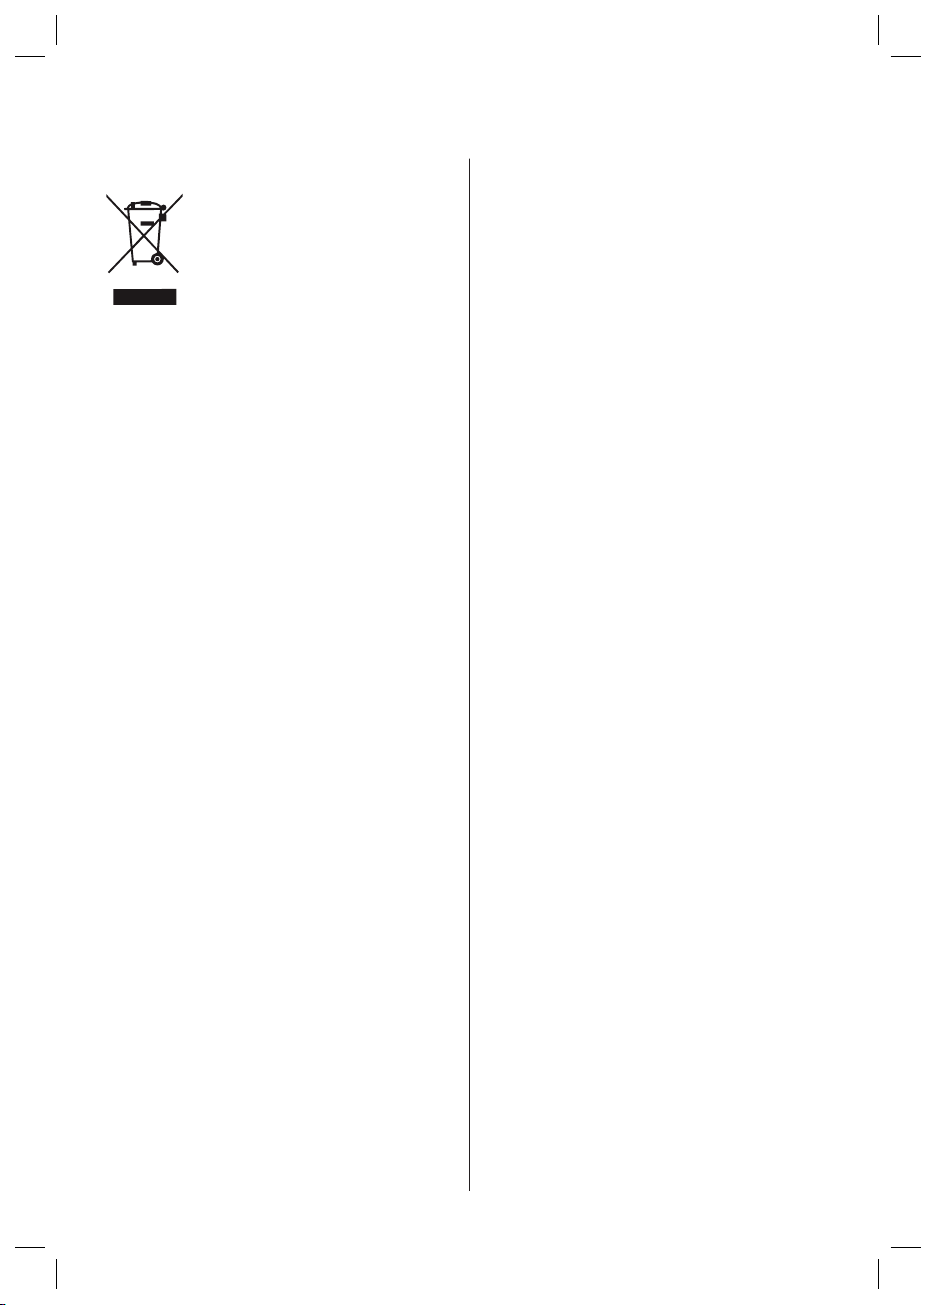
At the end of its working life, the
product must not be disposed
of as urban waste. It must be
taken to a special local authority
differentiated waste collection
centre or to a dealer providing
this service.
Disposing of a household appliance
separately avoids possible negative
consequences for the environment and
health deriving from inappropriate disposal
and enables the constituent materials to be
recovered to obtain significant savings in
energy and resources.
To remind you that you must collaborate with
a selective collection scheme, the symbol
shown appears on the product warning
you not to dispose of it in traditional refuse
containers.
For further information, contact your local
authority or the shop where you bought the
product.
1. DESCRIPTION
1. Fryer lid.
2. Basket handle.
3. Basket.
4. Control panel.
5. Element.
6. Oil pan.
7. Outer housing.
8. Thermostat control.
9. Fryer ON/OFF pilot light.
10. Thermal safety system override.
11. Cable and cable housing professional.
12. Oil temperature light.
2. TECHNICAL DETAILS
Voltage / Frecuency: 220-240V~50Hz.
Power: 2000 W (F-3000).
1700 W (F-2100).
MAX. capacity (L): 3,0 (F-3000).
2,0 (F-2100).
This device complies with the European
Directives for Electromagnetic Compatibility
and Low Voltage and in conformity with
EEC regulations related to materials in
contact with food.
3. OPERATING THE APPLIANCE
• Before using the fryer, all the parts should
be assembled and dry.
• Unroll the cord
• Remove the cover. Never cover the fryer
during the frying process.
• Fill with oil, up to between the indicated
minimum and maximum levels.
• Plug into the wall socket and select the
temperature.
• When the indicator goes out (10-15
minutes), introduce the basket with food
into the oil.
• Remove the basket from the pan, shake it
a little, and hook it onto the drying position.
• When you have nished, turn the switch
to the “0” position, switch the fryer off and
unplug it.
• Wait till the oil completely cools down
before disassembling and cleaning the fryer.
You can find further information of how your
fryer works at www.fagor.com.
Loading ...
Loading ...
Loading ...