Loading ...
Loading ...
Loading ...
Chevrolet Camaro Owner Manual (GMNA-Localizing-U.S./Canada/Mexico-
11348325) - 2018 - crc - 4/11/17
202 Driving and Operating
9. Re-attach the engine harness
clips by pushing them from the
bottom up, on the back tab. On
the original deflector, the push
pins are pushed from the
top down.
10. Install the tall deflectors with
three screws (1) per corner.
Torque to 3.3 Y (29 lb inch).
For new control arms, torque
the three screws to 5.5 Y
(44 lb inch).
11. Install the front rotors with one
screw per corner. Torque to
9 Y (80 lb inch).
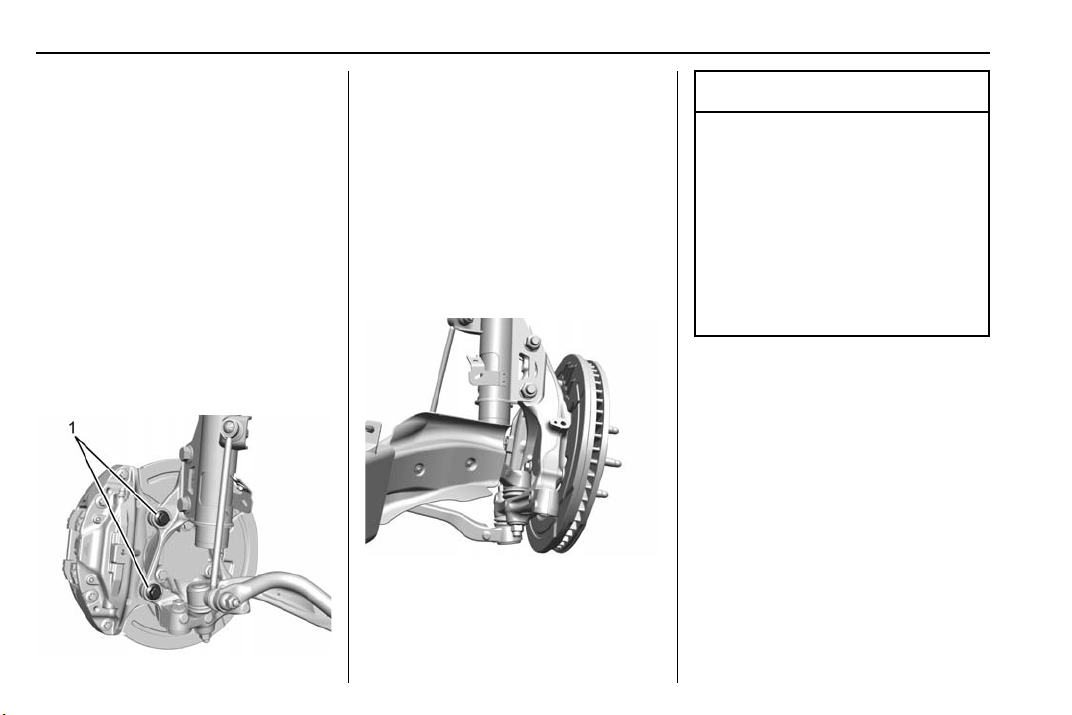
12. Apply liquid thread adhesive to
the caliper bolts (GM Part No.
9985399 – Loctite 272 –
Goodwrench 12345493). Install
the calipers with two screws (1)
per corner. Torque the caliper
bolts to 200 Y (148 lb ft).
13. Reinstall the front wheels using
the wheel nut torque. See
Capacities and Specifications
0 344.
Caution
After a track event, remove the
tall deflector and the small splash
shield and reinstall the original
deflector and splash shield.
Failure to reinstall the original
parts may lead to corrosion, loss
of output, noise, premature brake
pad and rotor wear, reduced
high-speed wet braking, and
damage to the tall deflector.
14. After a track event, repeat the
steps to reinstall the original
lower control arm deflectors
and splash shields.
15. Reinstall the tire deflectors.
Driving on Wet Roads
Rain and wet roads can reduce
vehicle traction and affect your
ability to stop and accelerate.
Always drive slower in these types
of driving conditions and avoid
driving through large puddles and
deep-standing or flowing water.
Loading ...
Loading ...
Loading ...